Make and Model of Washing Machine Used in This Video
Hotpoint NSWM743UWUK (769991581901)
Hotpoint NSWM743UWUK (869991581900)
Hotpoint NSWM743UWUKN (769991637831)
Part Used in This Video
Hotpoint Washing Machine Carbon Brush
1. Access carbon brushes
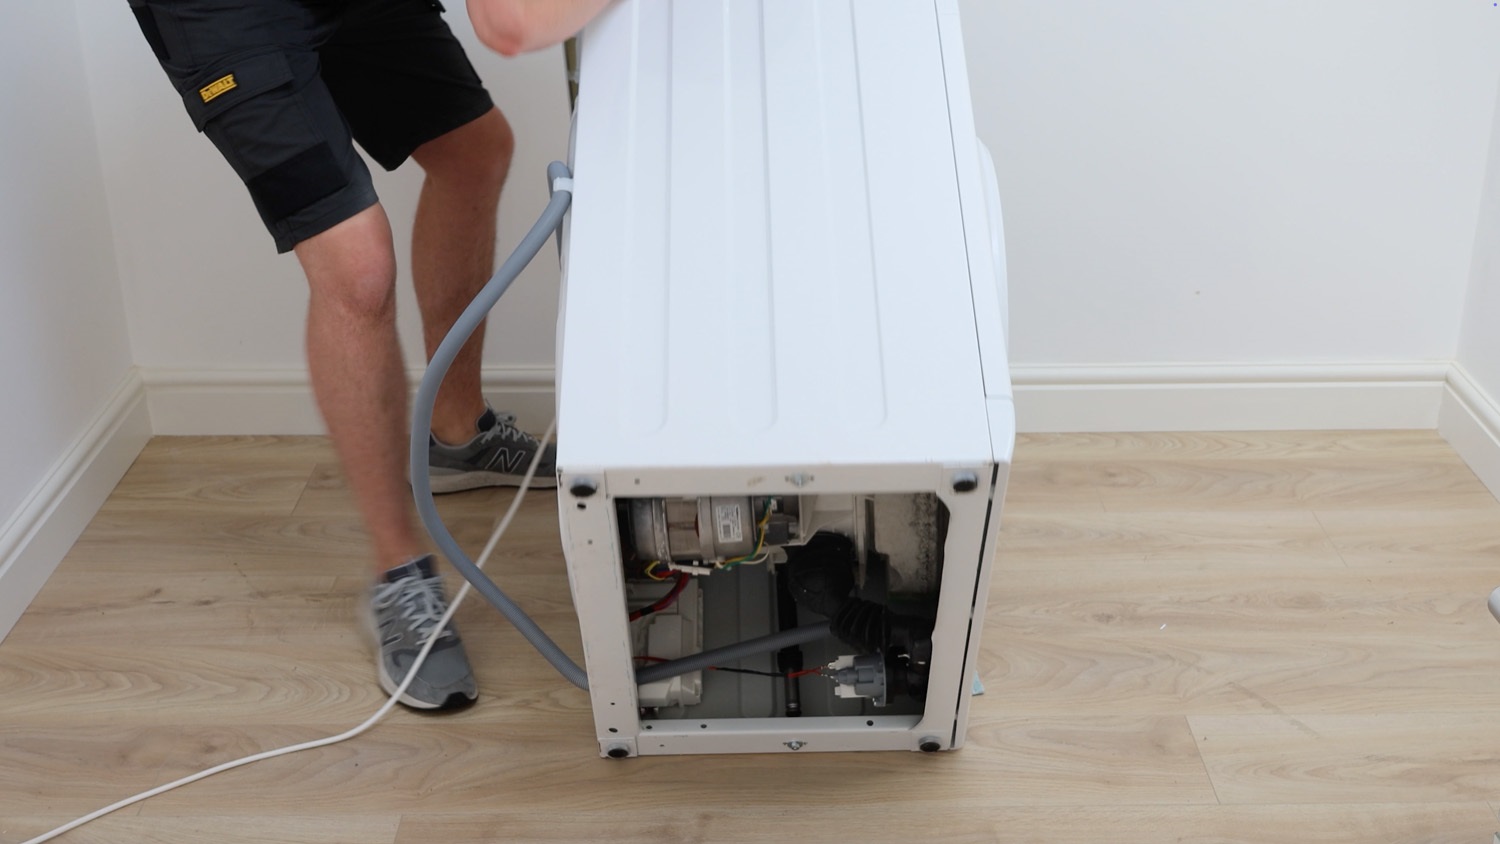
Lay some towels or blankets on the floor to prevent any scratches. Lay the machine on its side. Ask for help if it’s heavy.
Remove back plate
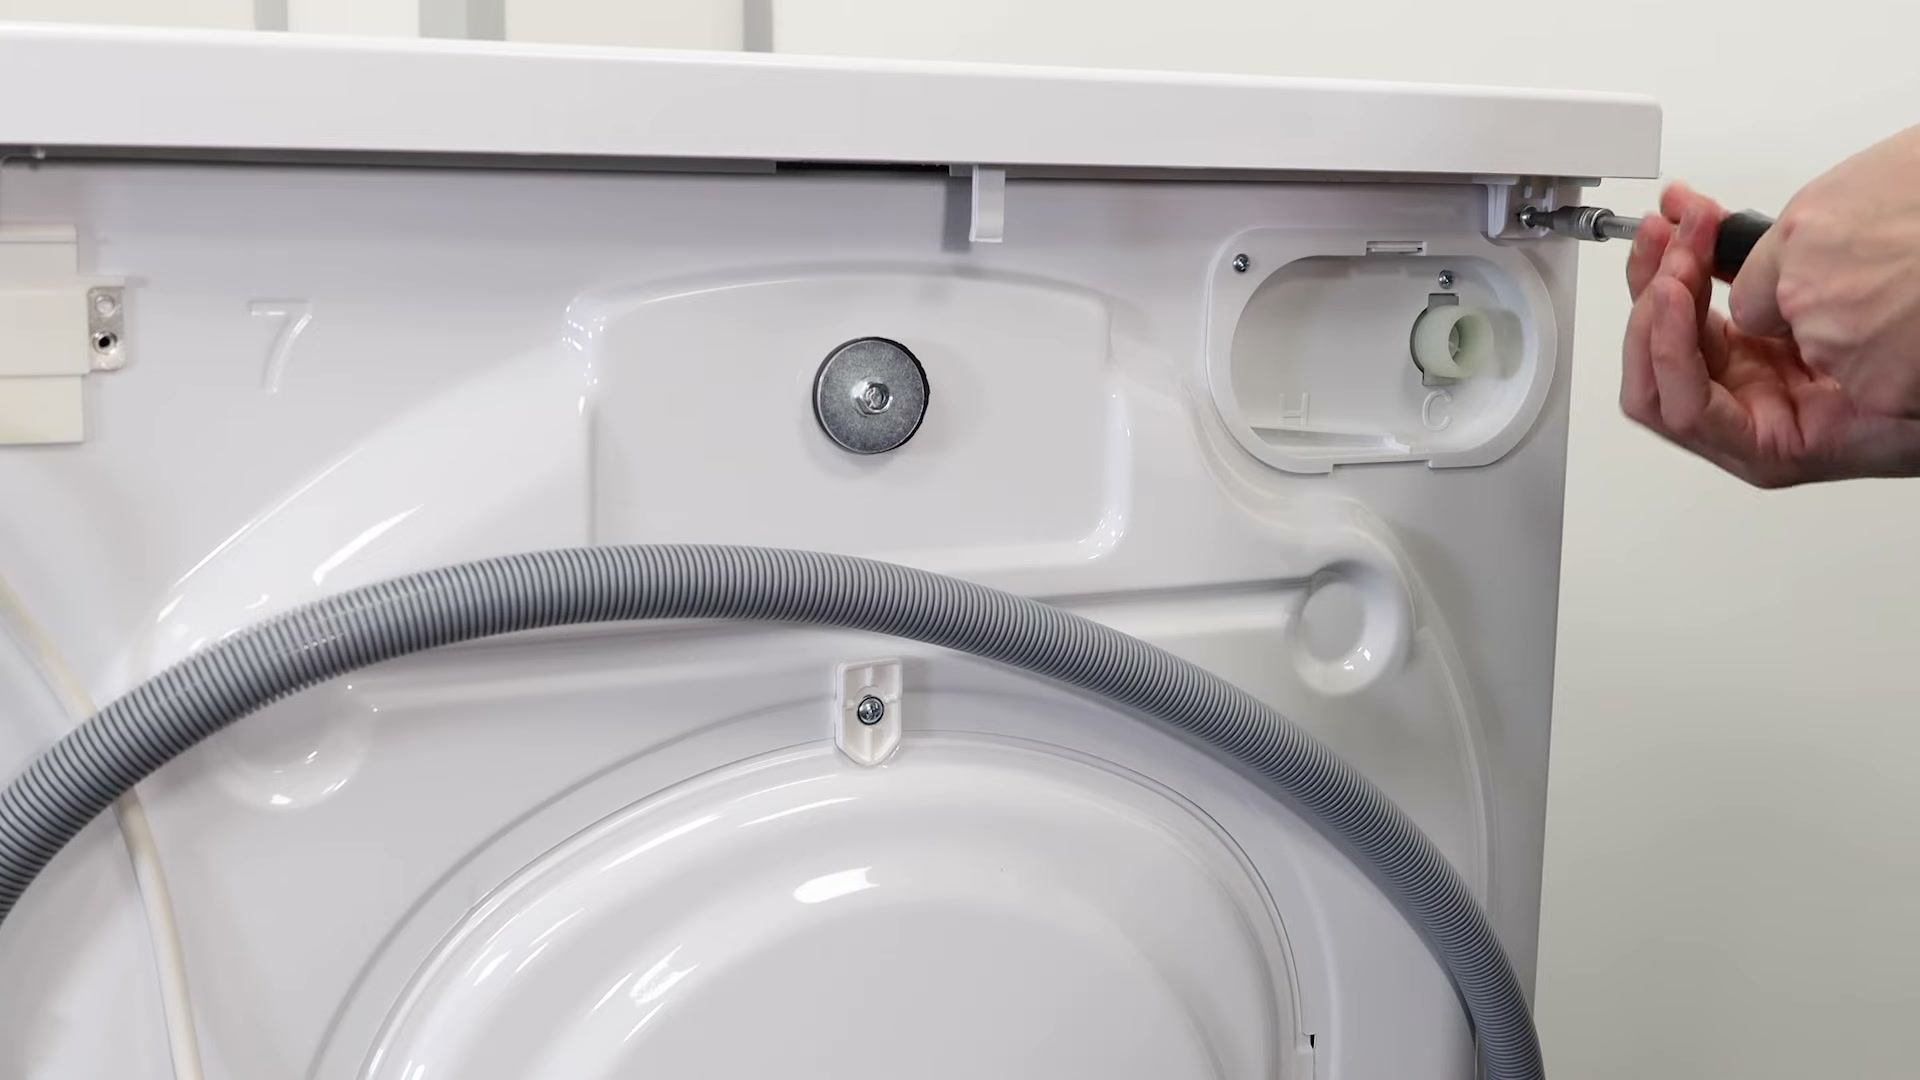
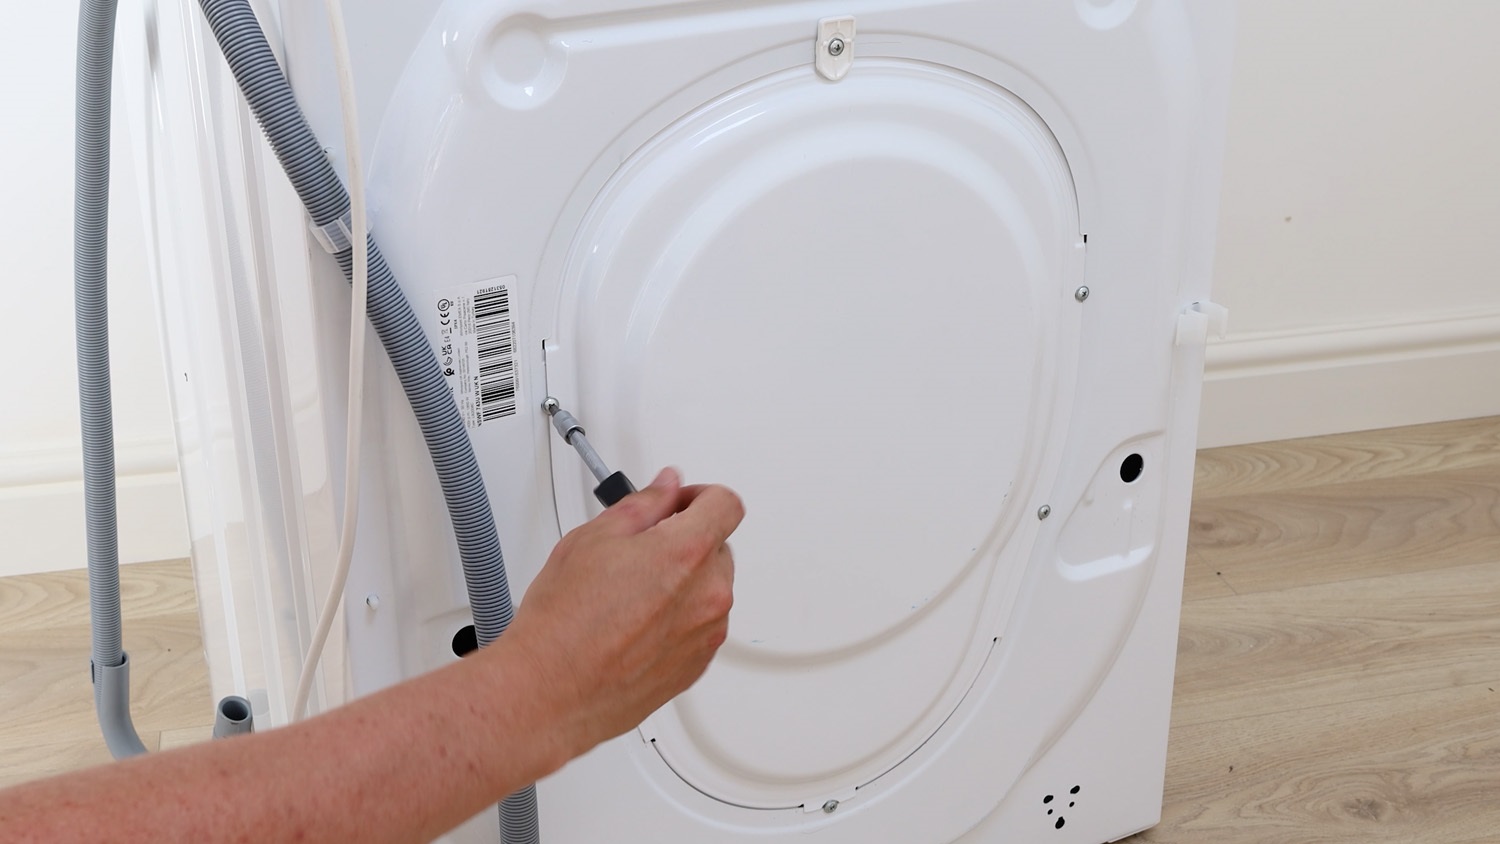
Remove the screws holding the back plate in place with your Phillips screwdriver. The back plate needs to be removed to access the belt and motor unit bolts on this model.
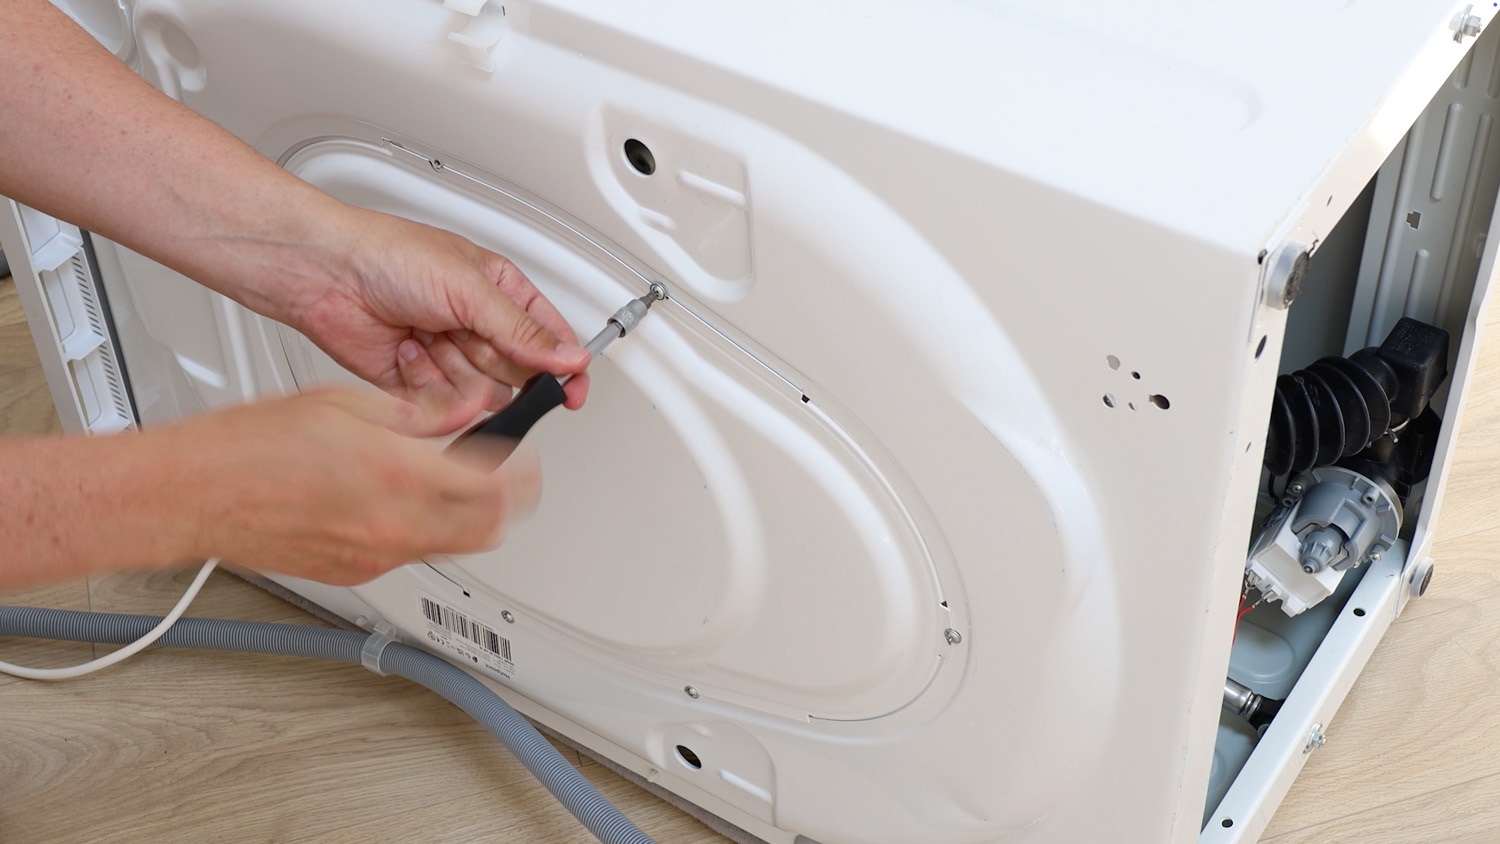
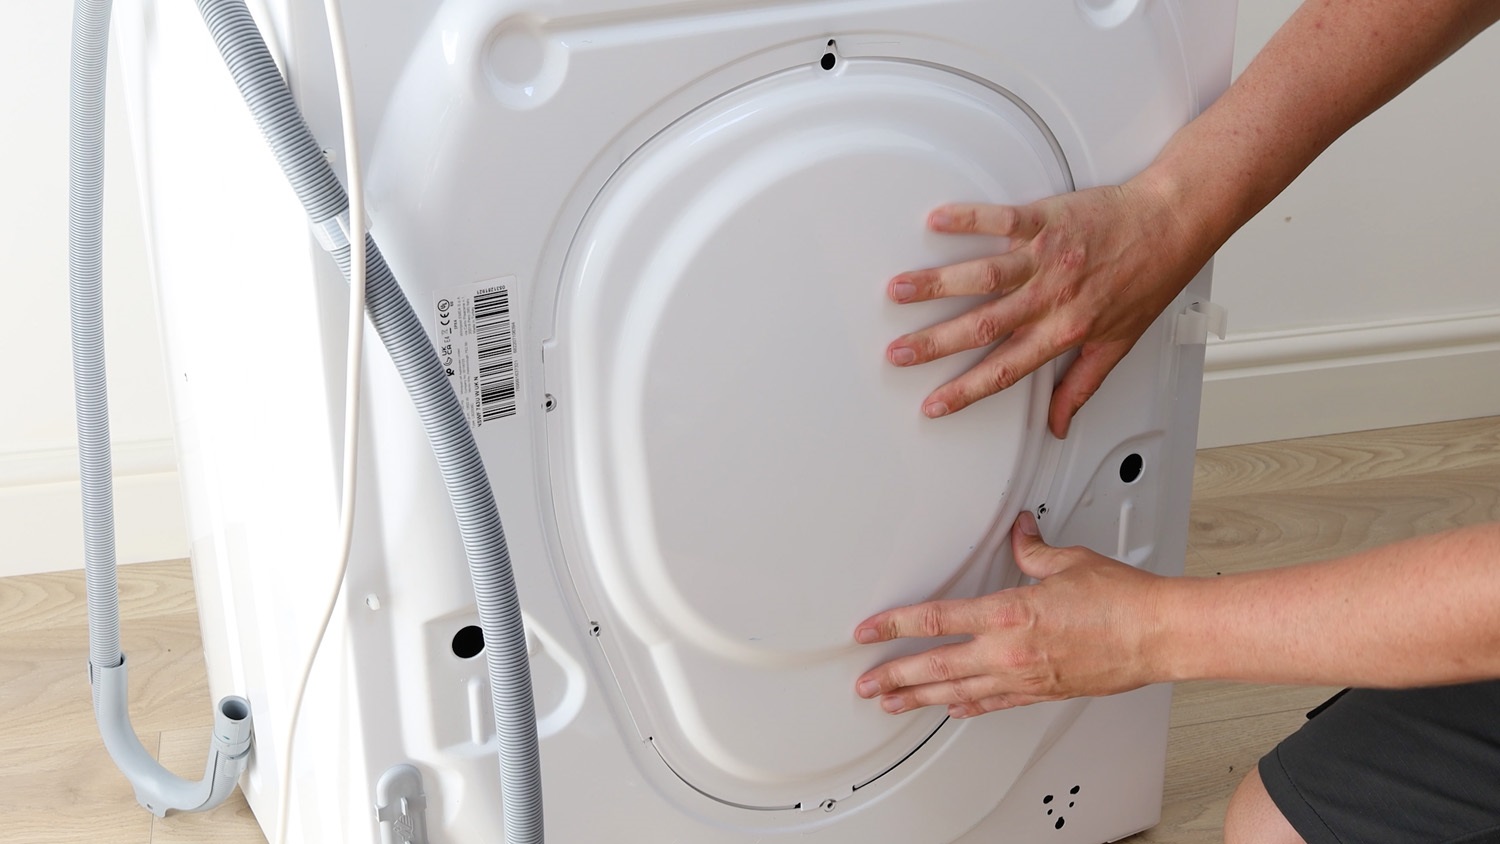
Remove the back plate and place it to one side.
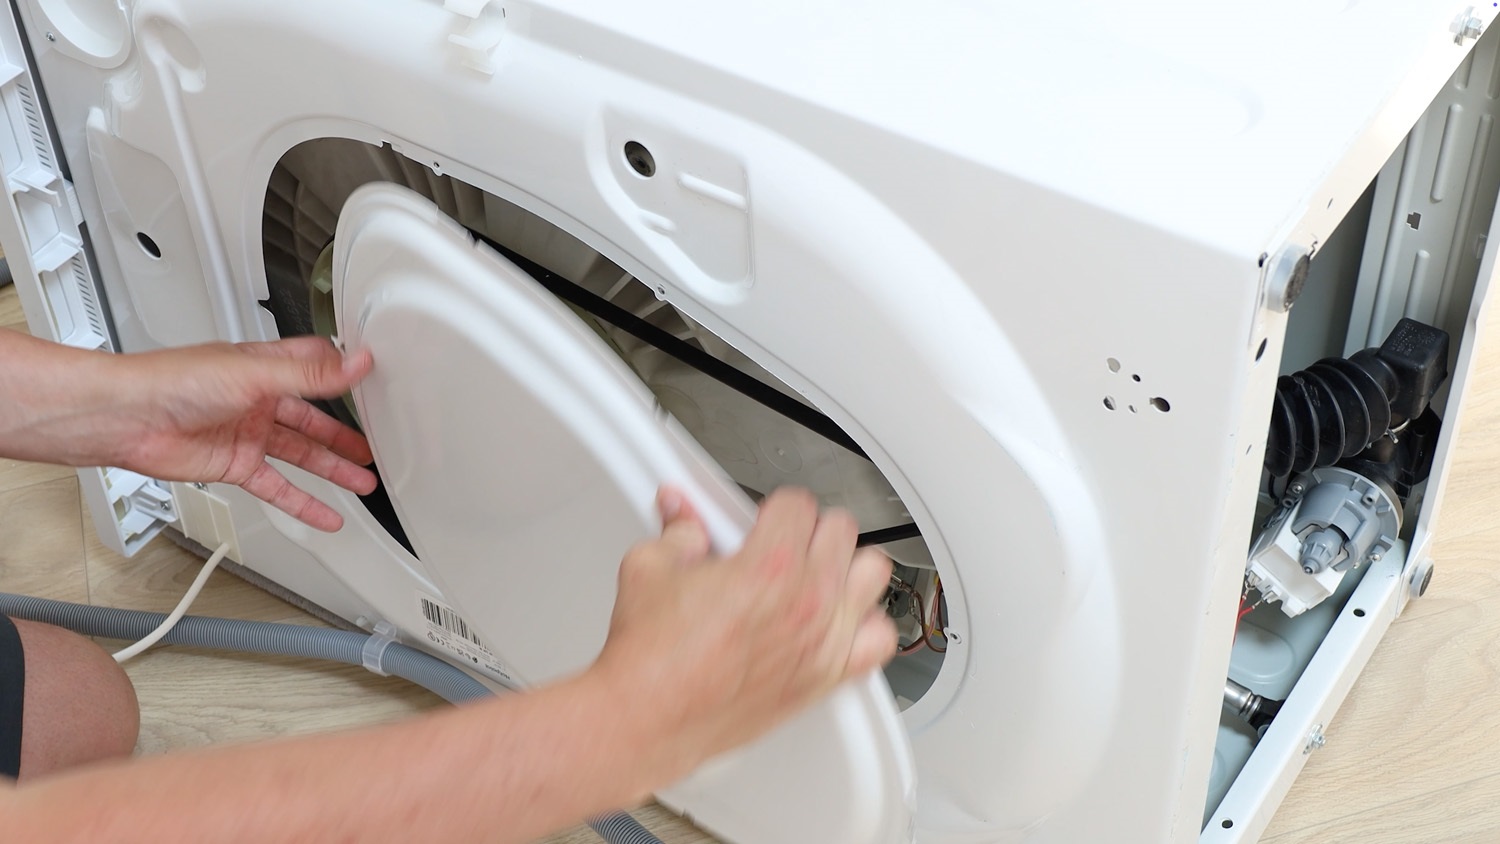
Remove belt
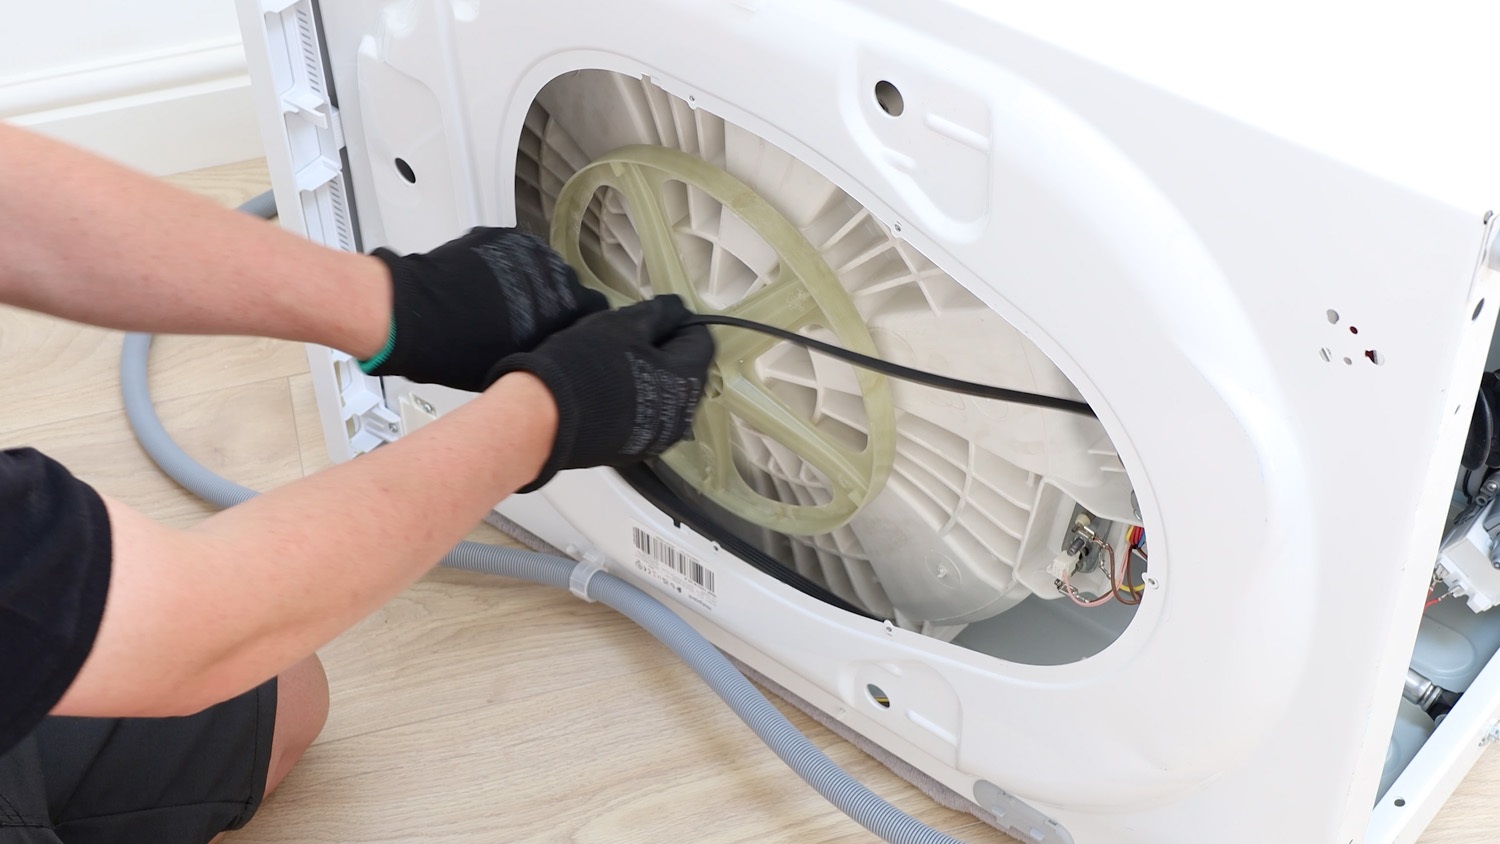
Pop some work gloves on if you have a pair. Remove the washing machine belt by pulling the belt towards you while slowly spinning the pulley.
Remove motor unit
The motor unit where the carbon brushes are found is located here.
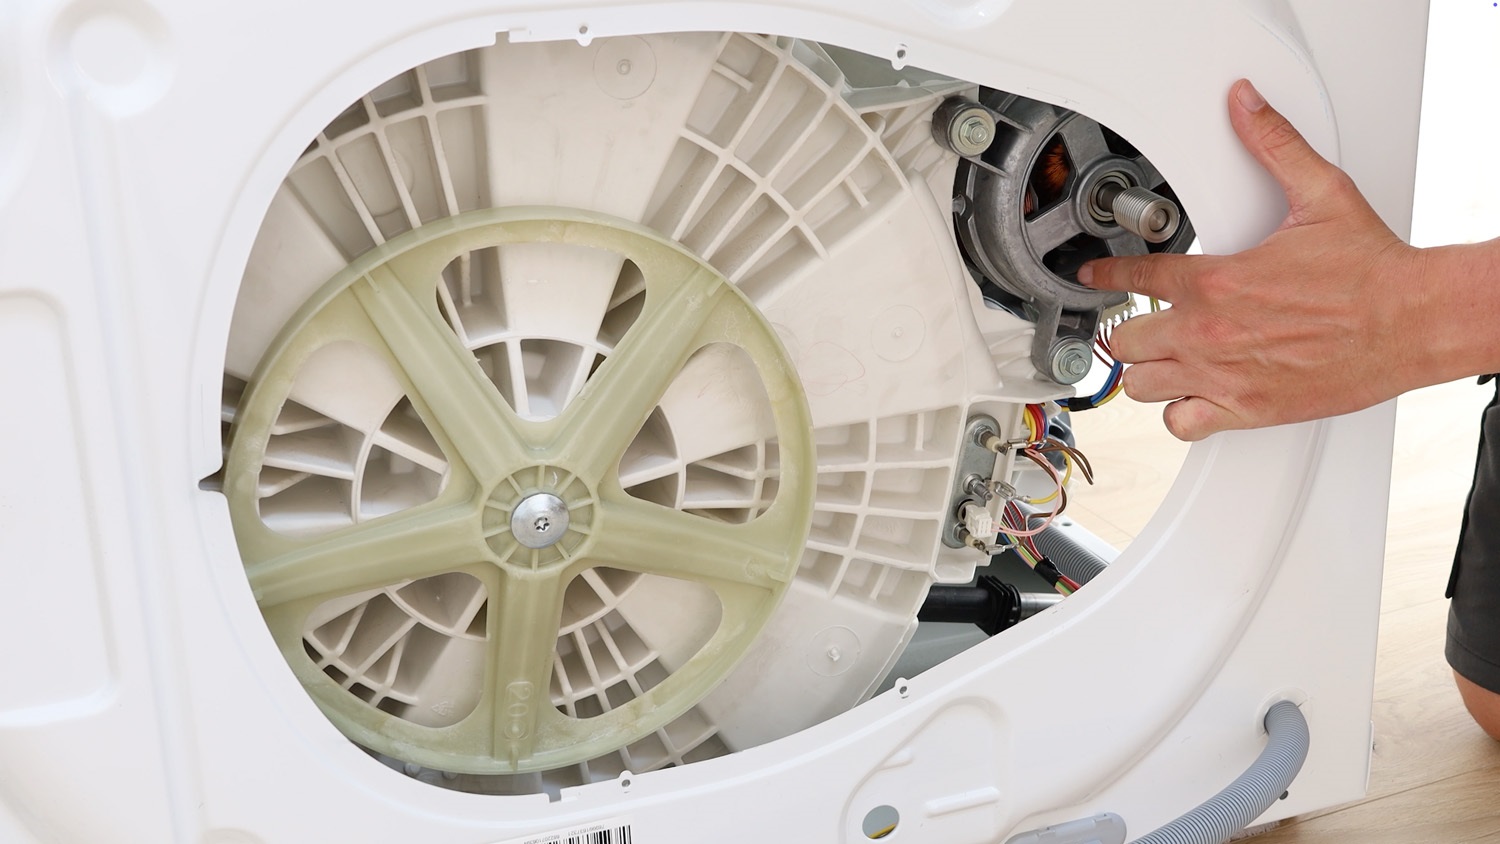
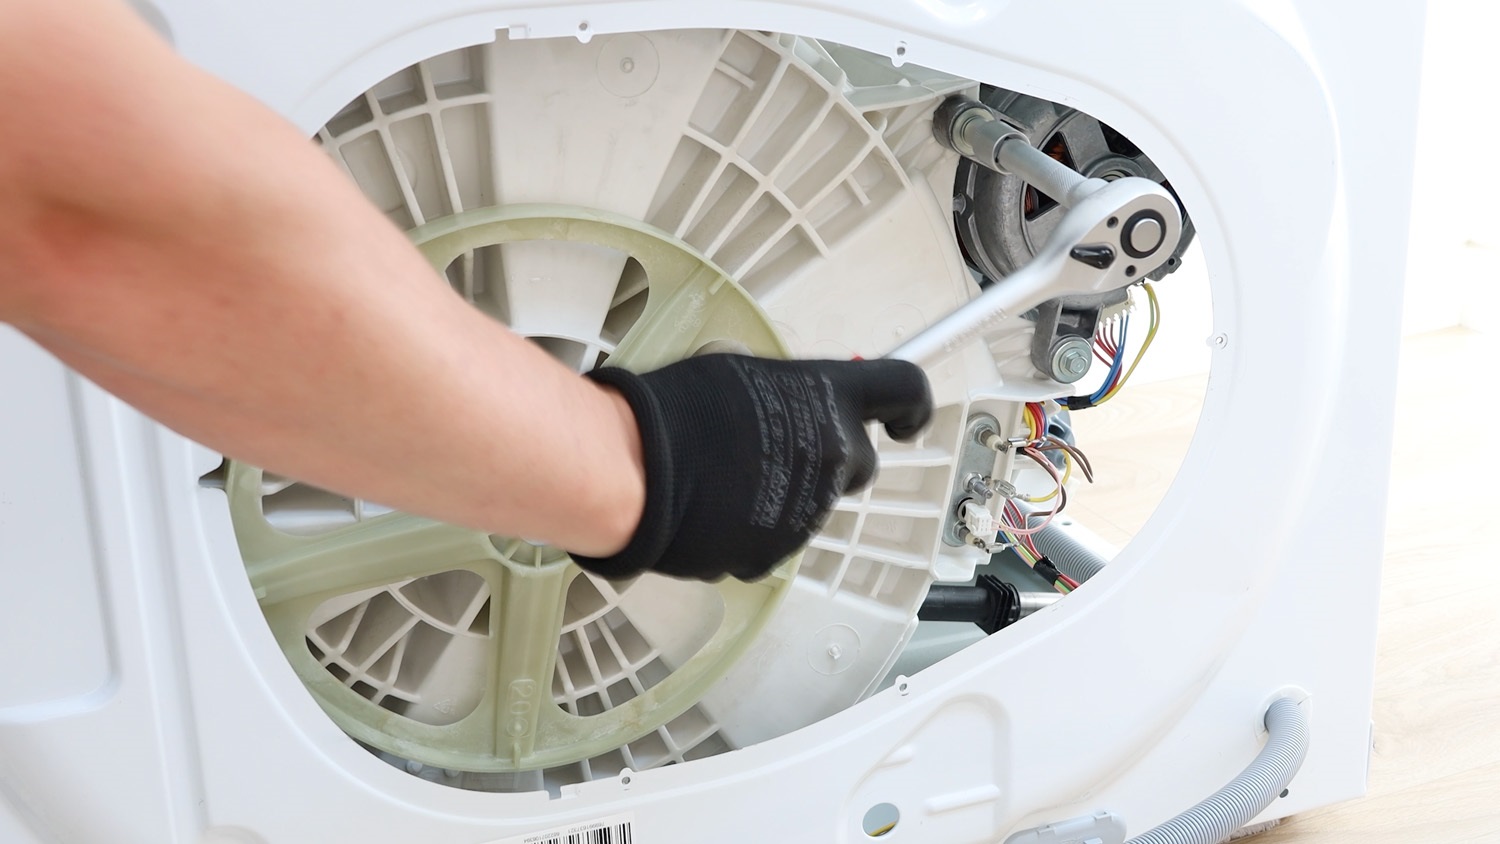
There are two 10mm bolts holding the motor unit in place. With your ratchet or socket tool, remove these.
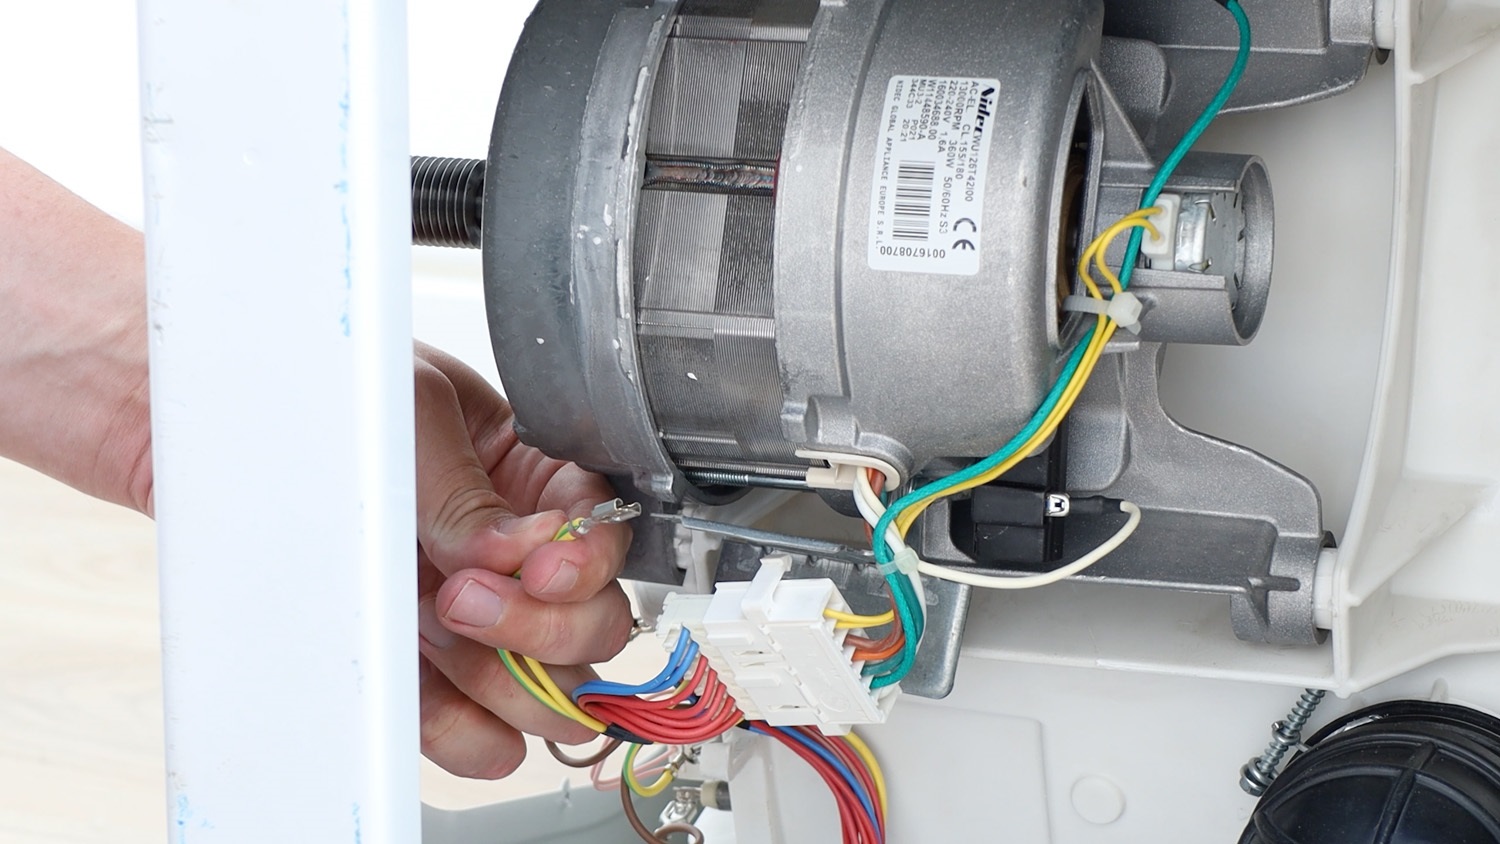
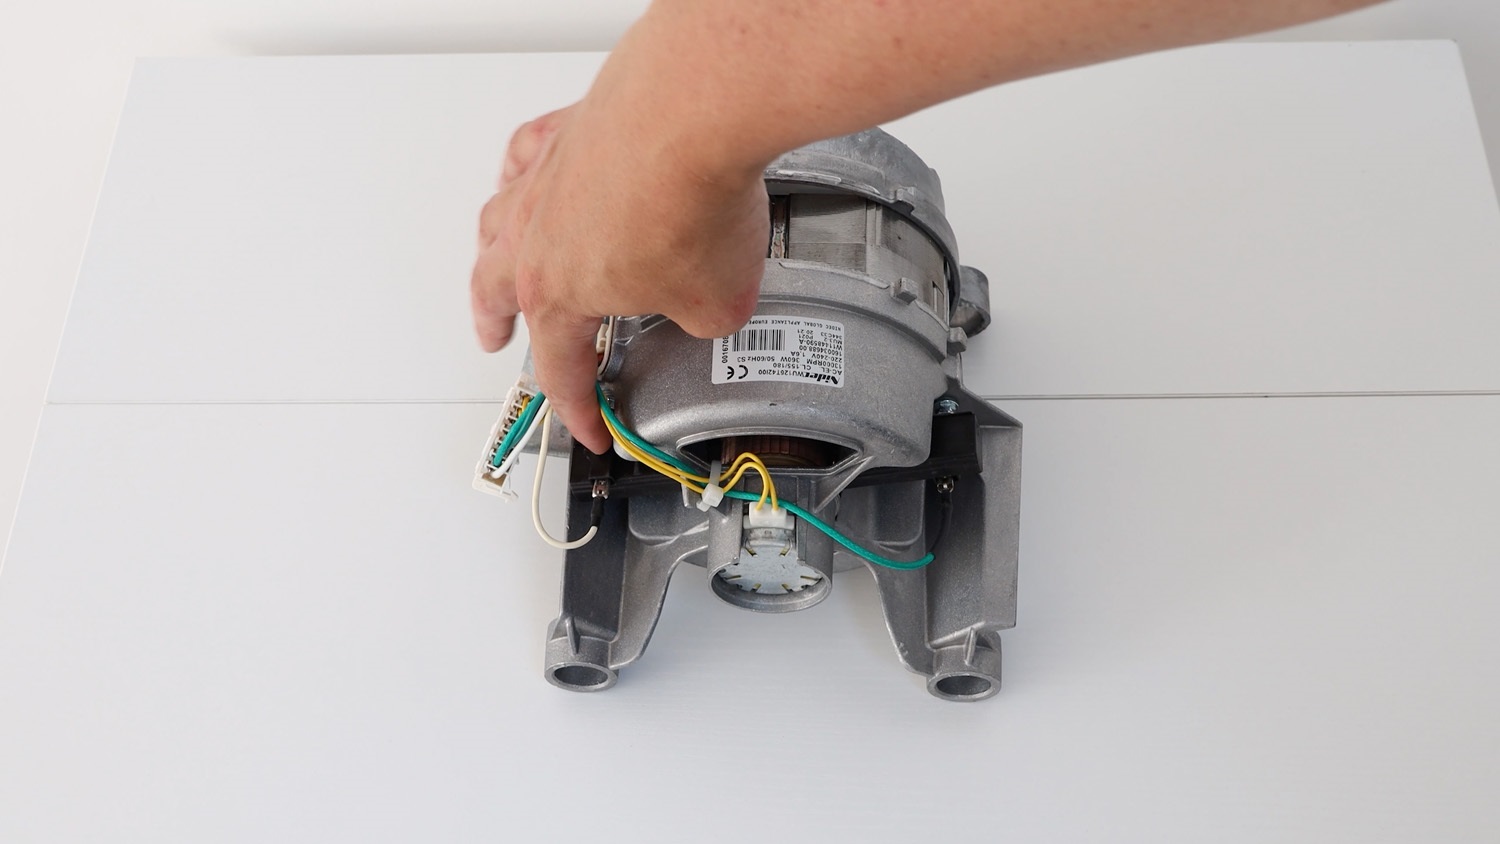
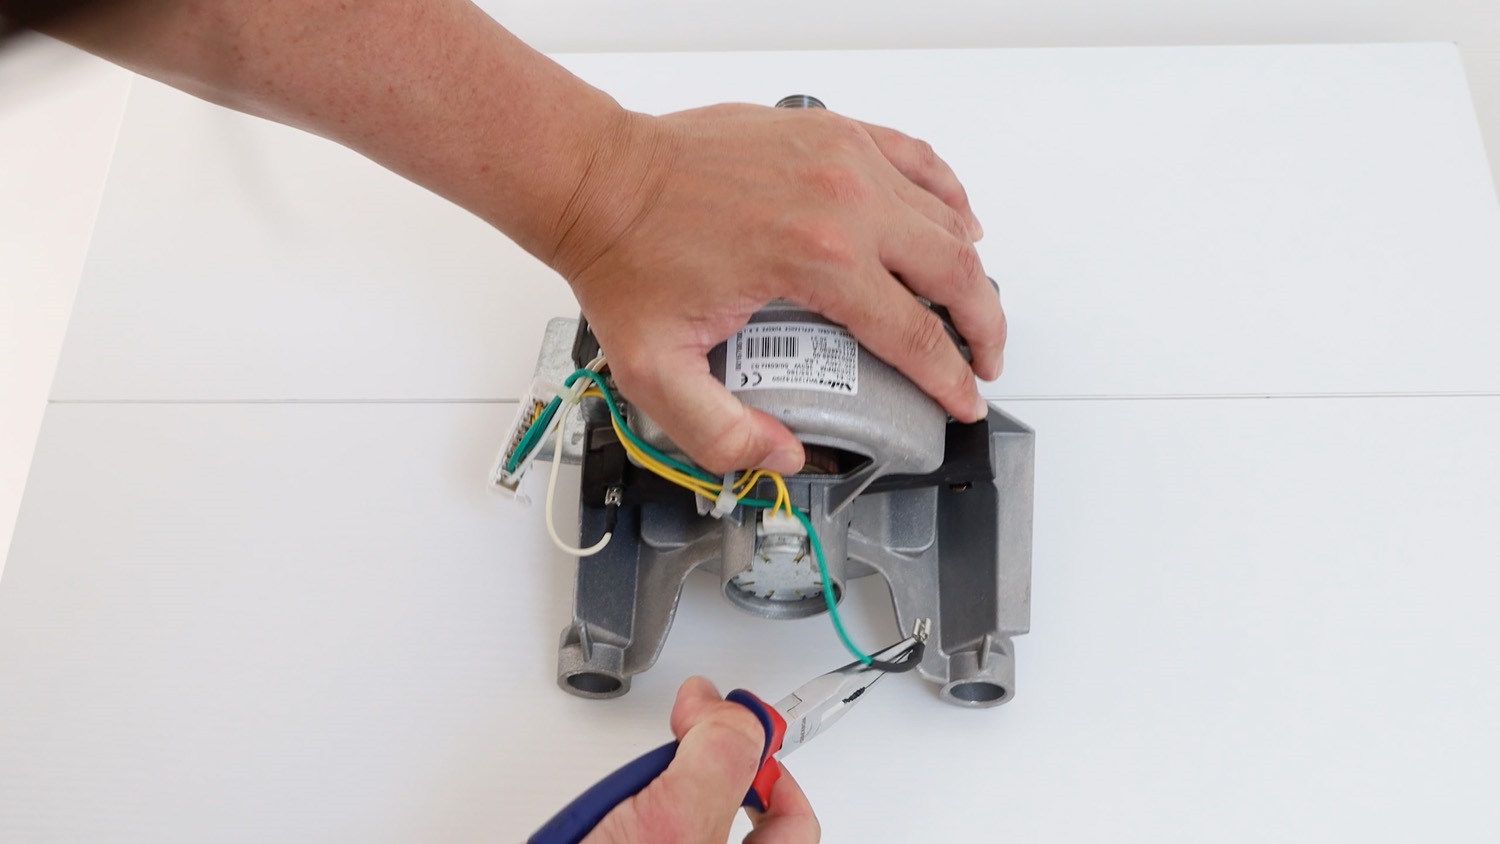
Disconnect the earth terminal with your long nose pliers or by hand.
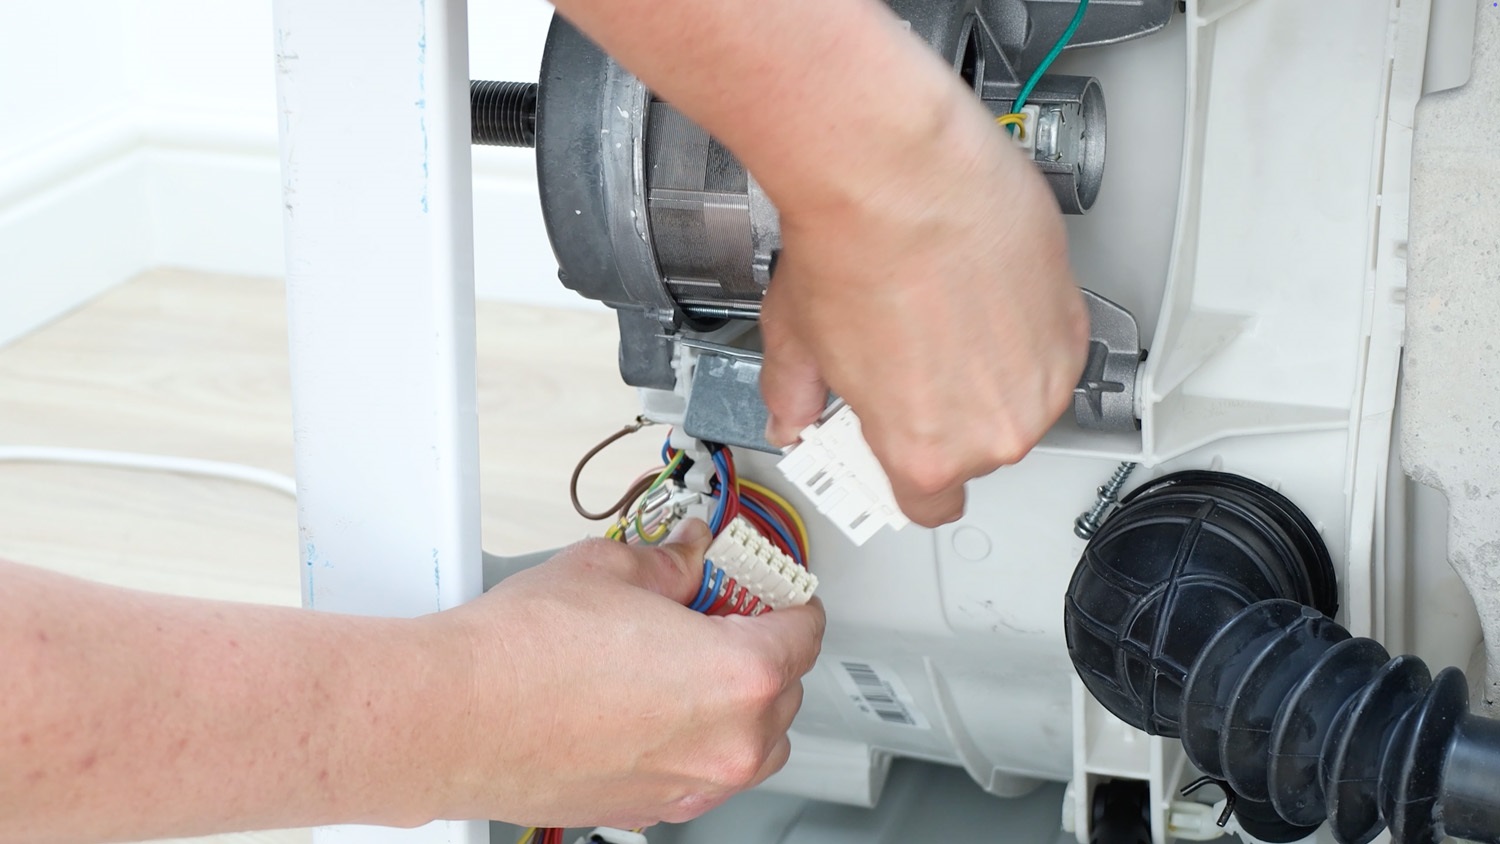
Remove the block connector.
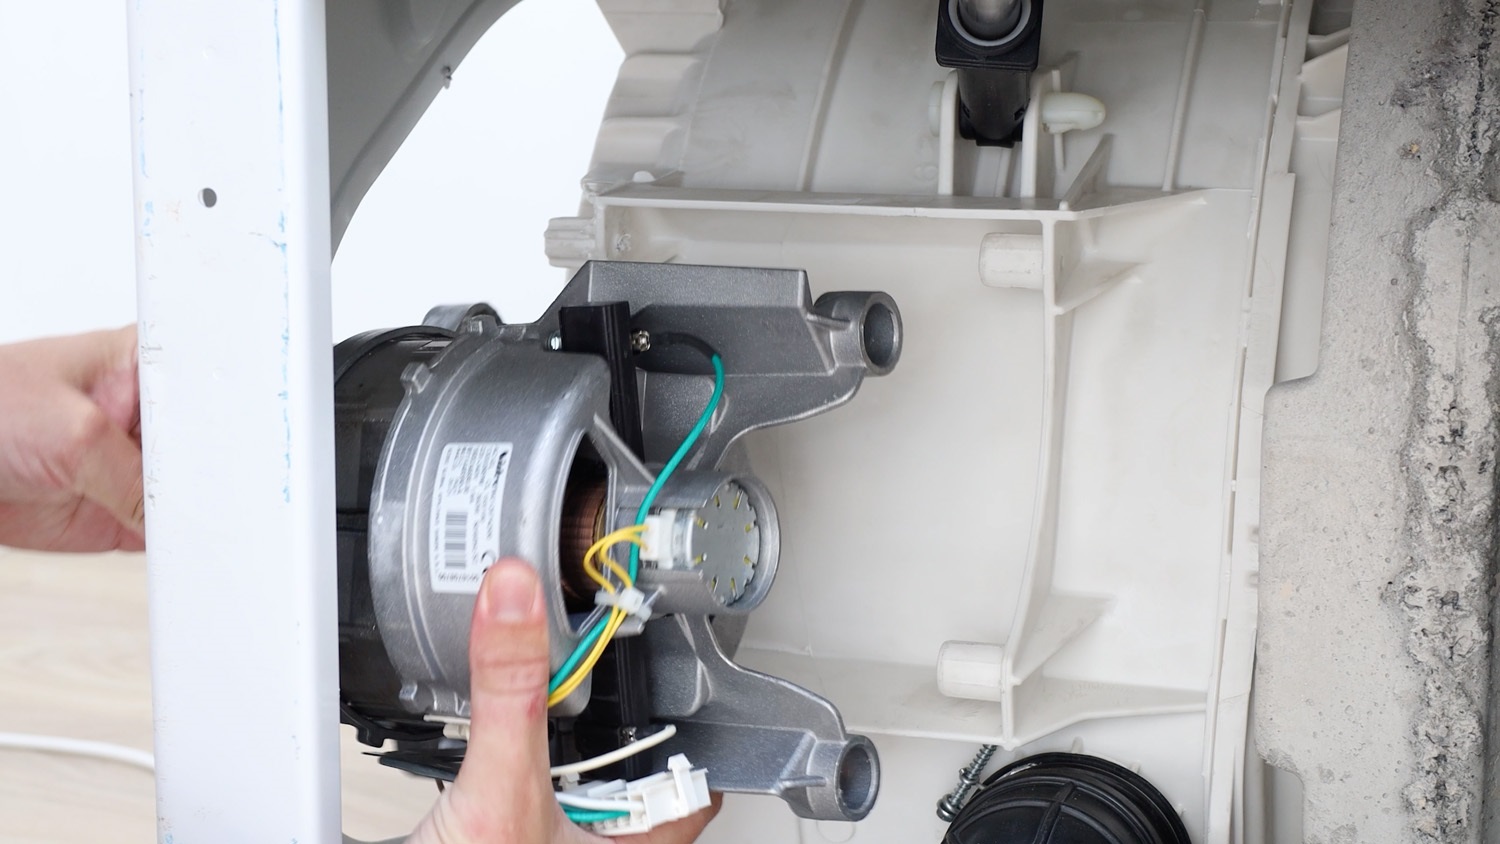
The motor unit should then slide out. It may be stuck if the metal tab at the bottom is caught on the washing machine drum.
2. Remove old carbon brushes
The carbon brushes are found here on each side. We’ll demonstrate on one, but the process is the same for either side.
Remove the connector from the carbon brush.
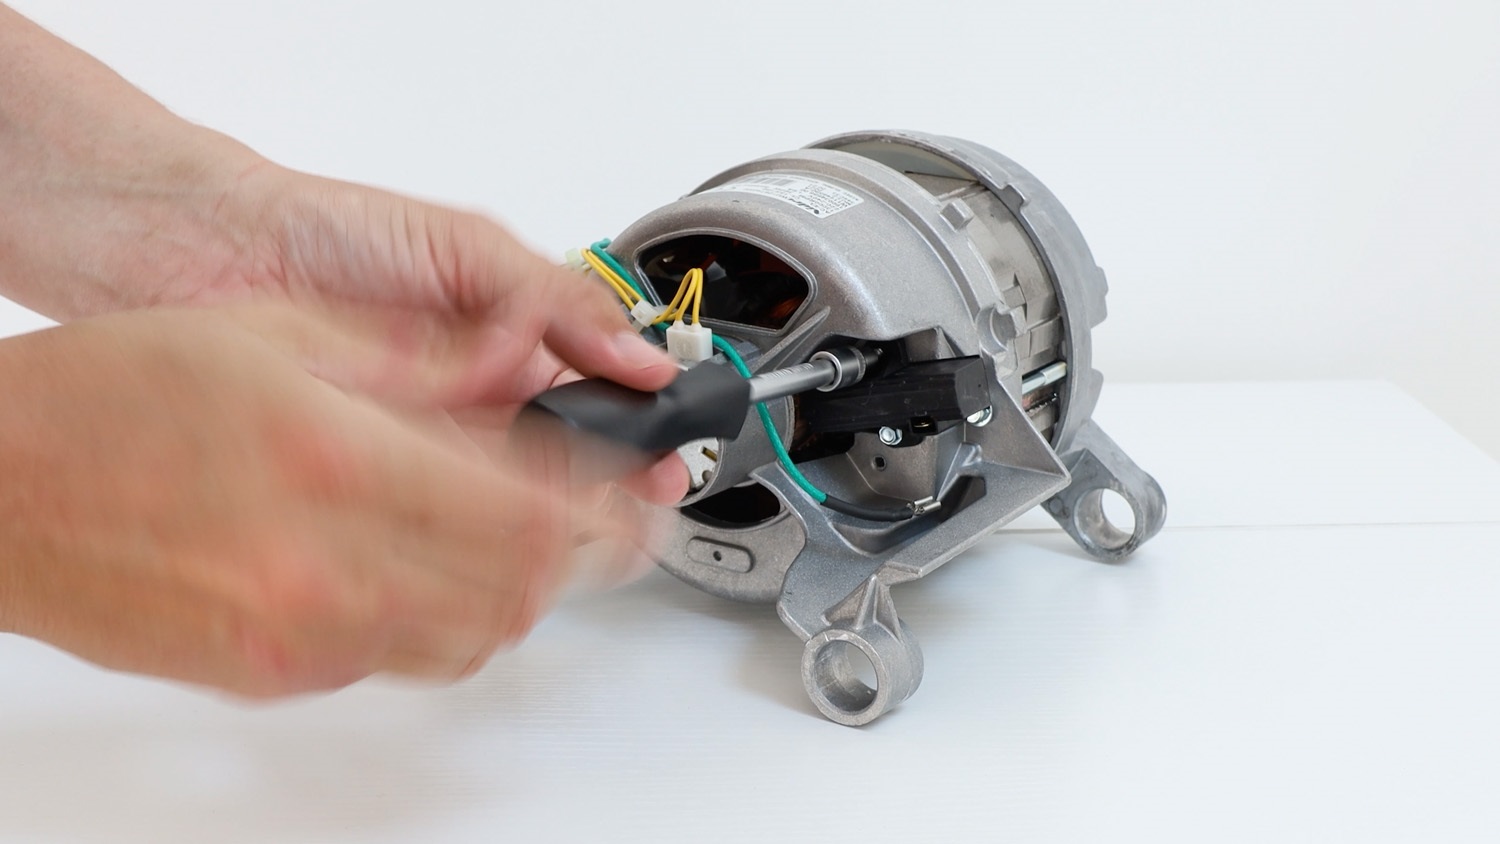
Remove the two 5.5mm bolts.
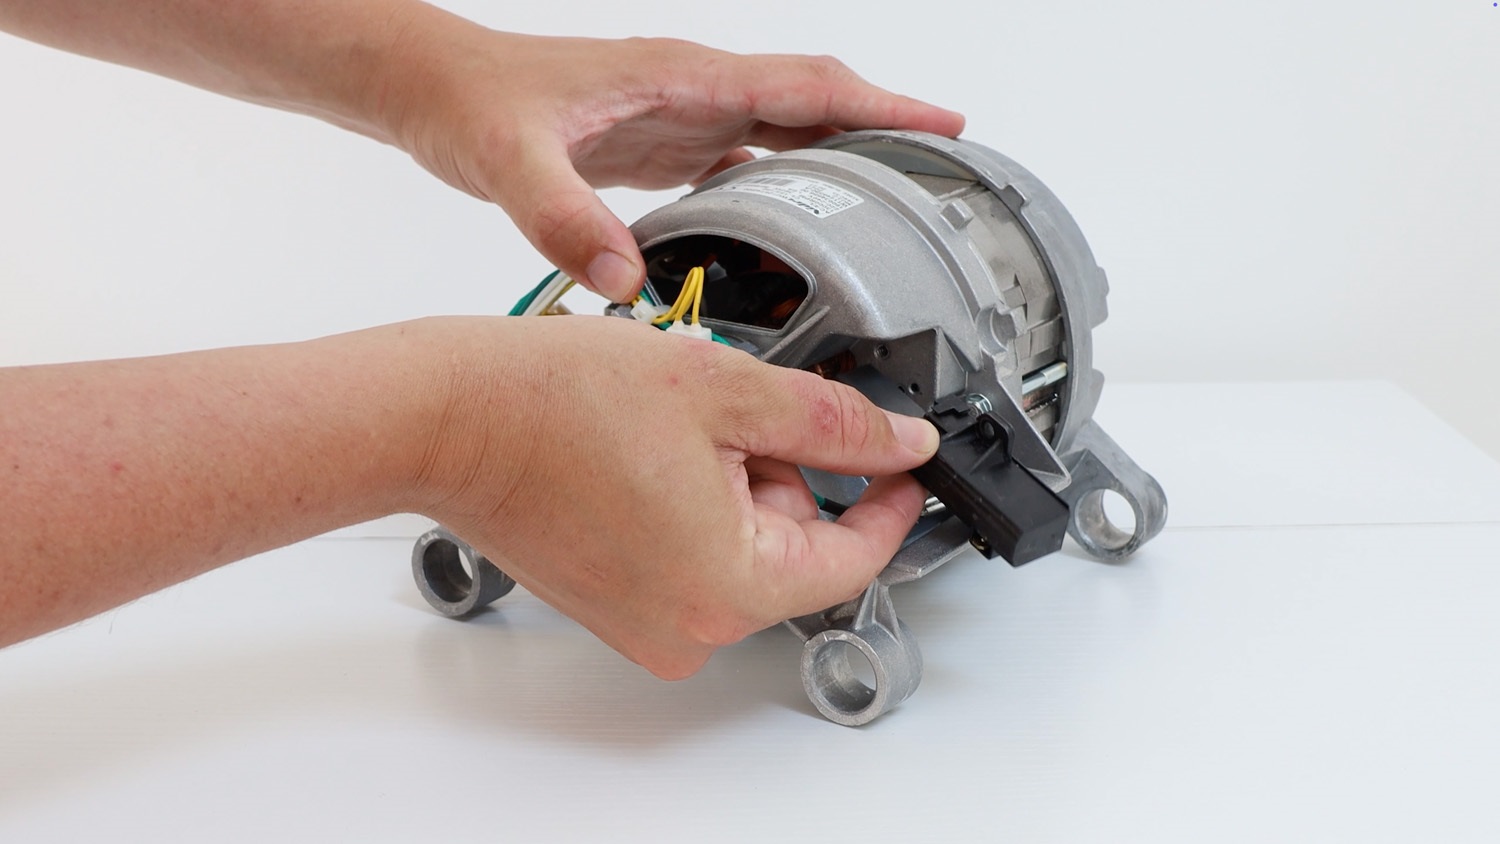
The old carbon brush can then be removed.
3. Install new carbon brushes
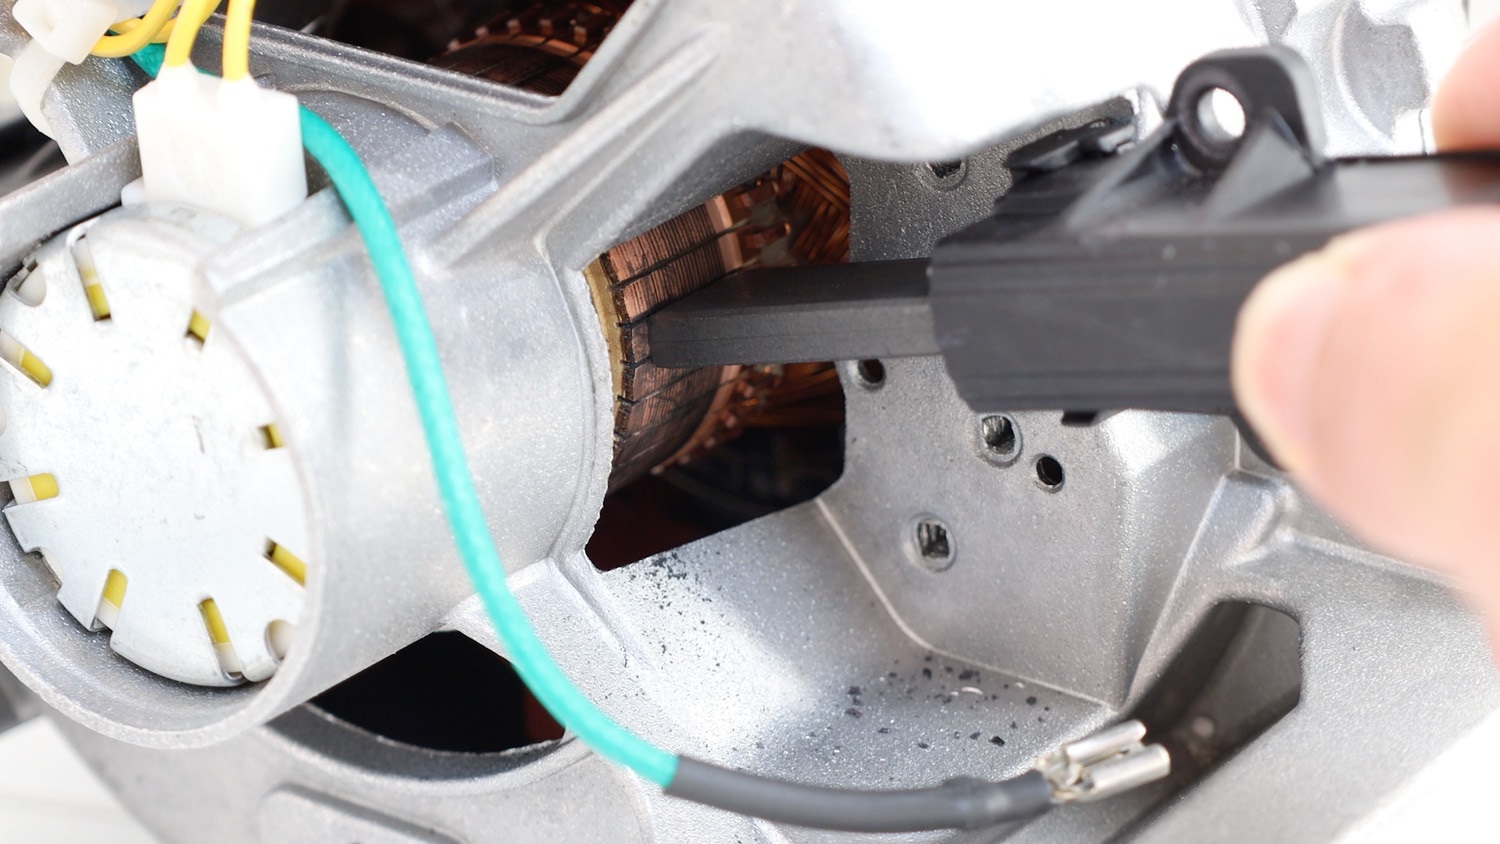
The brushes maintain constant contact with the commutator. This continuous contact ensures a consistent flow of electricity to the motor, enabling it to run. It’s why, over time, they need to be replaced after they’ve worn down.
Unpackage new carbon brushes.
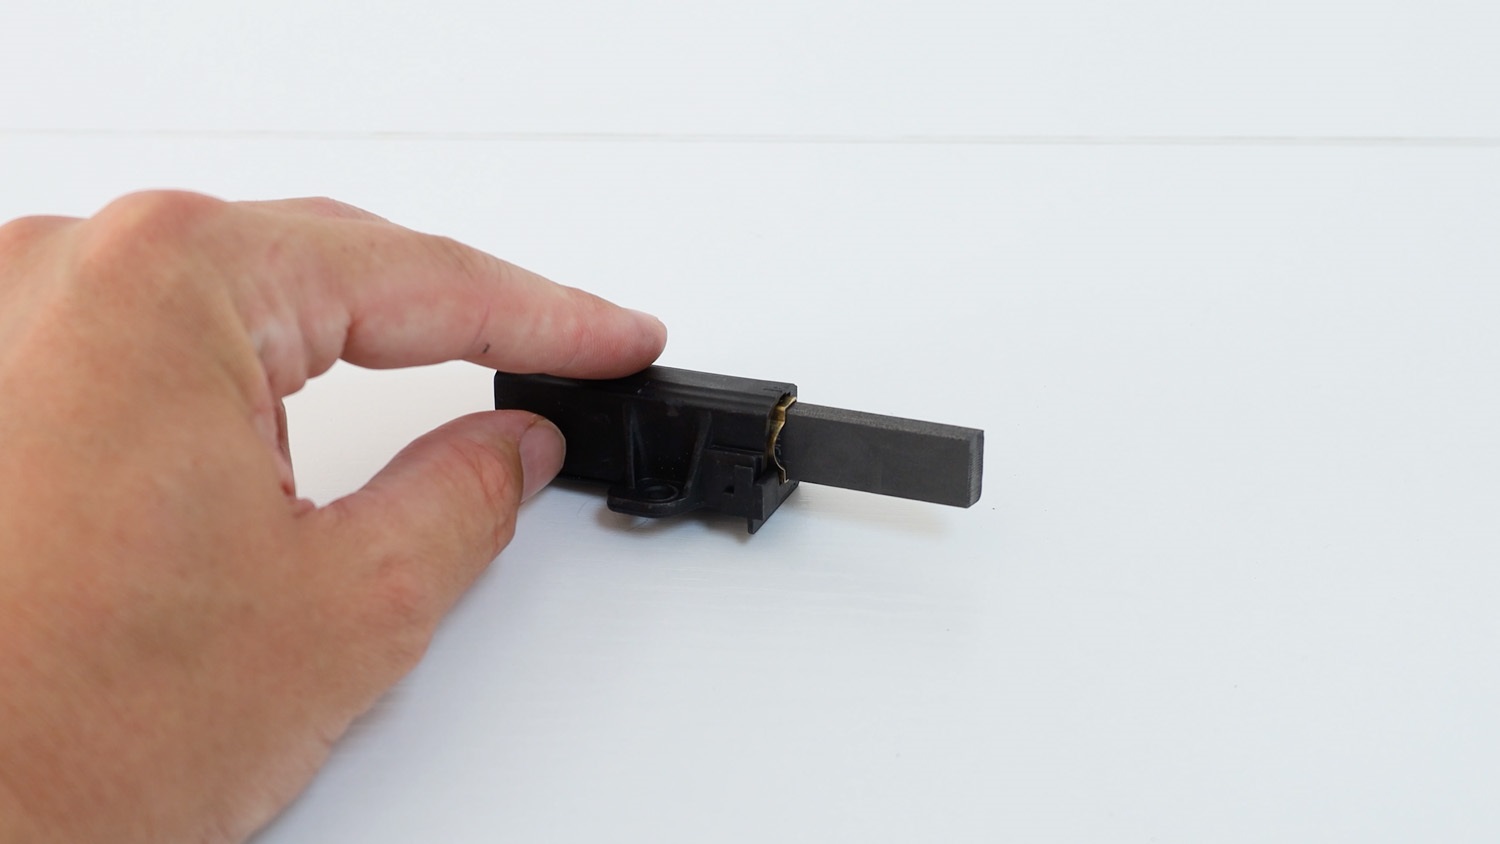
Attach your new carbon brushes, making sure it’s the same way as the one removed.
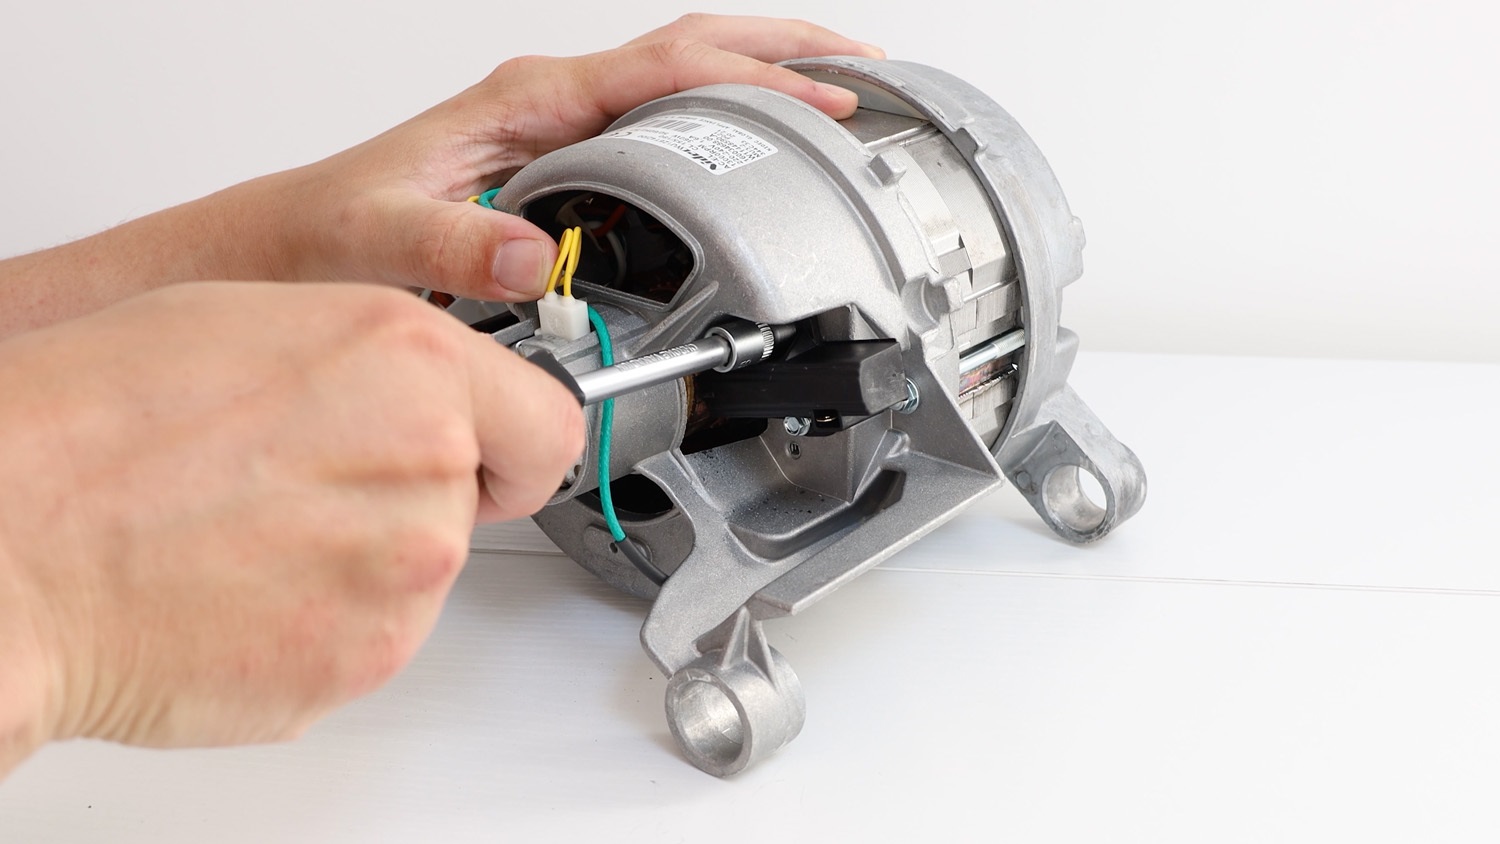
Screw the bolts back in place.
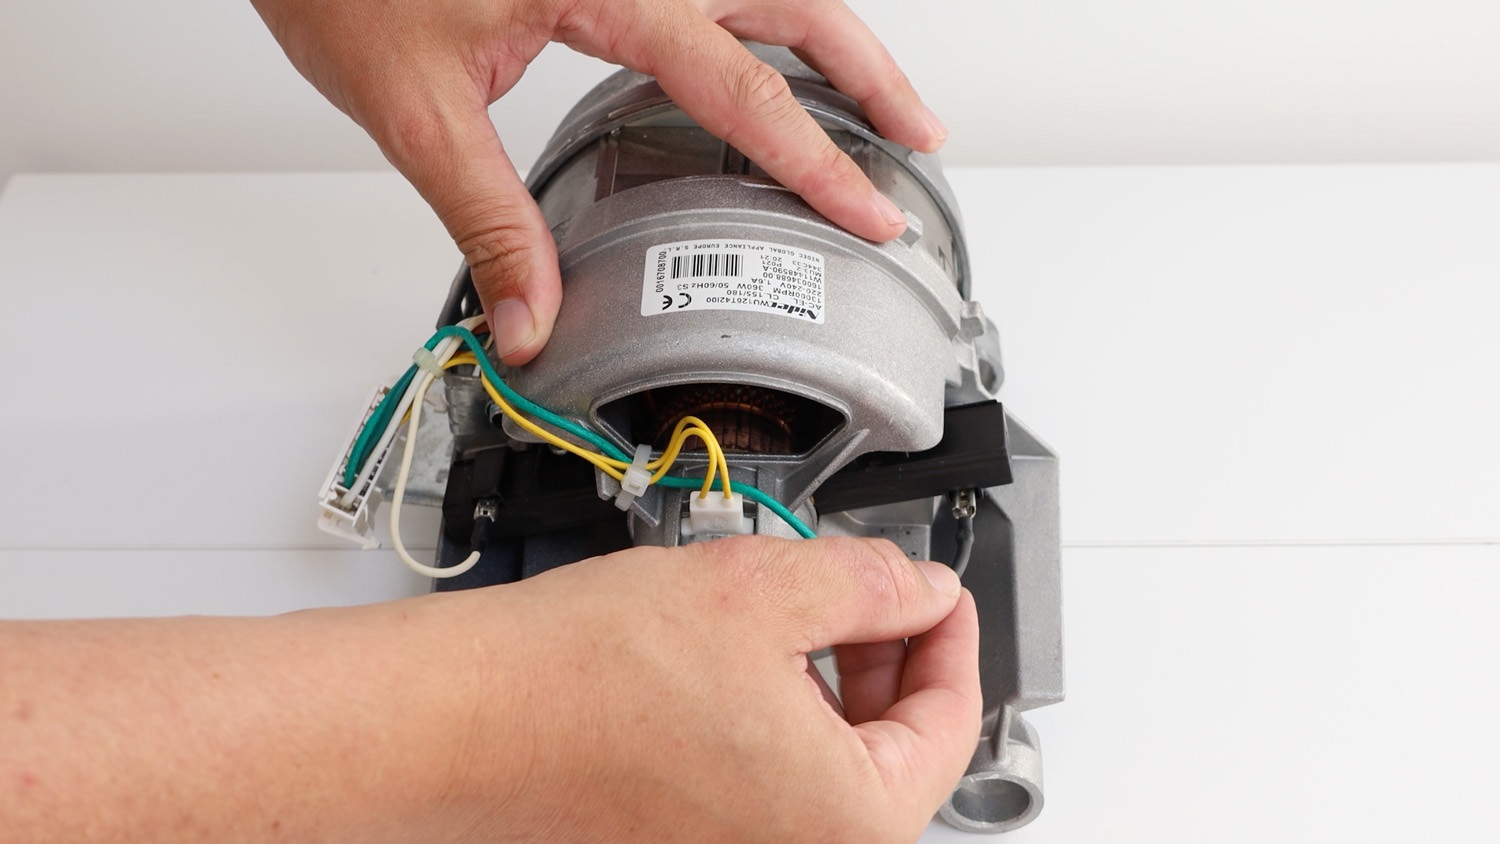
Attach the electrical connector.
4. Re-assemble washing machine
Re-insert the motor unit back in the washing machine.
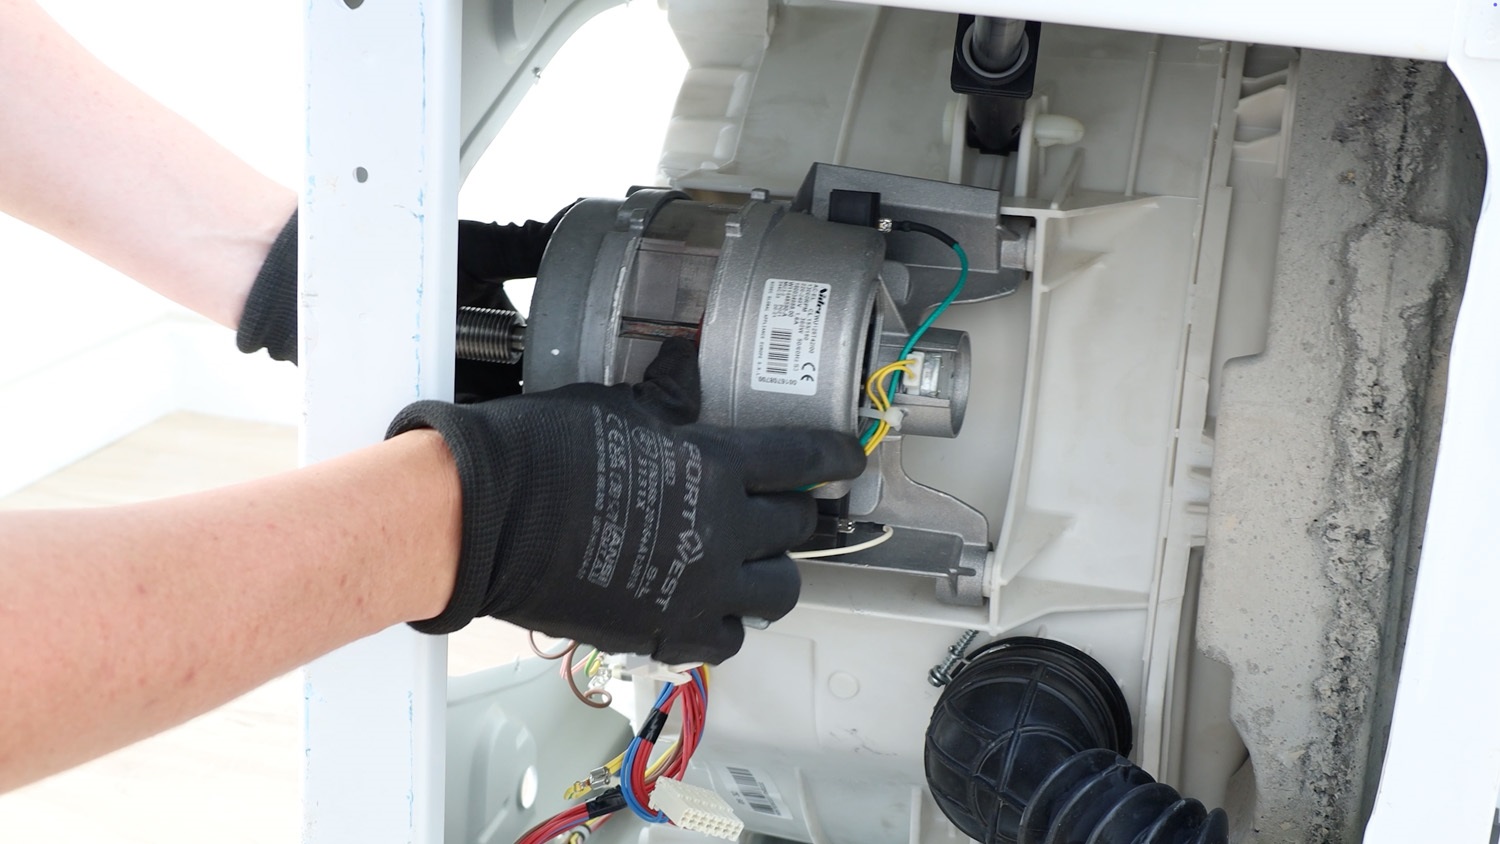
Re-attach wiring, connector and bolts
Re-attach the earth wire.
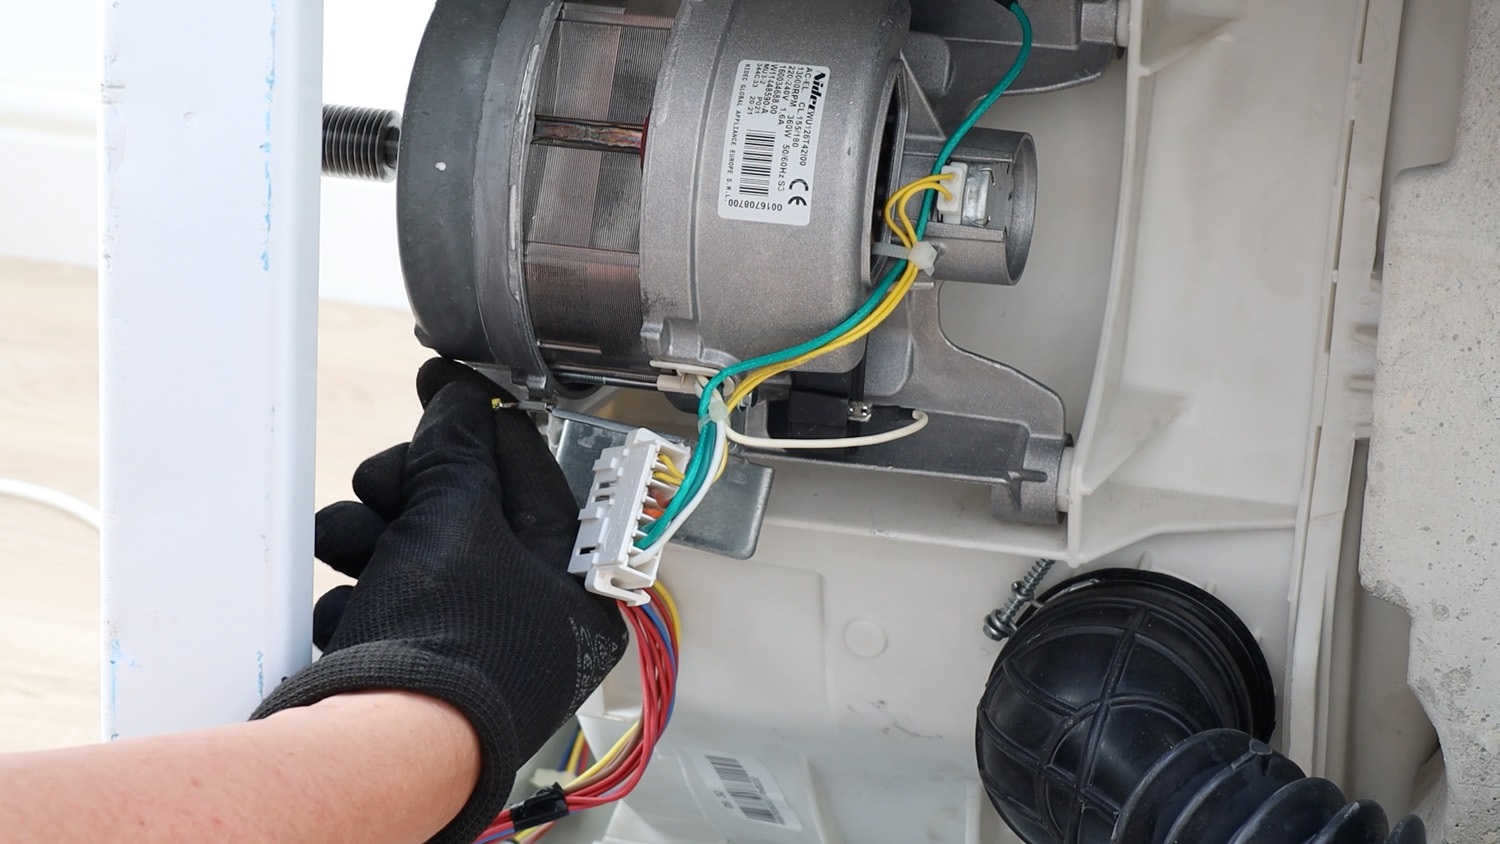
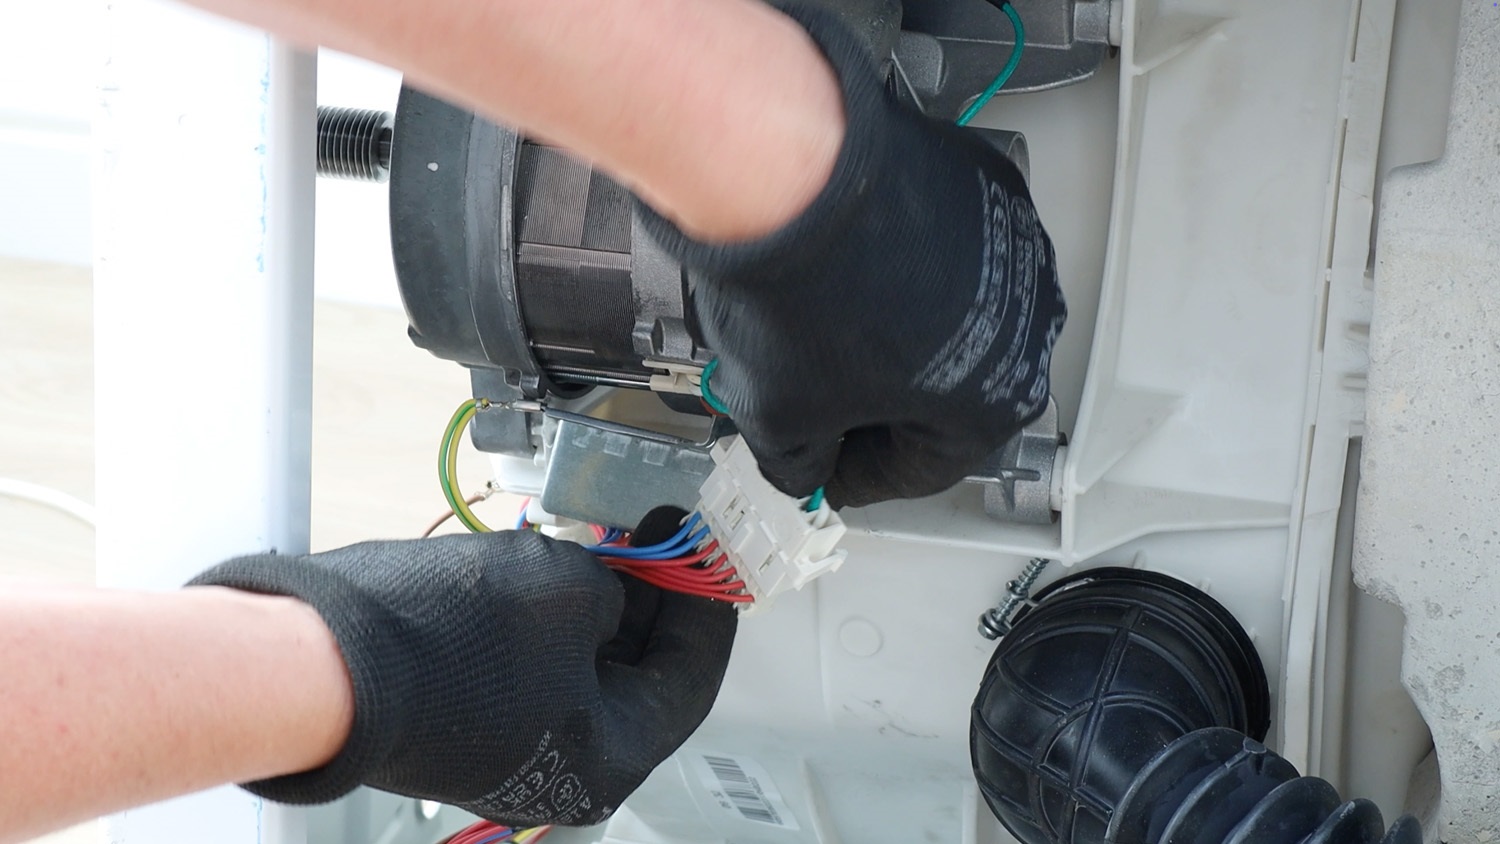
Re-connect the block connector.
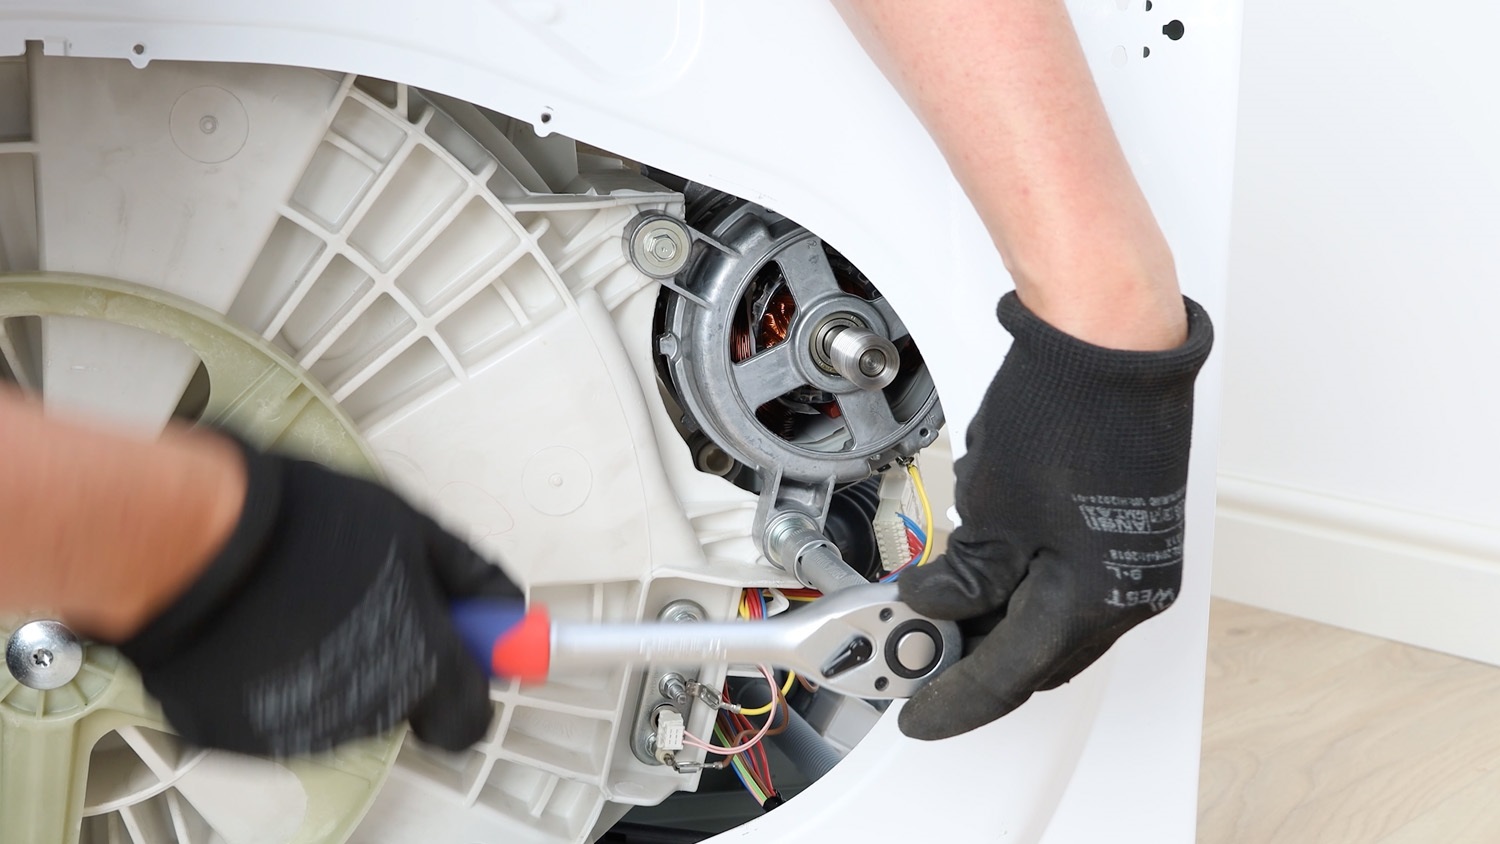
Re-insert the 10mm bolts and tighten with your ratchet or socket tool.
Re-attach belt
To re-install your belt, attach it to the motor spindle with the ridge side facing up.
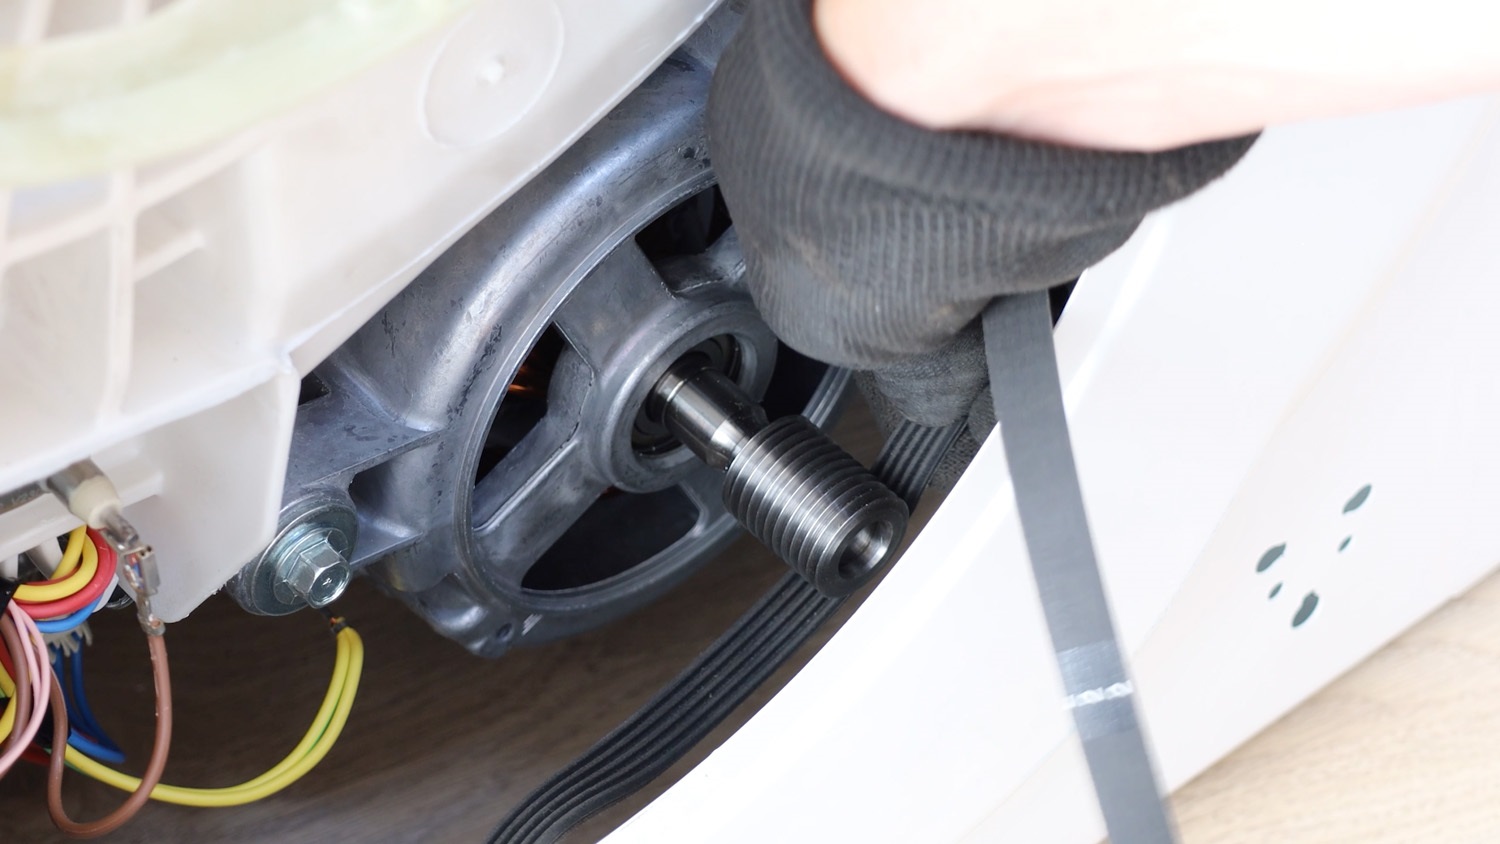
Start off by attaching the belt to the pulley on the side where the motor spindle is. Here, it’s the right side.
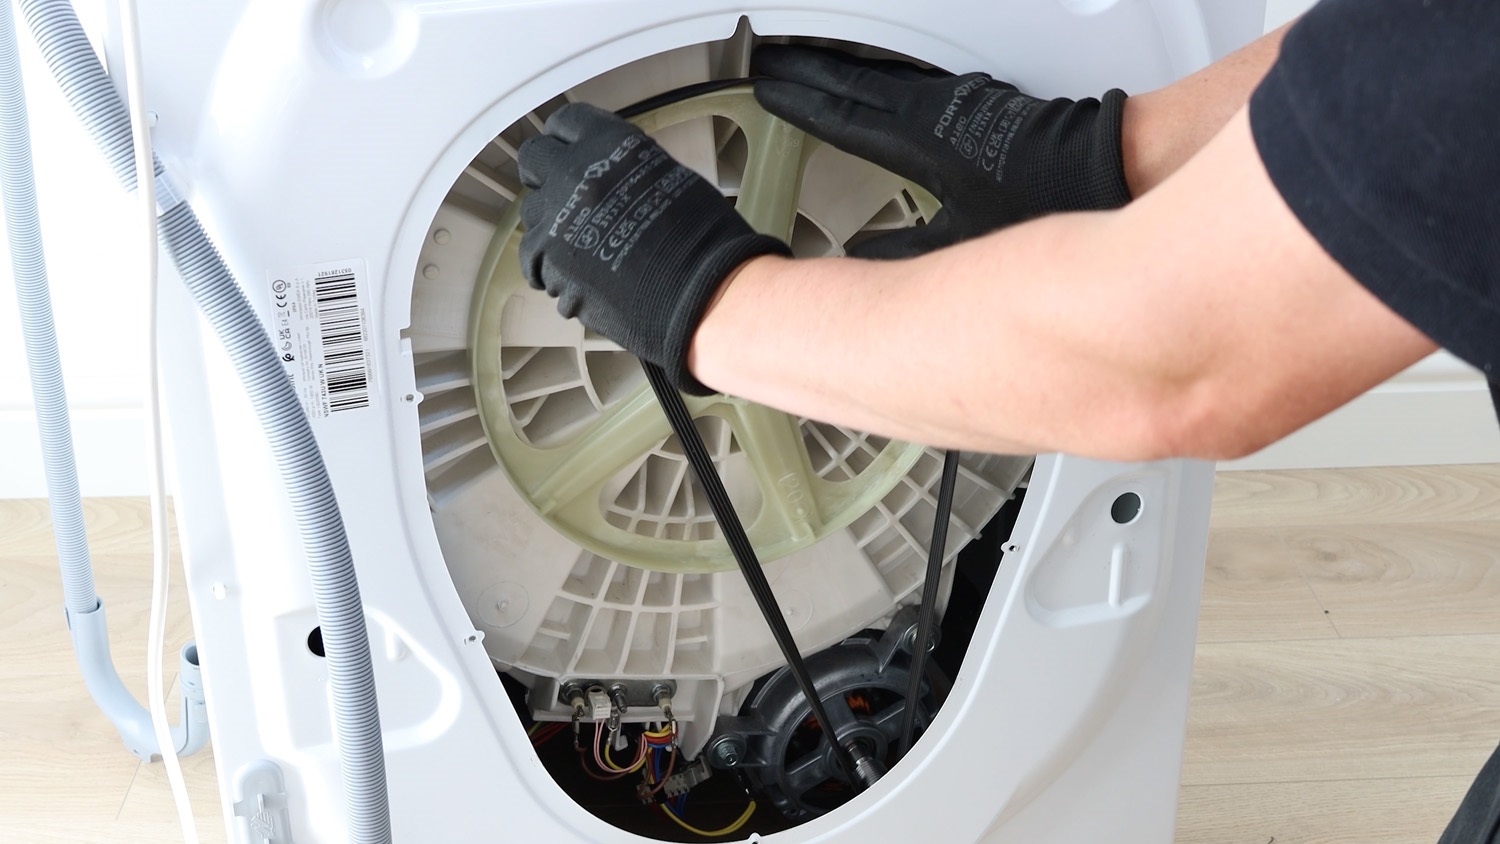
Then, begin to turn the pulley and feed the belt on.
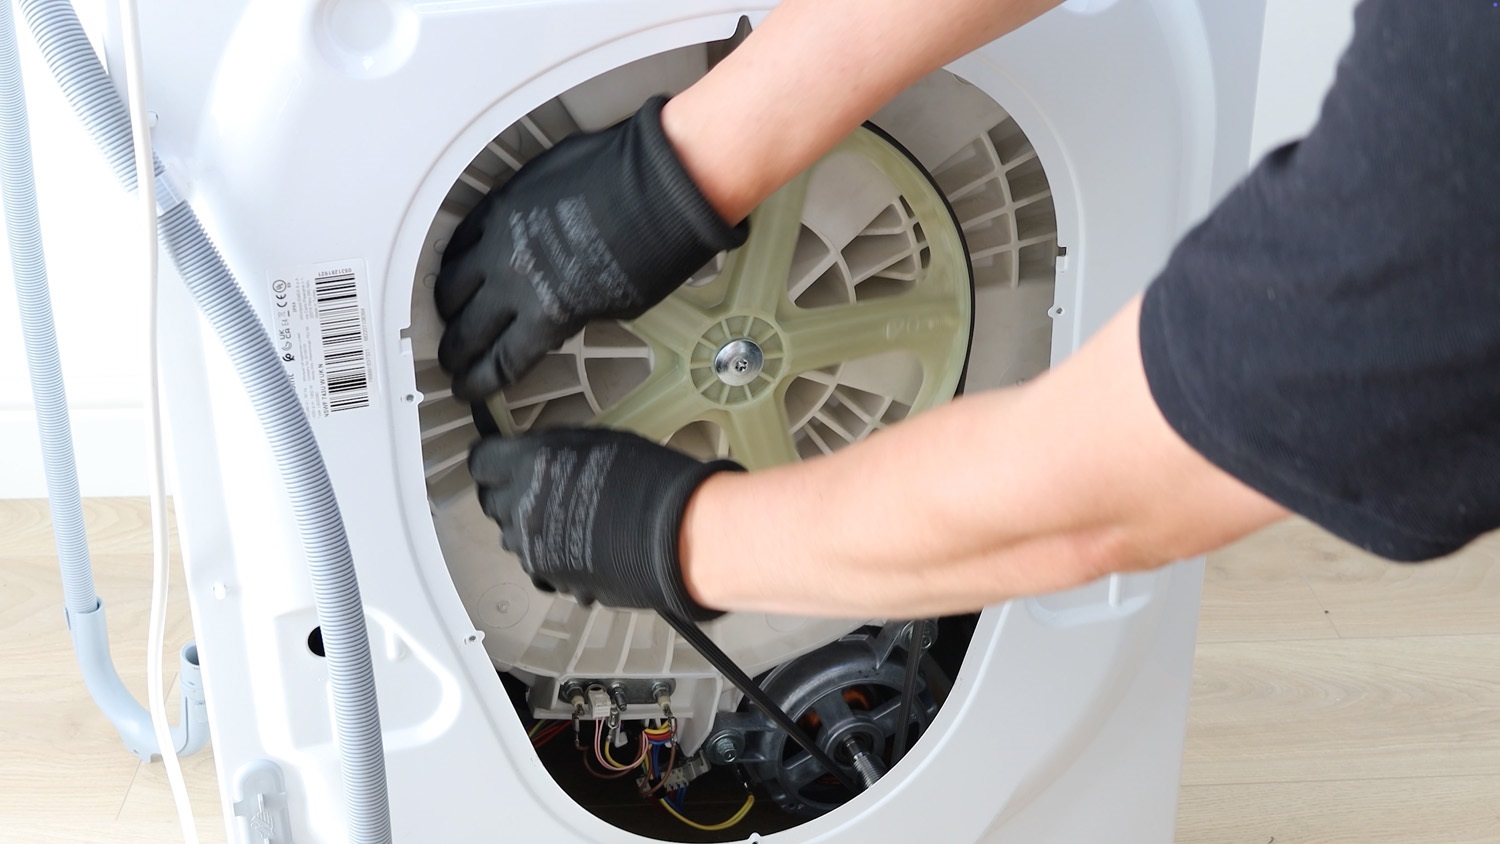
Spin the pulley wheel to make sure the belt is on correctly.
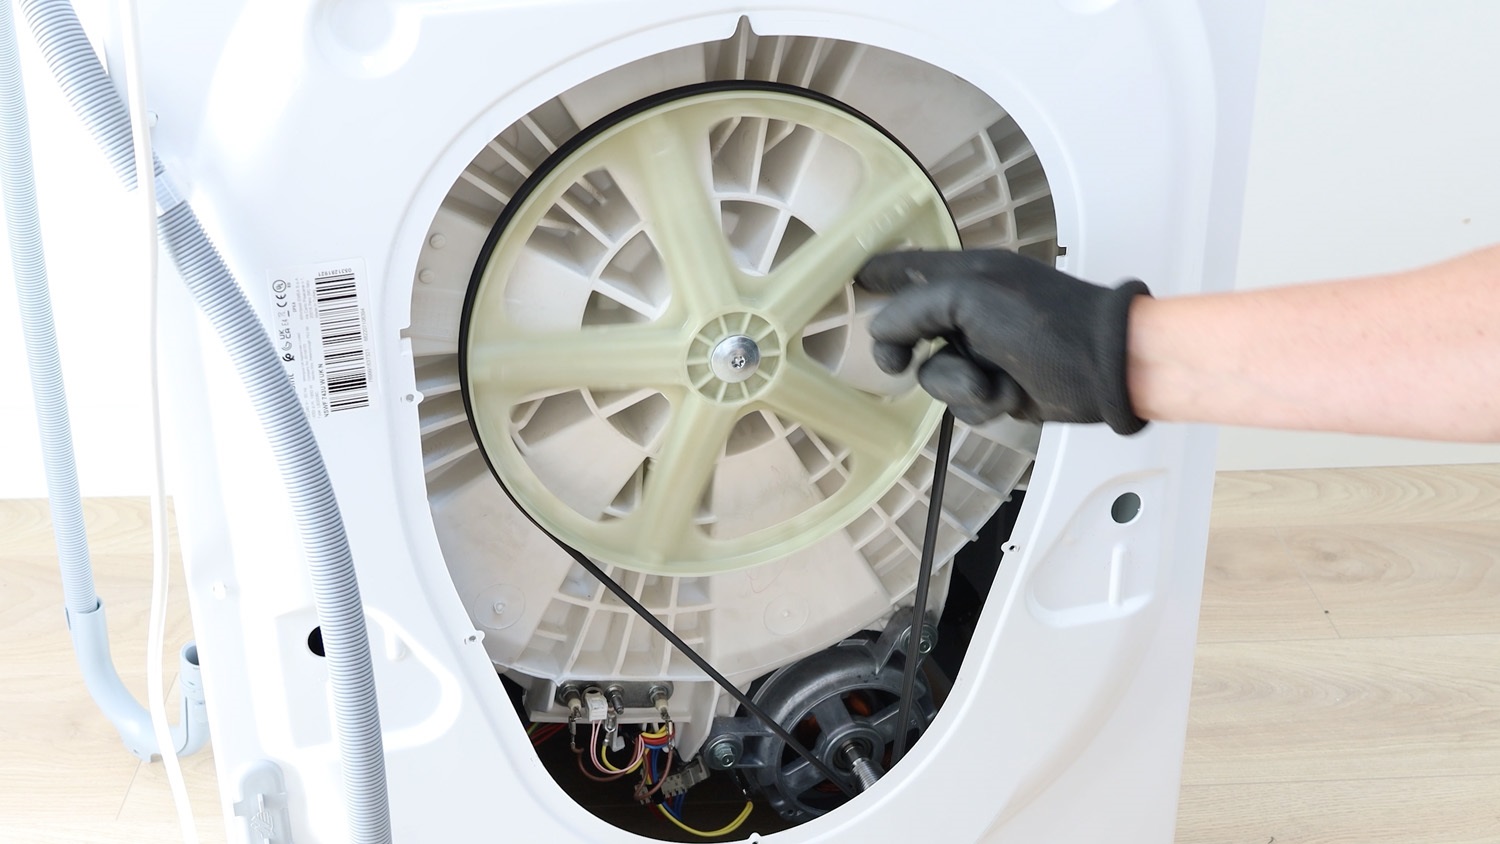
Re-attach rear panel and screws
Slide the rear panel in place.
Re-screw all of the screws back in place.
And that’s it, your new washing machine carbon brushes are all set to go!