1. Access old water inlet valve
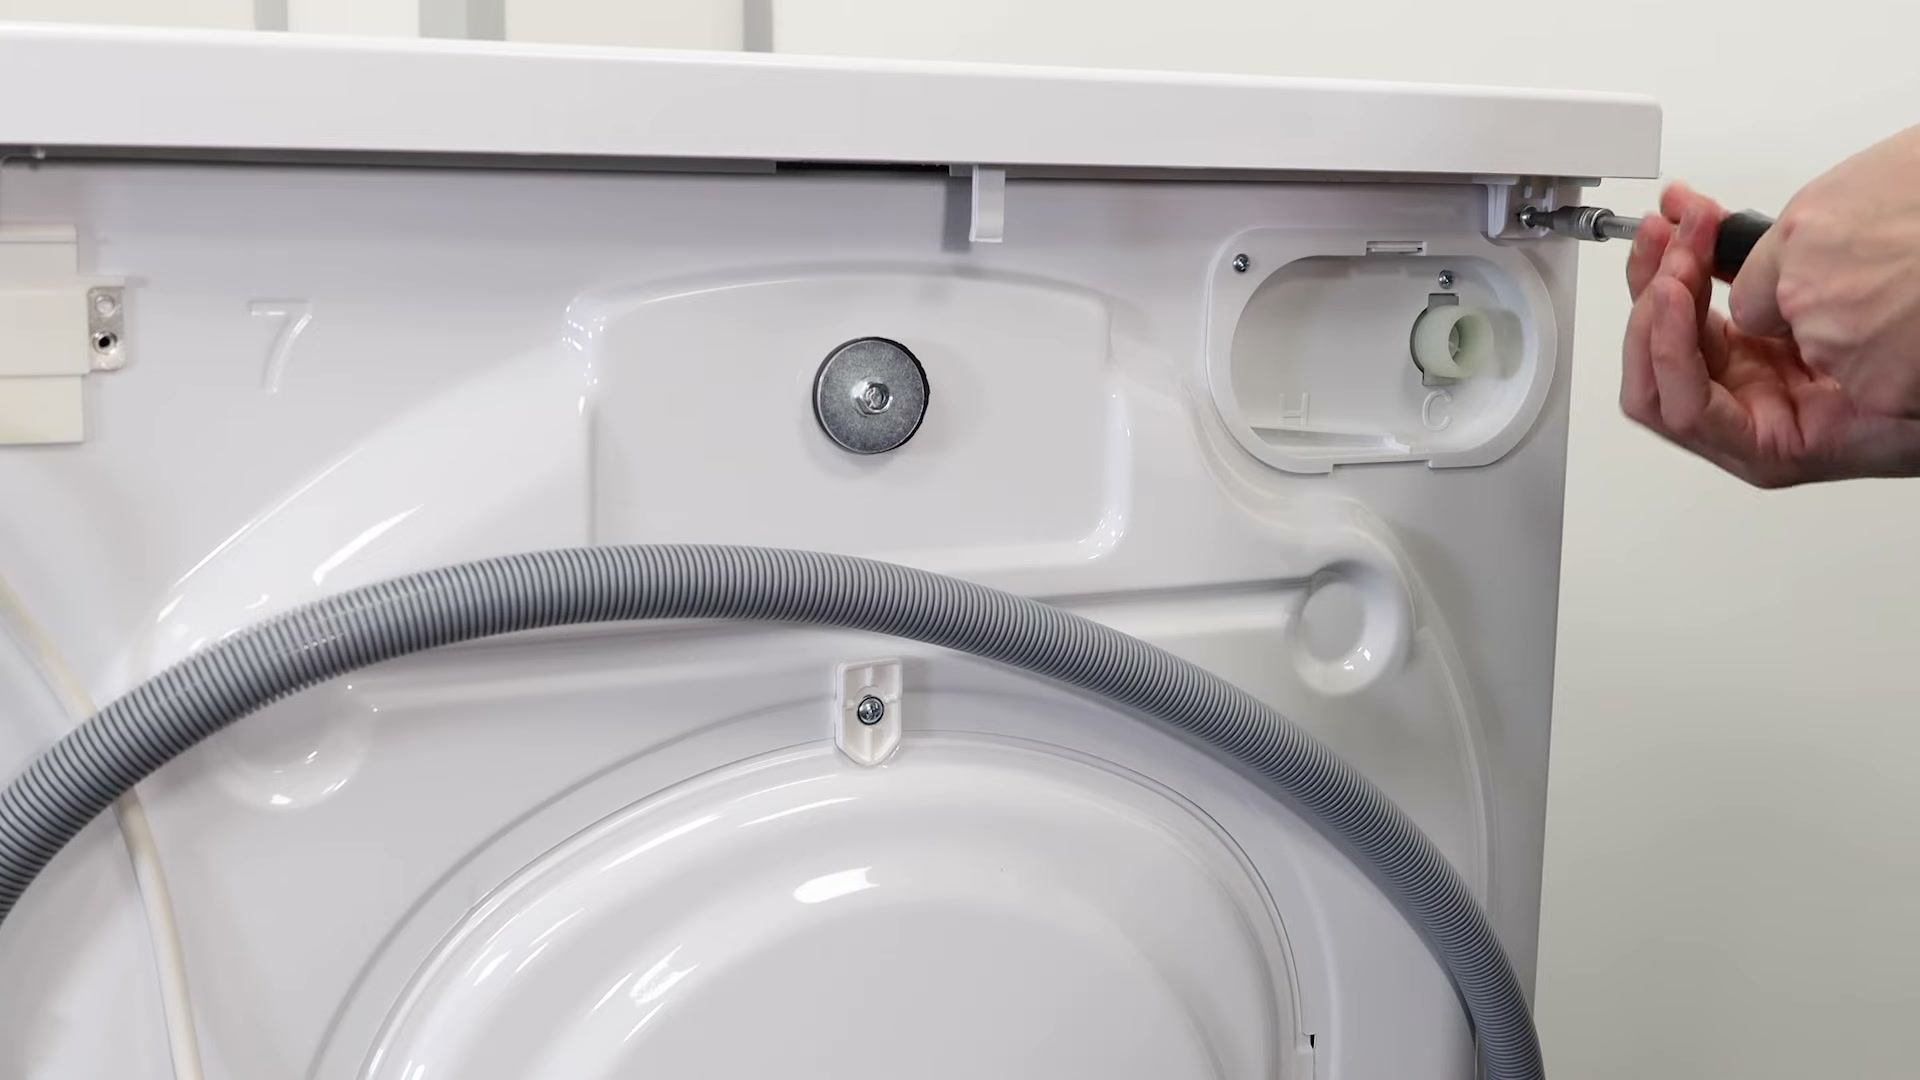
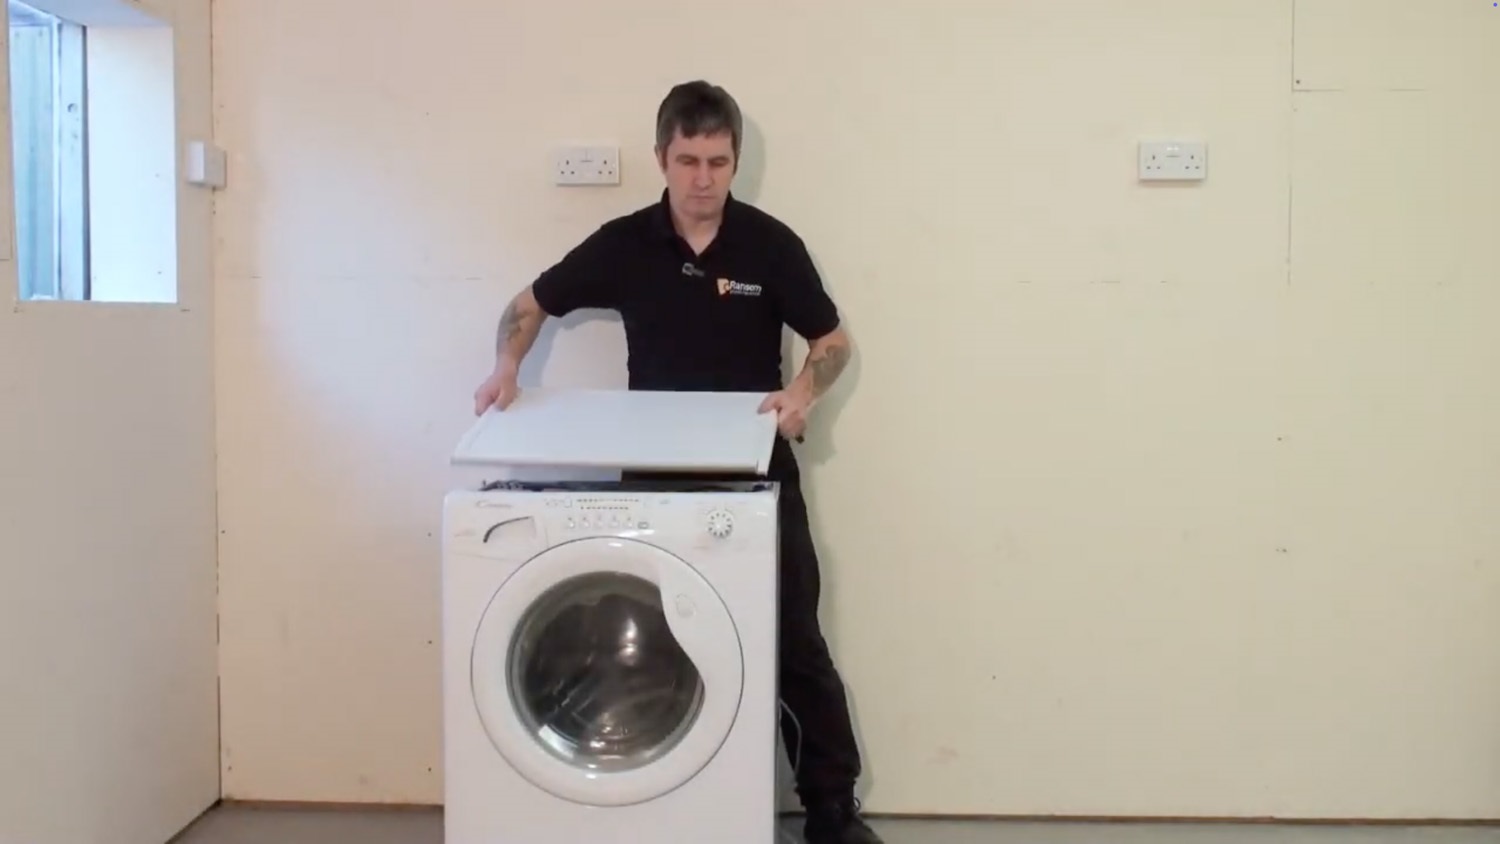
Firstly, using your Phillips screwdriver remove the three screws at the rear of the washing machine.
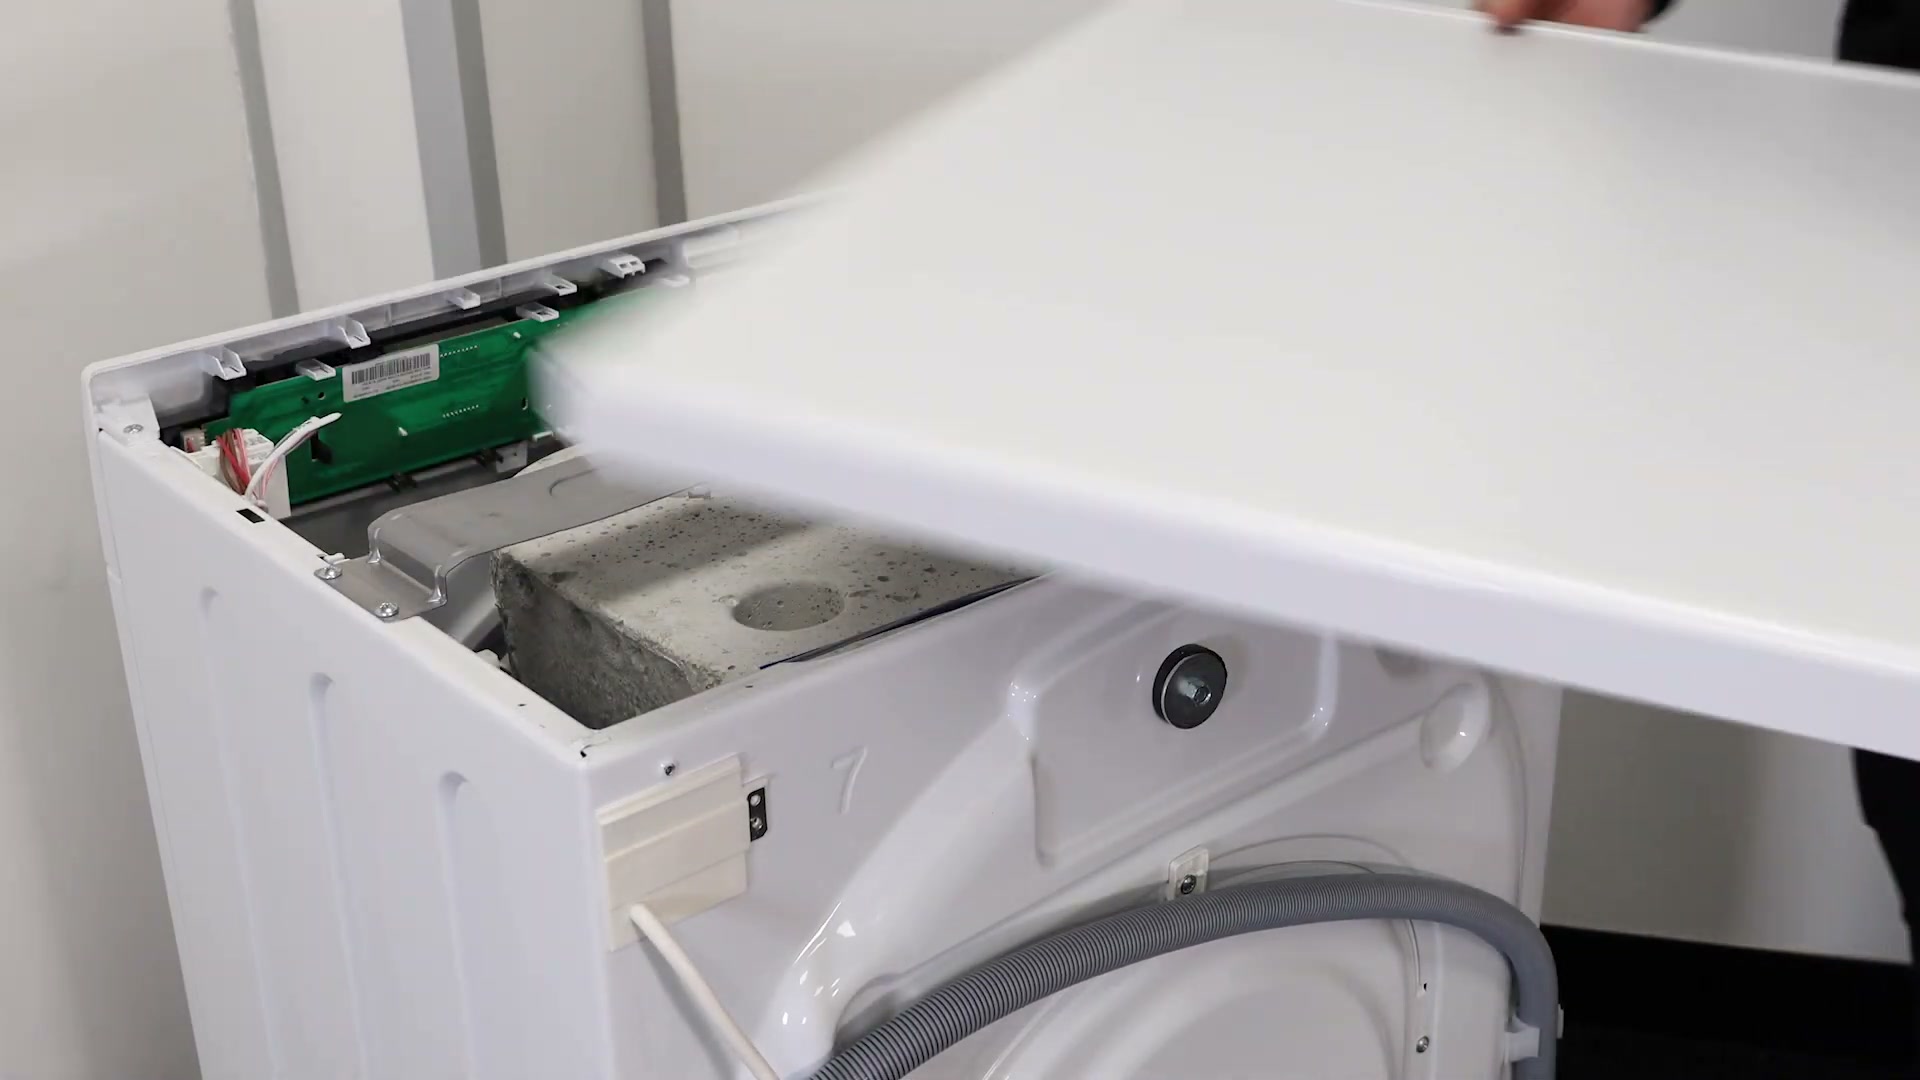
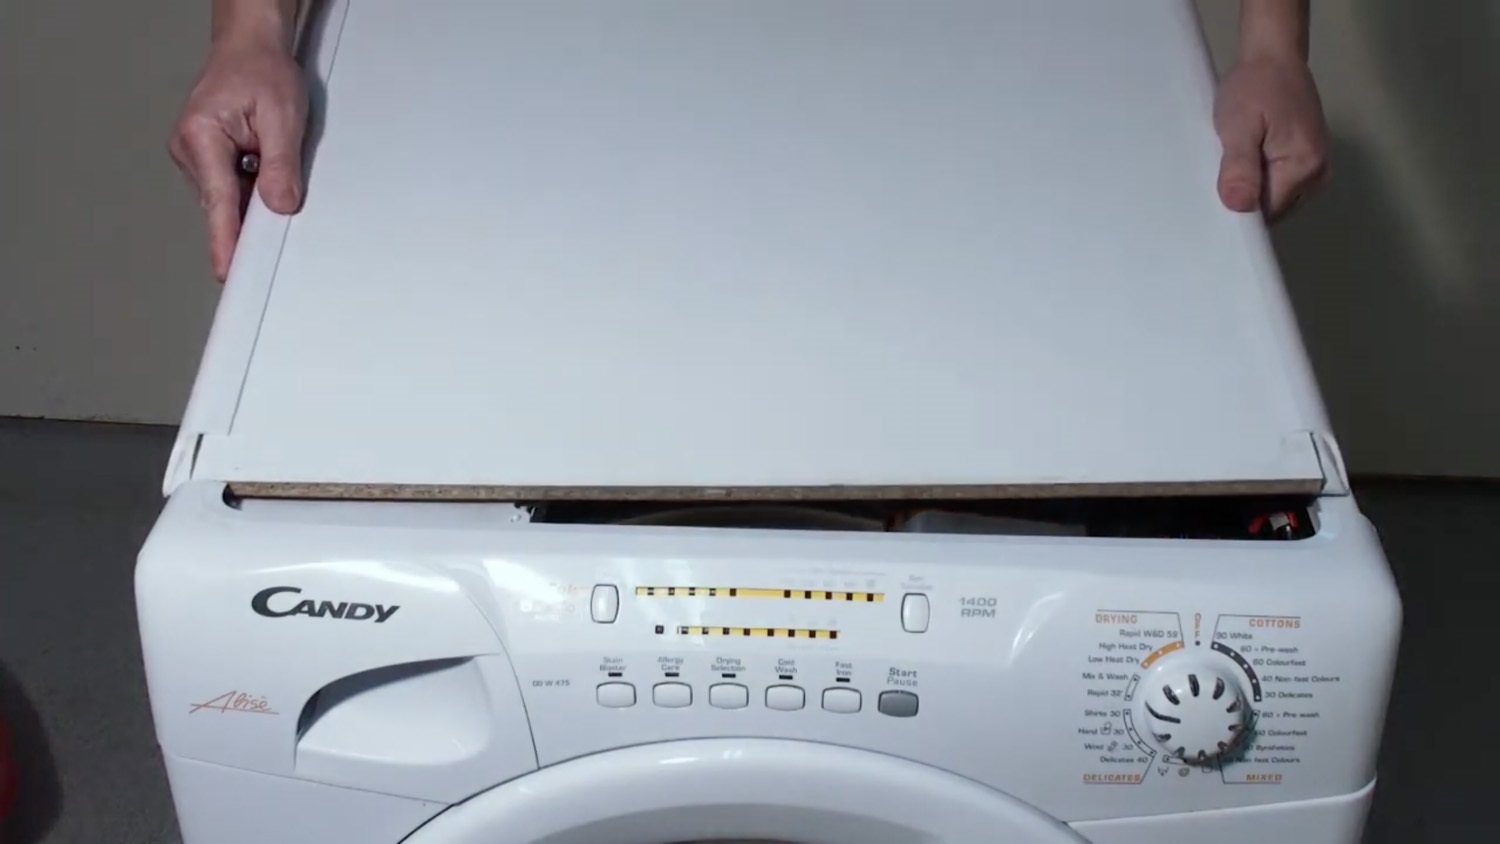
Remove the lid and place to one side.
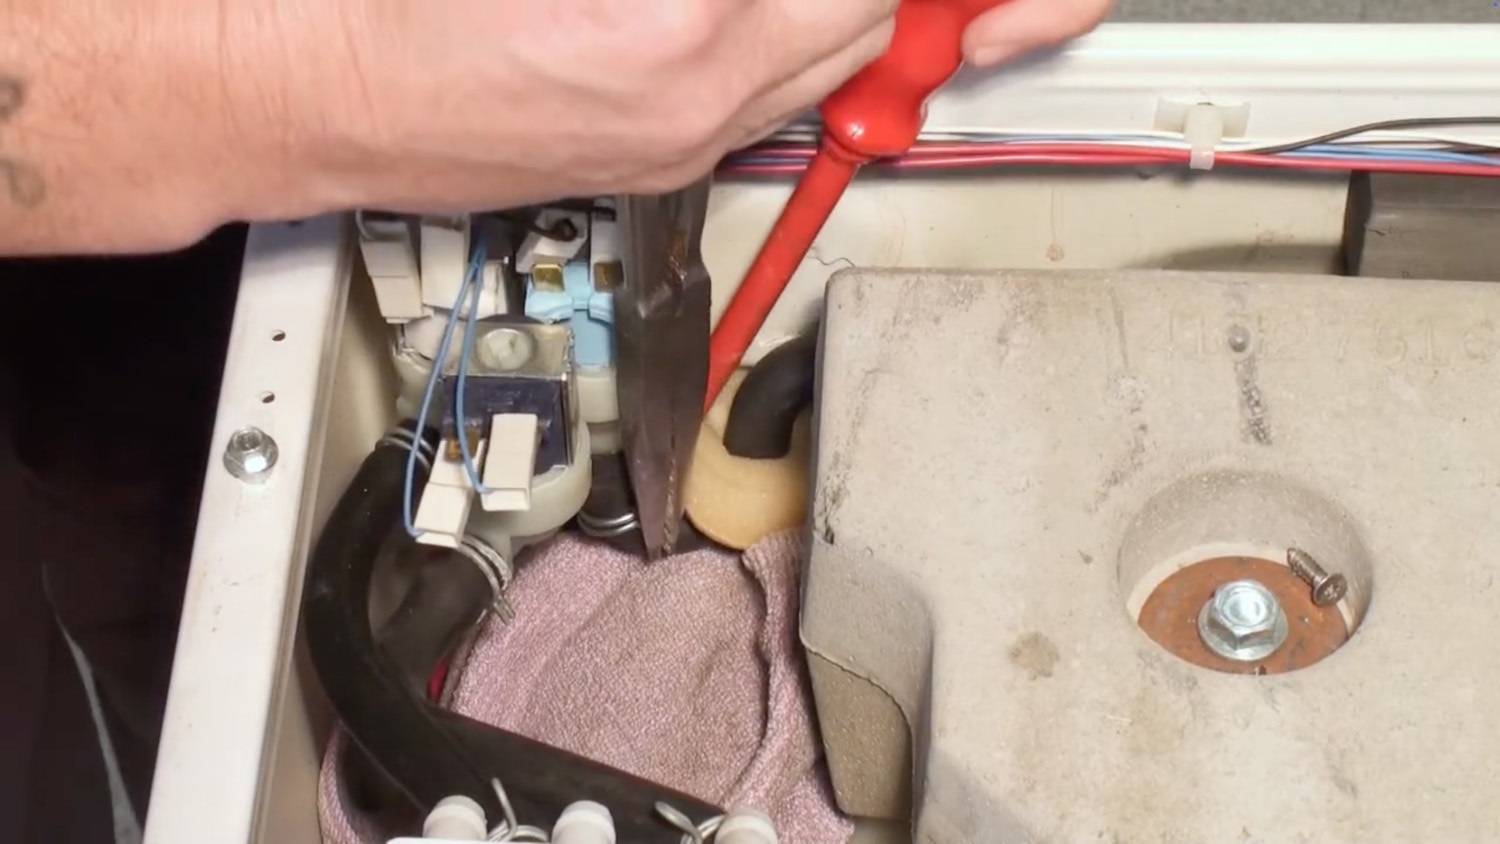
Before removing any electrical connections, take a photo to reference to later. Then disconnect the connectors (in white) using your flathead screwdriver.
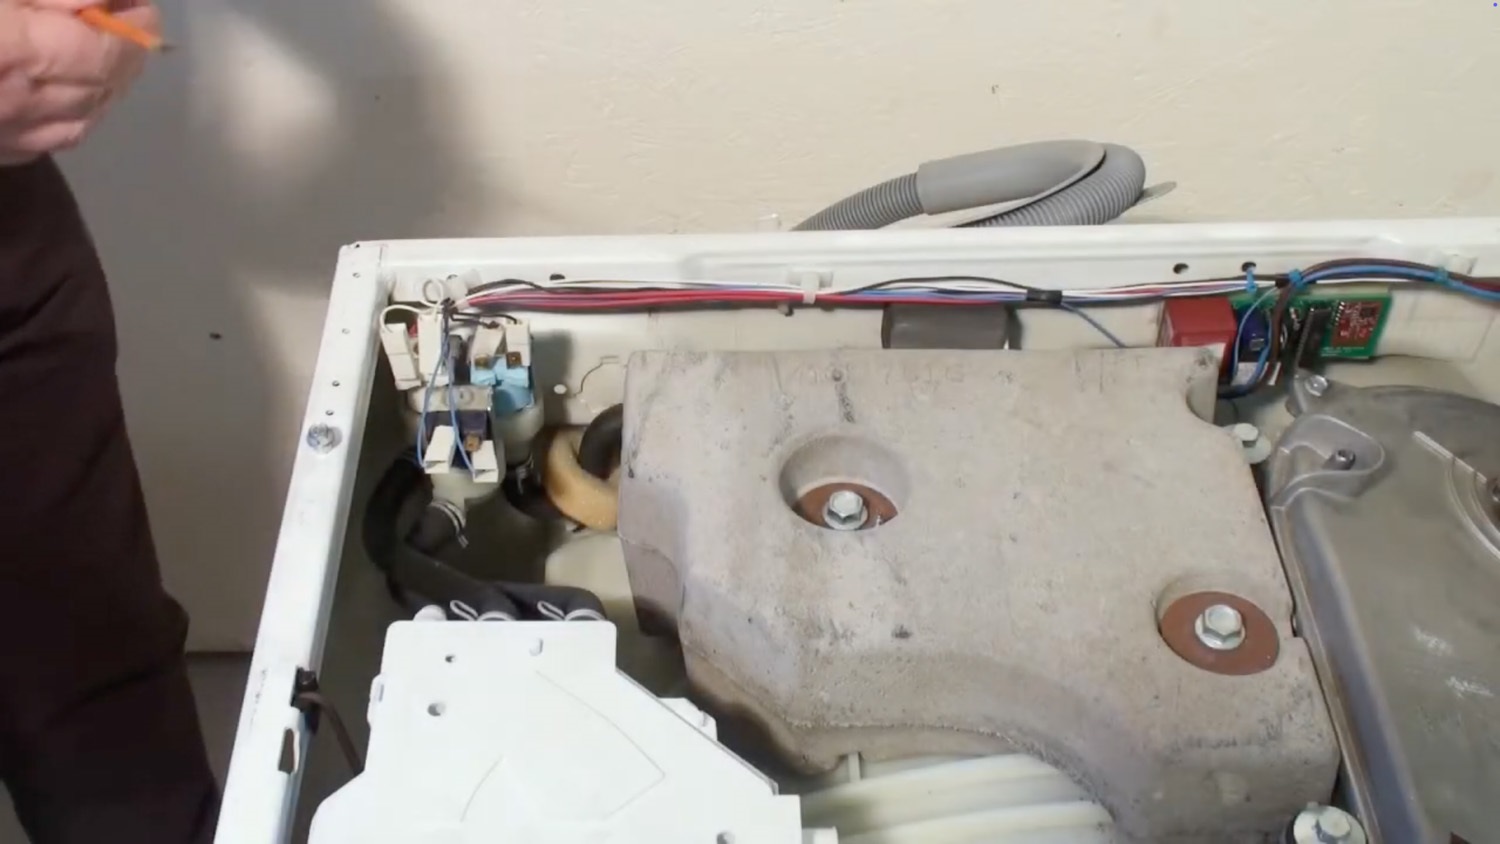
Place a cloth underneath the inlet hoses to catch any water.
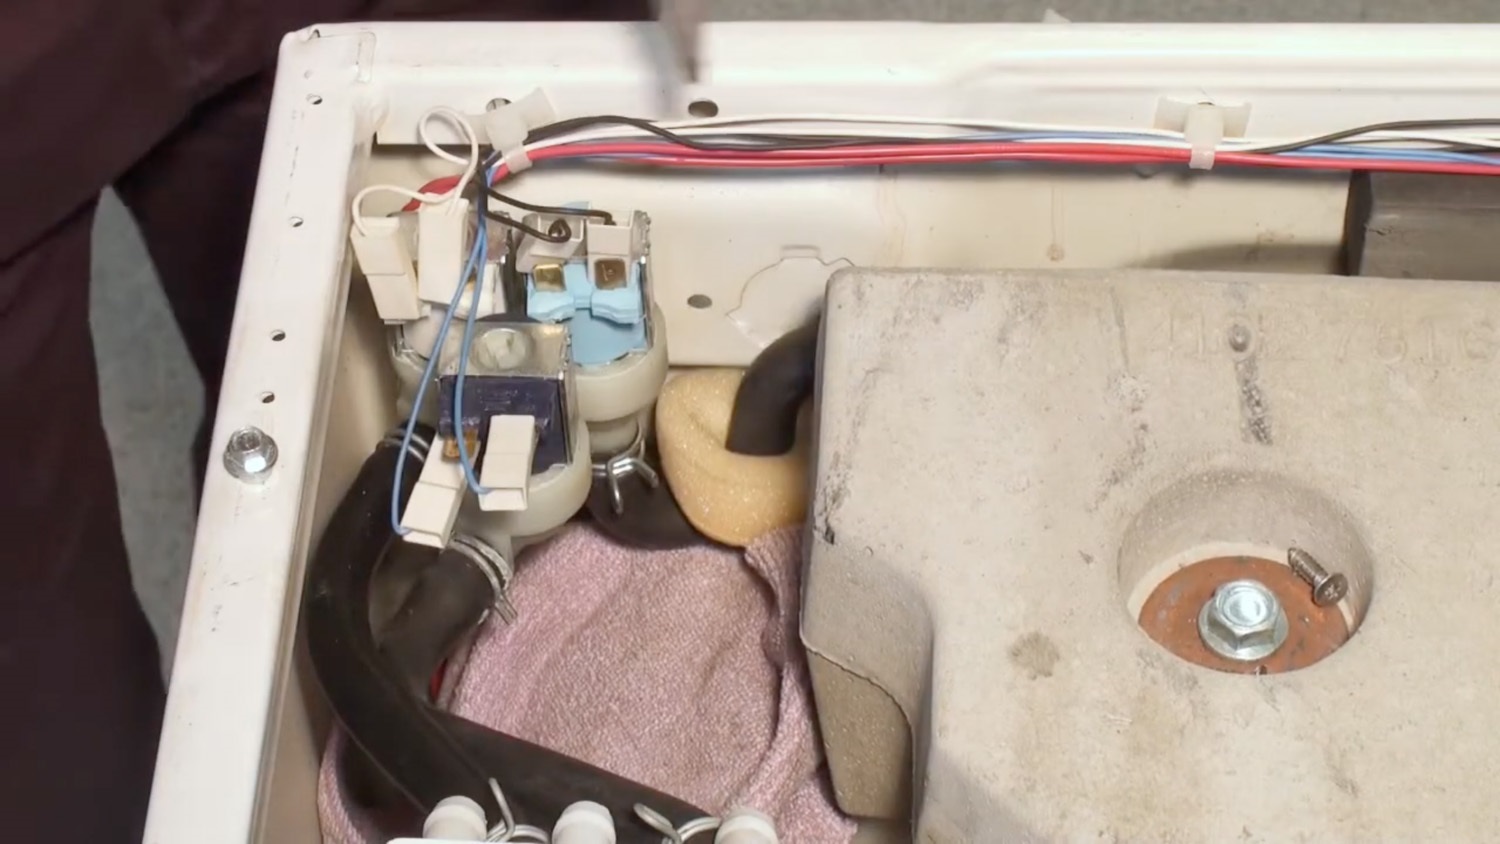
Using your long nose pliers pinch together the metal wire hose clamps and remove the two wash cycle inlet hoses.
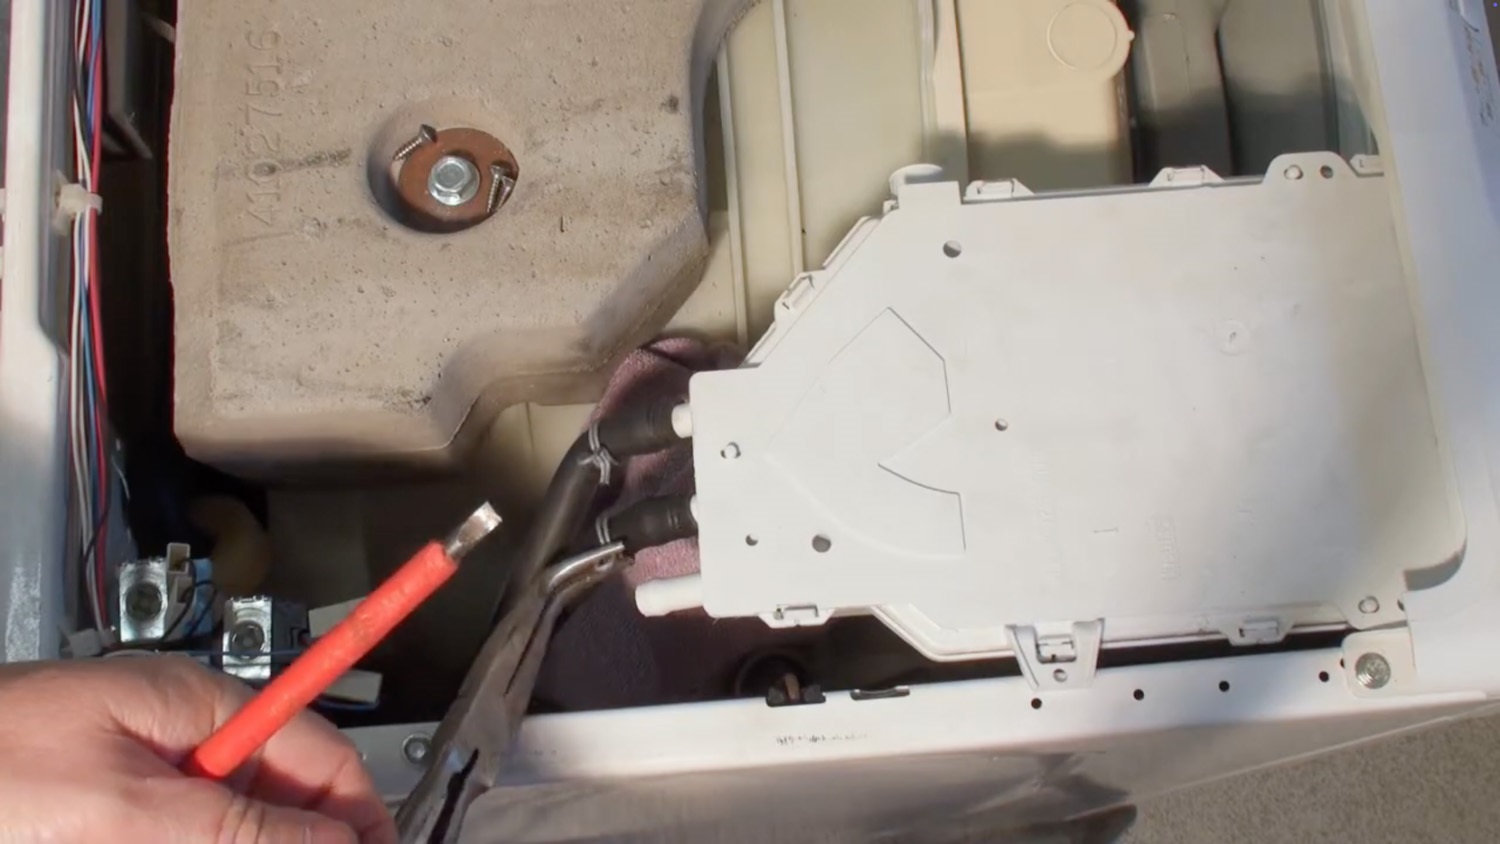
Remove the other hose on the bottom of the water inlet valve. You may need to use your flat head screwdriver to pry off the inlet hoses.
2. Remove old water inlet valve
At the rear of the machine, locate the old valve.
Using your flat head screwdriver press down on the small plastics pips each side of the inlet valve.
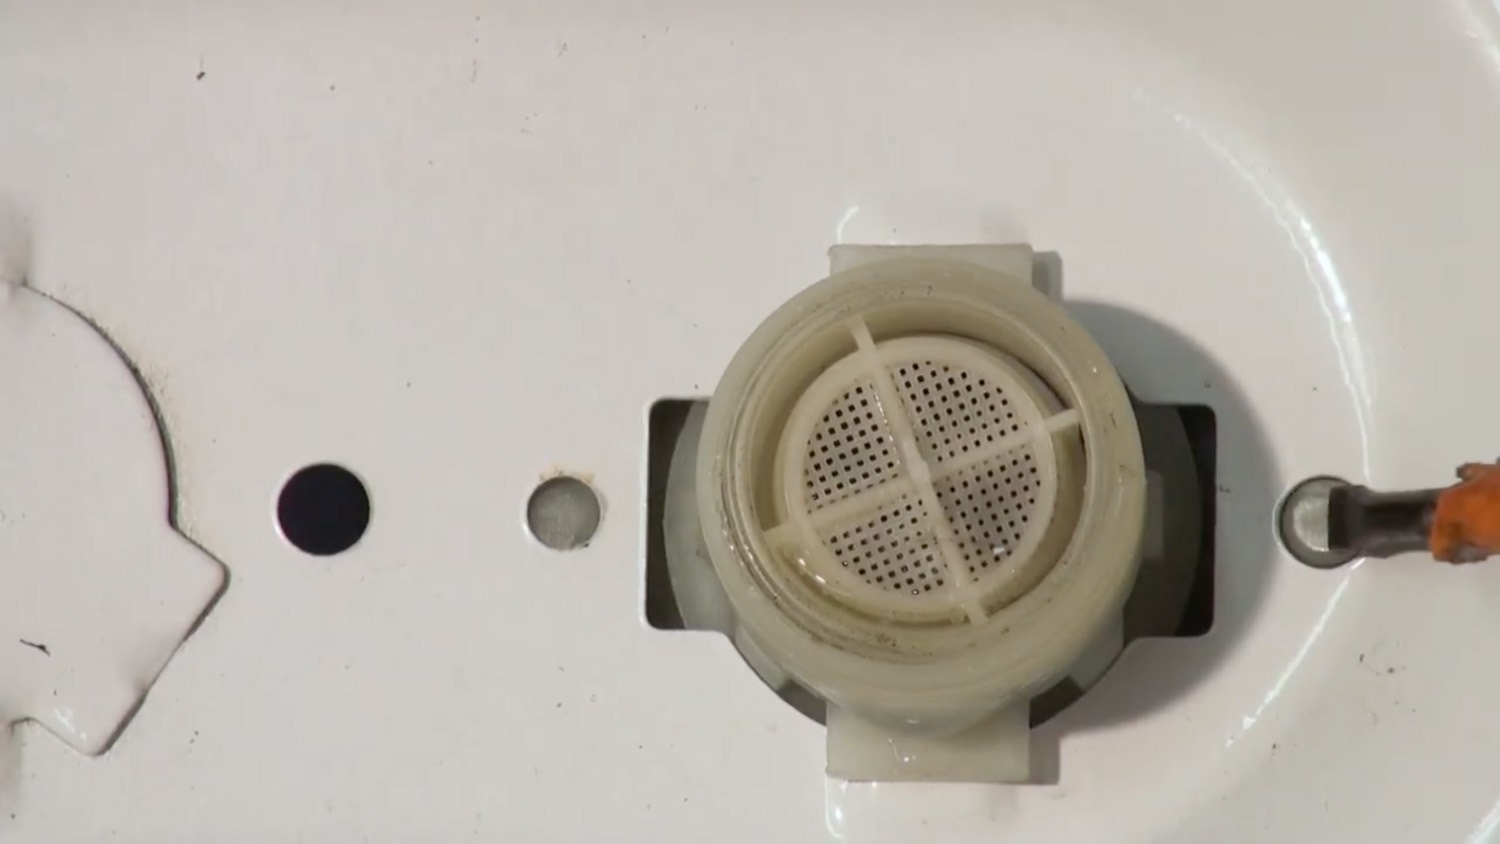
Then twist the valve anticlockwise to remove.
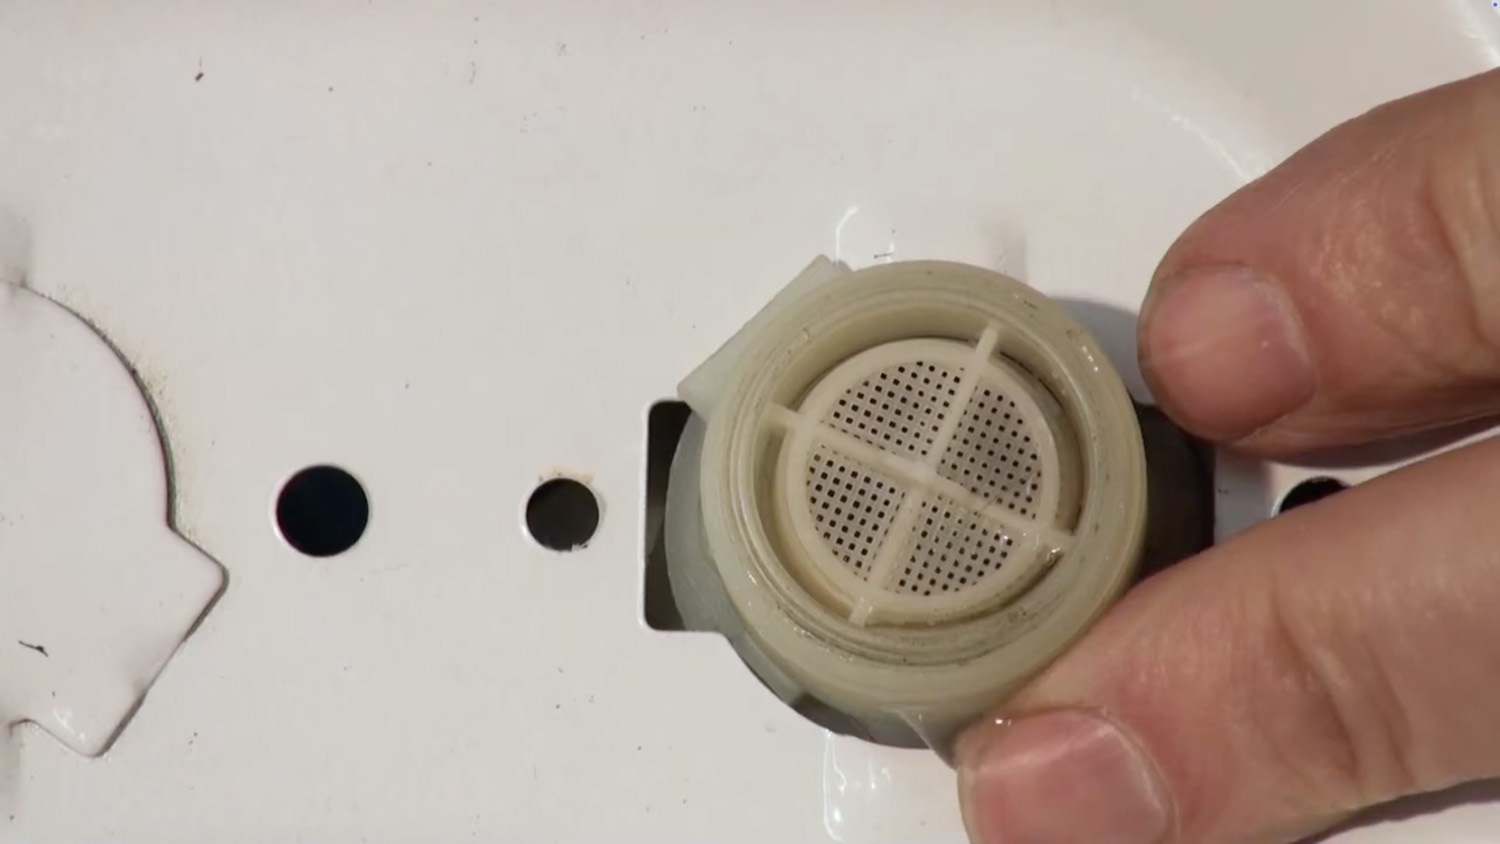
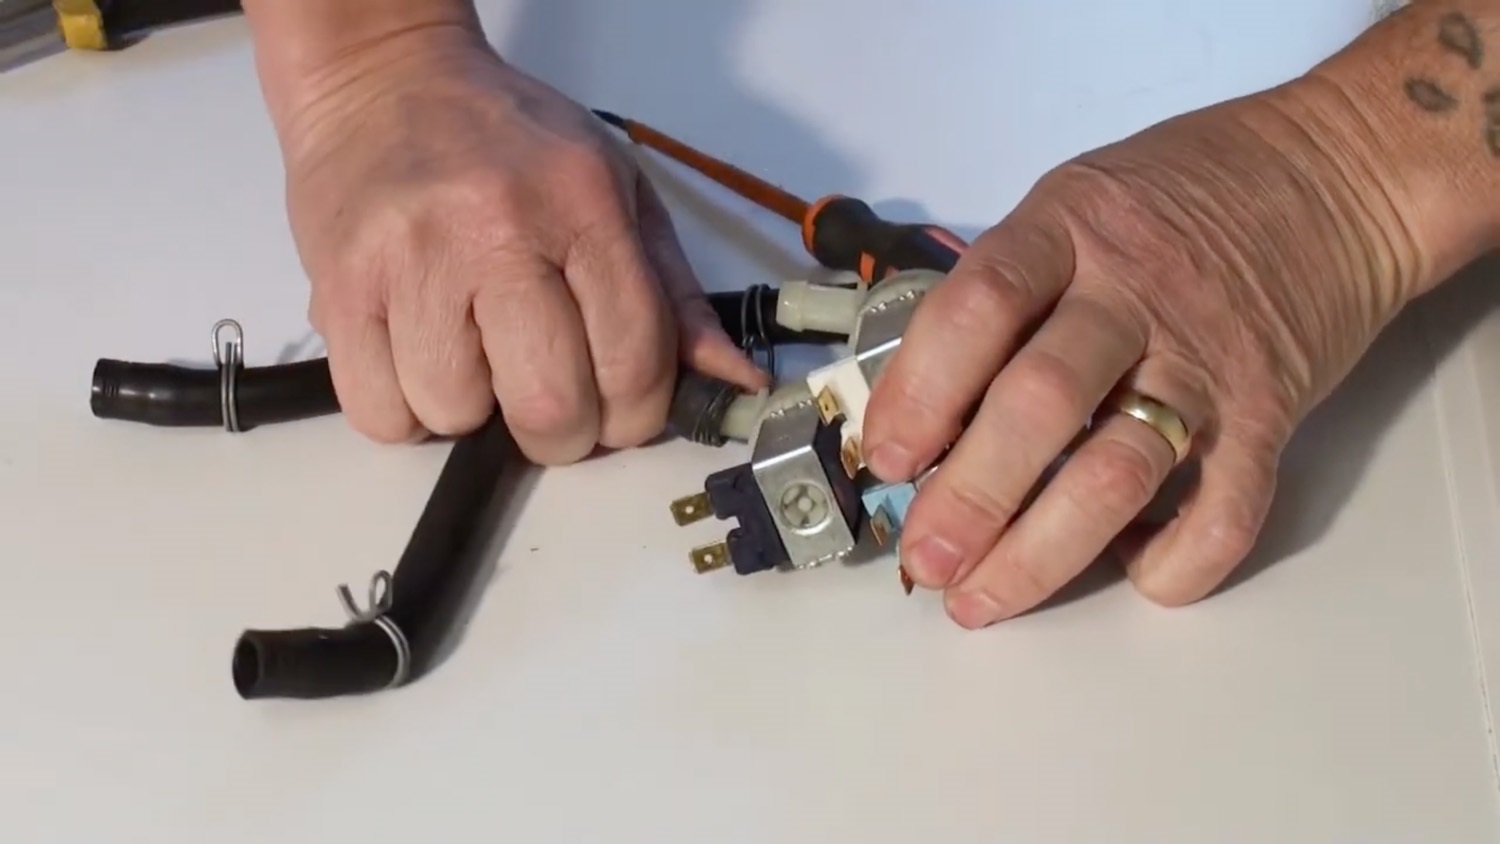
Using your long nose pliers pinch together the metal clamps to remove the inlet hoses from the old valve.
3. Install new water inlet valve
Using your long nose pliers pinch together the metal clamps to re-attach the hoses to the new valve.
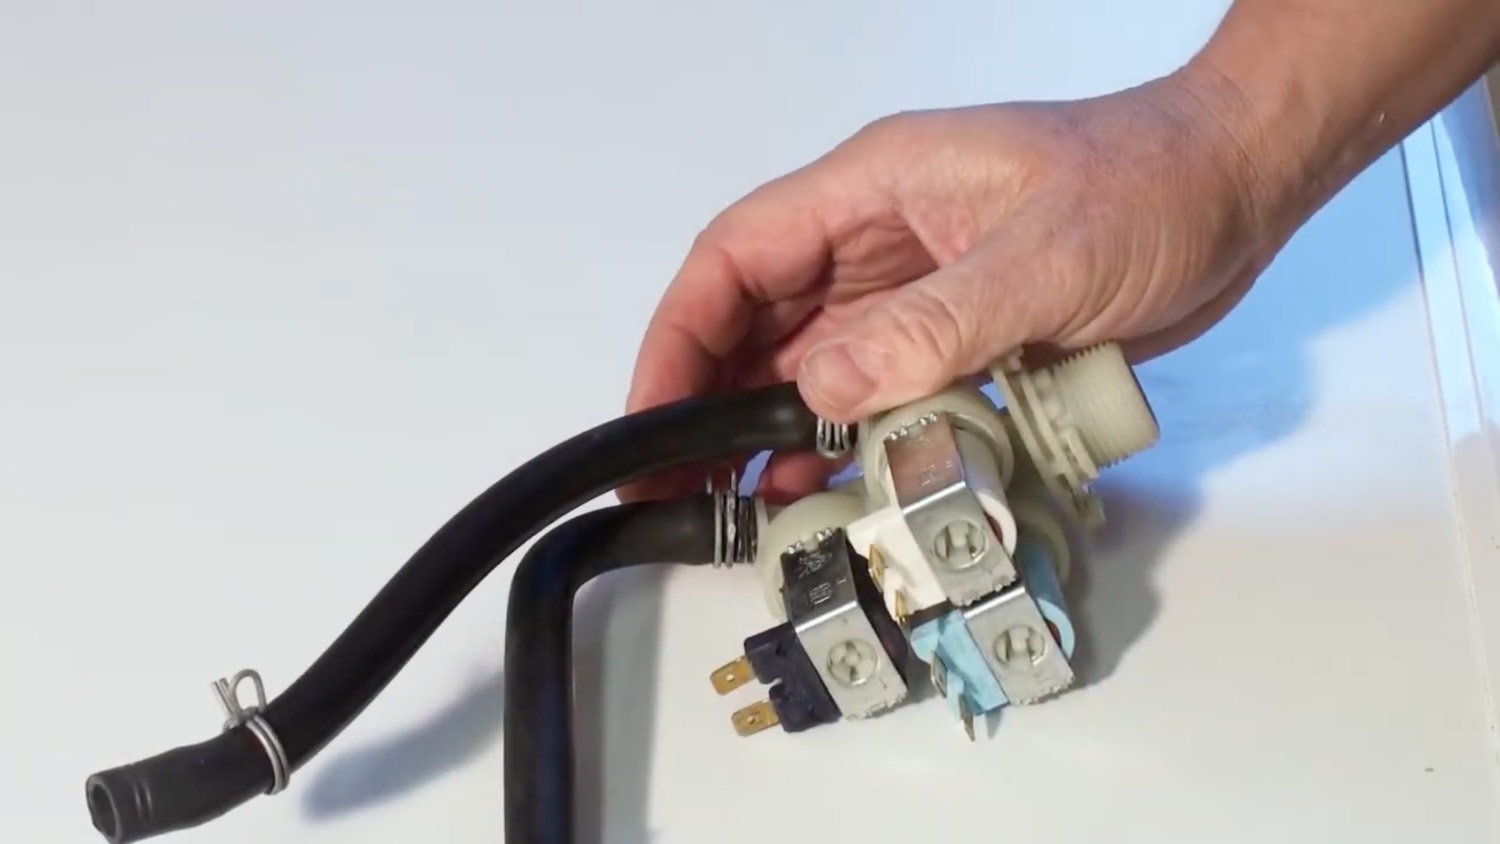
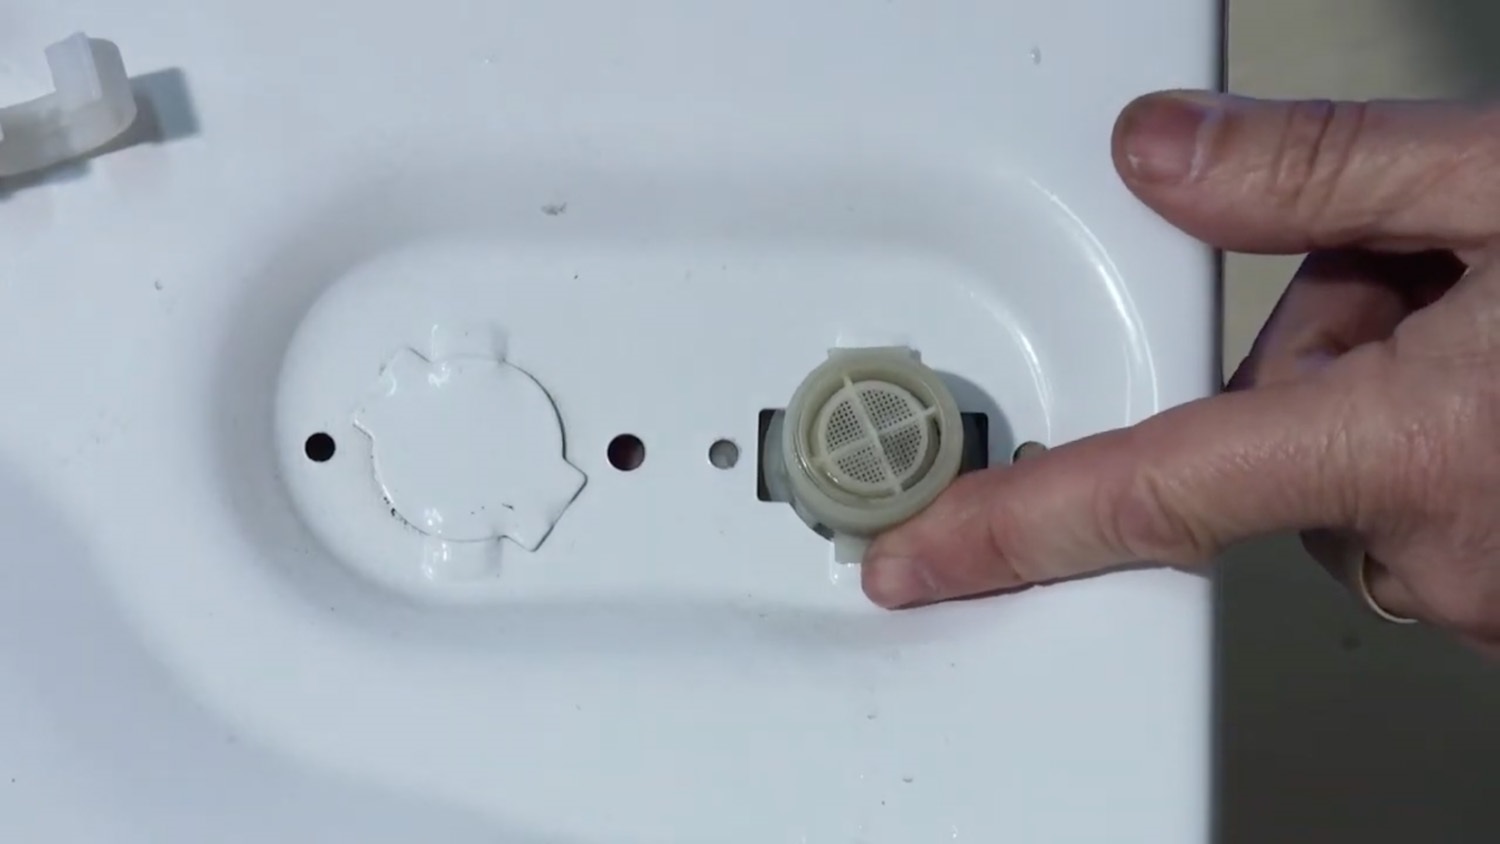
Re-fit the valve to the washing machine cabinet, turning clockwise to secure the clips.
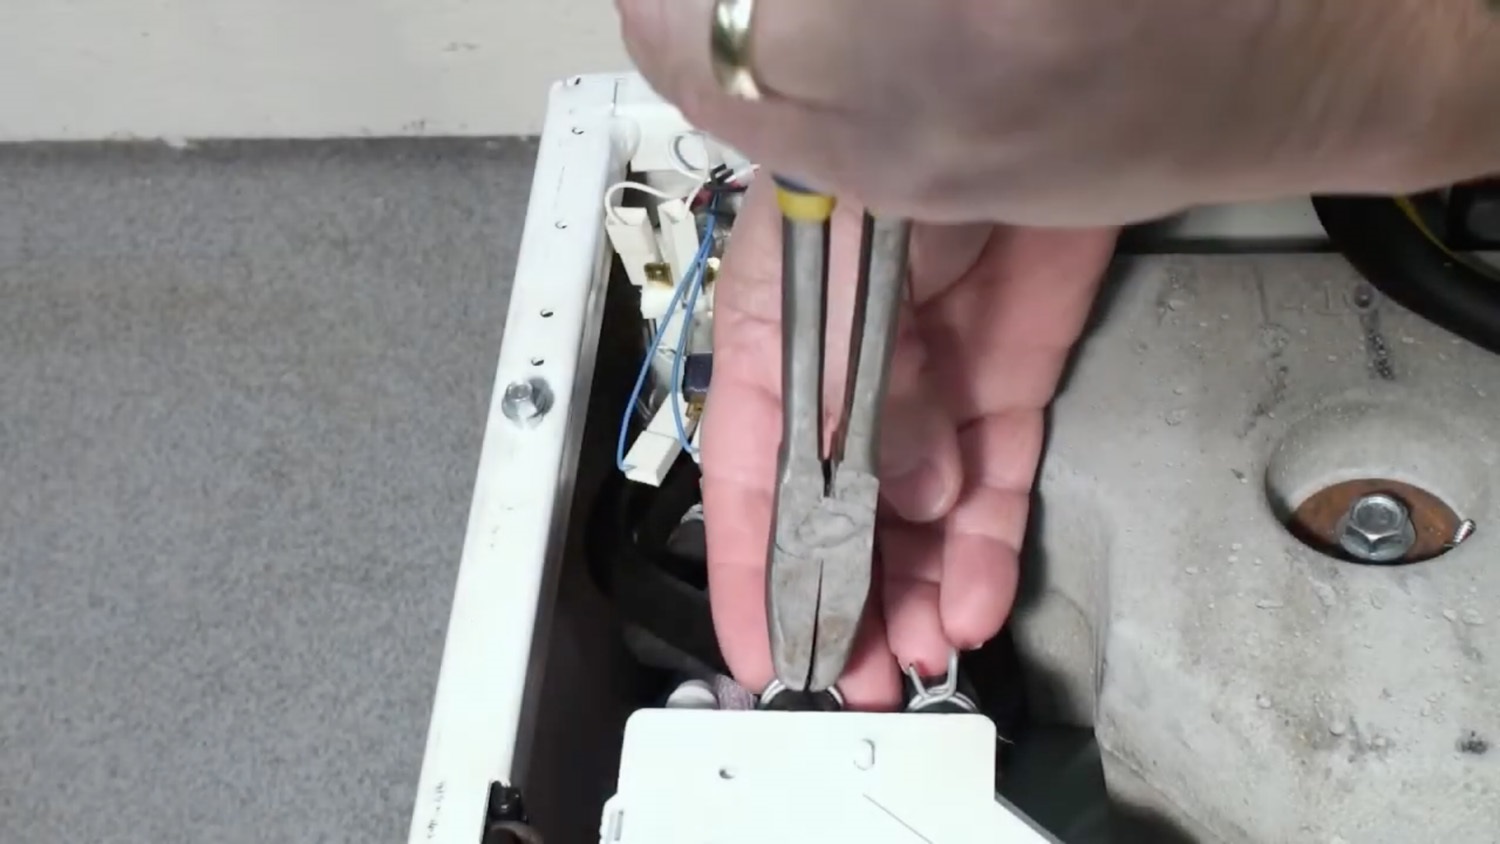
Using your long nose pliers pinch together the metal clamps to re-attach the three hoses inside the machine.
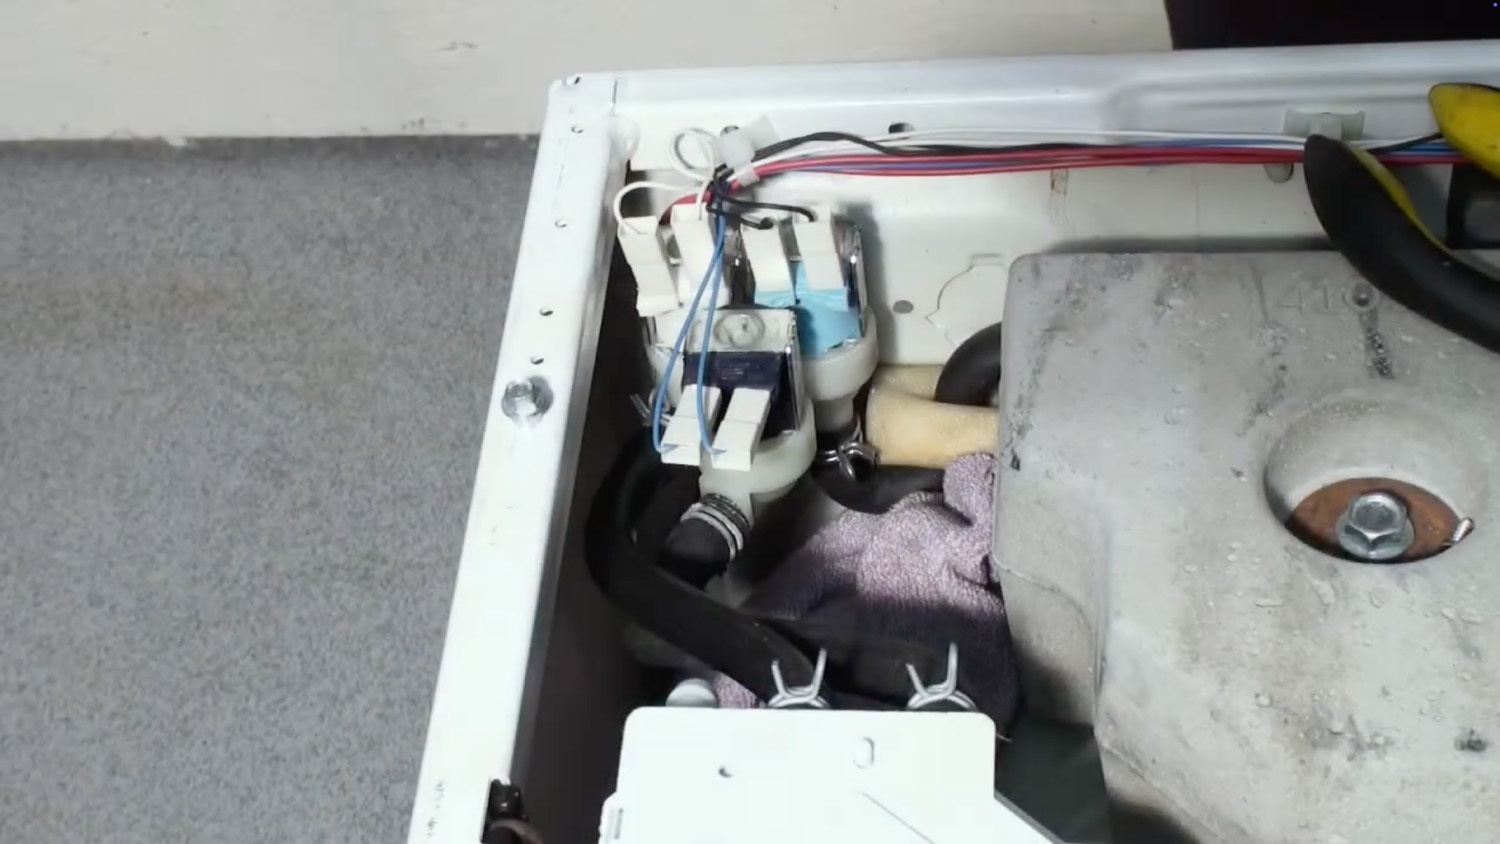
Re-connect the electrical connectors, referring to the photo taken earlier if required.
4. Re-attach washing machine lid
Re-attach the lid and re-screw the screws back in place.
And that’s it, your new Candy washing machine/dryer inlet valve is all set to go!