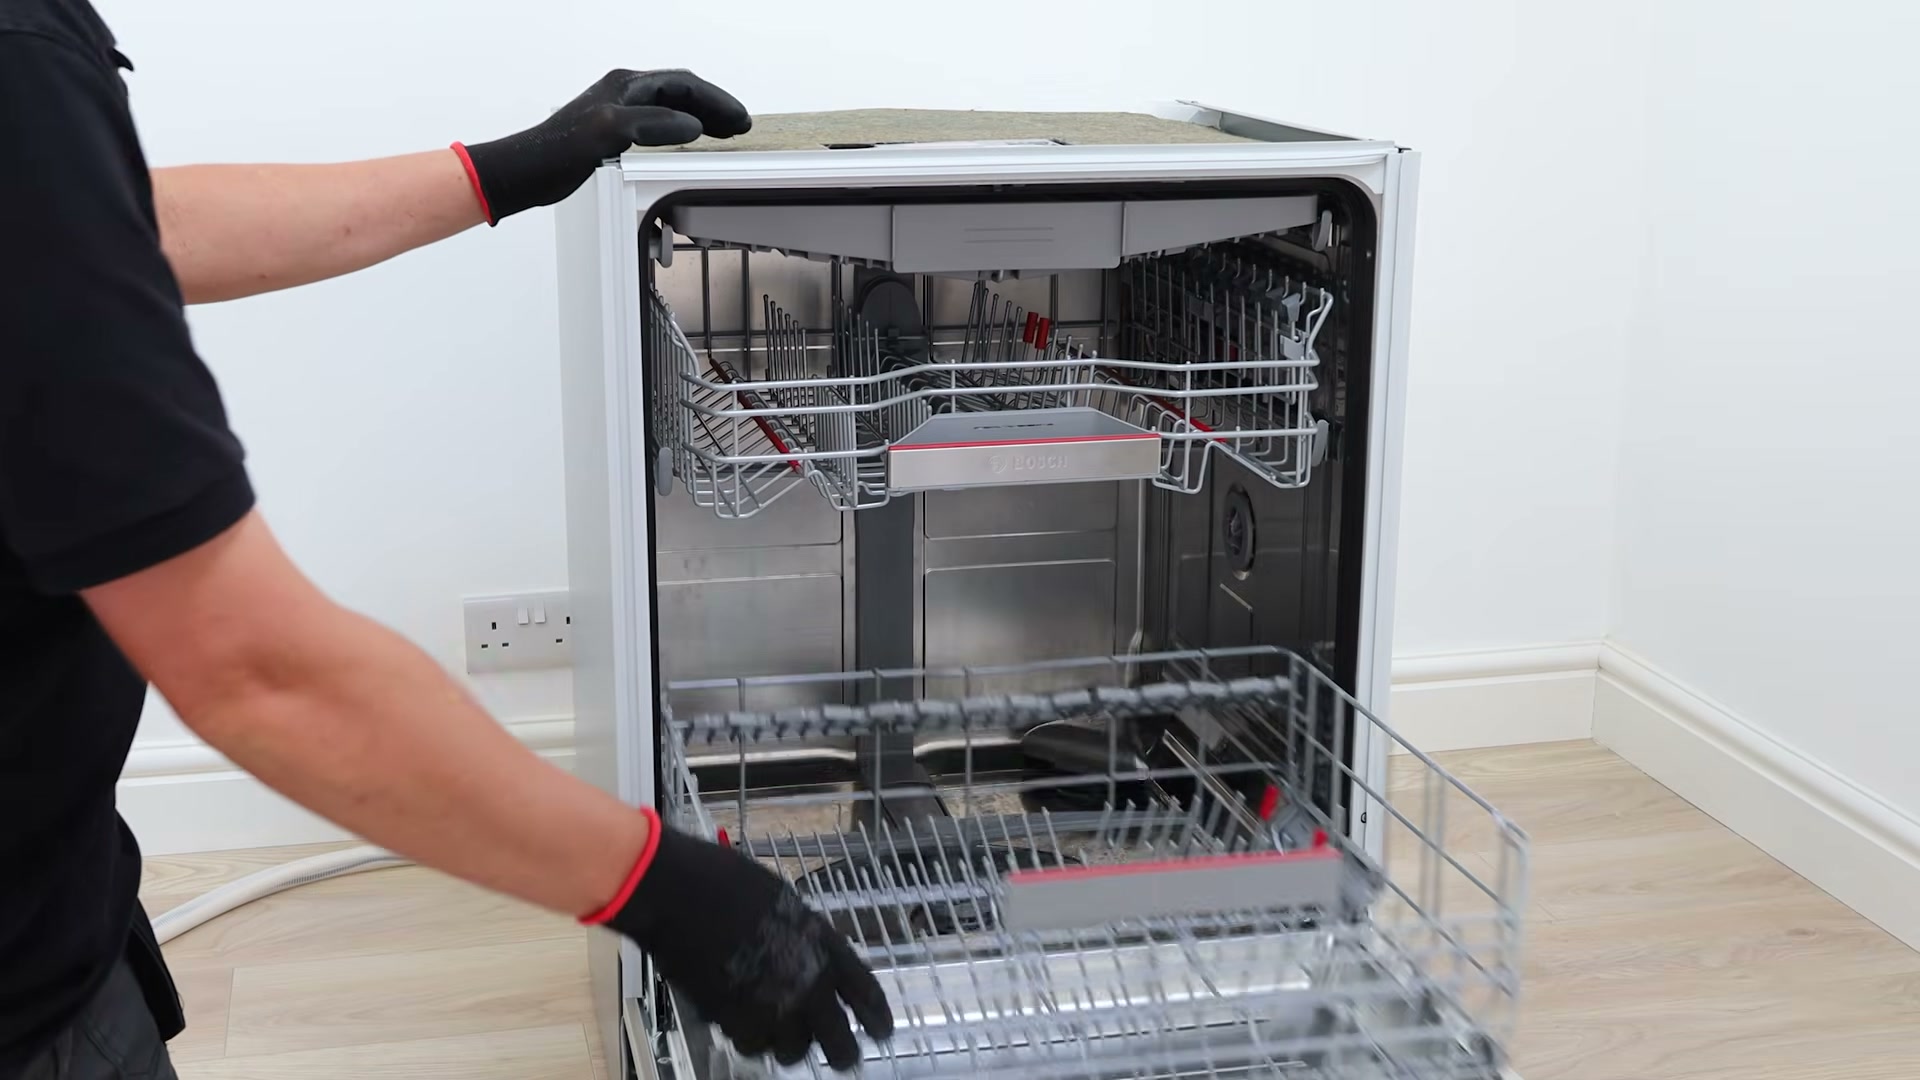
Make and Model of Dishwasher Used in This Video
Part Used in This Video
1. Remove the Side Panel
To gain access to the actuator, the right-hand side panel needs to be removed. Remember to unplug the dishwasher from the mains before starting any repair work.
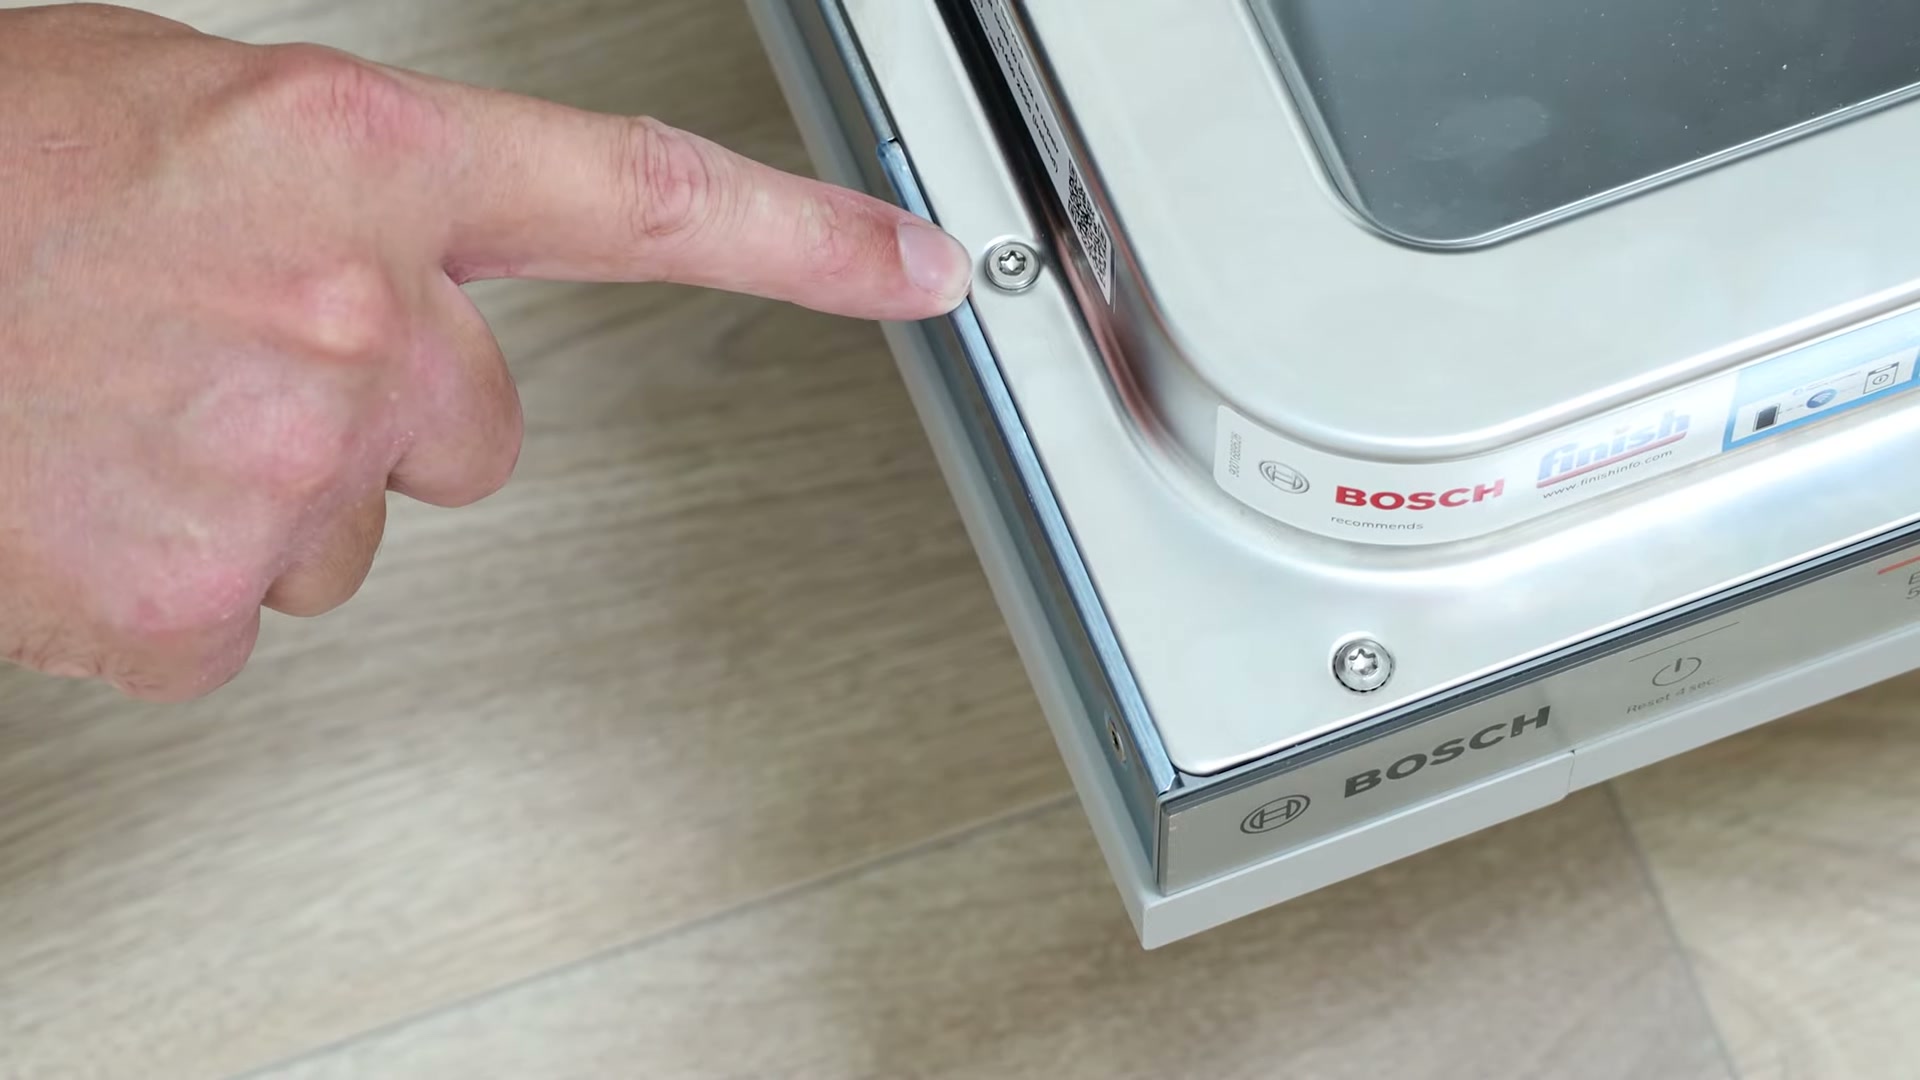
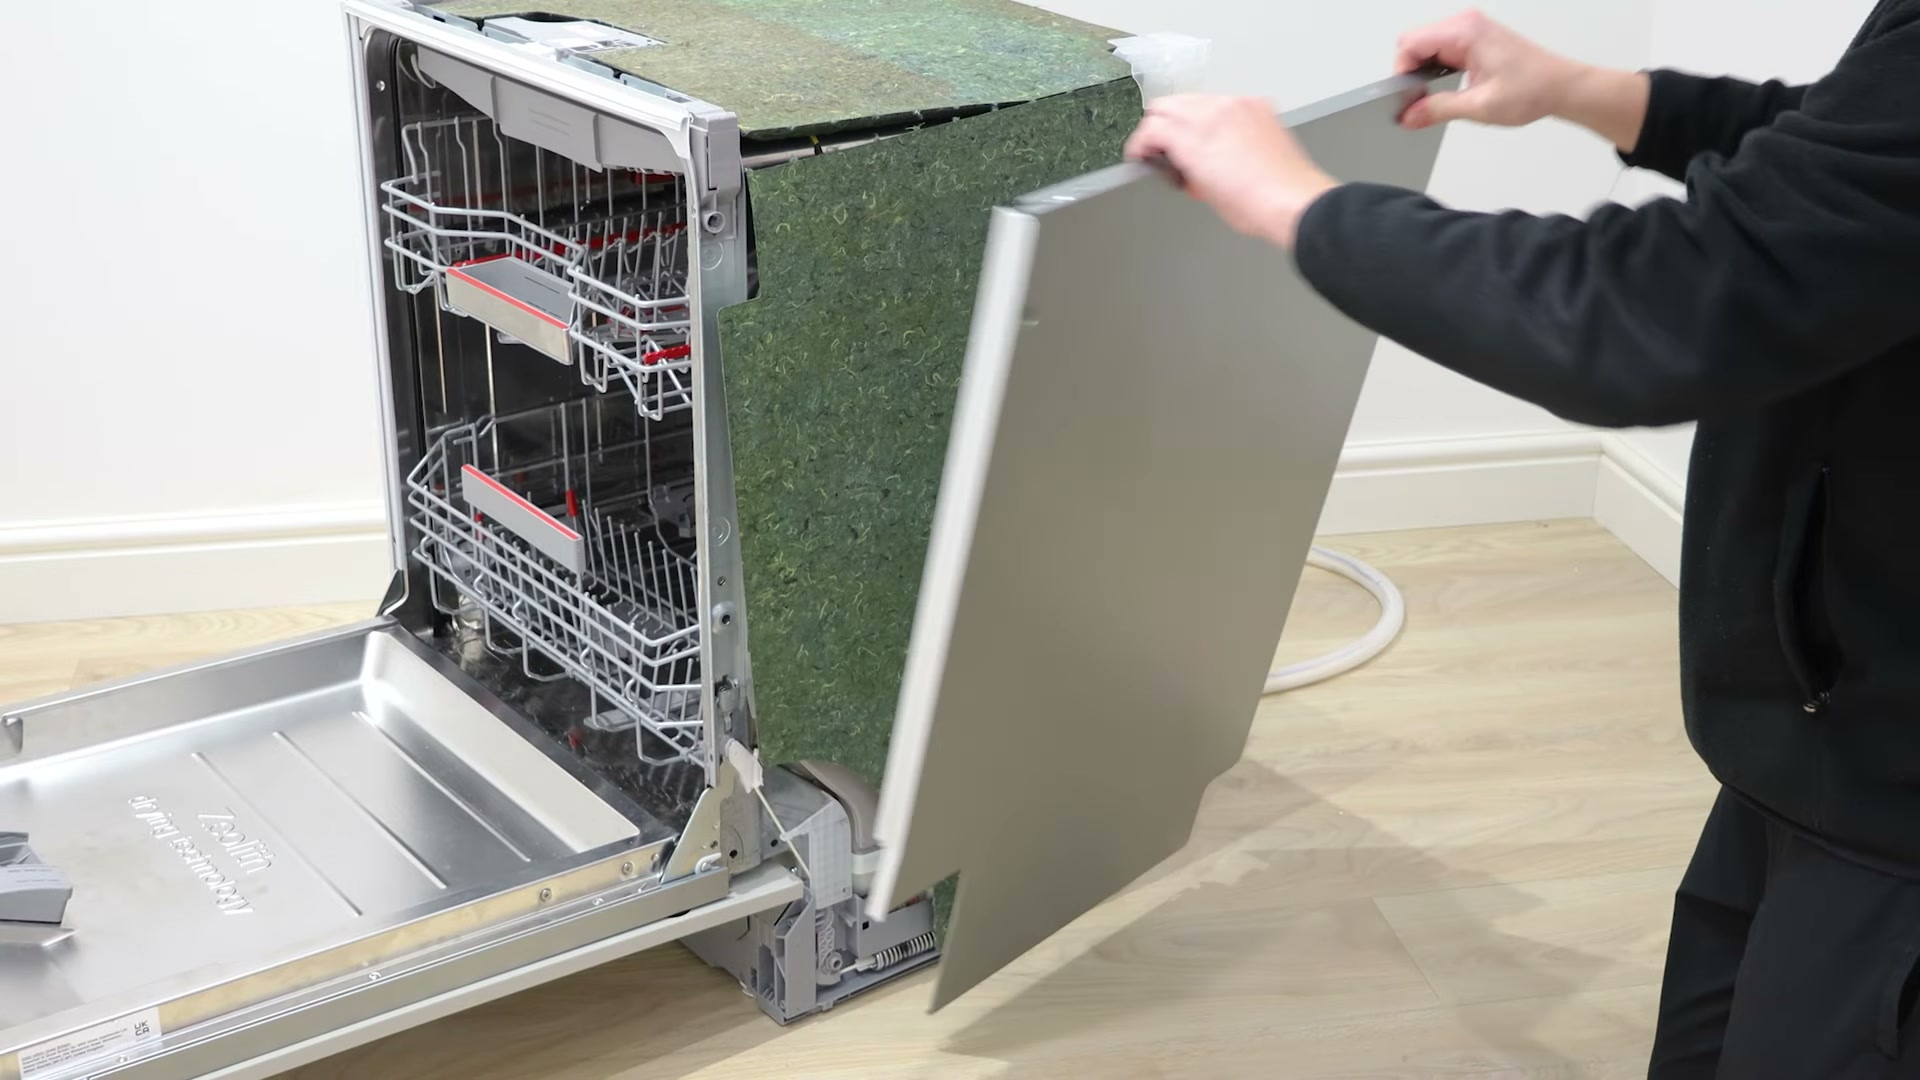
Begin by removing the single Torx T20 screw on the front of the panel. Once the screw is out, lift the side panel away from the machine and place it to one side. Lift the insulation up to expose the internal components.
2. Access the Actuator
The actuator is located on the right-hand side of the dishwasher, connected to the side chamber. To give yourself more room to work, unclip and remove the plastic case covering the actuator and set it to one side.
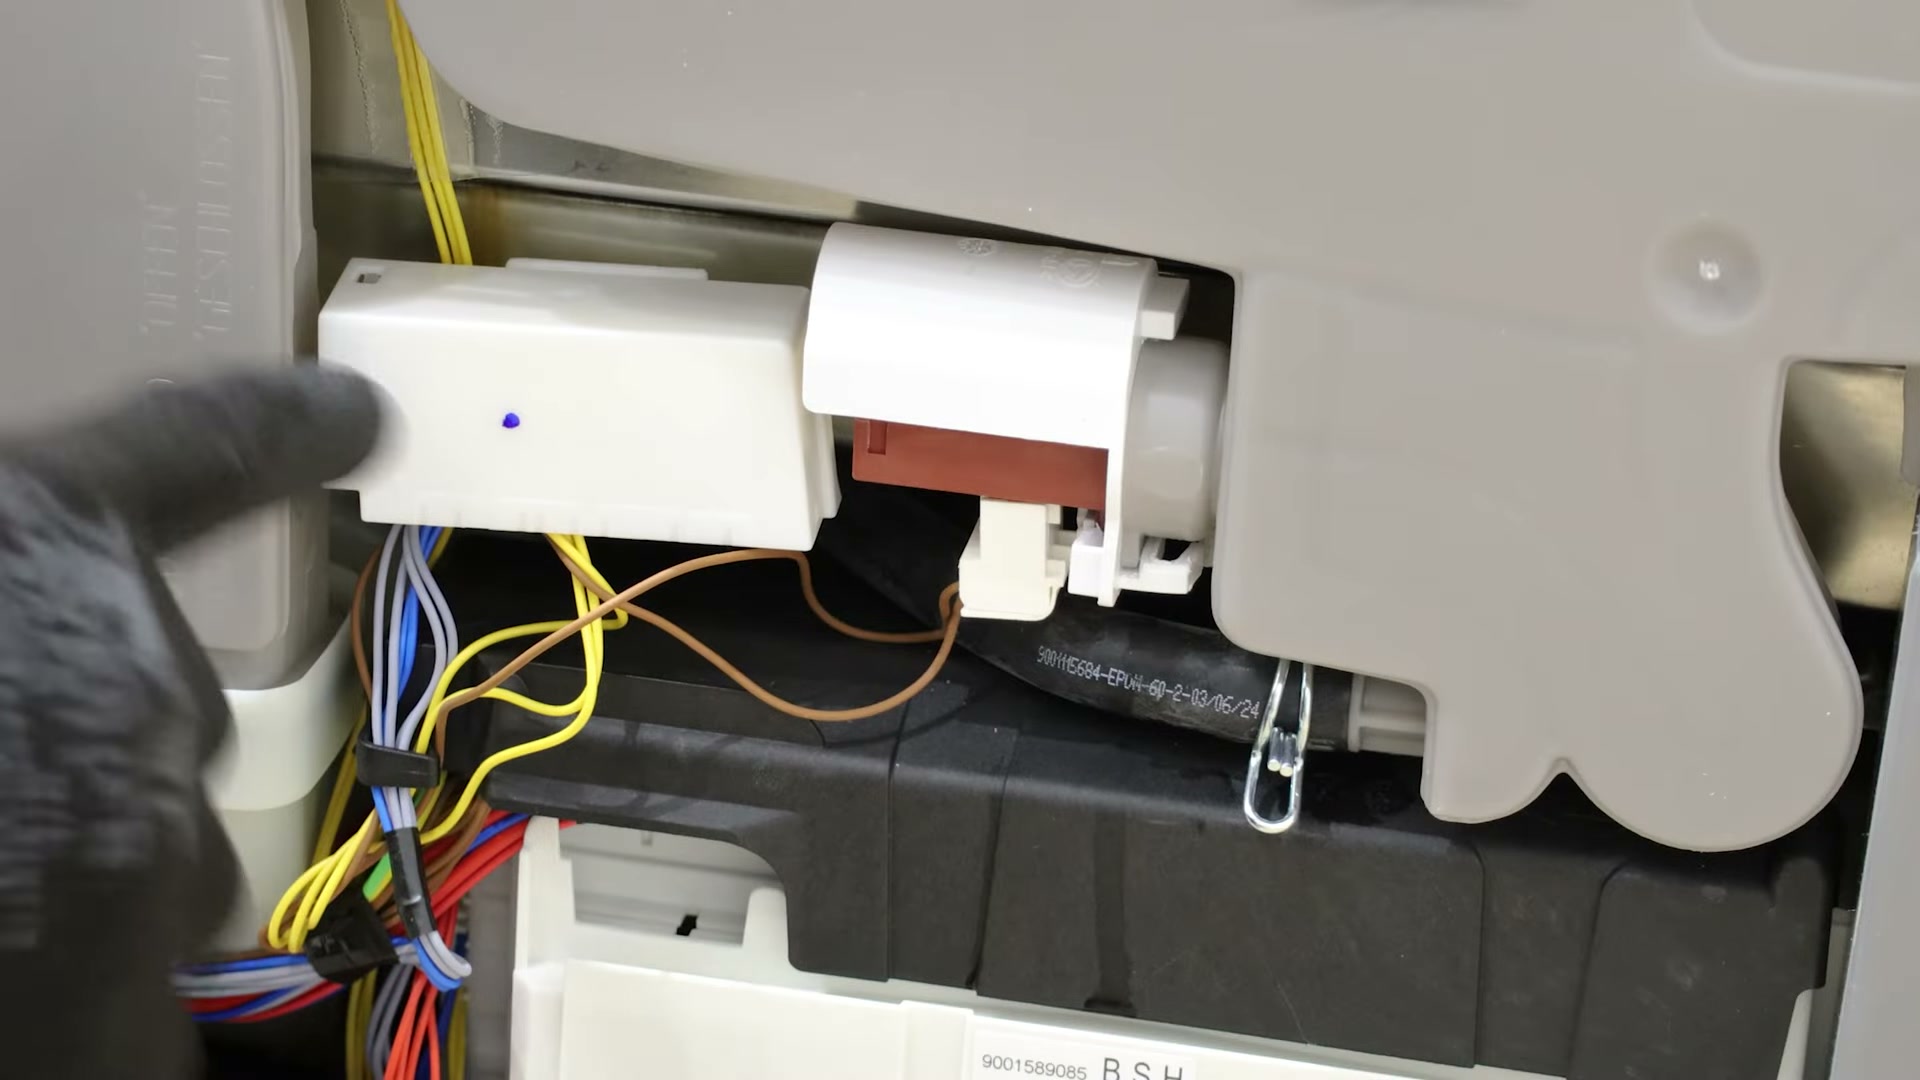
3. Remove the Old Actuator
The actuator is held in place by a small tab at the bottom. Push the tab inwards and rotate the actuator clockwise to release it from the side chamber.
Once the actuator is free, unplug the electrical wire connectors from it so you can lift it out completely.
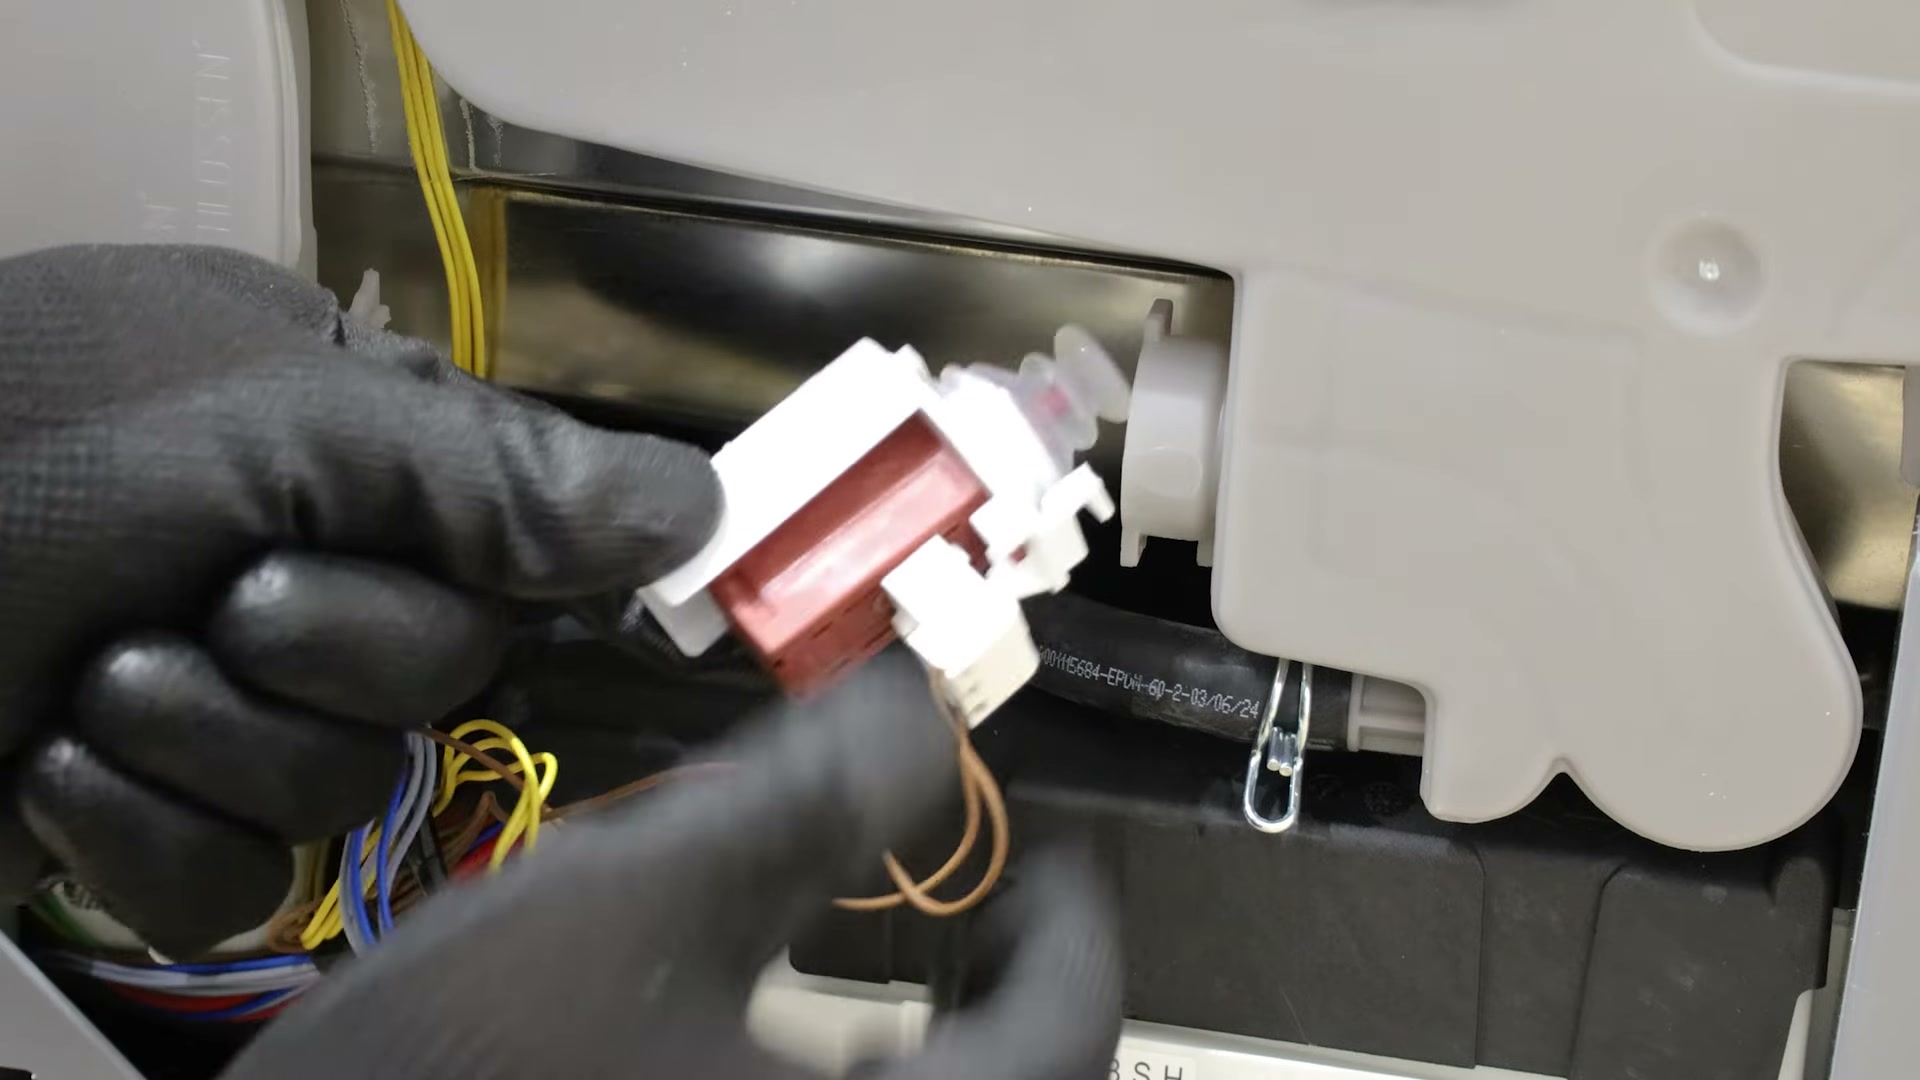
4. Fit the New Actuator
Unpack your new dishwasher actuator. There's a tab on the top of the actuator that needs to connect to the side chamber. Position the new actuator and rotate it anticlockwise to engage the top tab — the tab at the bottom will lock into place at the same time.
Once the new actuator is seated, reattach the electrical wire connectors.
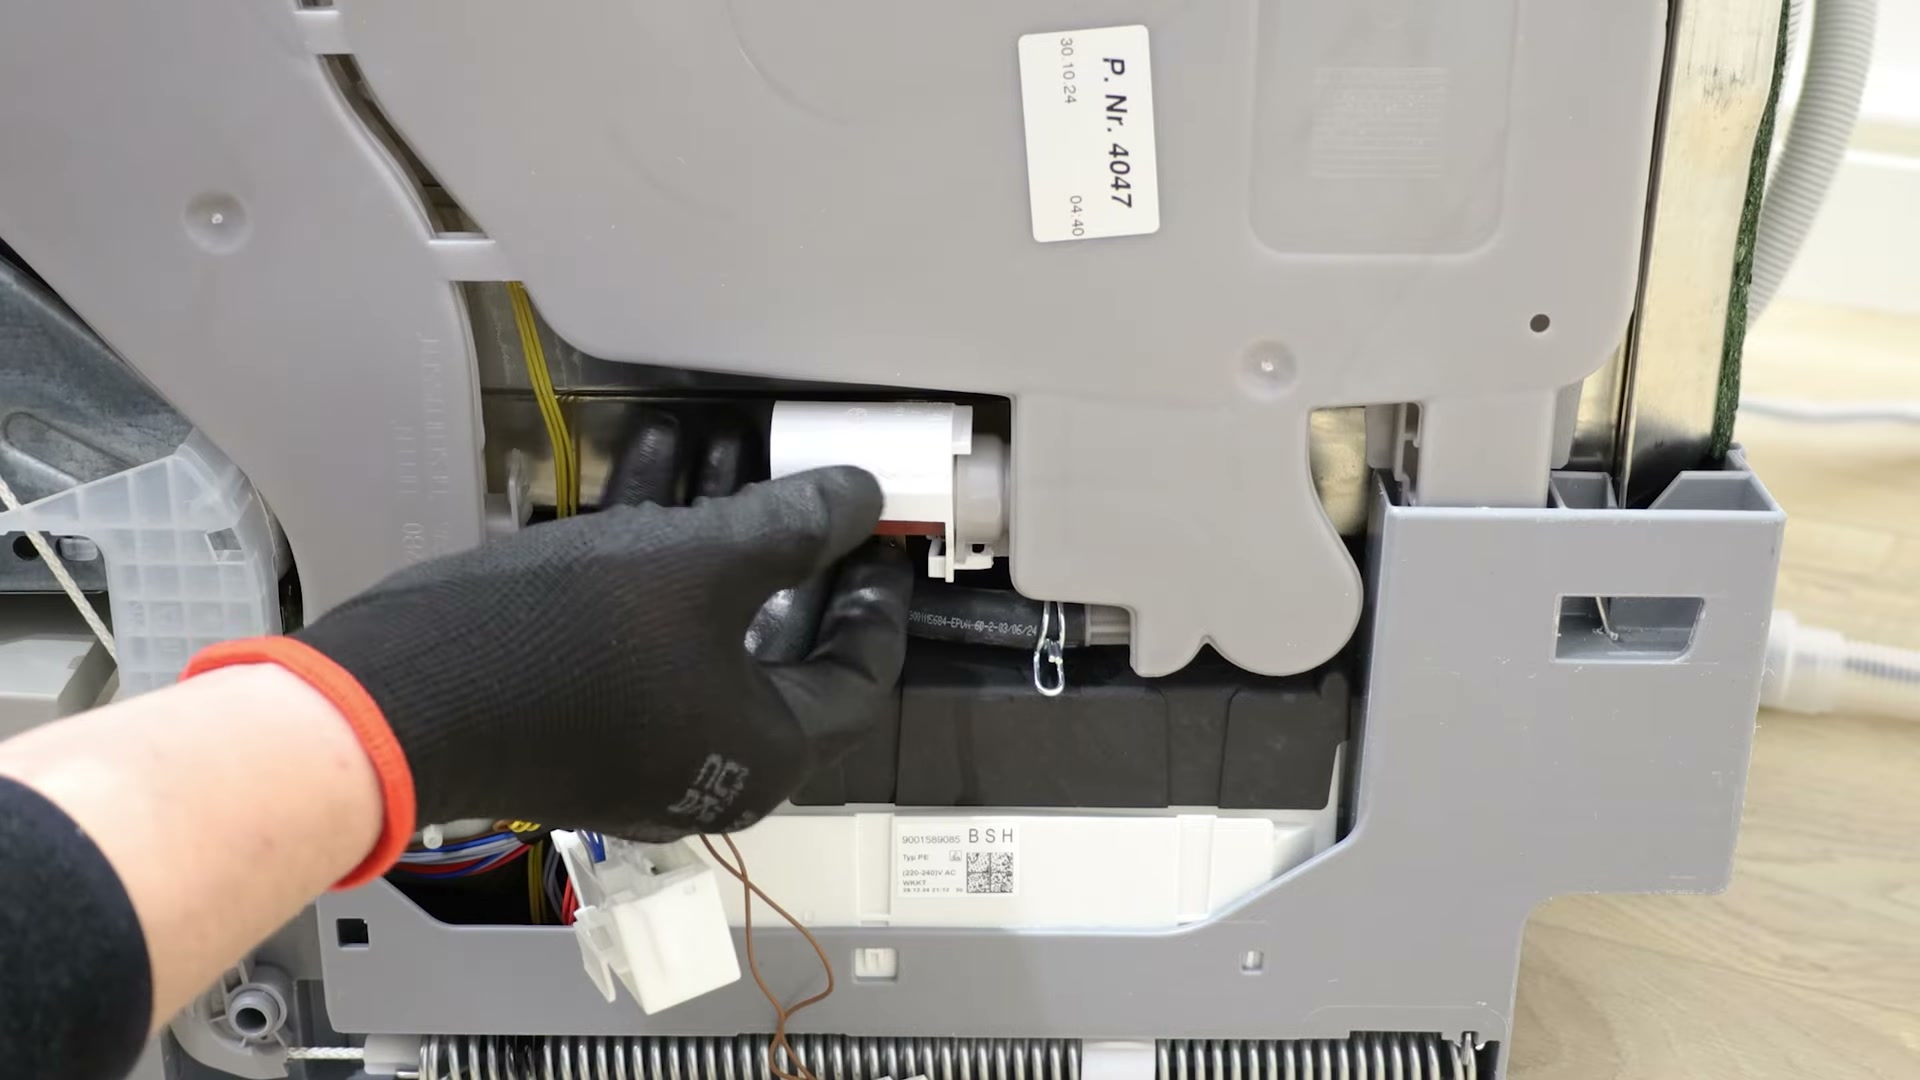
5. Reassemble the Dishwasher
Reattach the plastic casing over the actuator, making sure it clicks firmly into place, and tuck the wires neatly underneath. Flip the insulation back over to cover the internal components.
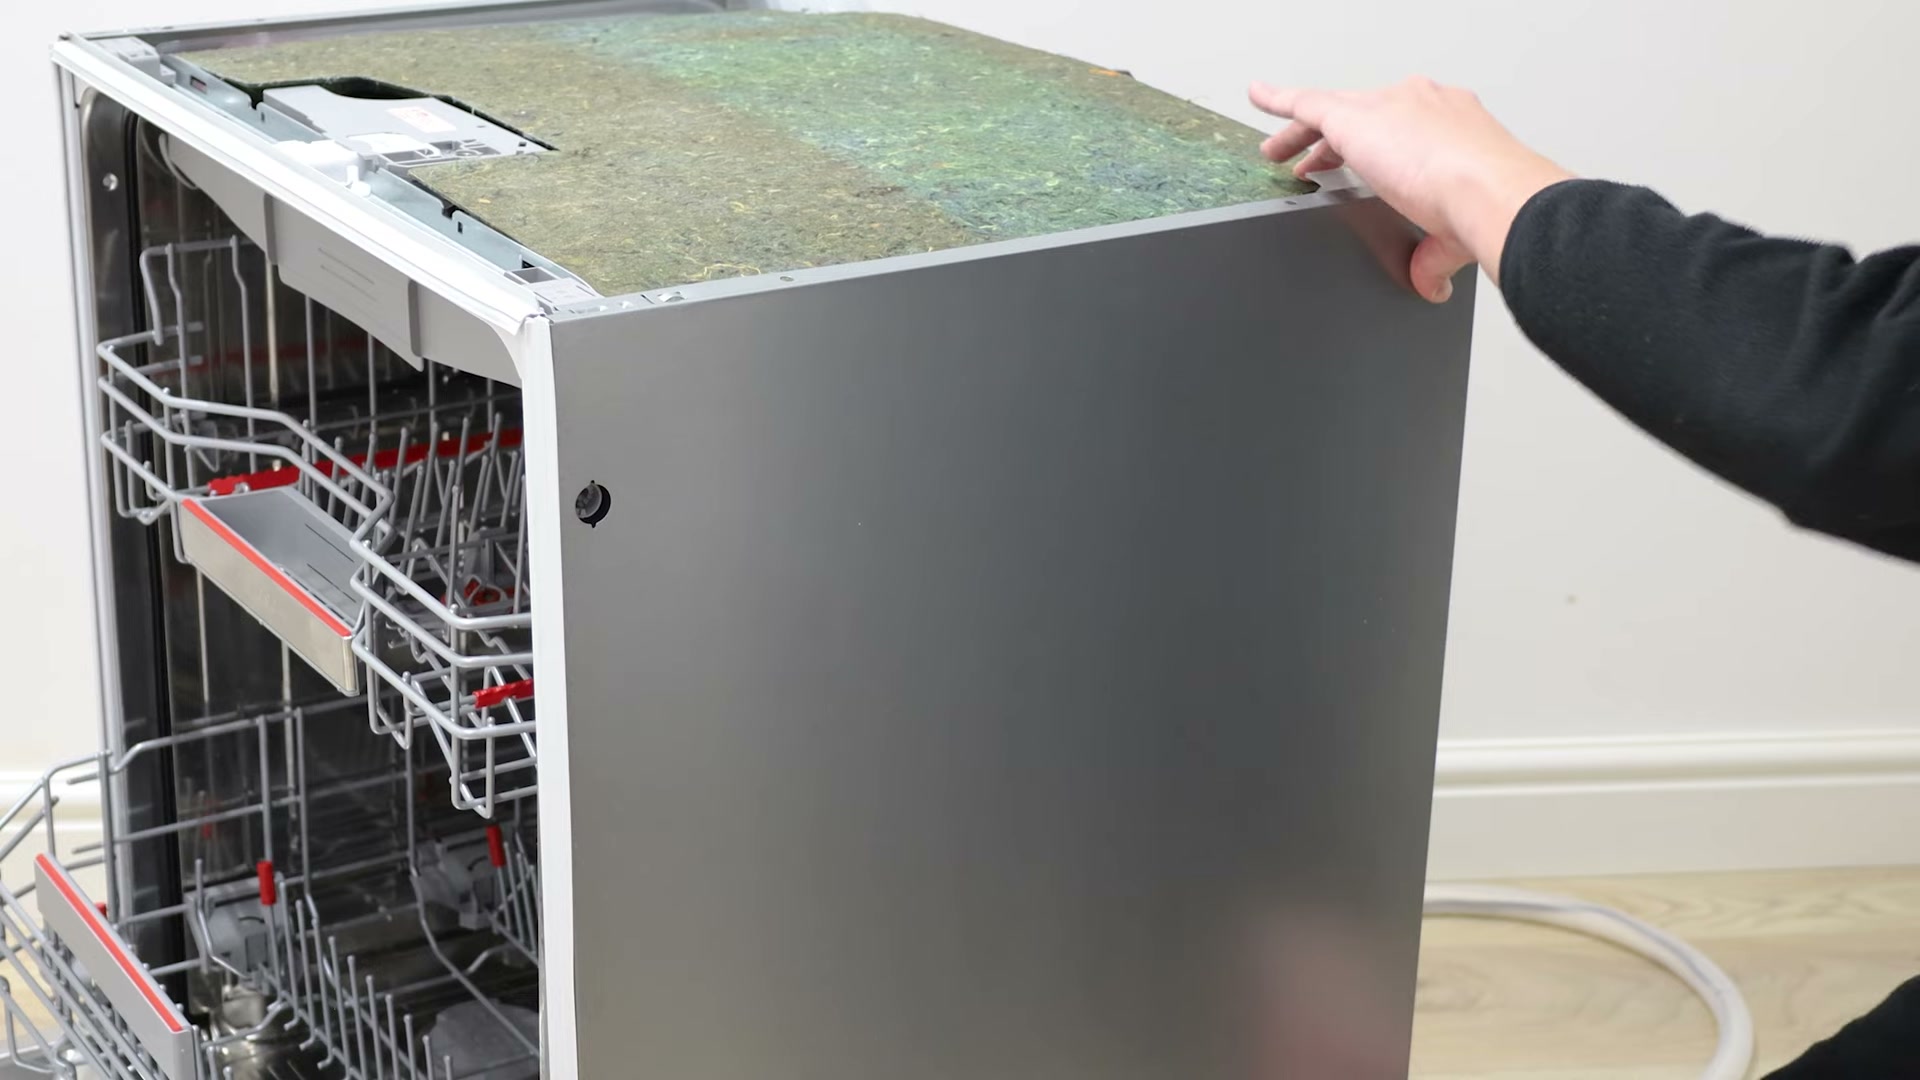
To refit the side panel, line up the two slots at the bottom with the two small plastic tabs on the base of the dishwasher, then pull the panel upwards to click it into position. Finally, rescrew the front Torx T20 screw back in to secure the panel.
And that's it — your new dishwasher actuator is fitted and ready to go. Need more Bosch dishwasher spare parts?