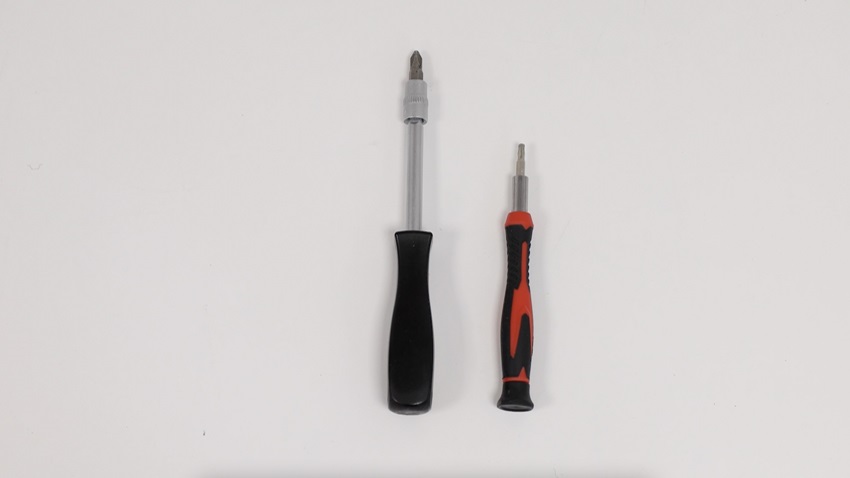
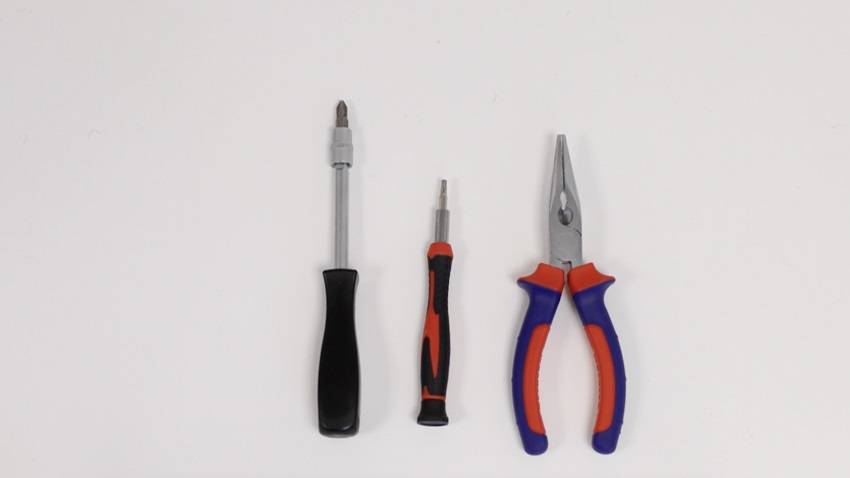
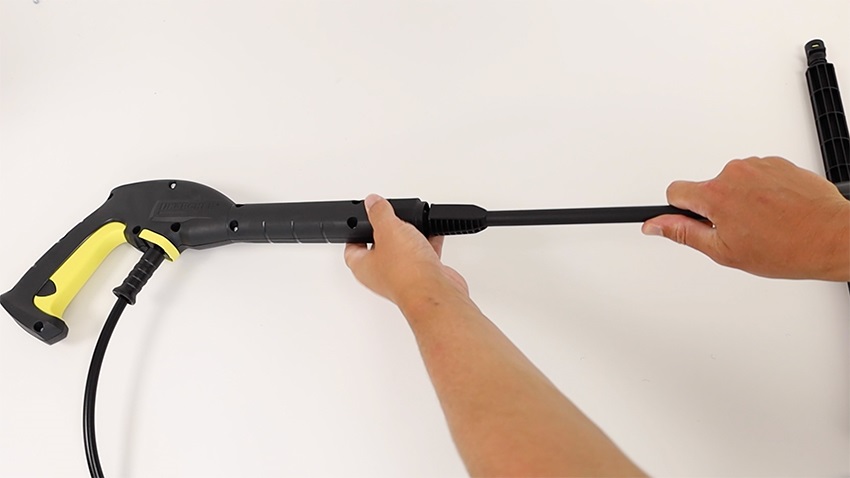
Make and Model of Pressure Washer Used in This Video
Part Used in This Video
Karcher Pressure Washer Switch Unit
1. Remove wheels and casings
Then, remove the wheels.

Remove plastic outer casing
You need to remove all the screws holding the plastic outer housing shell in place. These might be tightly secured, so take your time.

Remove detergent tank holder
Then, remove the four screws holding the detergent tank holder in place at the bottom.
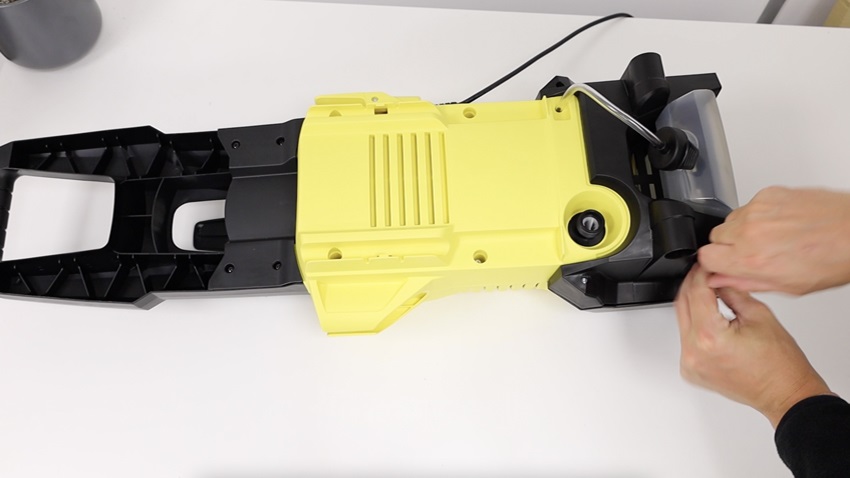
You can then remove the pipe hose and the tank away from the pressure washer.

There will be two more screws that need to be removed. One on either side of the yellow housing.
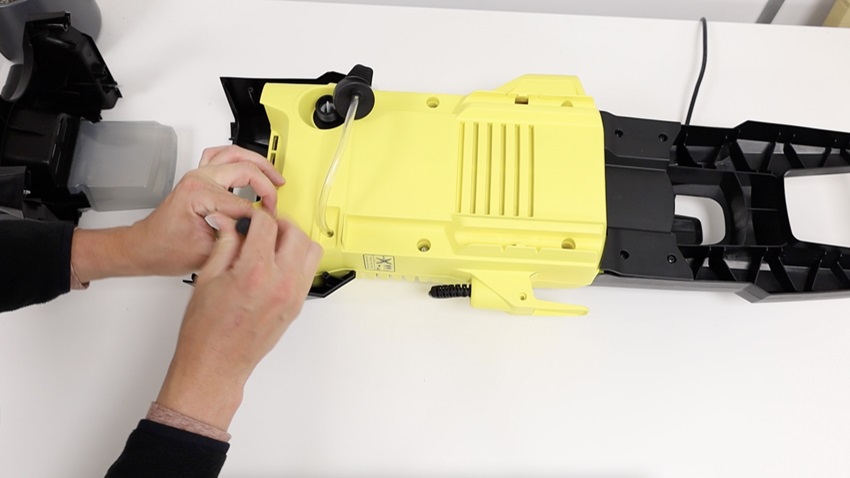
Remove the detergent suction pipe hose and lift the motor up and out.
2. Remove motor and internal components
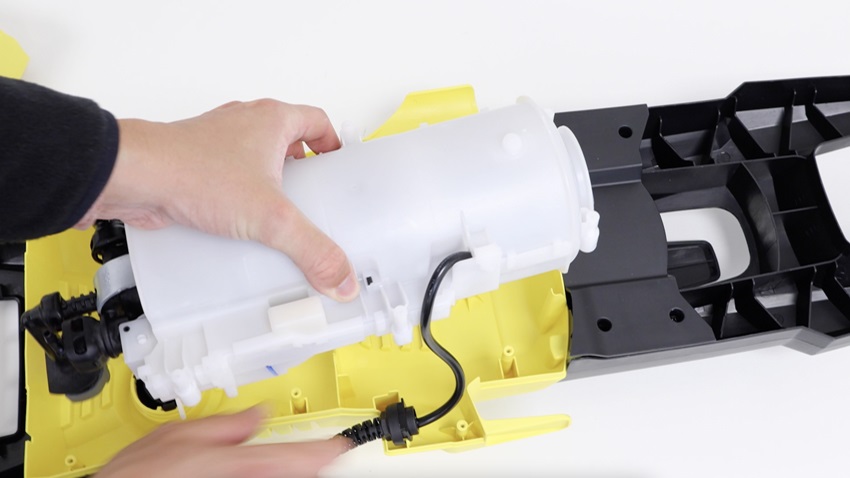
Remove motor casing
Remove the screws on the plastic casing with your T15 screwdriver head. You’ll then be able to pull apart the two sides of the casing and remove the motor.
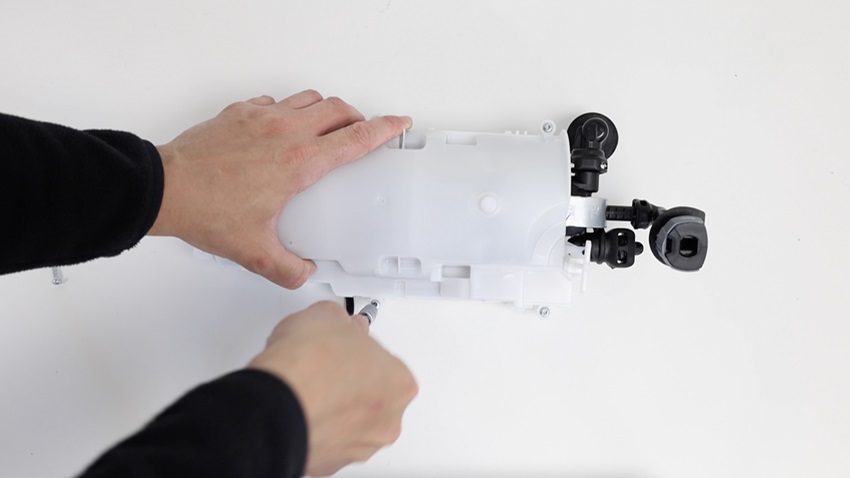
Remove switch unit
Remove the switch unit by pulling it away from the cylinder head as shown.
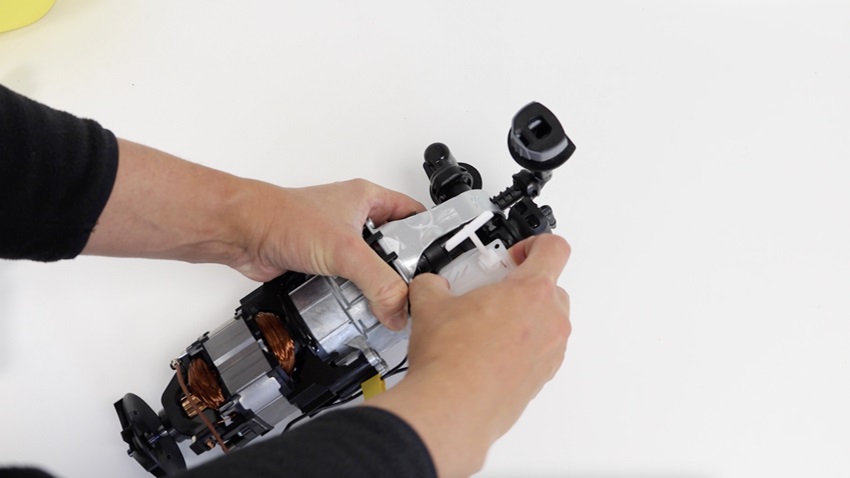
Remove electric connectors
A little tip is to take a photo of the existing wiring layout so you have a reference in a few minutes.
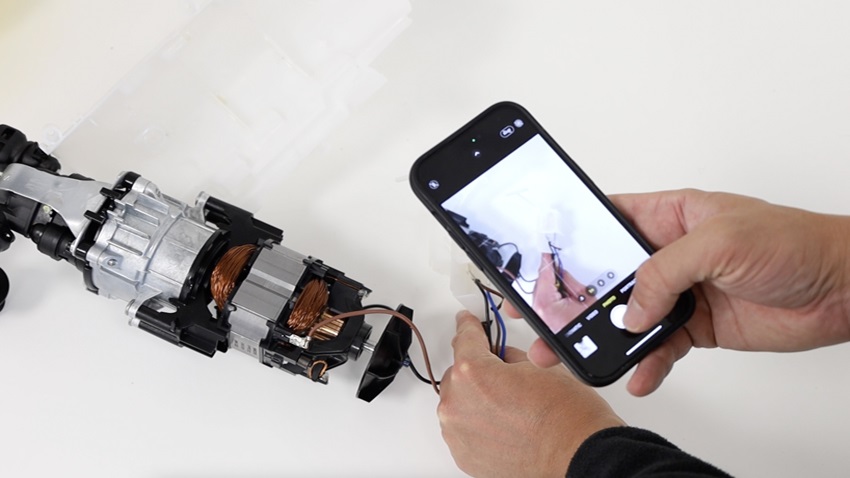
Now, remove the electric connectors with your long-nose pliers or by hand if you’re able to.
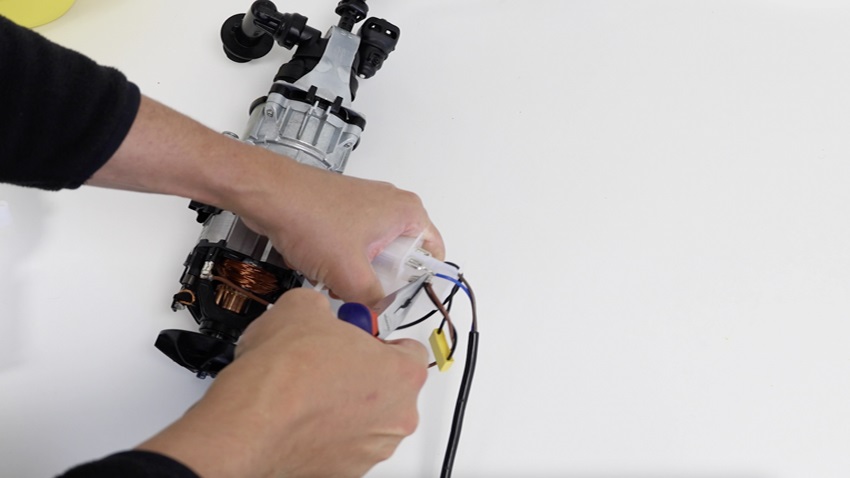
Remove old switch lever
Remove the old switch lever and pop it to one side.
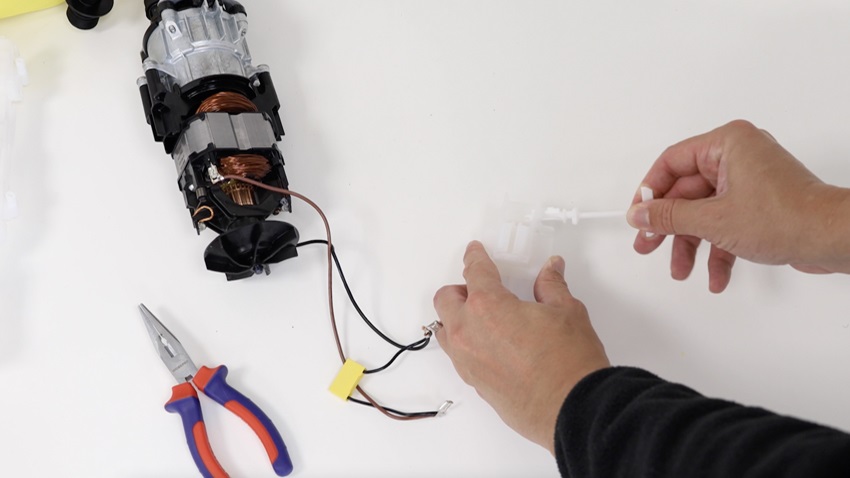
3. Attach new switch unit and re-assemble
Now, with your new switch unit, place the switch lever back in.
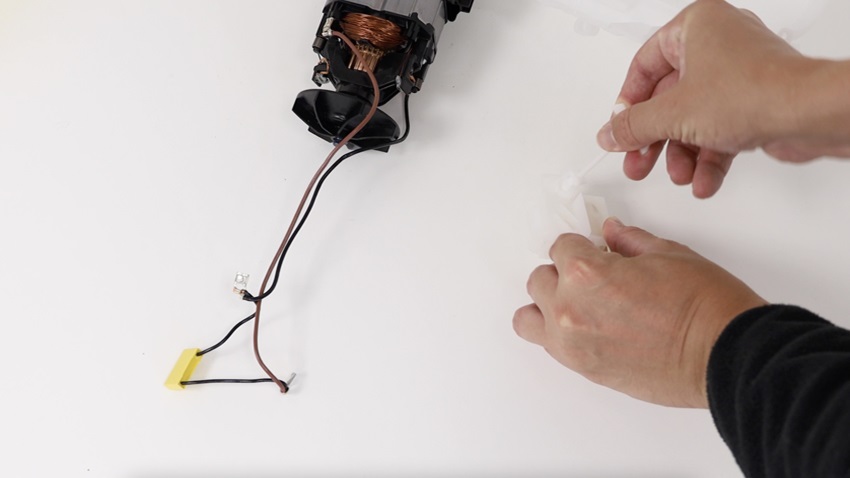
Re-attach wiring connectors
Using the reference photos you took earlier, re-connect the electrical connectors.
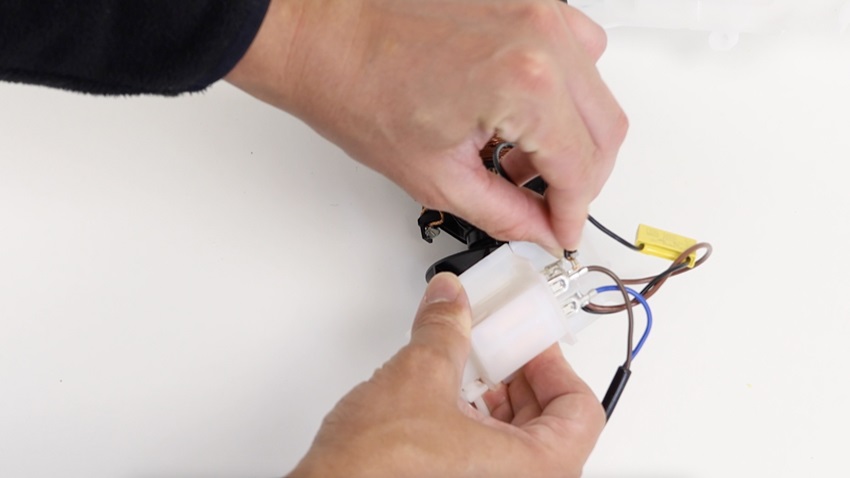
Attach new switch unit
Attach the new switch unit to the cylinder head as shown. Make sure the connection points are firmly in place.
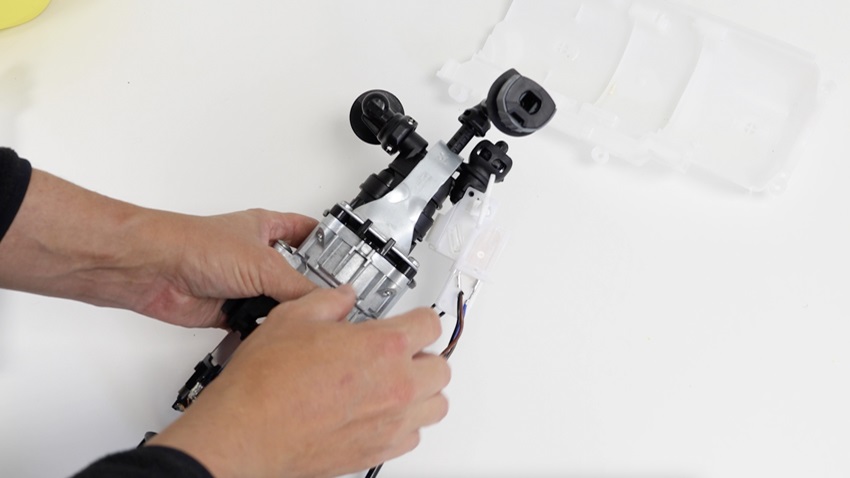
4. Re-fit casings and wheels
You can now put the unit on one side of the plastic casing as shown and then re-attach the other side of the casing.
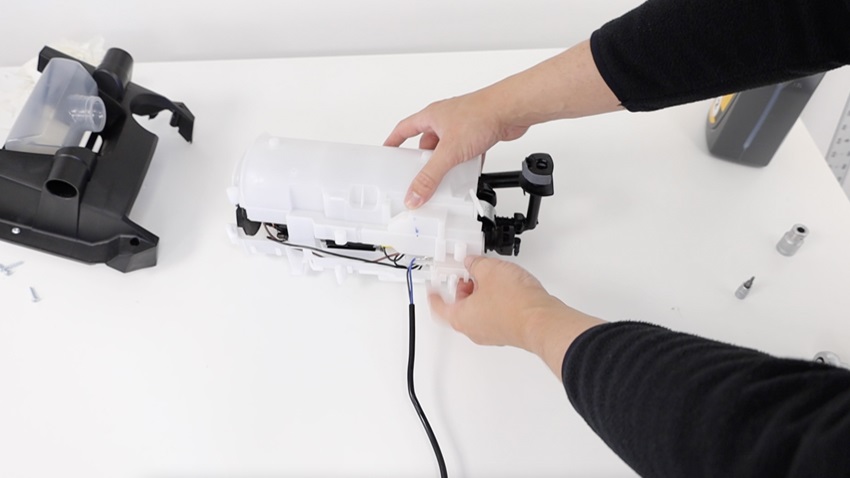
Then, re-screw all the T15 screws back in place.
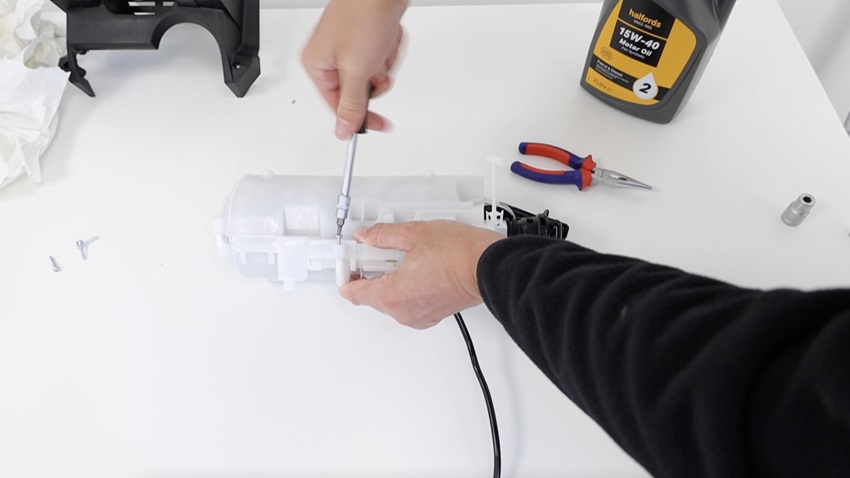
You can place the motor back in the casing and reattach the detergent suction pipe hose. For this to attach securely and easily, you may need to unscrew the four screws with a Phillips screwdriver on the black casing at the bottom of the handle. Then, pop the plastic housing back on.
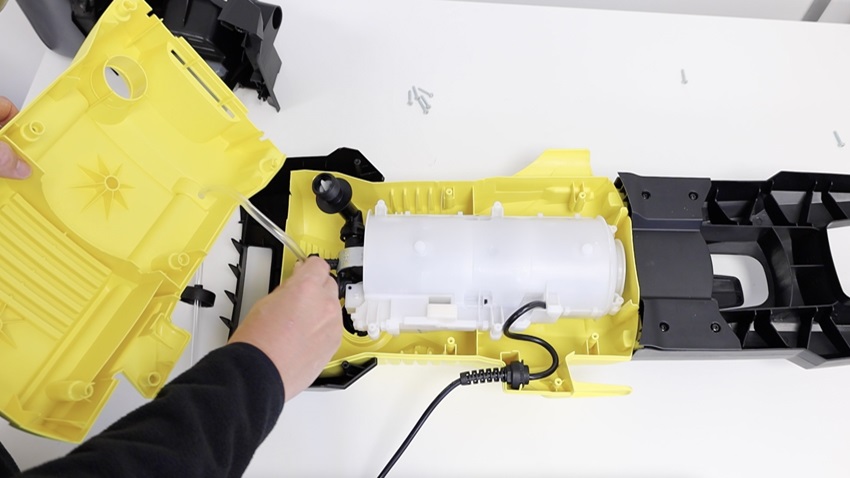
Re-fit outer casing
Then, go ahead and re-screw all the screws back into the plastic outer housing. And if you unscrewed the four screws on the bottom of the handle, also re-screw these in.

Re-fit detergent tank holder
You can then re-attach the detergent tank holder and re-screw the four screws in.
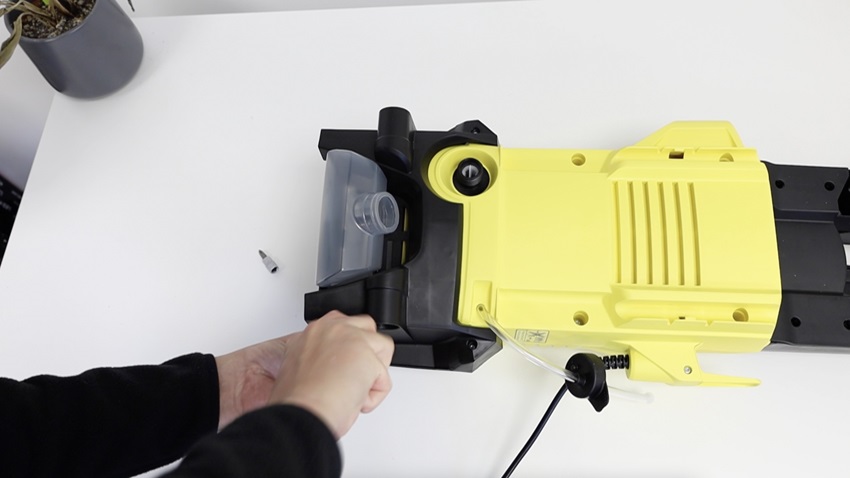
Then, attach the detergent suction pipe hose back to the detergent tank.

Re-fit wheels
Re-attach the wheels.
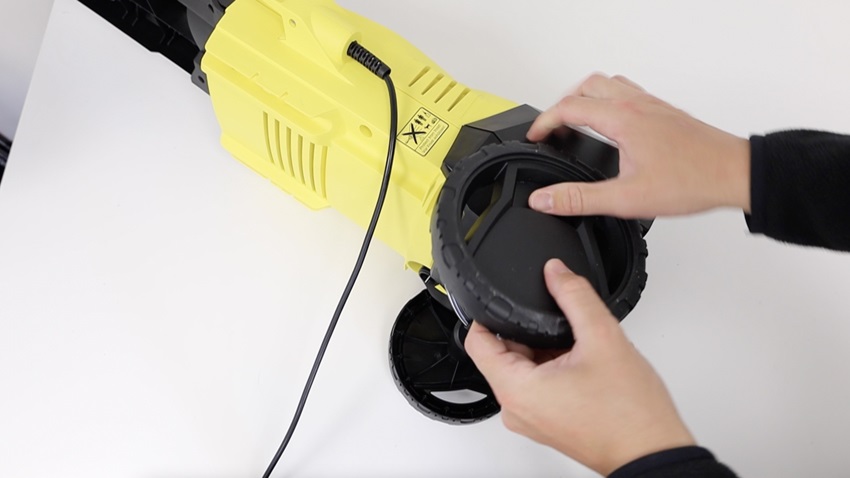
And that’s it, your new switch unit is all set to go!