Make and Model of Oven Used in This Video
Hotpoint DU2540WH (61022940000)
Hotpoint DU2540WH (769991022942)
Part Used in This Video
Hotpoint Oven Fan Motor Insulation Plate
1. Access insulation plate
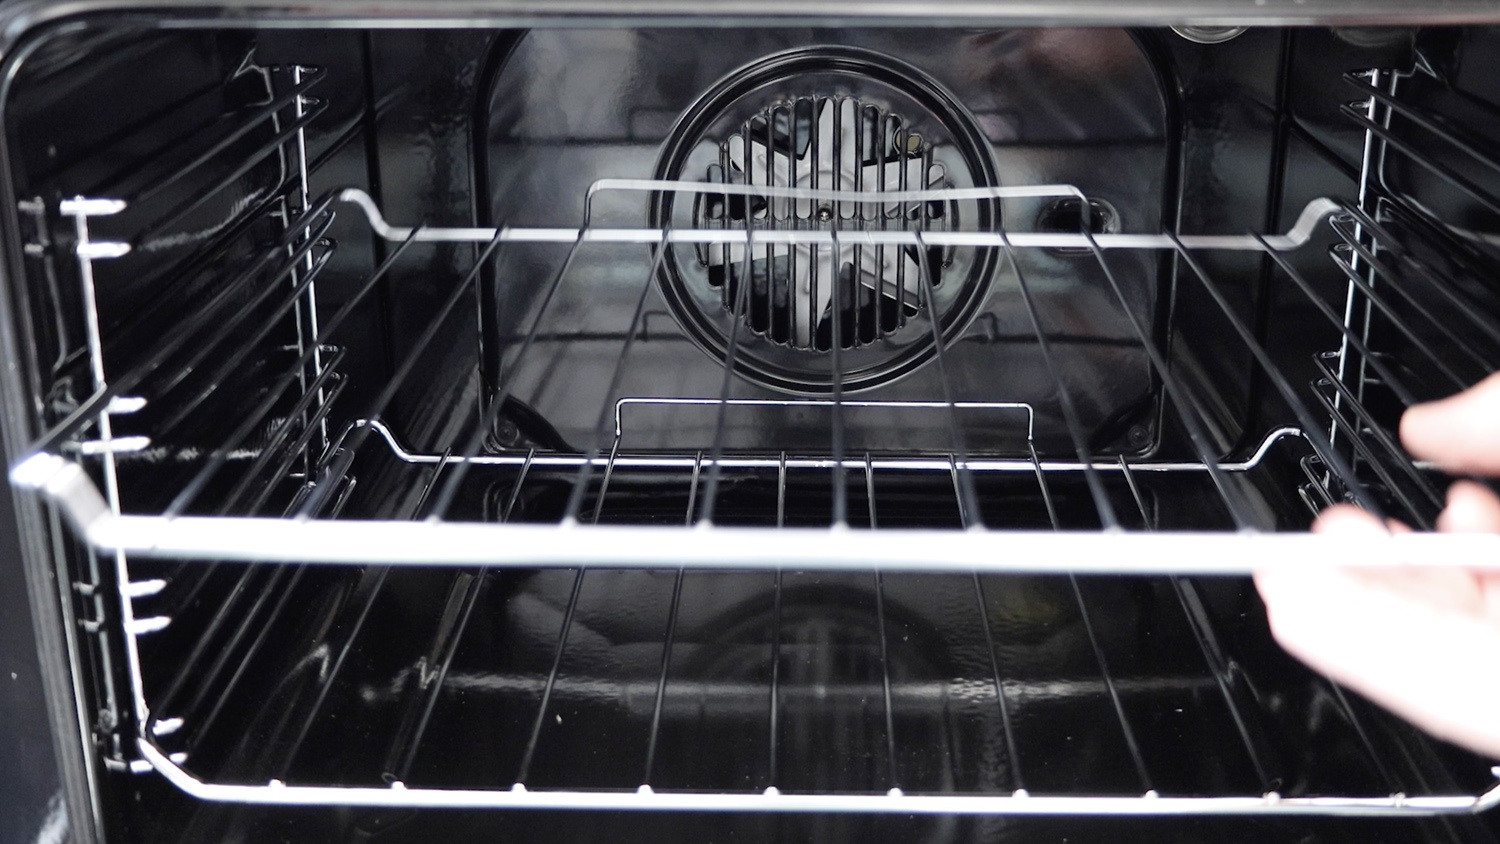
Firstly, remove any trays and shelves from your oven.
Remove back plate
There will be four screws holding your internal back plate. Unscrew all of these.
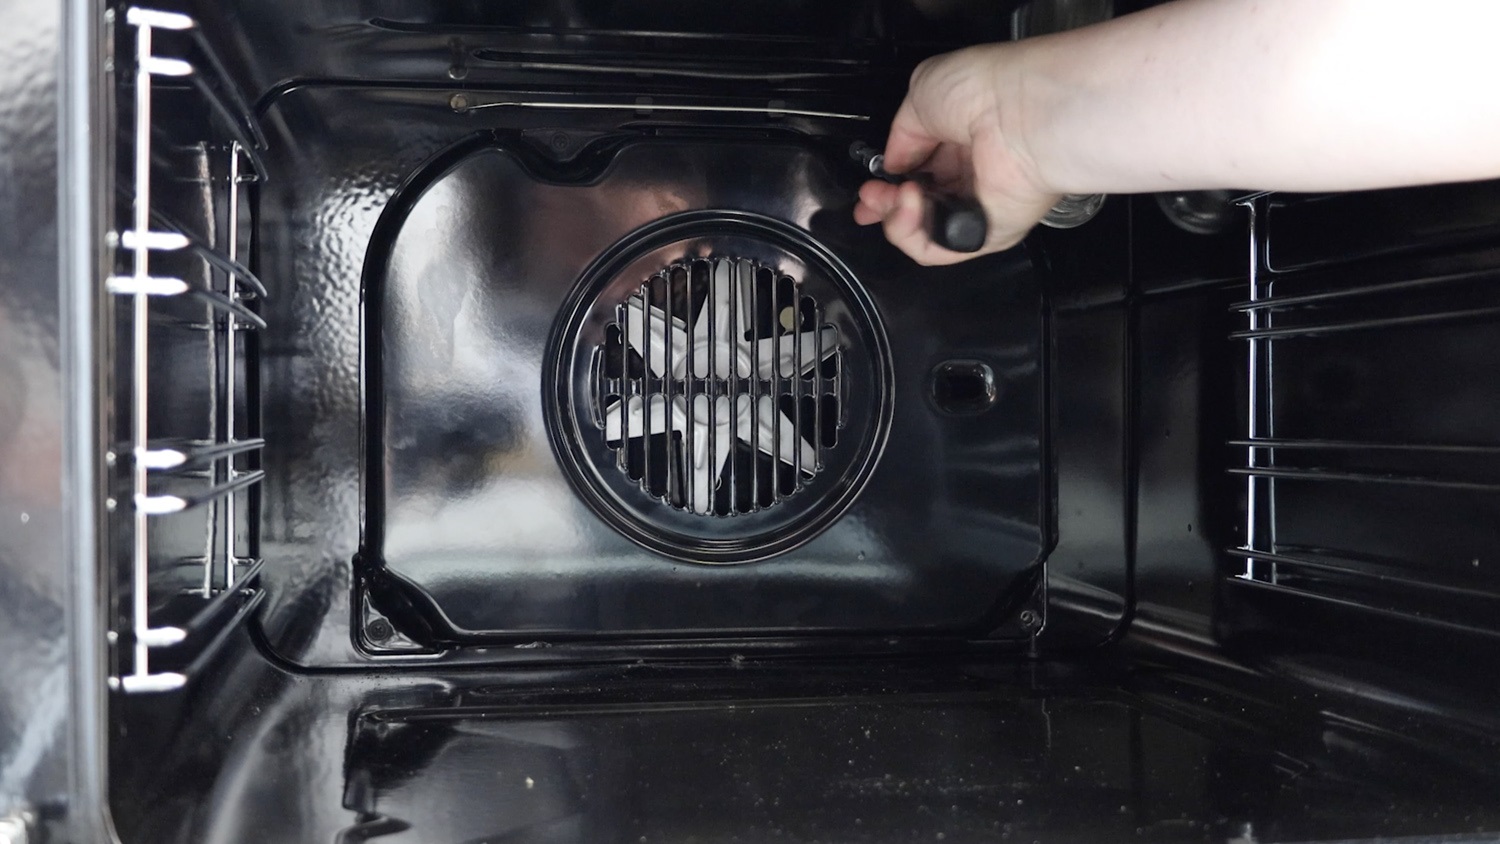
Then remove the back plate.
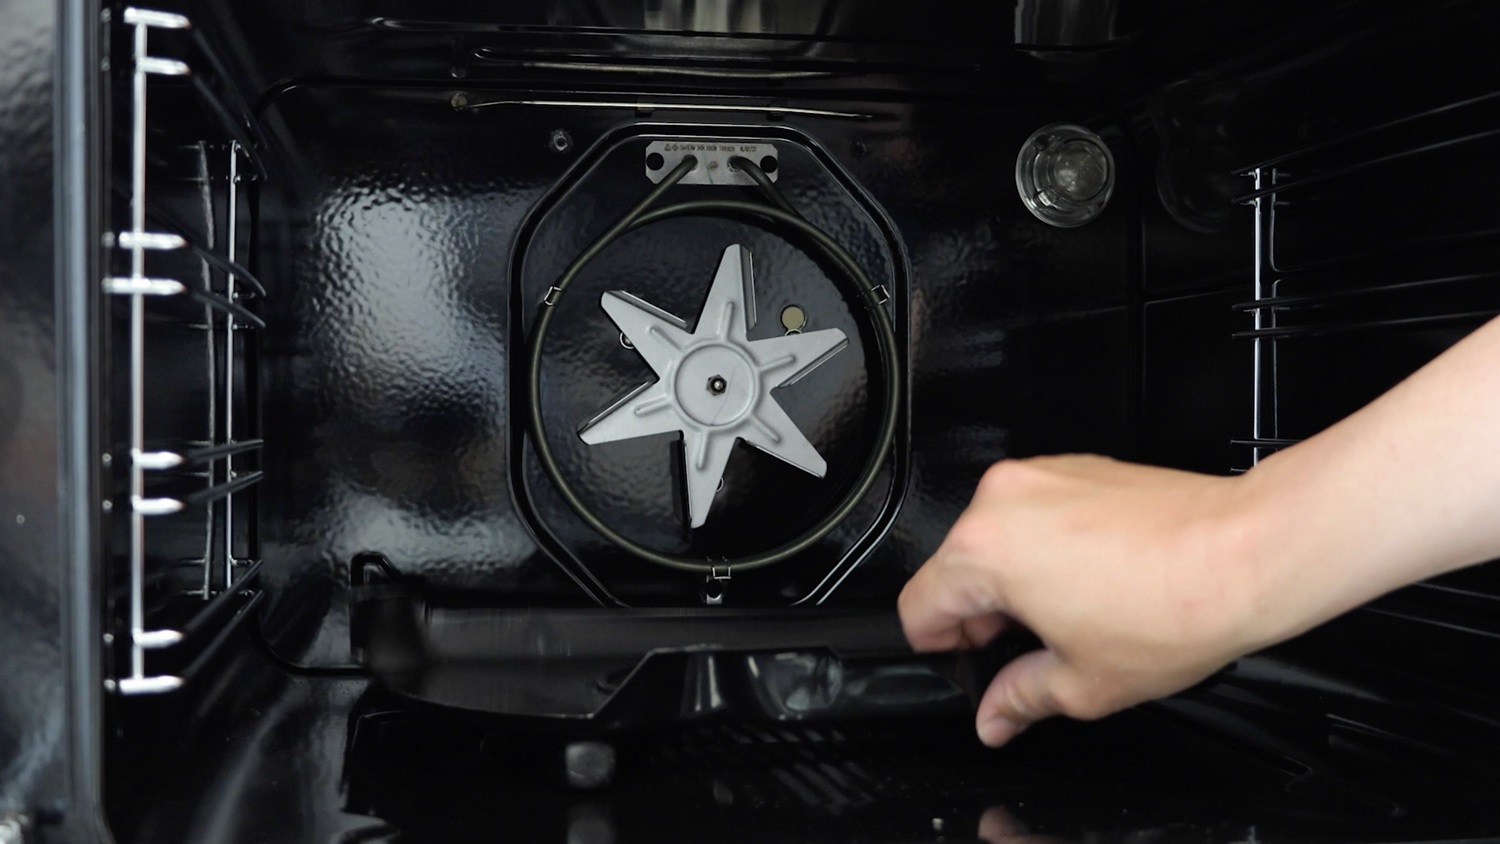
Remove oven fan
With the 10mm socket or a wrench, remove the nut holding down the fan. This screw is a reverse thread, so twist it clockwise to loosen it.
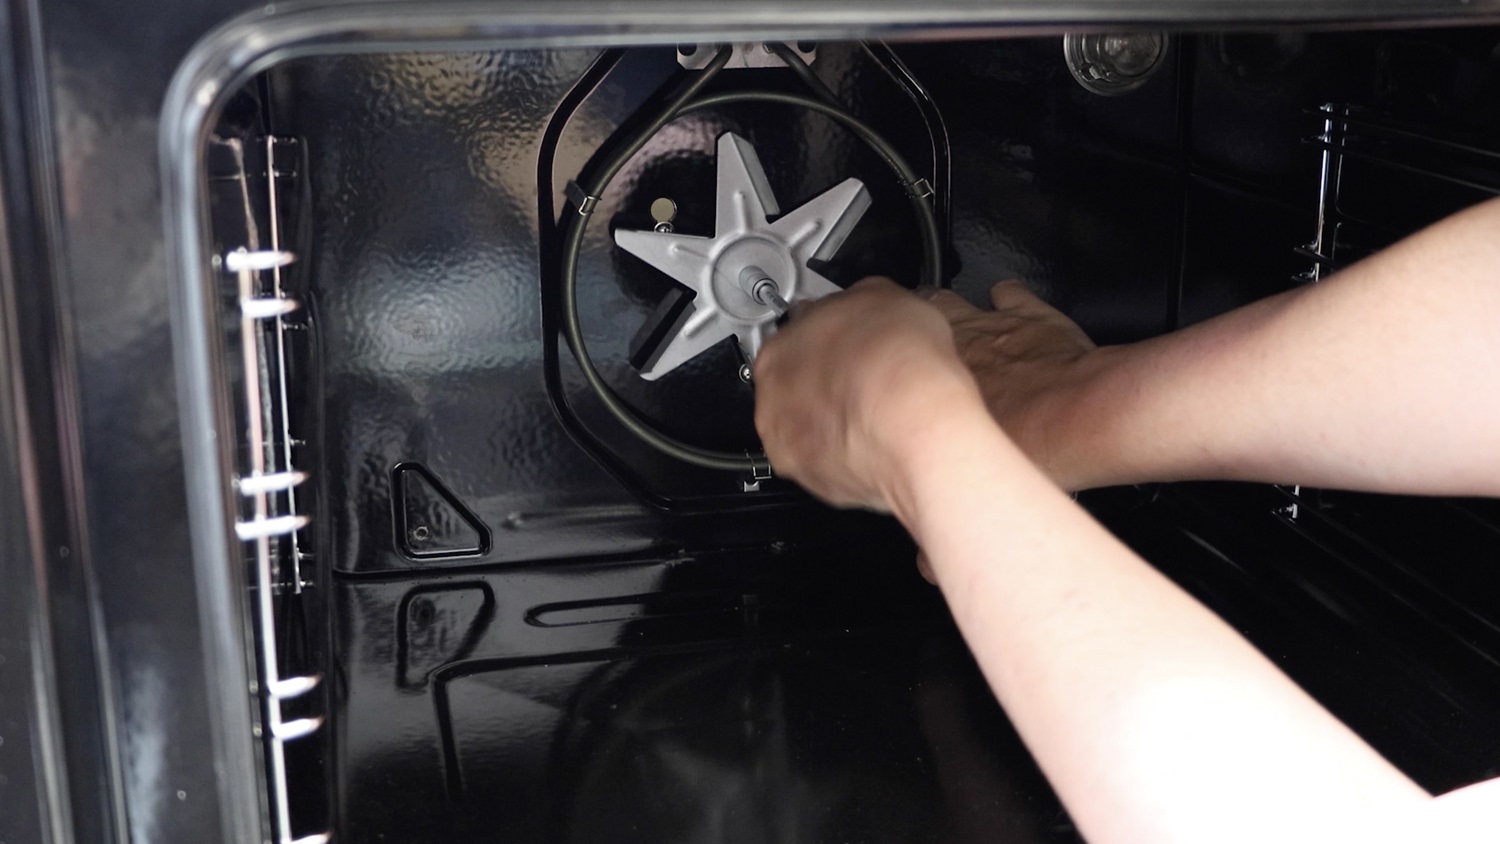
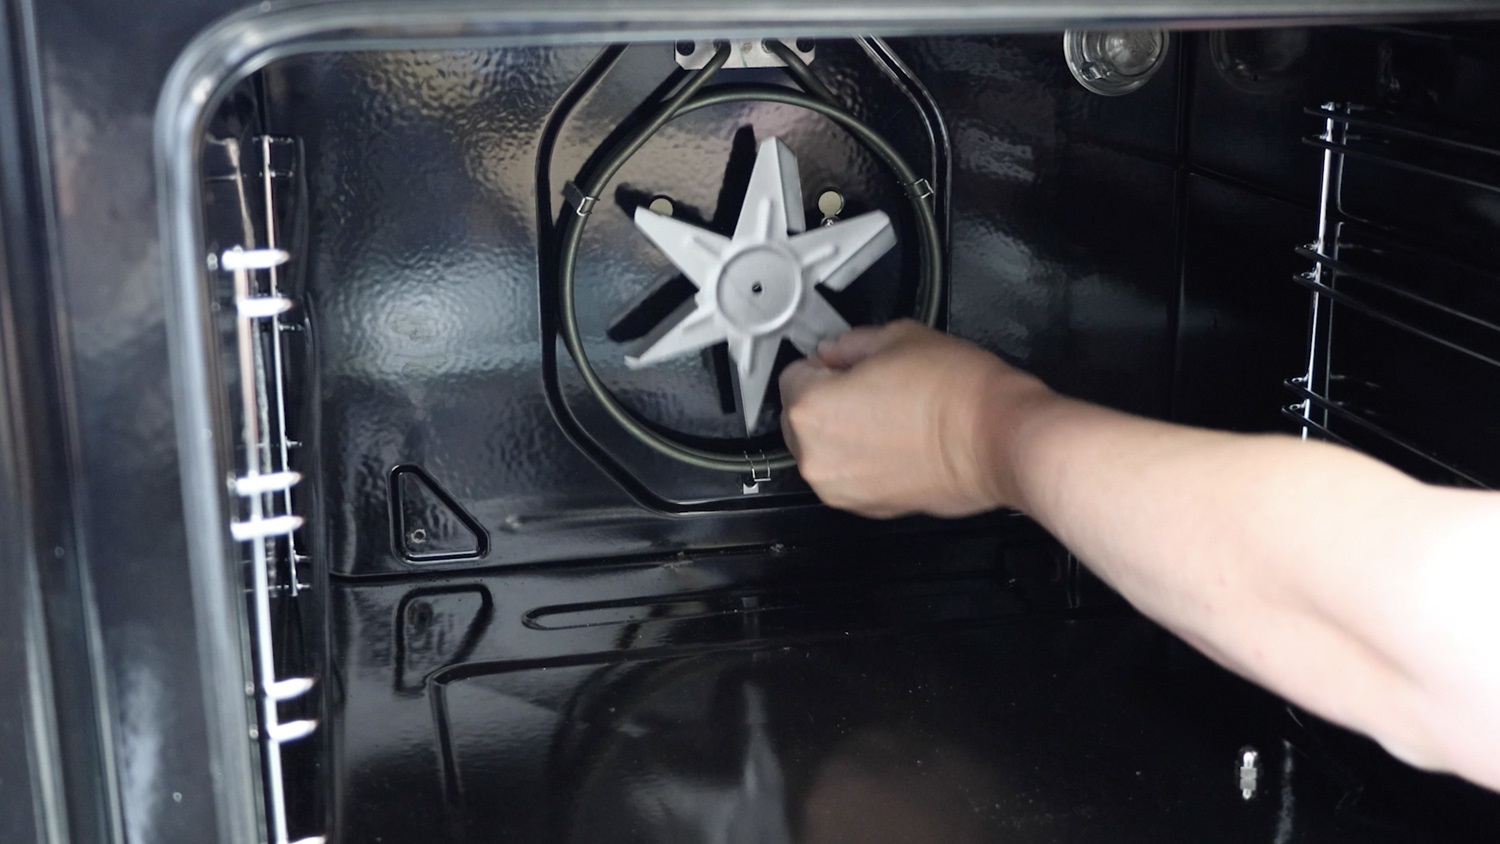
Remove the fan.
The back of the oven needs to be accessed. If your oven is in a recess, remove the screws found at the front and gently pull your oven out.
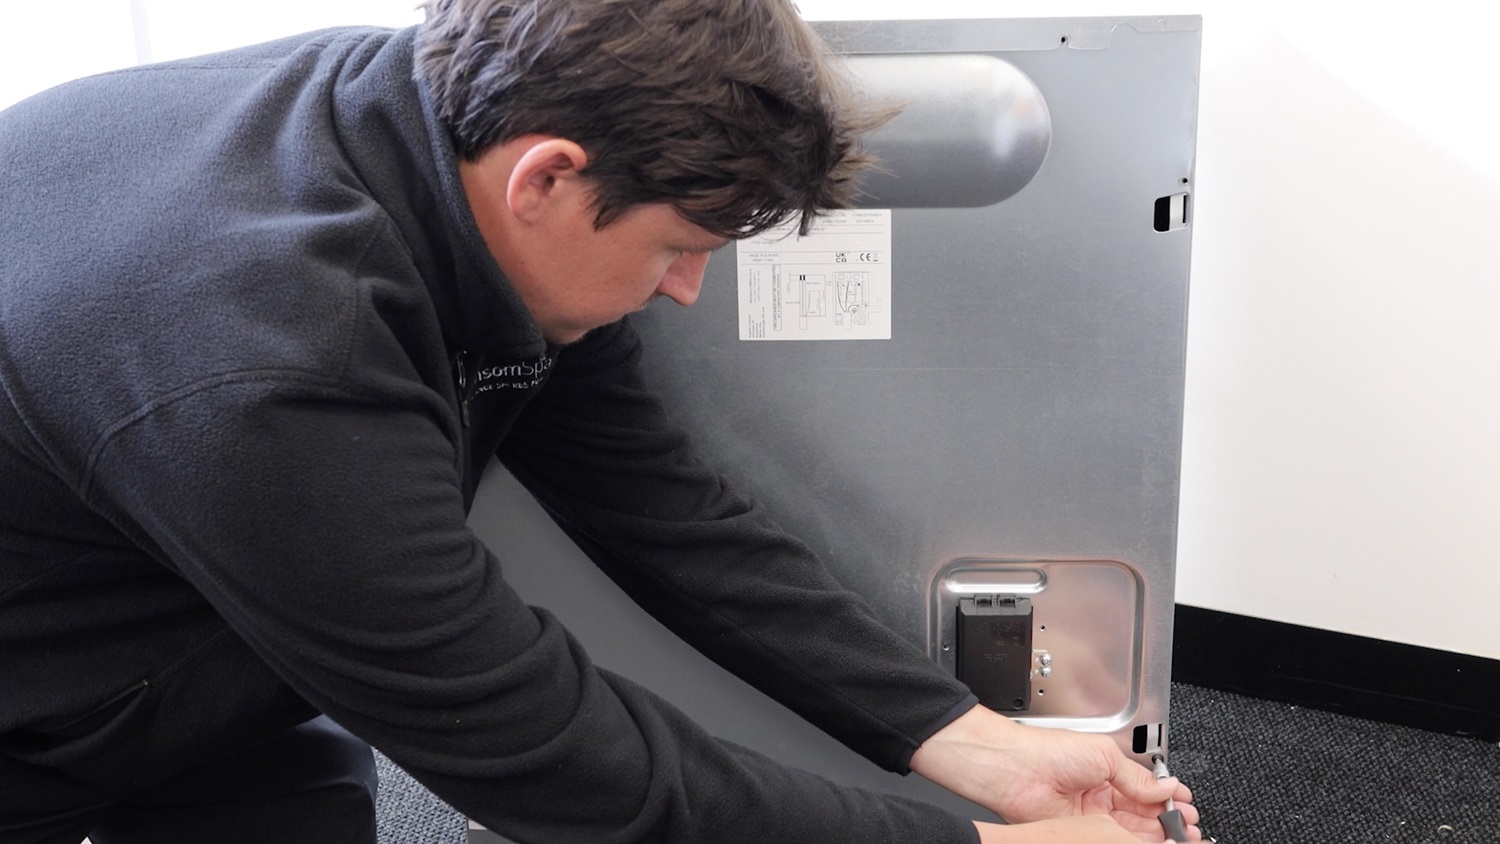
Remove the screws on the rear panel.
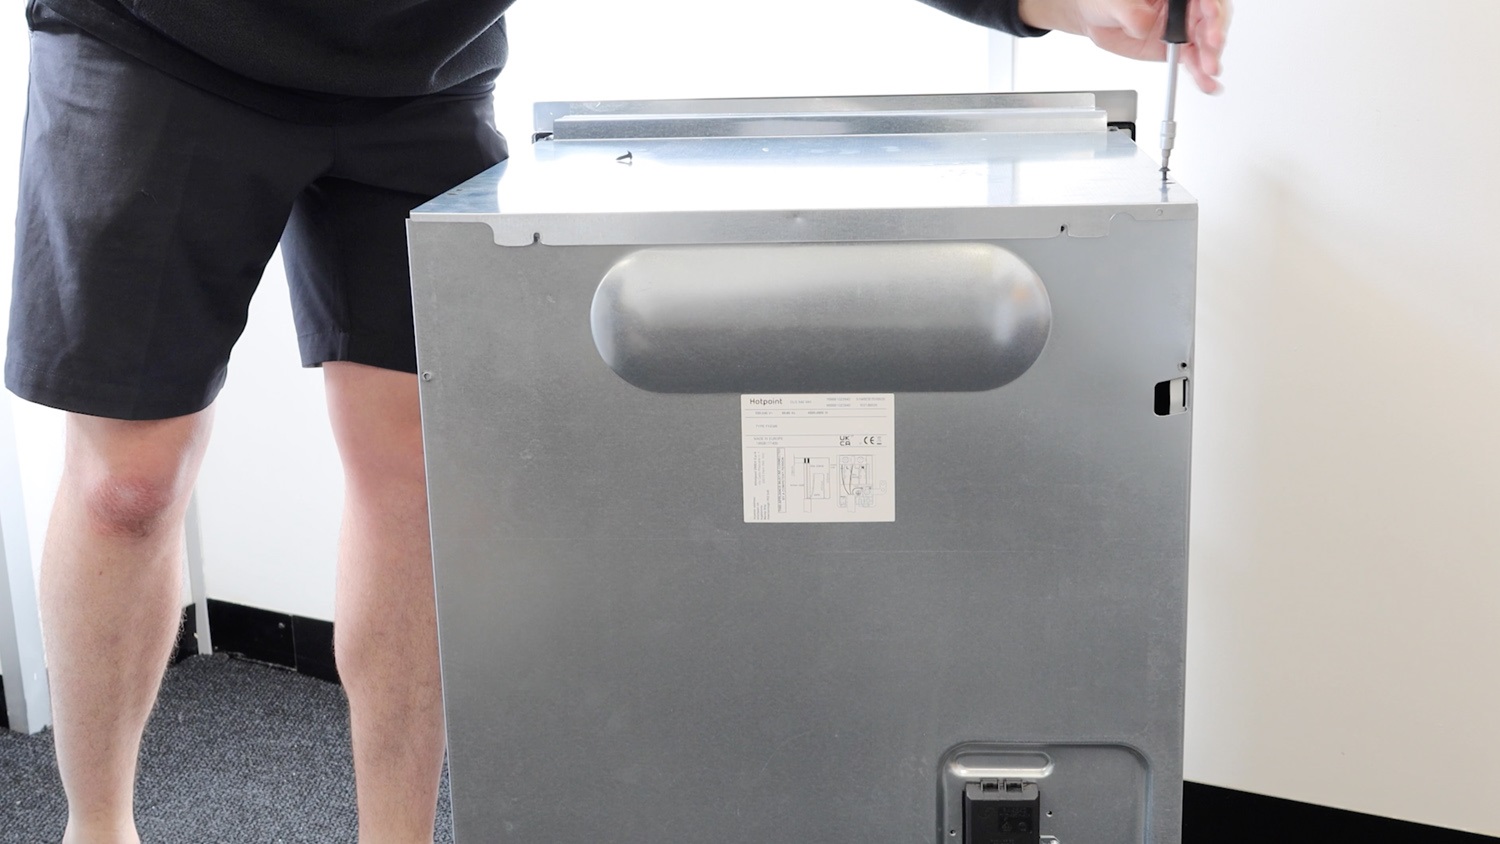
Then remove the two rear screws on top holding the top panel in place.
Remove oven fan motor
Remove all three screws from the existing oven fan motor.
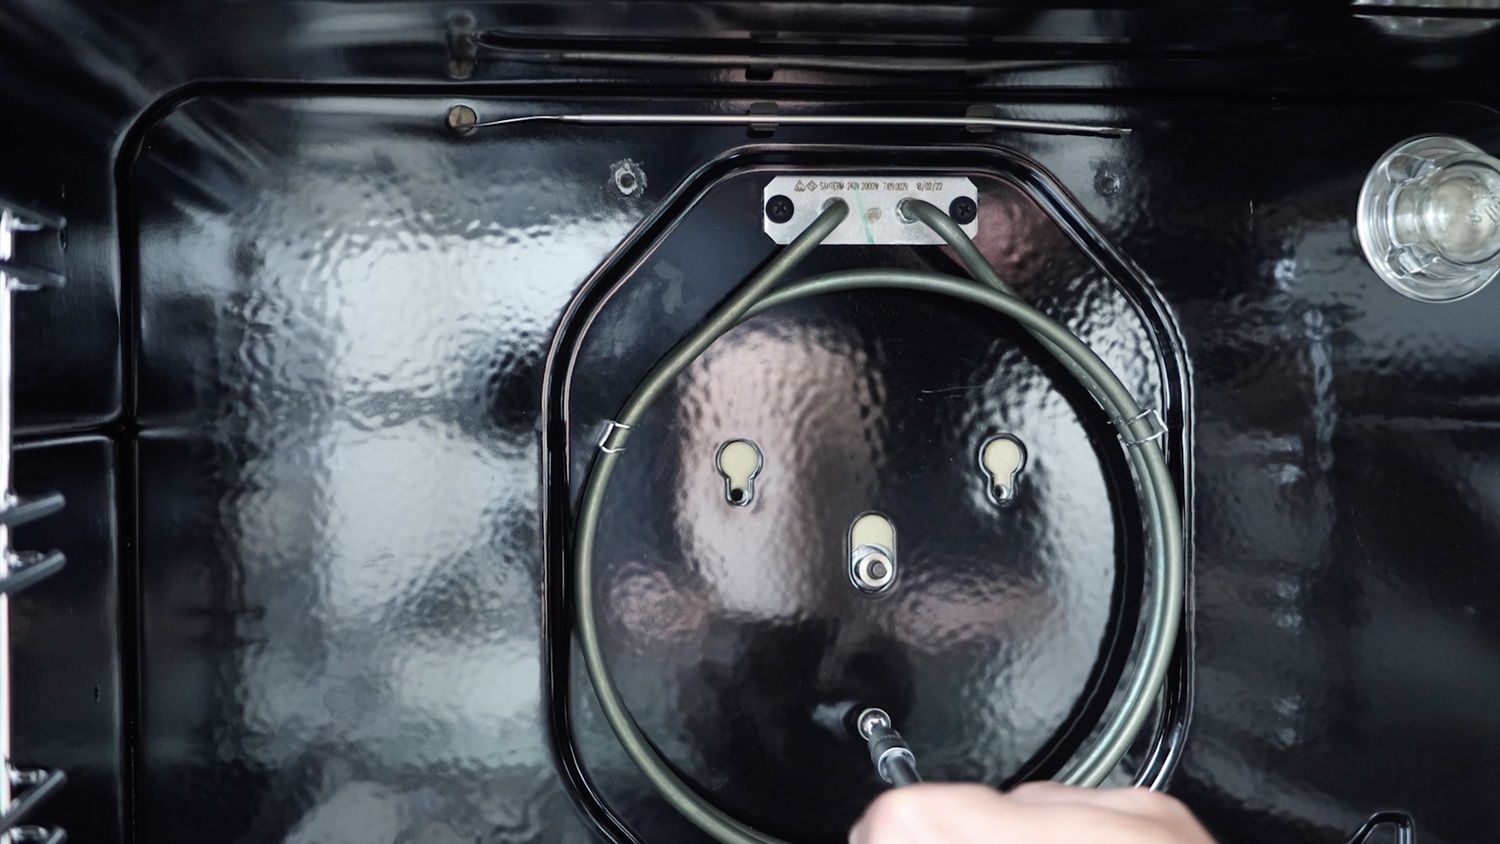
Remove the existing oven fan motor by sliding it up and out.
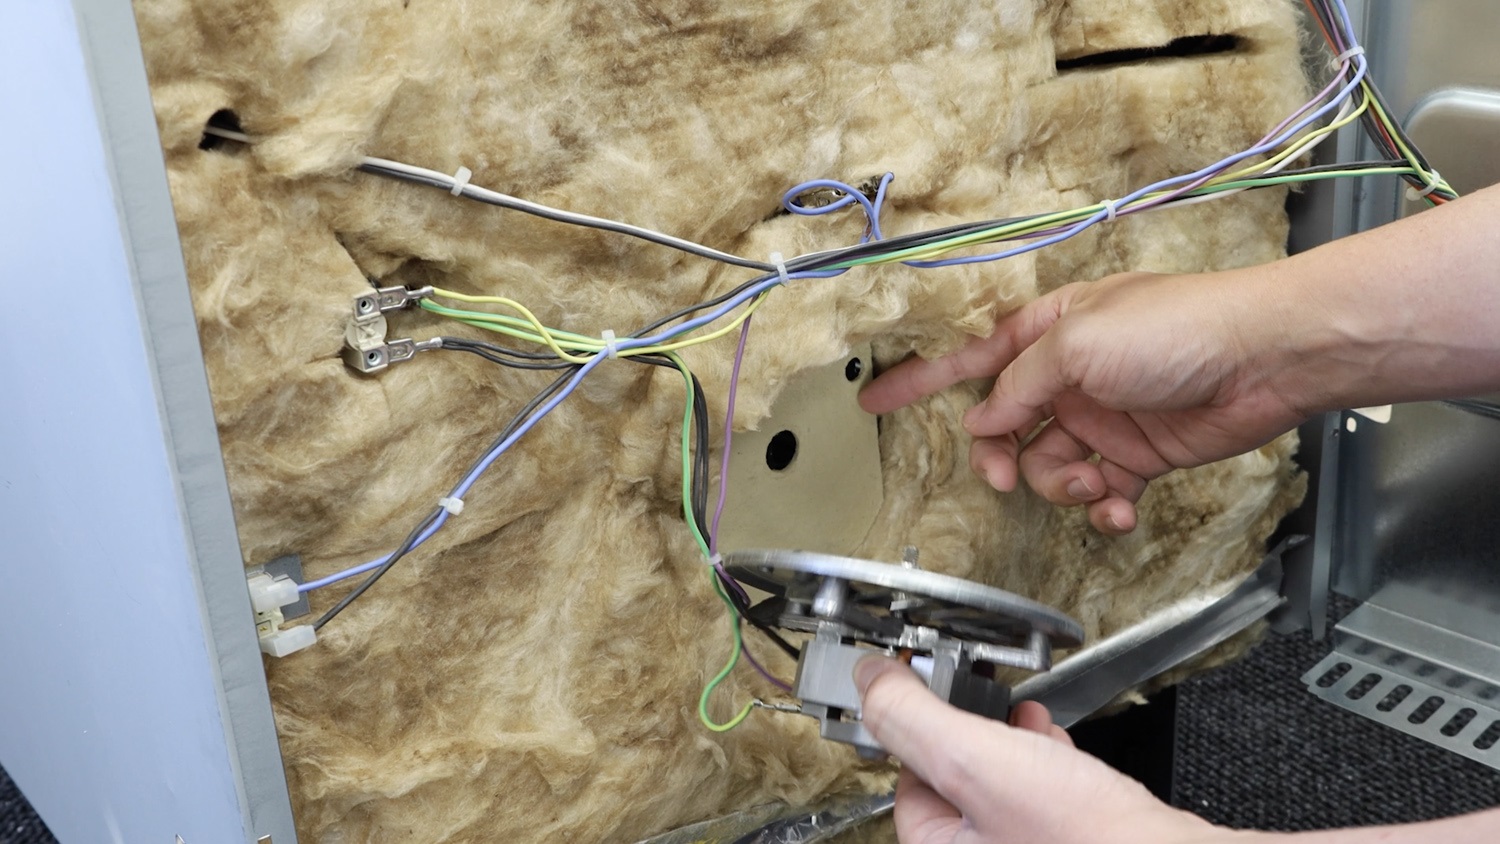
2. Remove old insulation plate
Remove the old insulation plate from the oven.
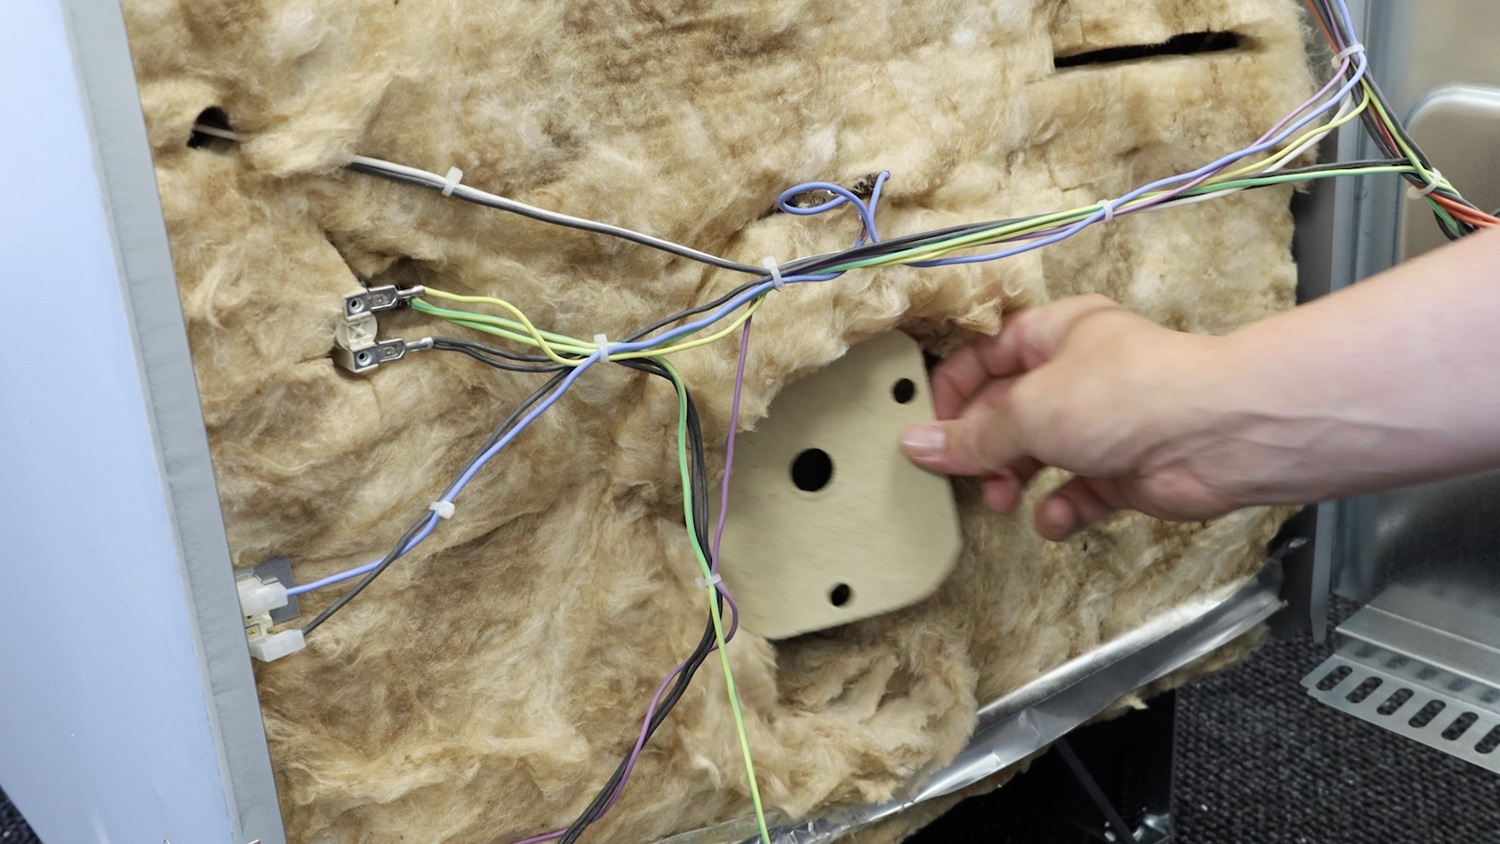
3. Install new insulation plate
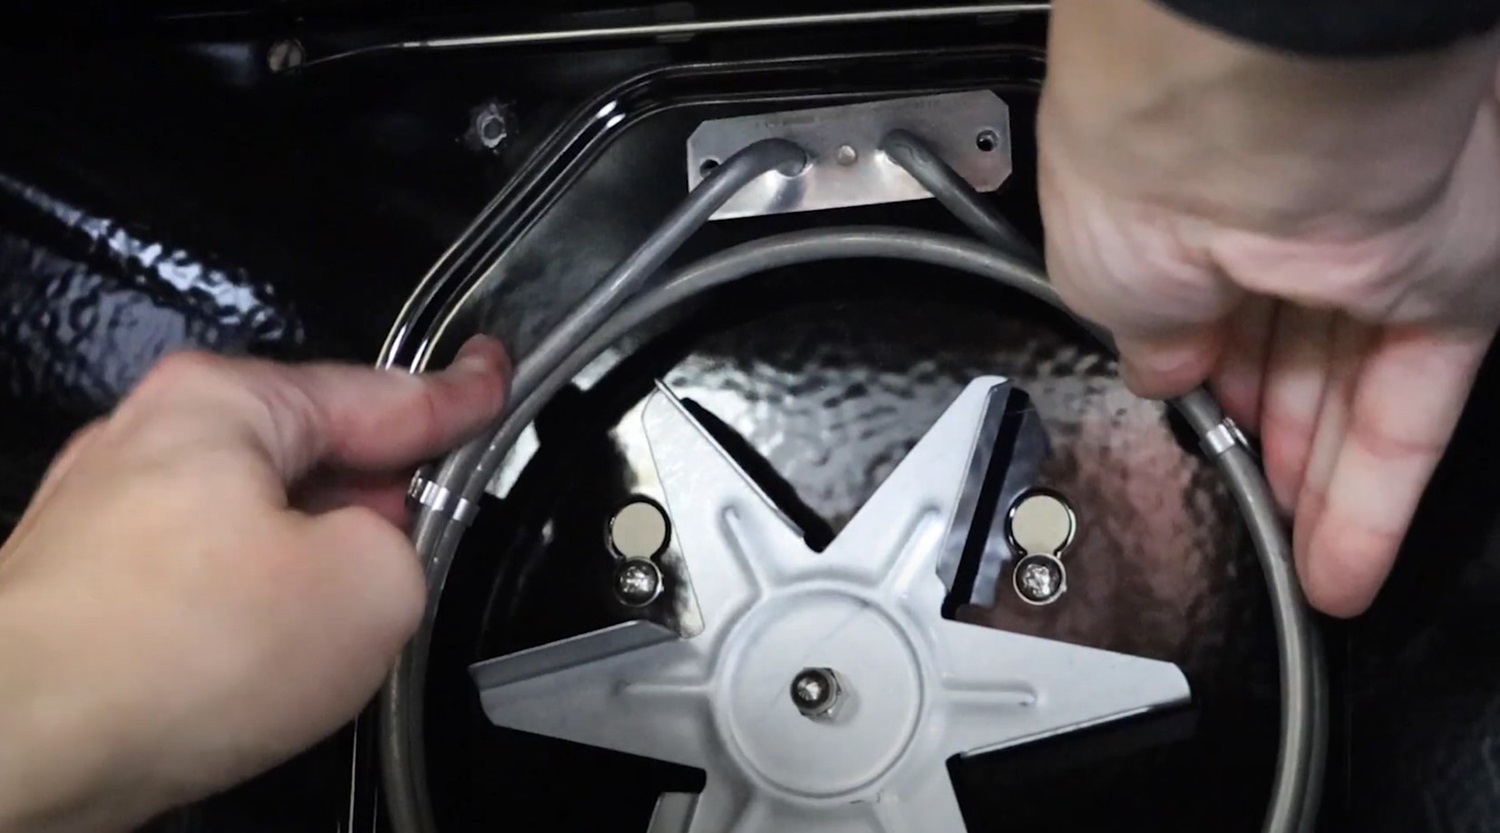
With your new oven fan motor insulation plate, line the holes up with the oven fan motor.
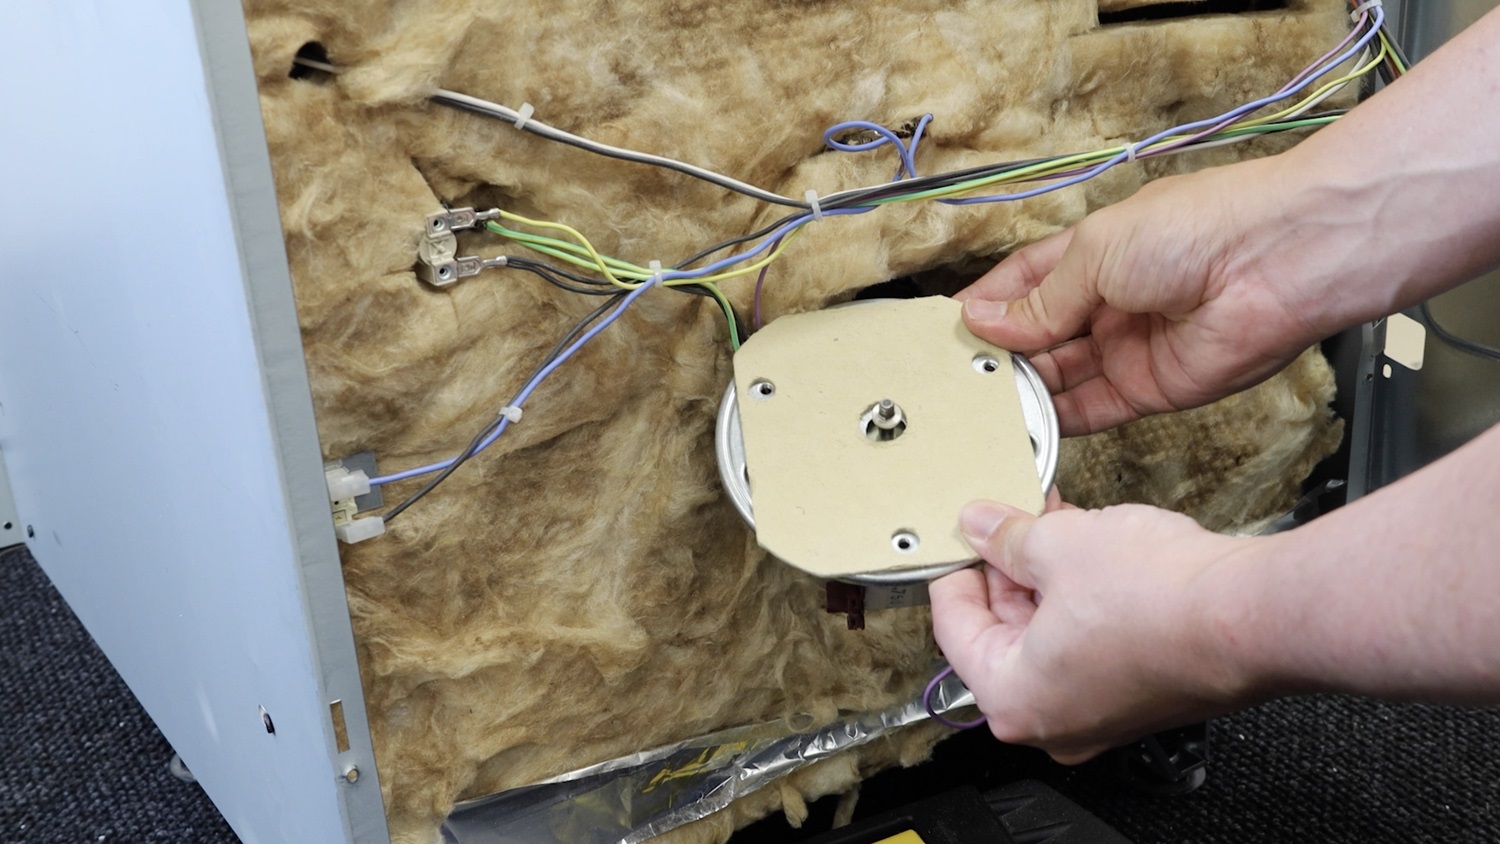
With your oven fan motor and the new oven fan motor insulation plate, slightly re-screw the top two screws. Making sure not to screw them in the whole way. Leave the bottom screw for later.
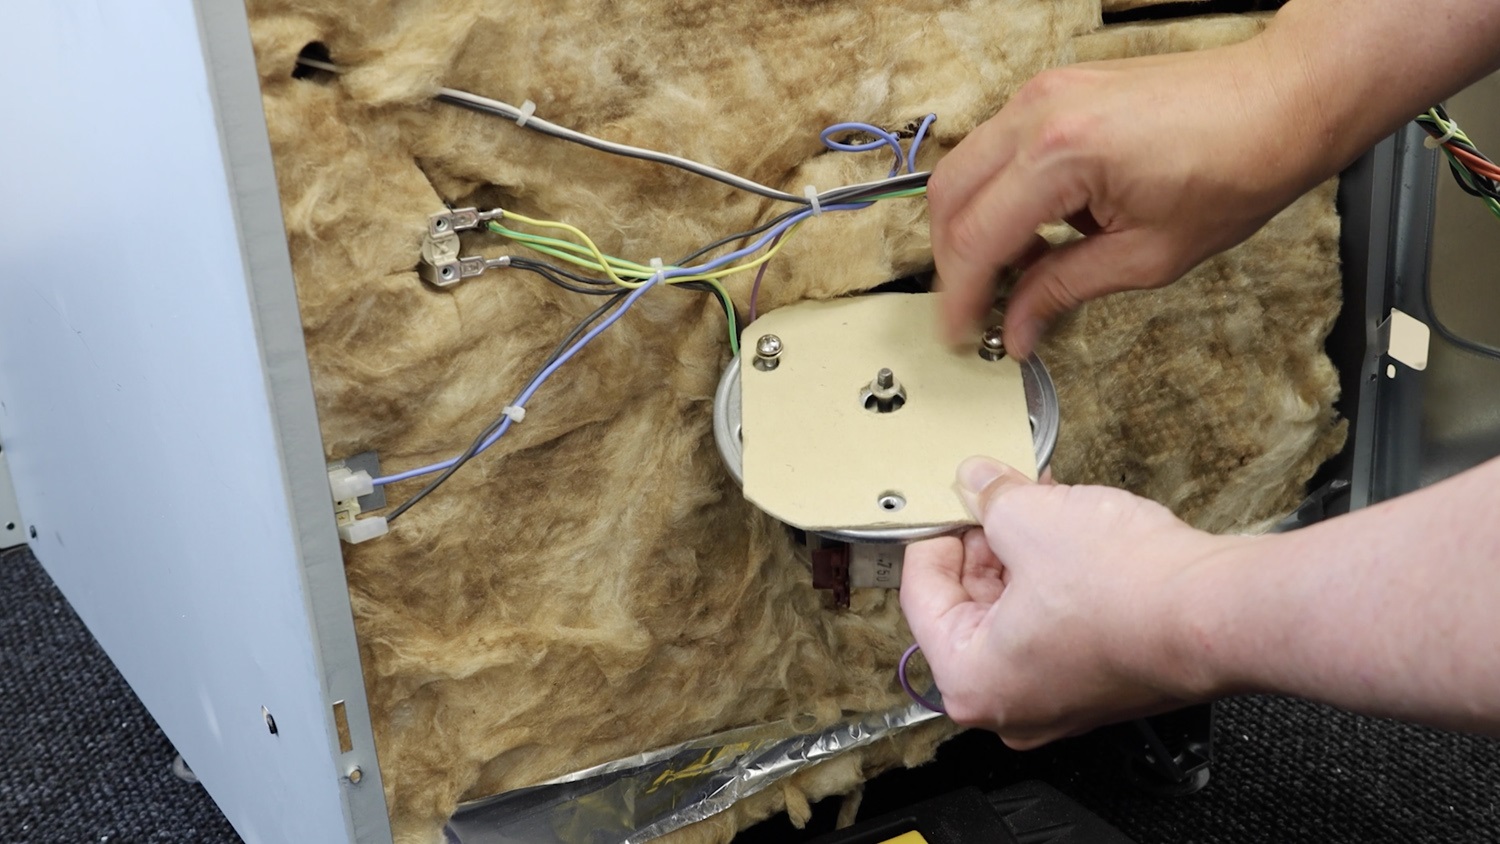
Insert the top screws on your oven fan motor into the slots.
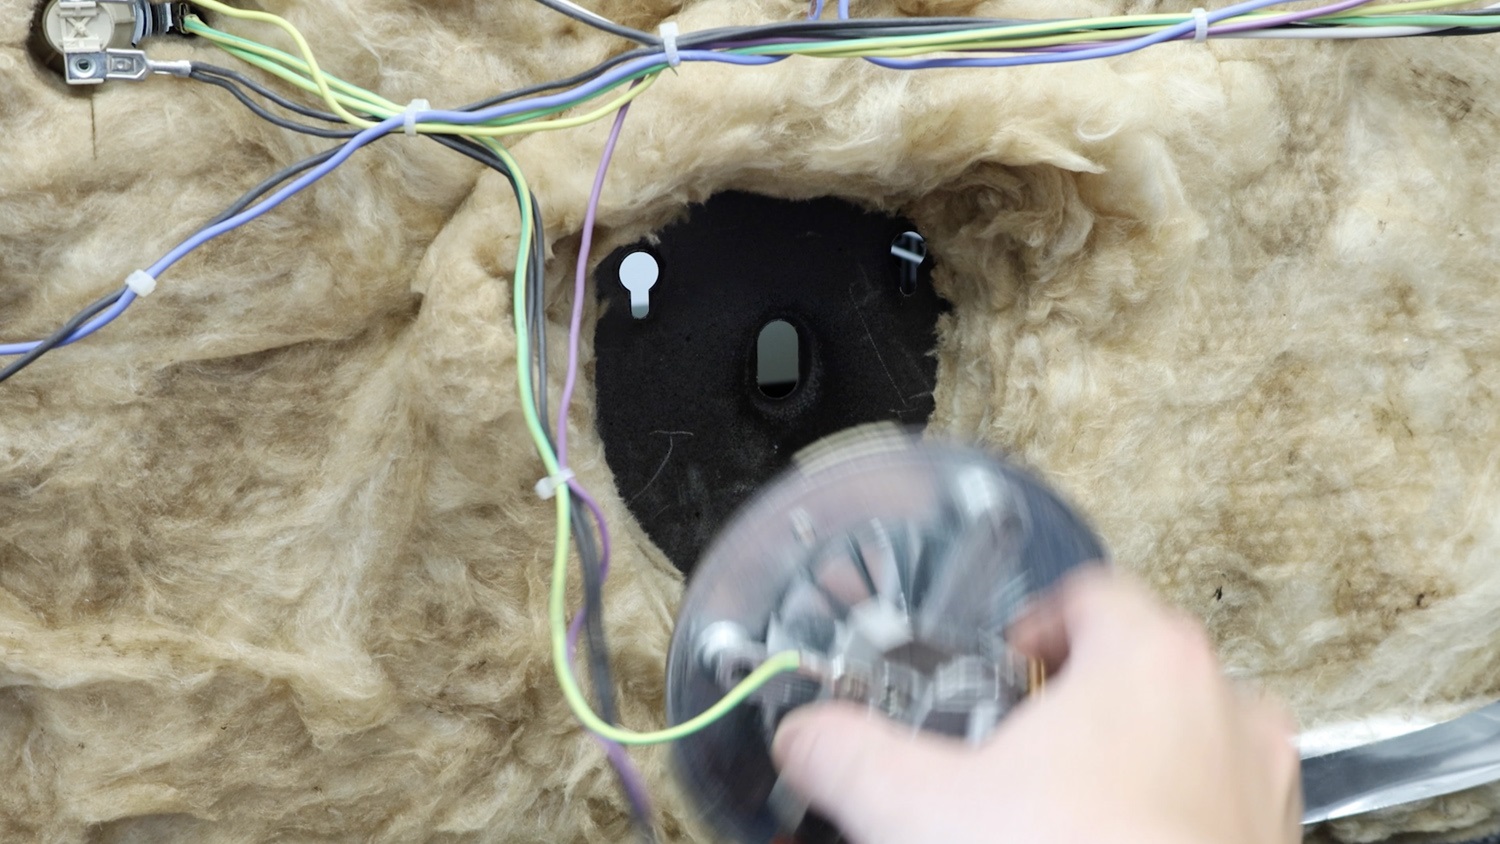
Gently pull it down to secure the oven fan motor in place.
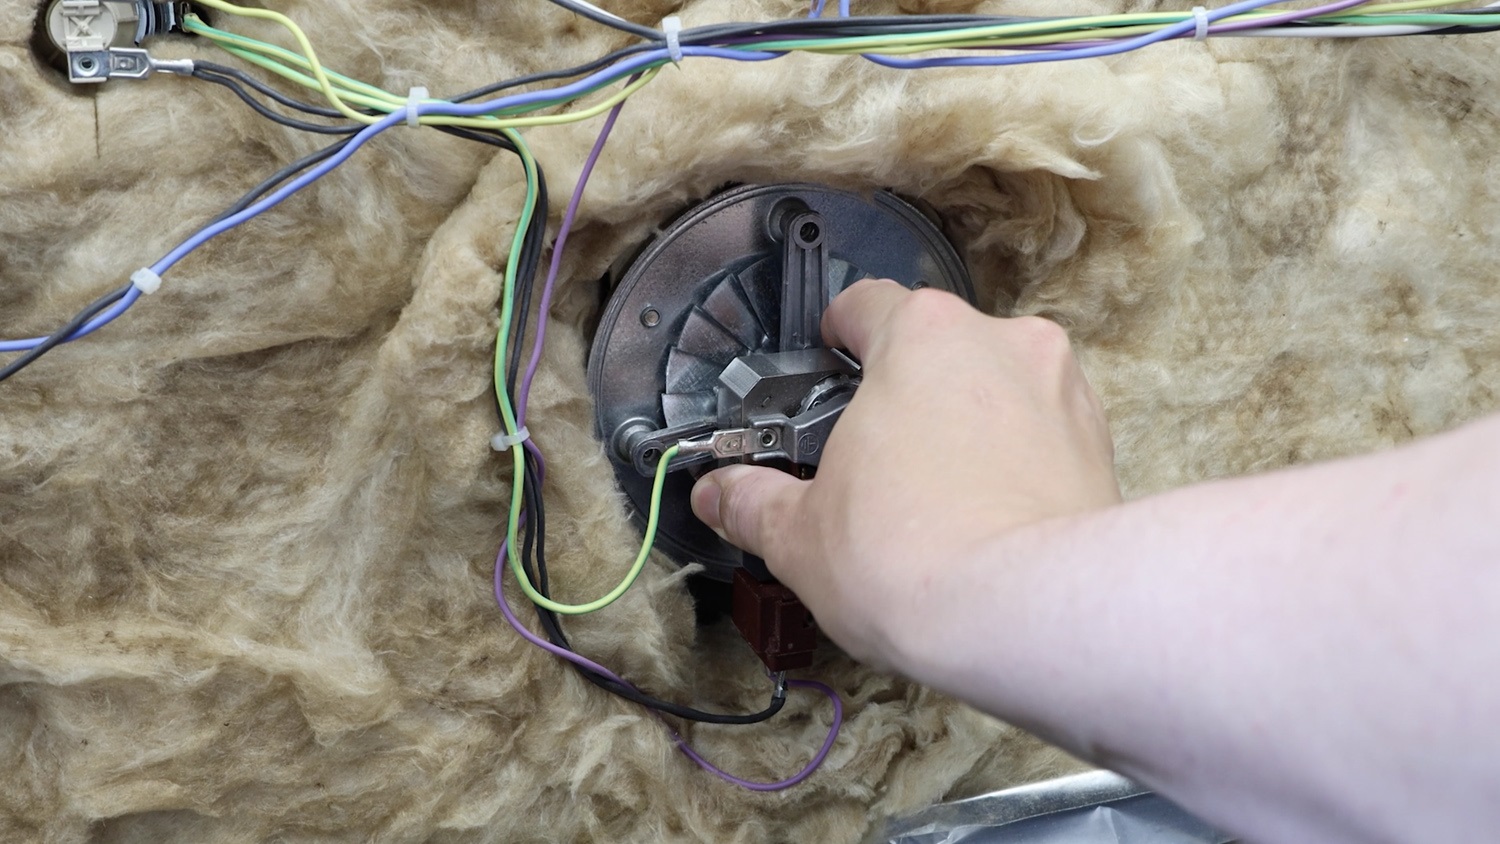
4. Re-assemble oven
Fasten the two screws on the front of the fan motor and then screw the bottom one on.
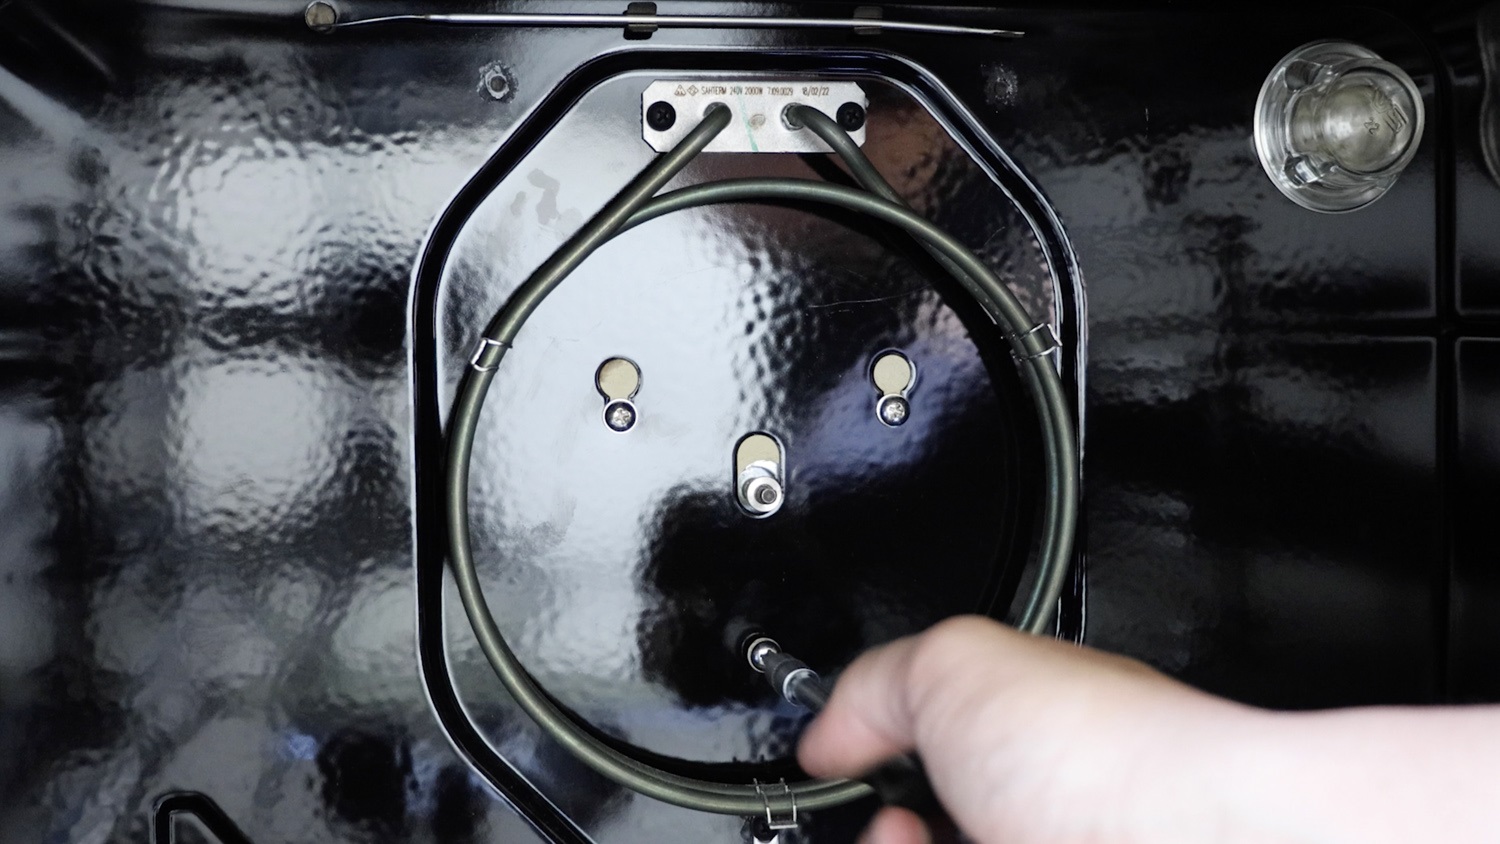
Re-attach oven fan
Ensure the oven fan is pushed all the way on.
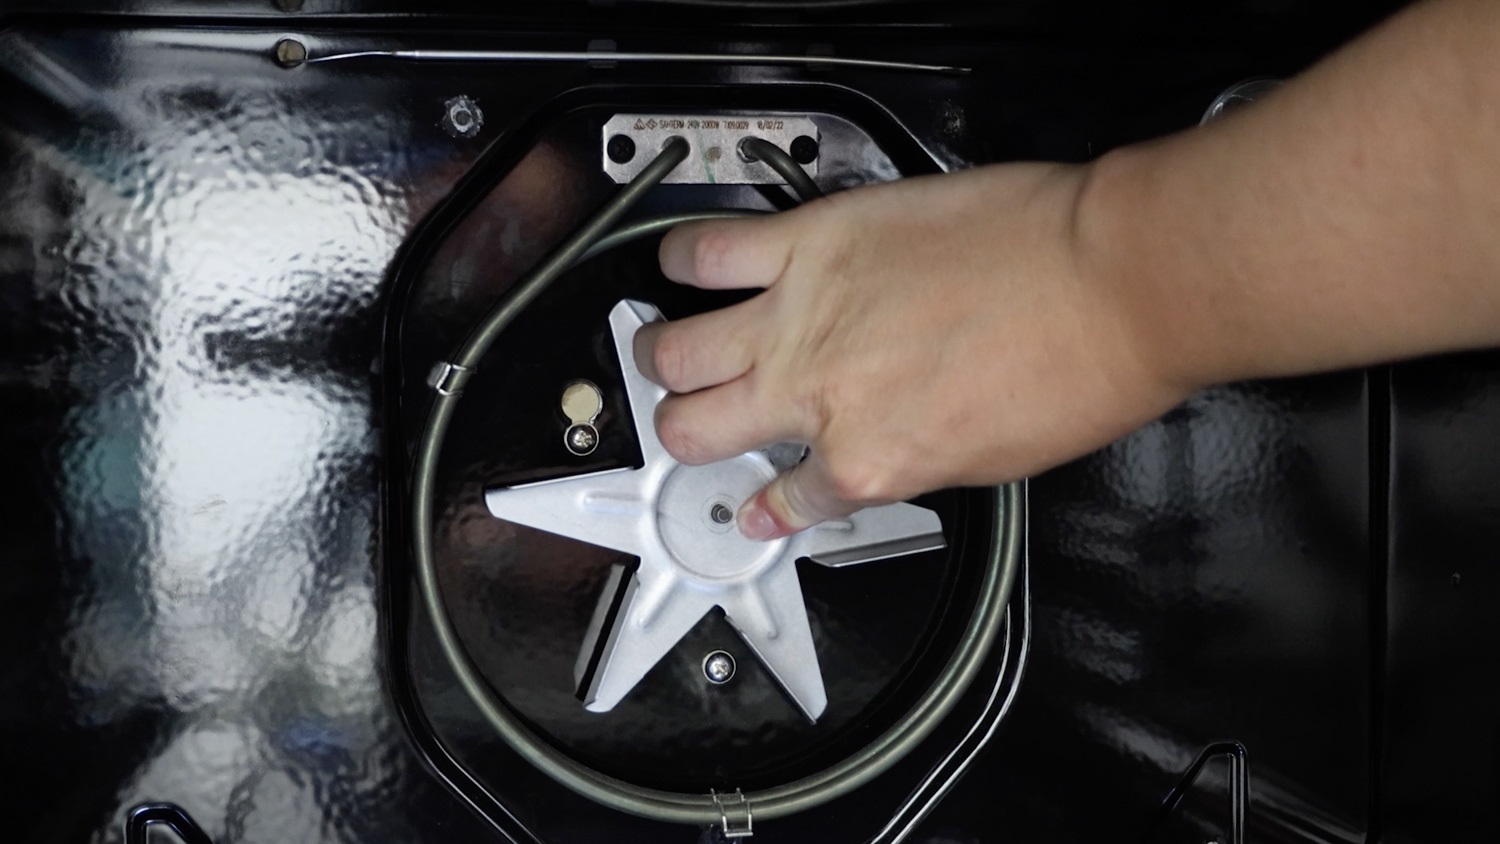
Re-attach oven fan bolt
Attach and fasten the bolt. Remember that it's a reverse thread. Screw anti-clockwise to tighten. Test the fan spins correctly.
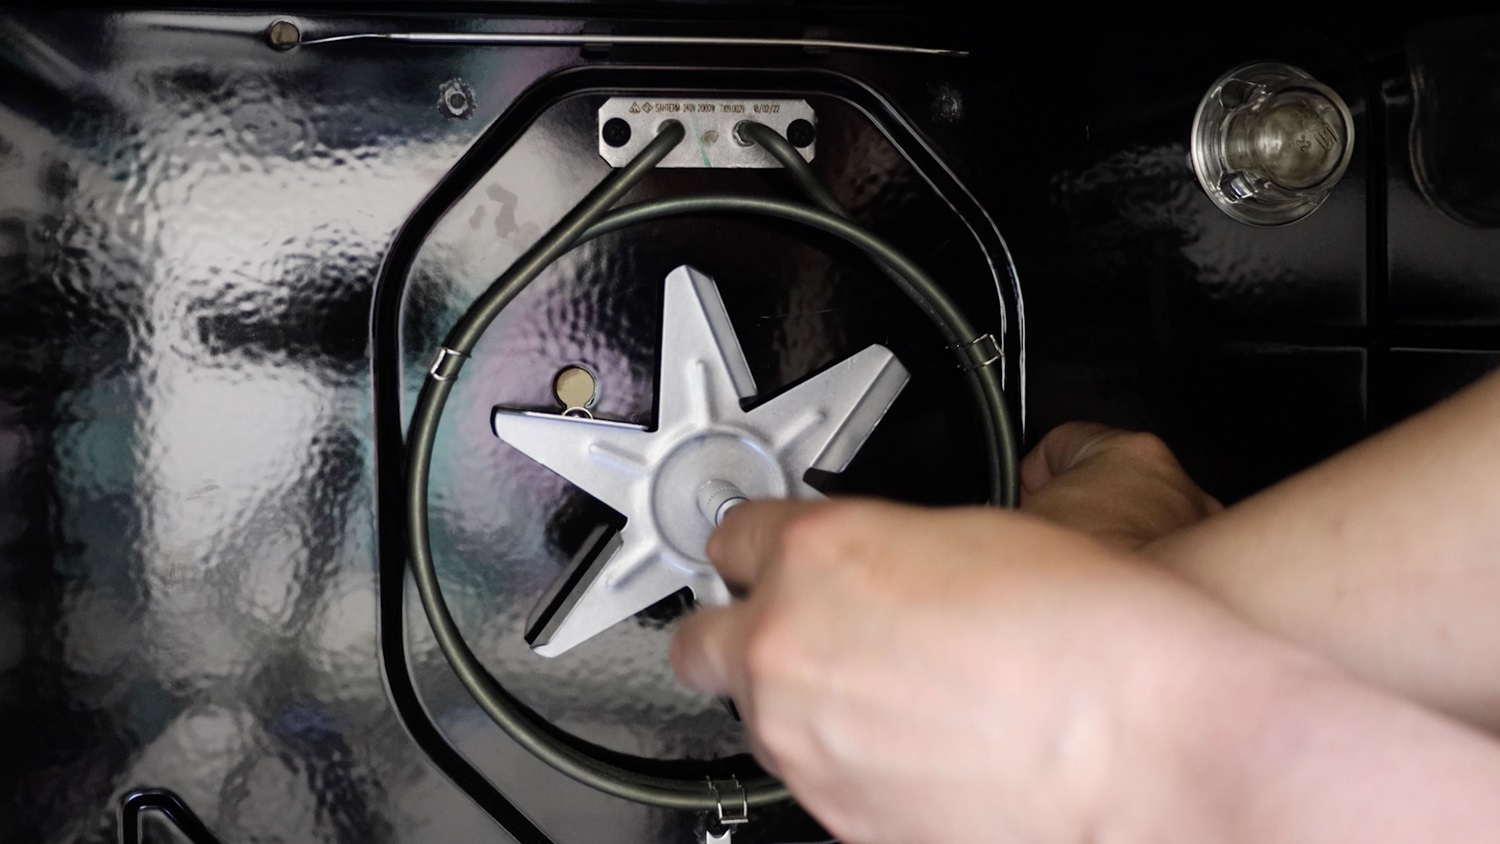
Re-attach internal back plate
Re-attach the internal back plate and re-screw the four screws back in.
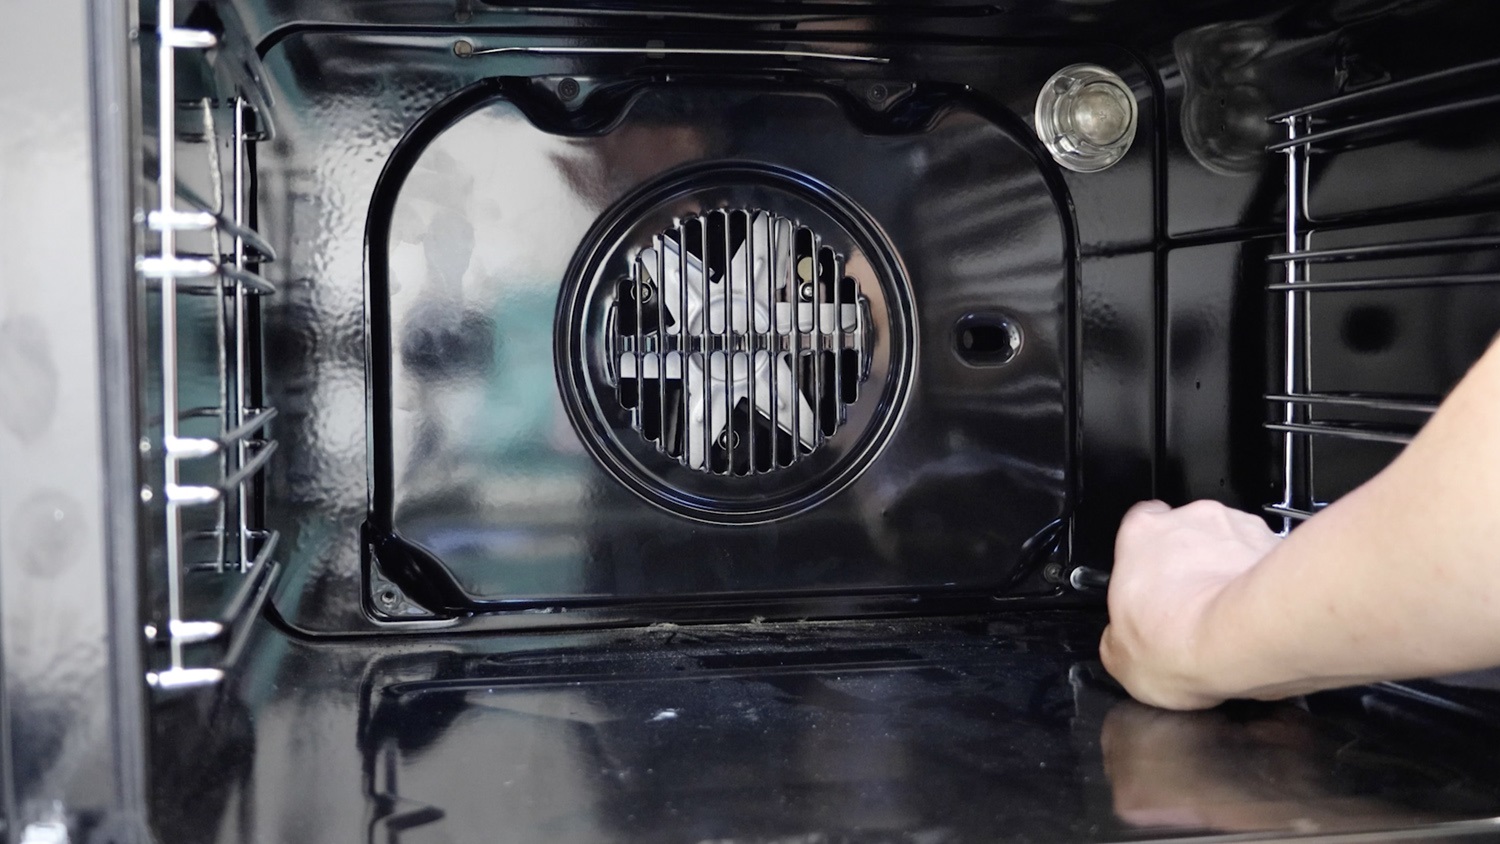
Re-screw oven panel screws
Close the back of the oven and re-screw the top screws back in.
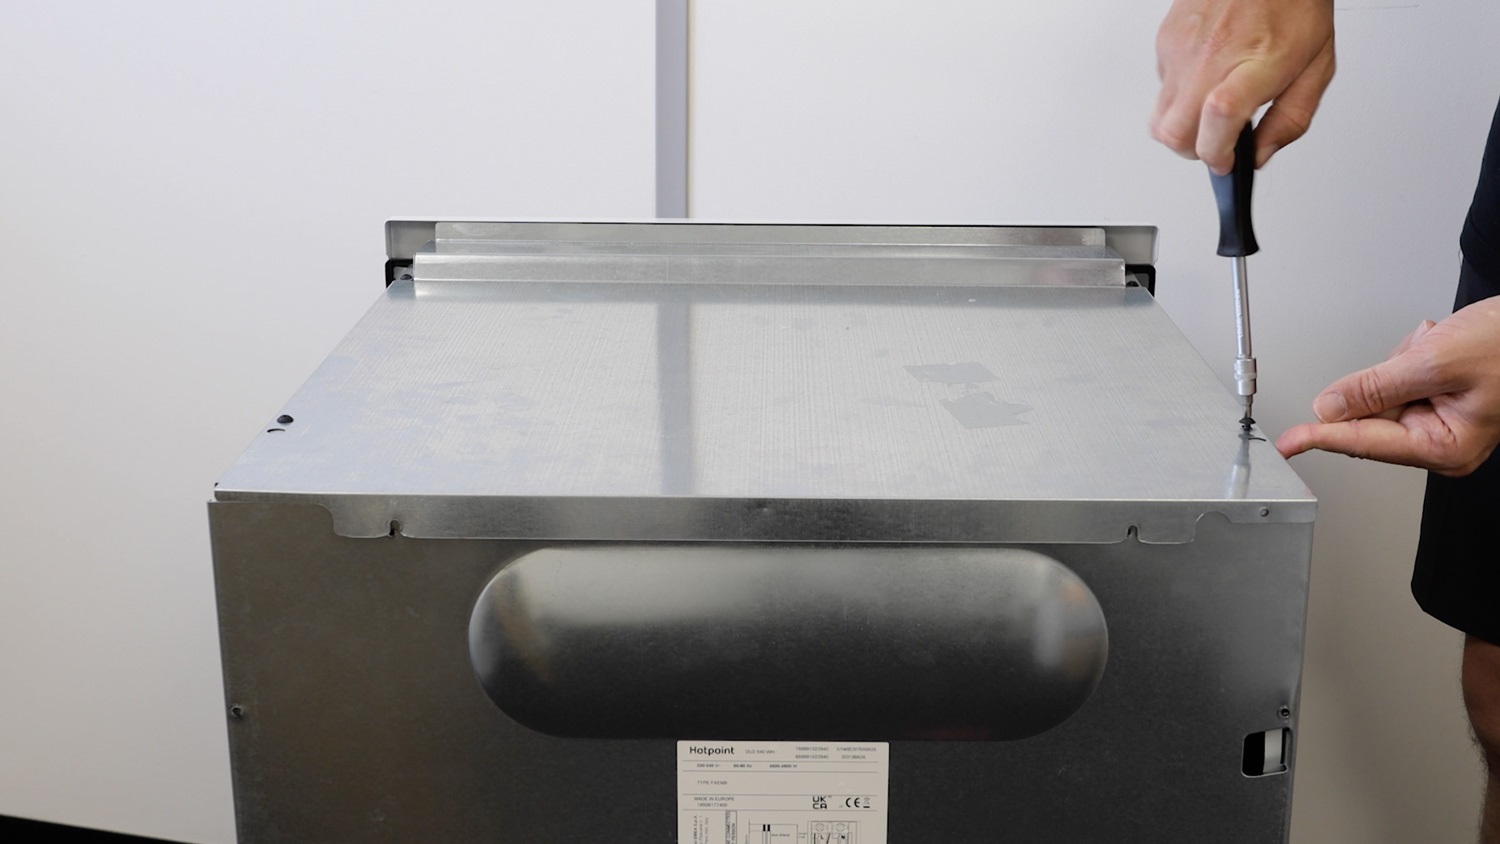
Then, re-screw the screws from the back of the oven.
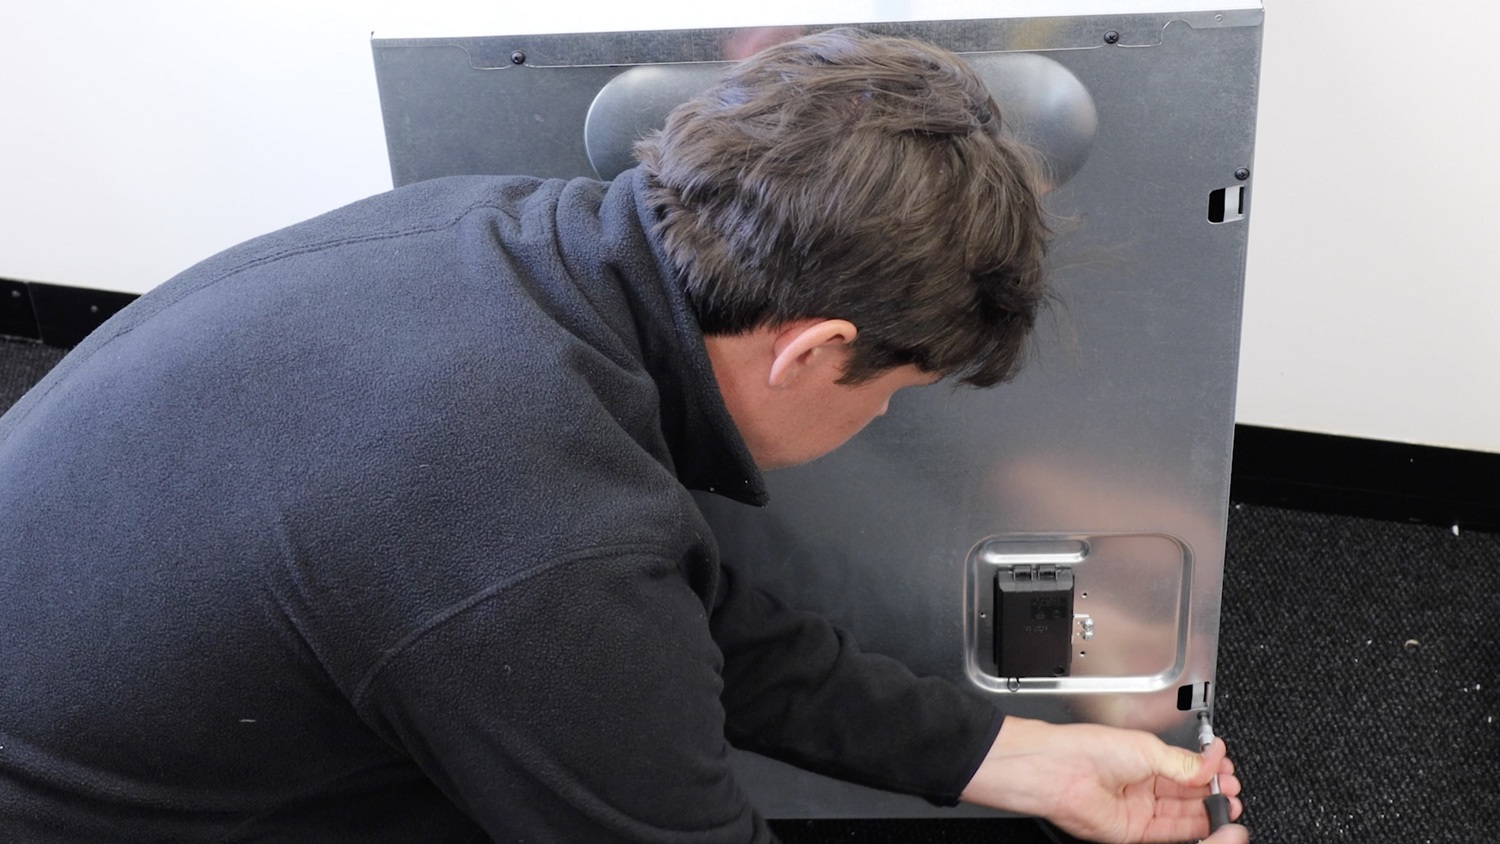
Insert any trays and shelves back in, and if you had to remove your oven from a recess, place it back in and secure it tightly.
That’s it, your new oven fan motor insulation plate is all set to go!