Make and Model of Oven Used in This Video
Hotpoint DU2540WH (61022940000)
Hotpoint DU2540WH (769991022942)
Part Used in This Video
Hotpoint Oven Bottom Heater Element 1200W
1. Gain access to bottom heater element
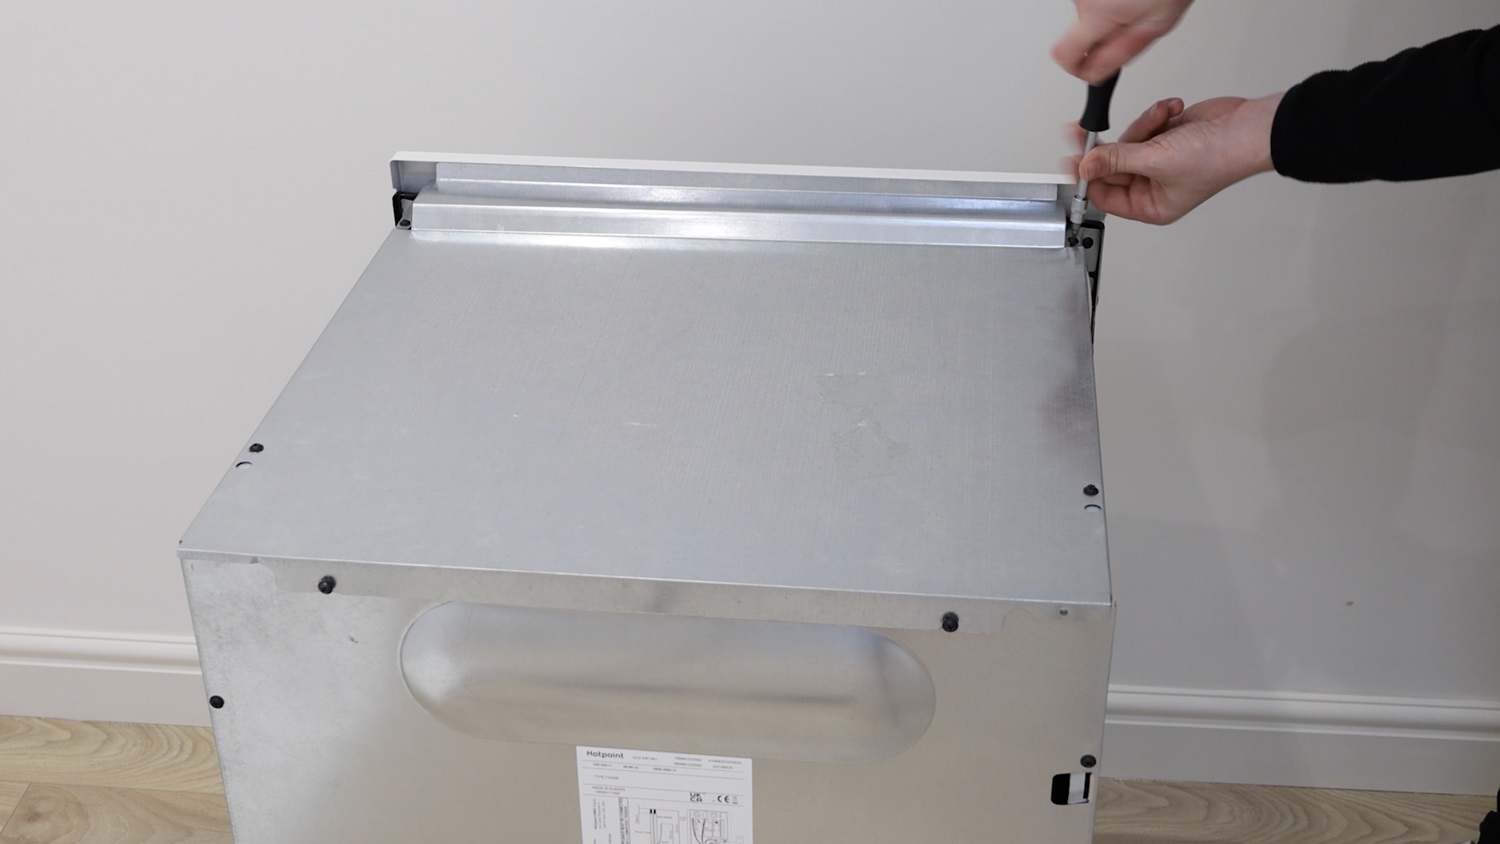
Unscrew the screws for the top panel. You may need to slightly loosen the two rear screws.
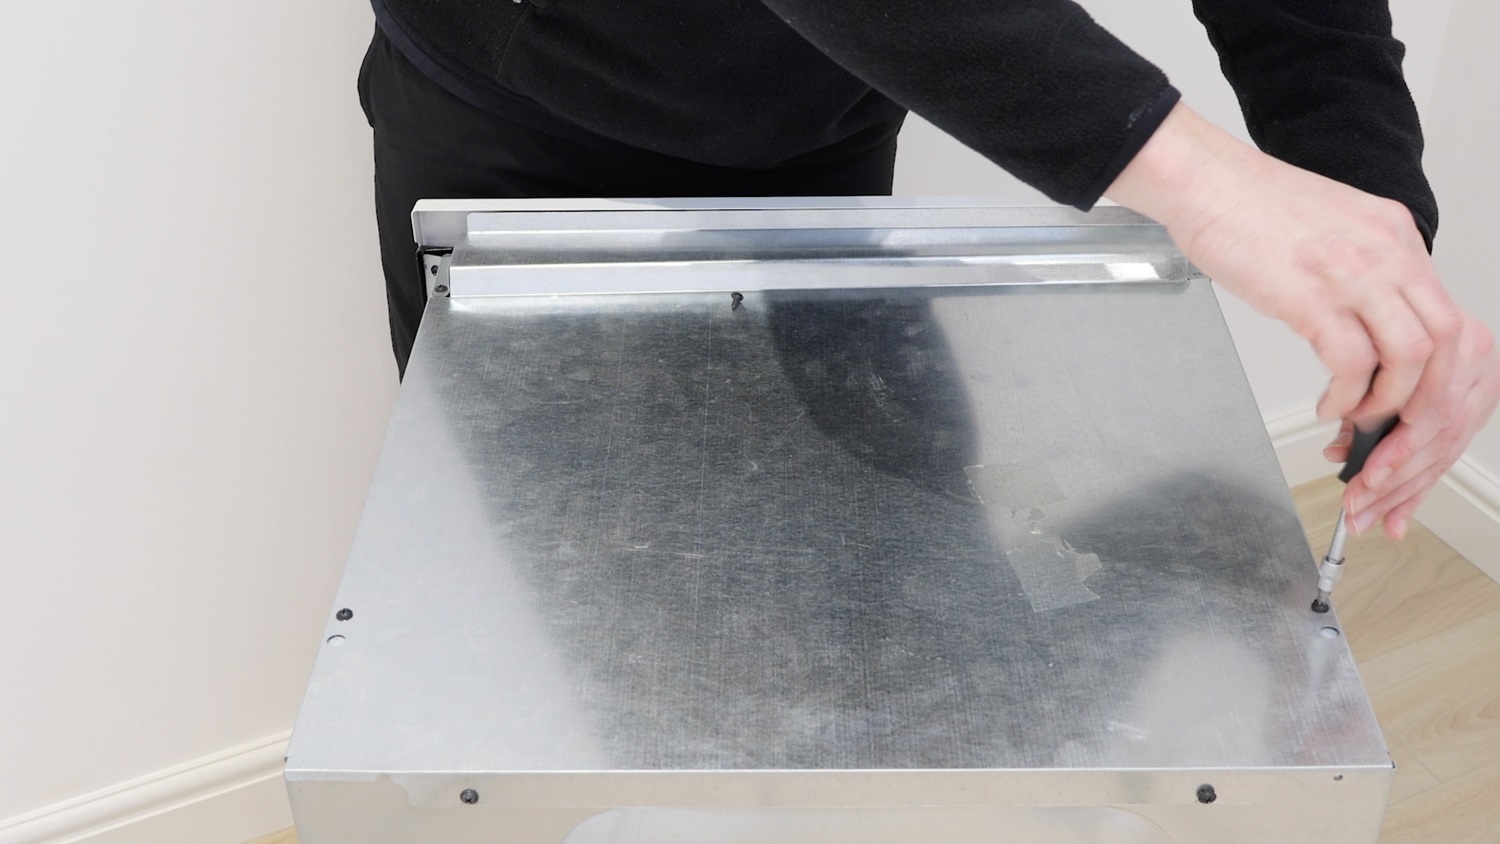
Remove top, rear and side panel
Remove the panel and place to one side. Be careful of any sharp edges.
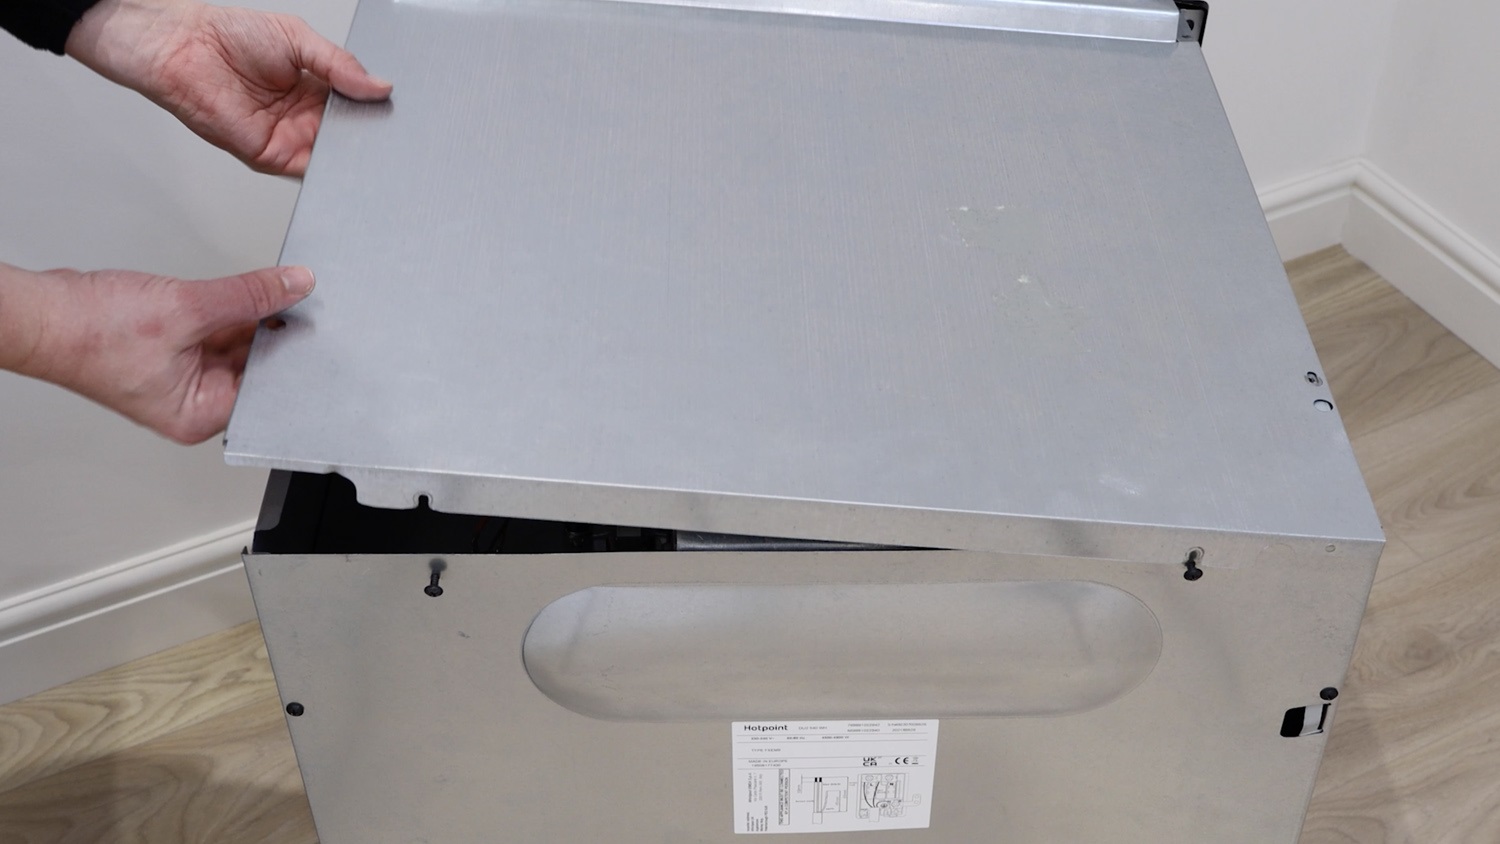
For this Hotpoint model, the bottom heater element is accessed from the right side of the oven, or left side if looking at it from the rear.
Remove the two screws from the rear panel on the left side.
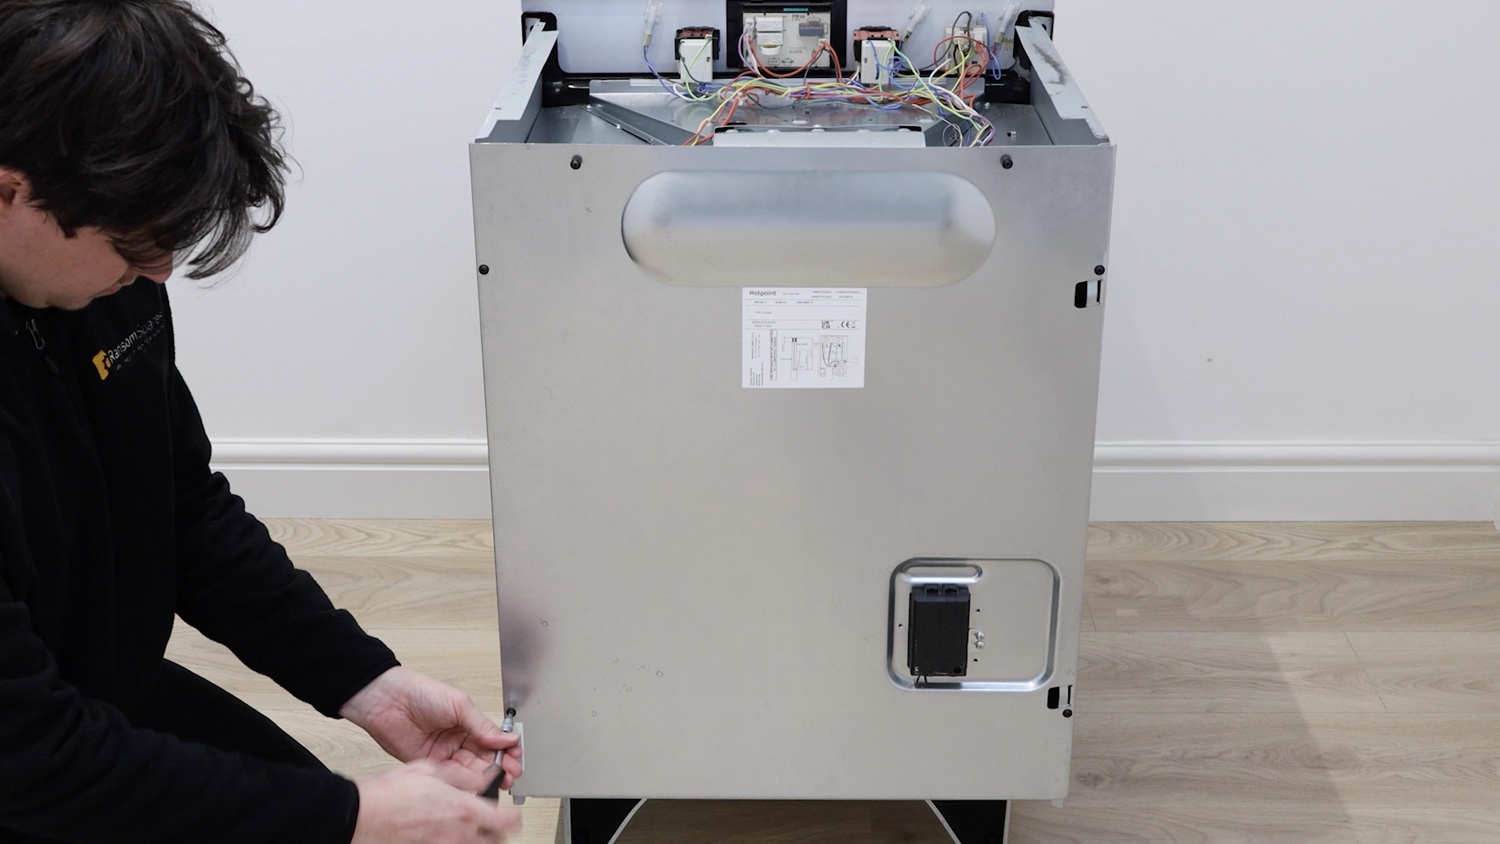
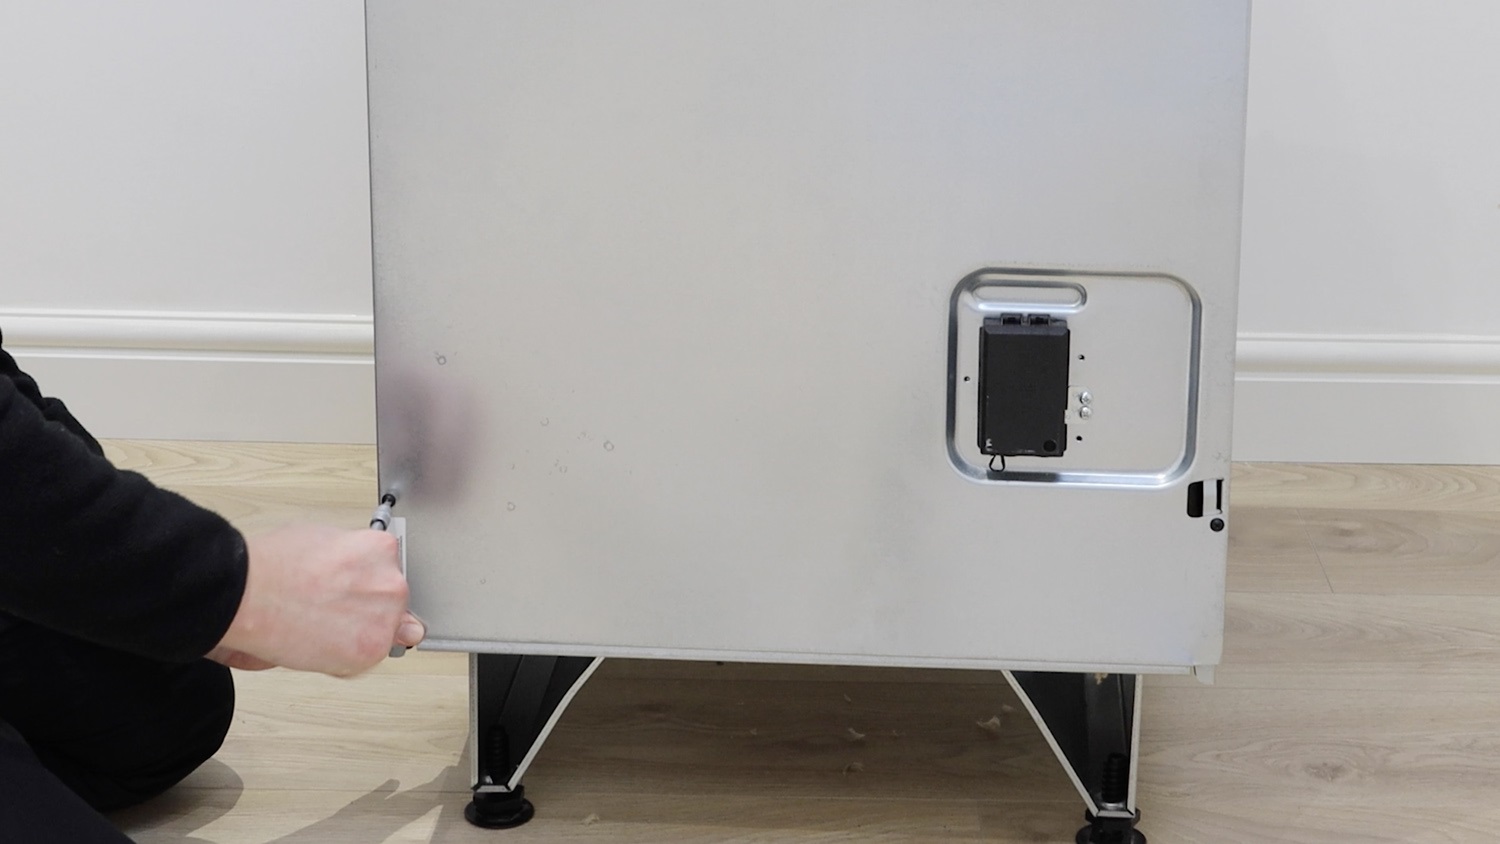
To remove the side panel, unscrew the top screw on the left side, as well as the bottom screw on the left side.
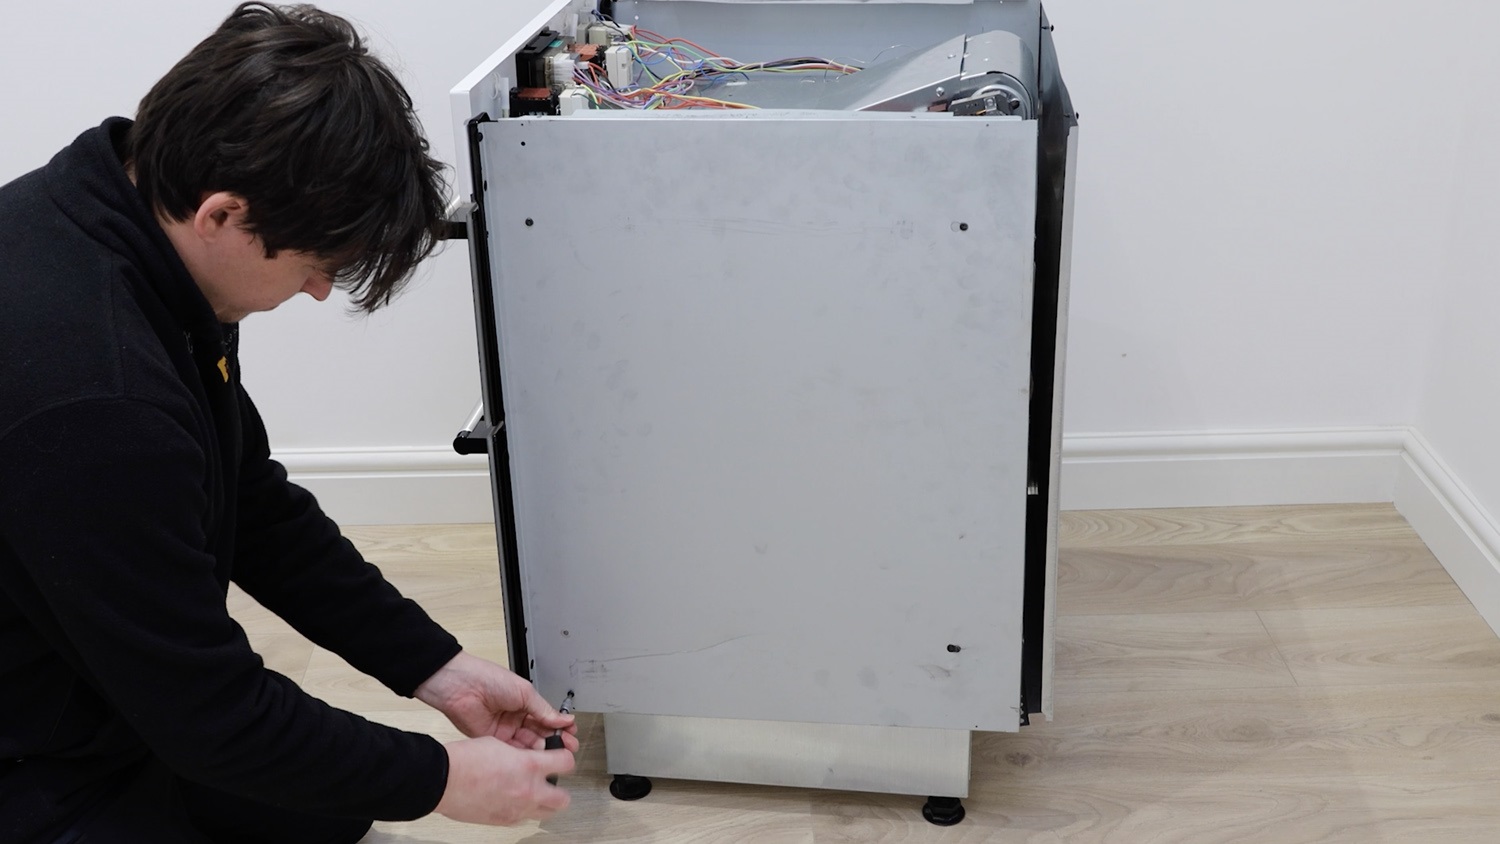
The screw holding the side panel to the front control panel also needs to be removed.
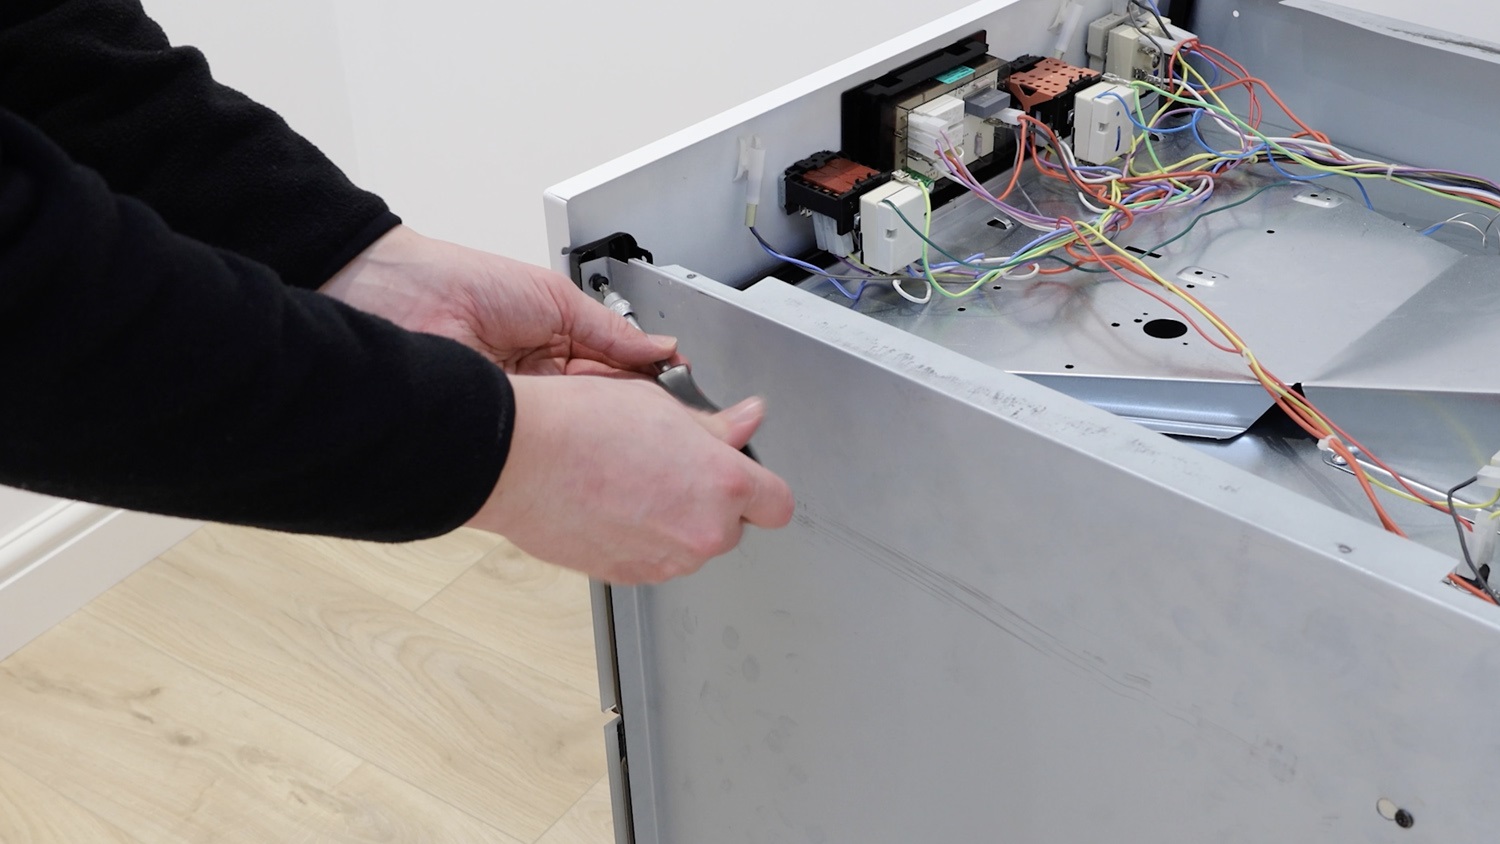
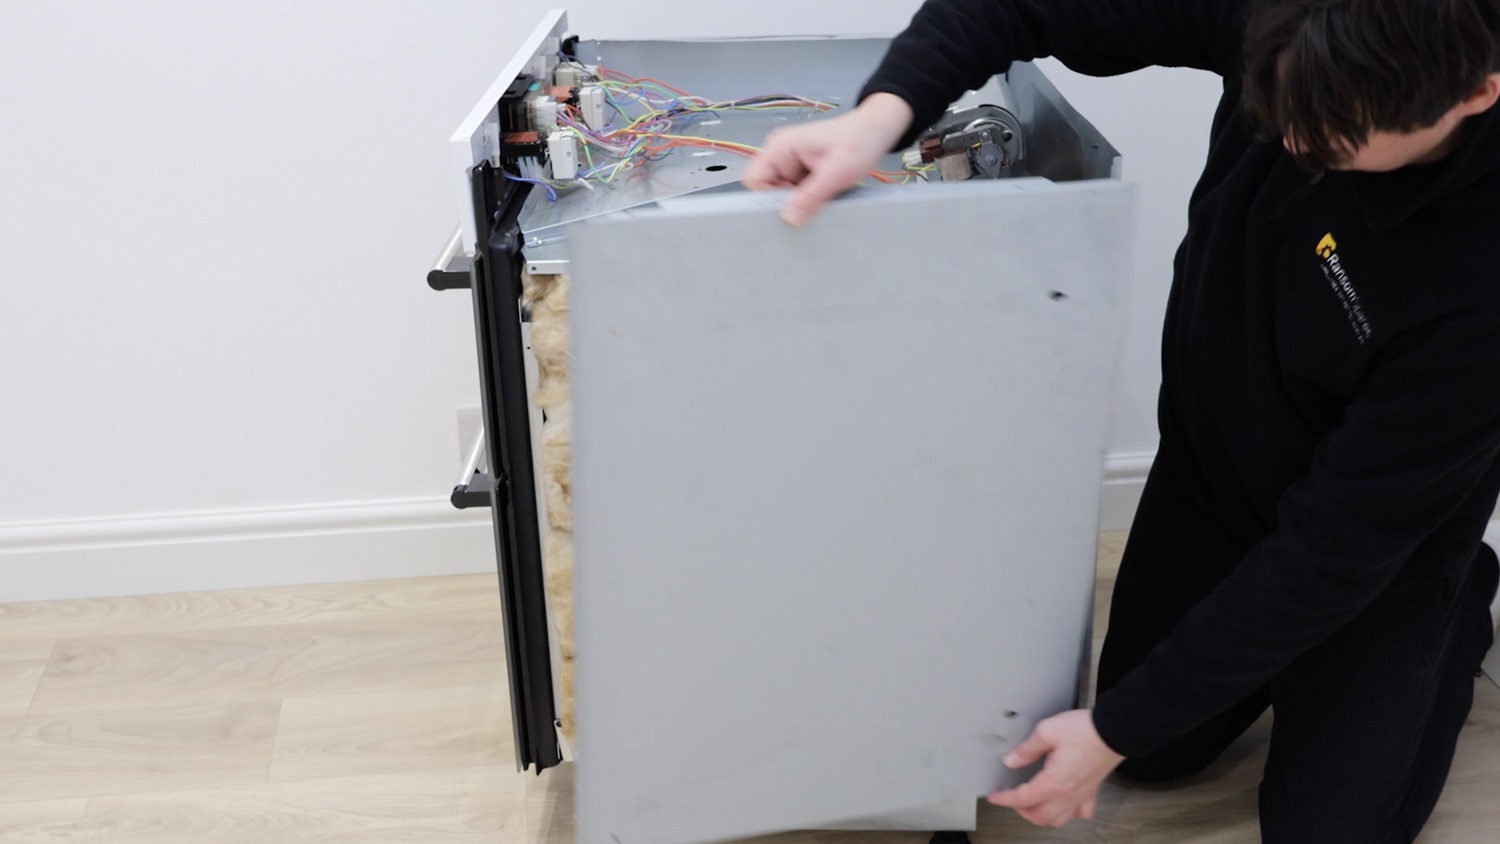
The side panel can then slide off.
2. Remove old bottom heater element
We recommend wearing some gloves before touching any of the insulation.
Remove the wire connectors from the element. If they’re stiff, use a pair of long-nose pliers.
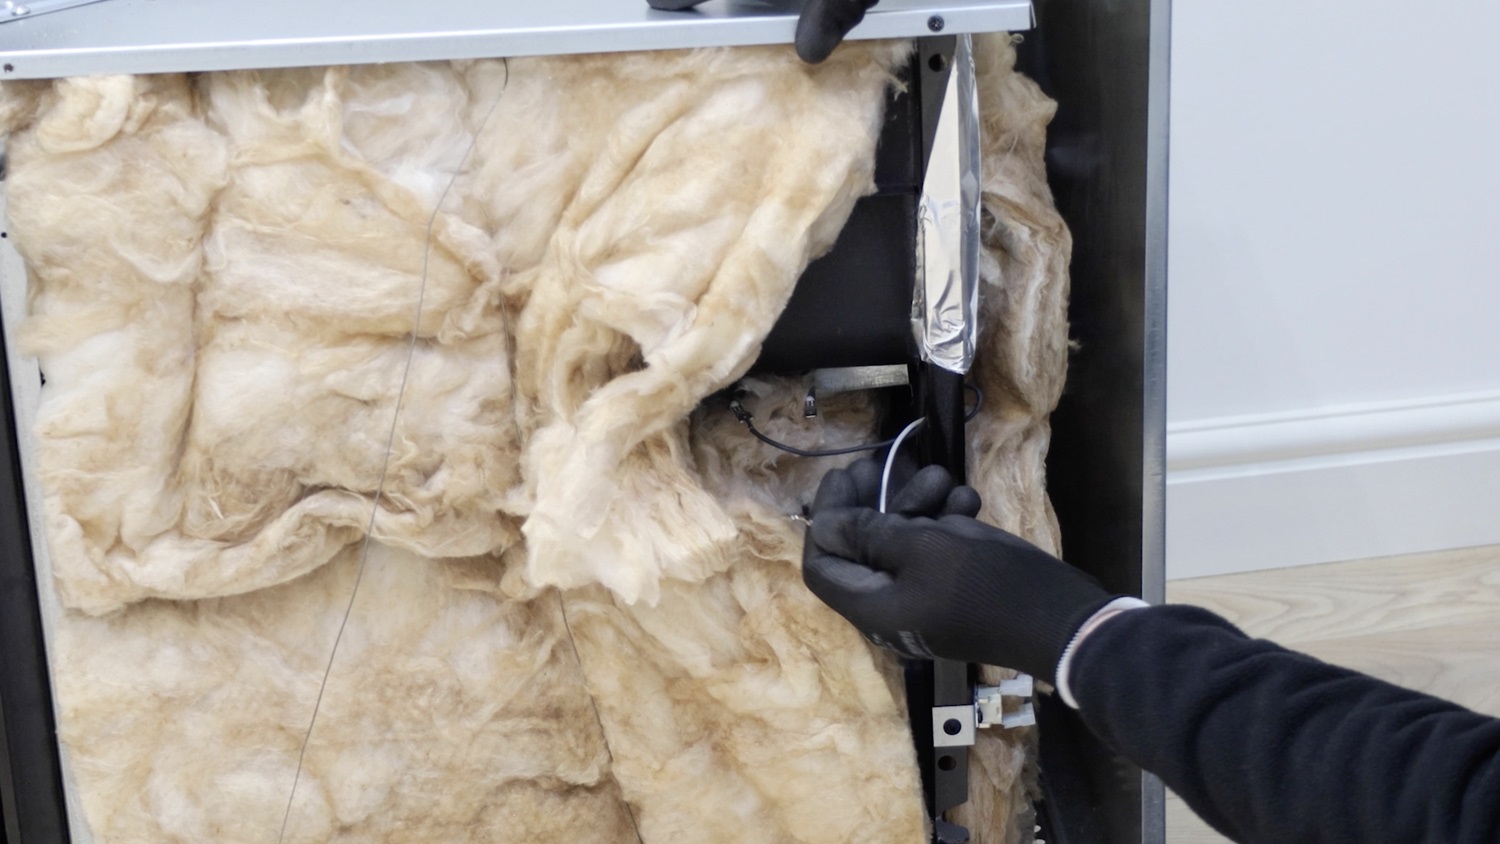
Remove the screw from the rear of the oven which is holding the element tray in place.
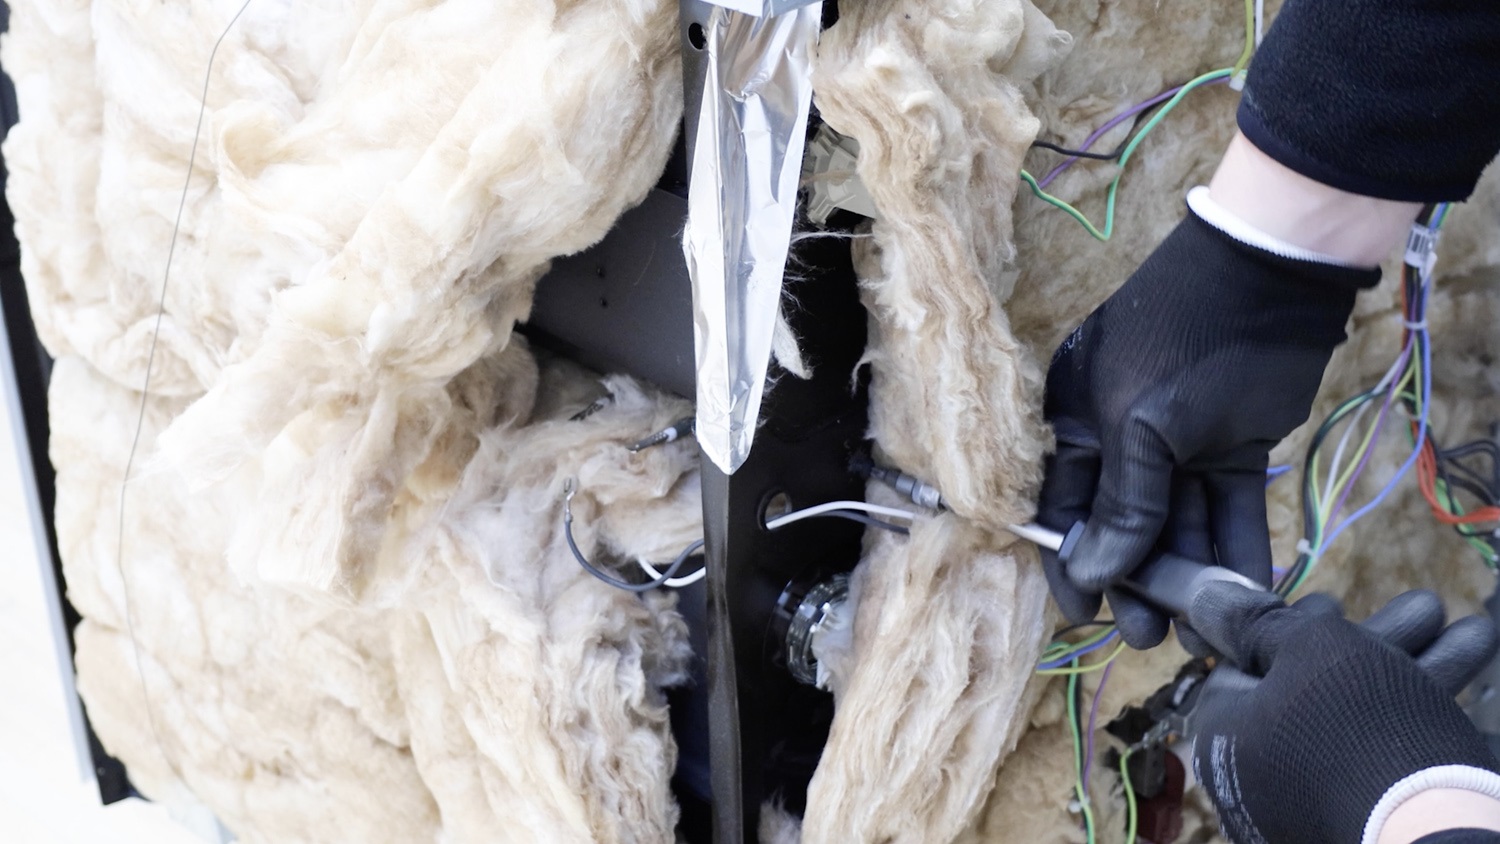
To access the bottom element, pull the tray out as far as it goes.
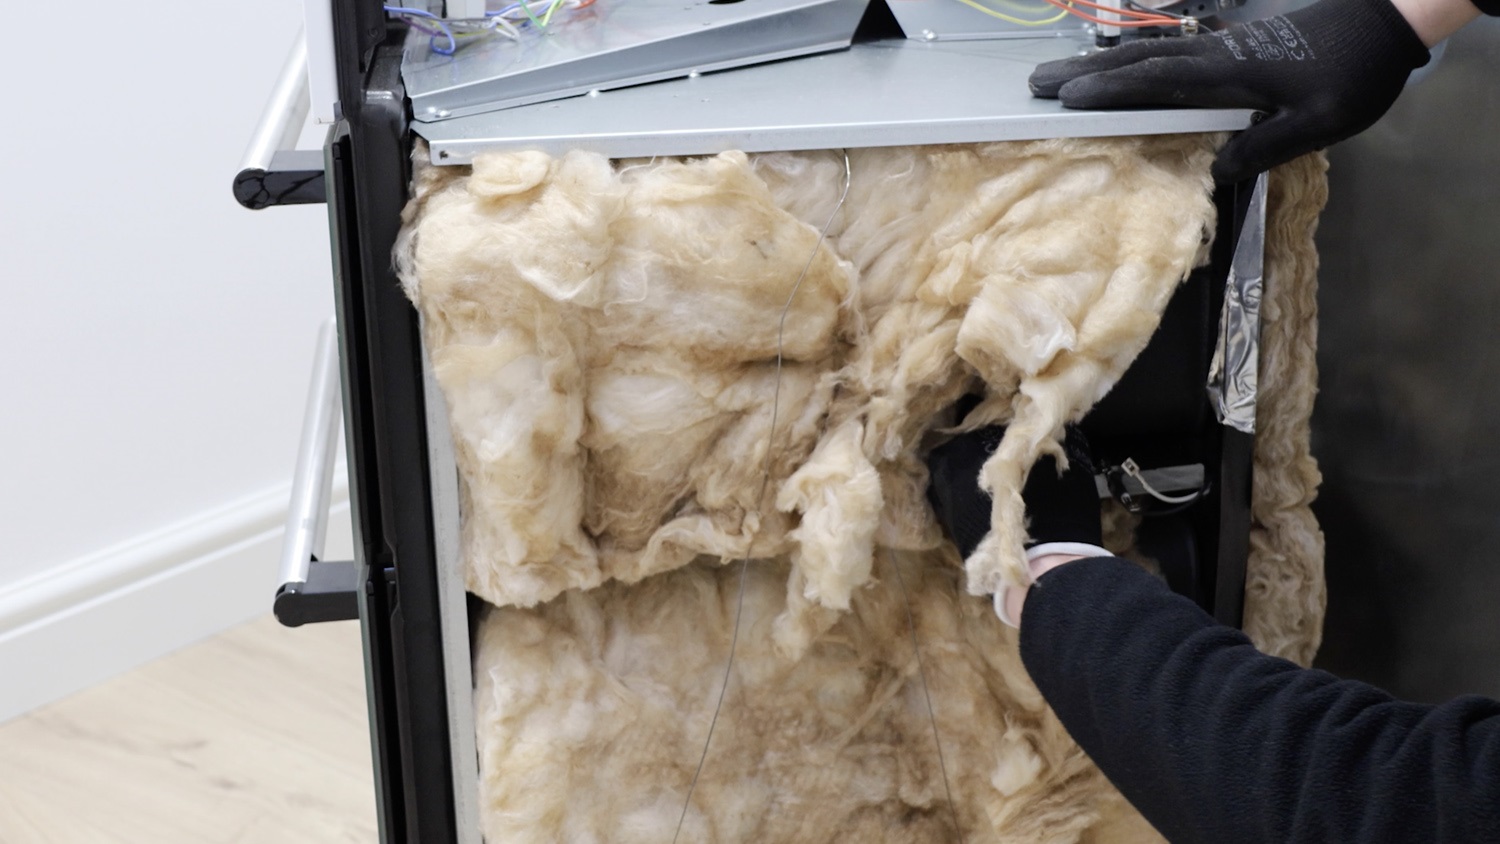
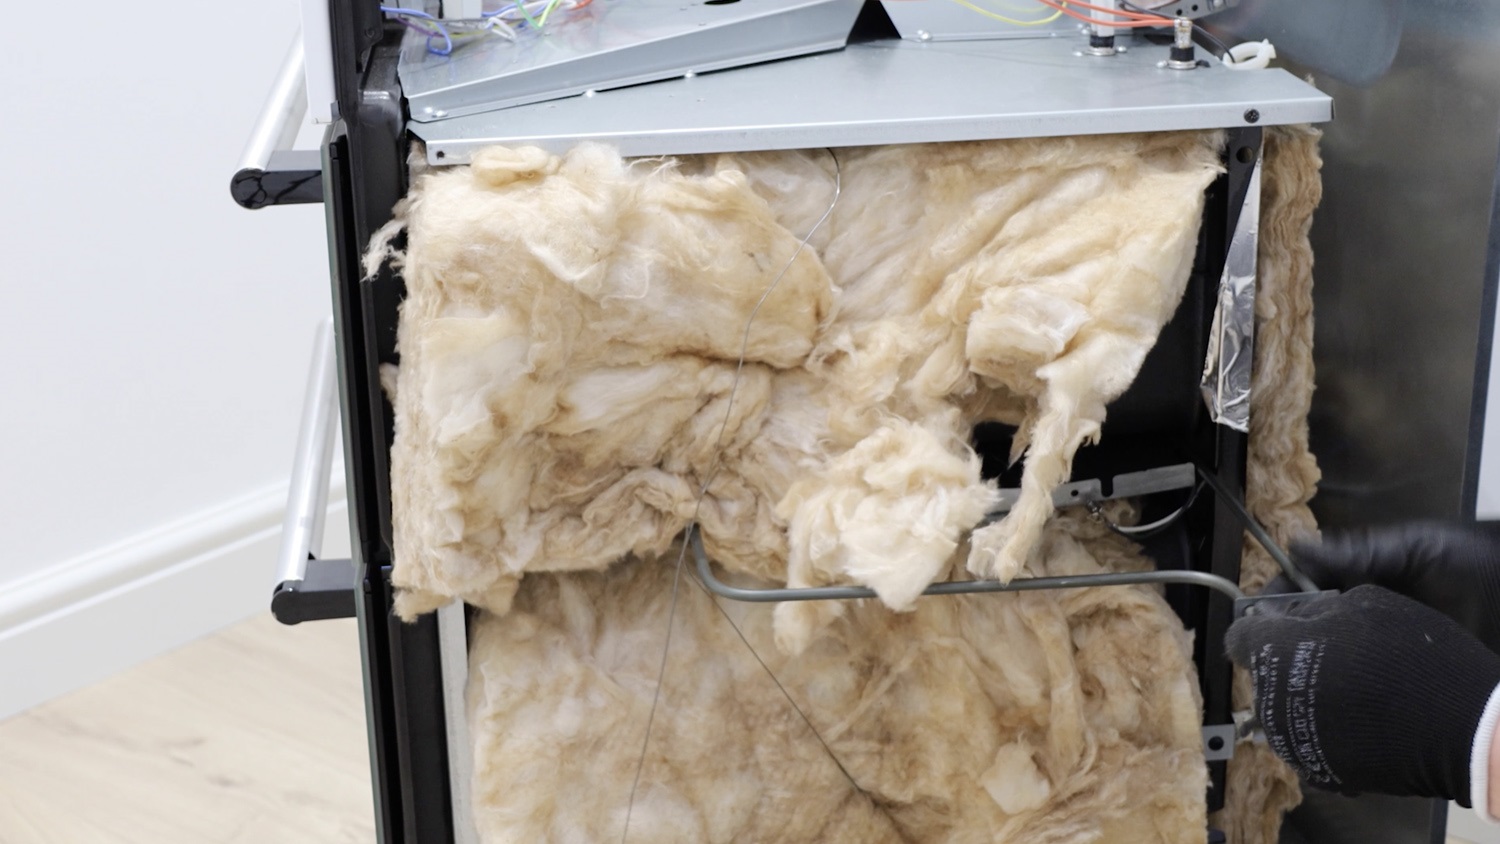
Then lift the element up and out of the oven.
3. Install new bottom heater element
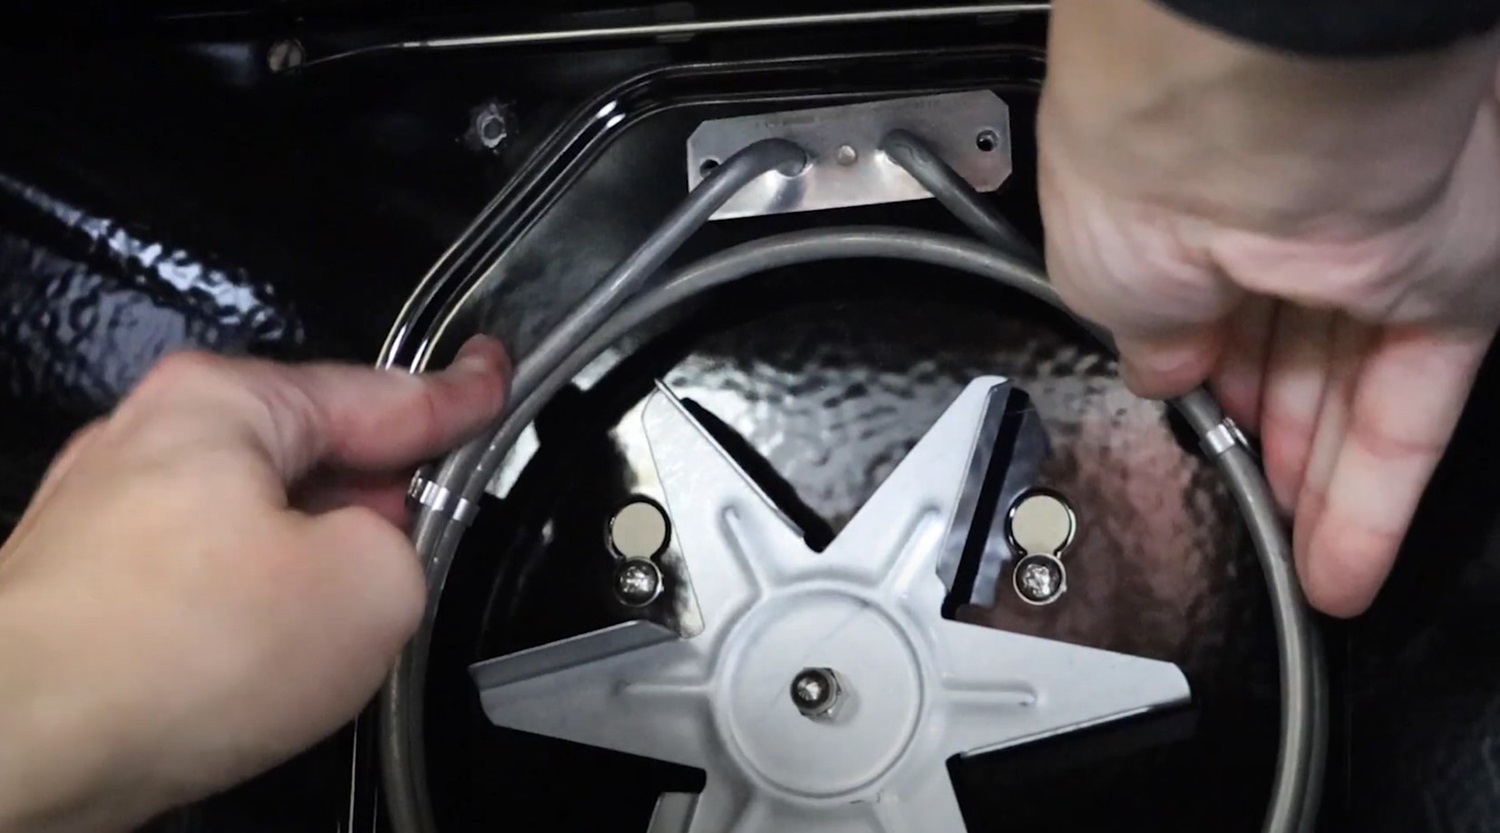
Place your new element in the oven as shown.
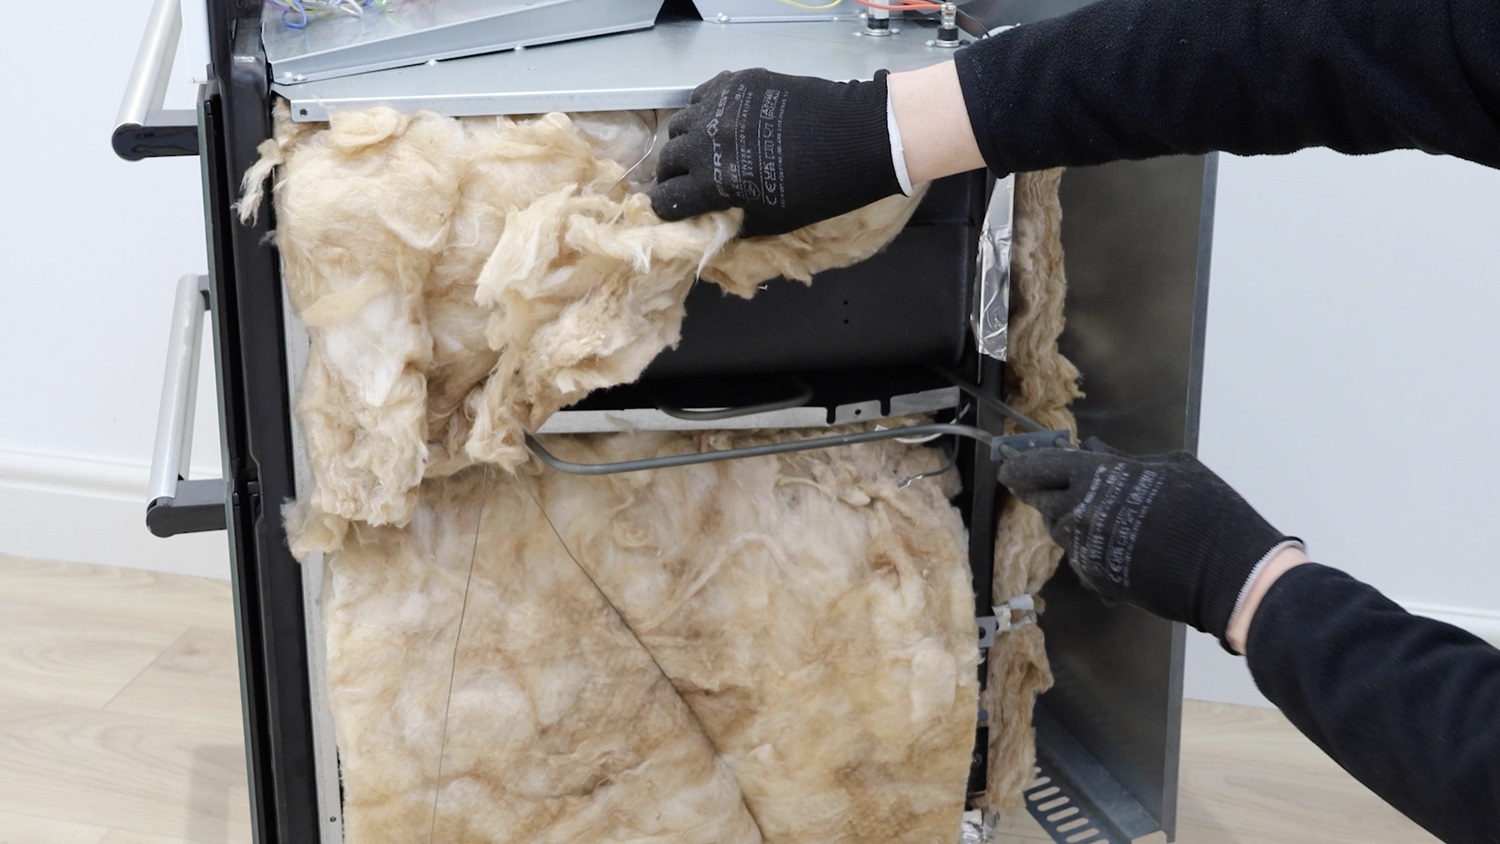
Place the element into the slits on the tray and then push the tray back into the oven.
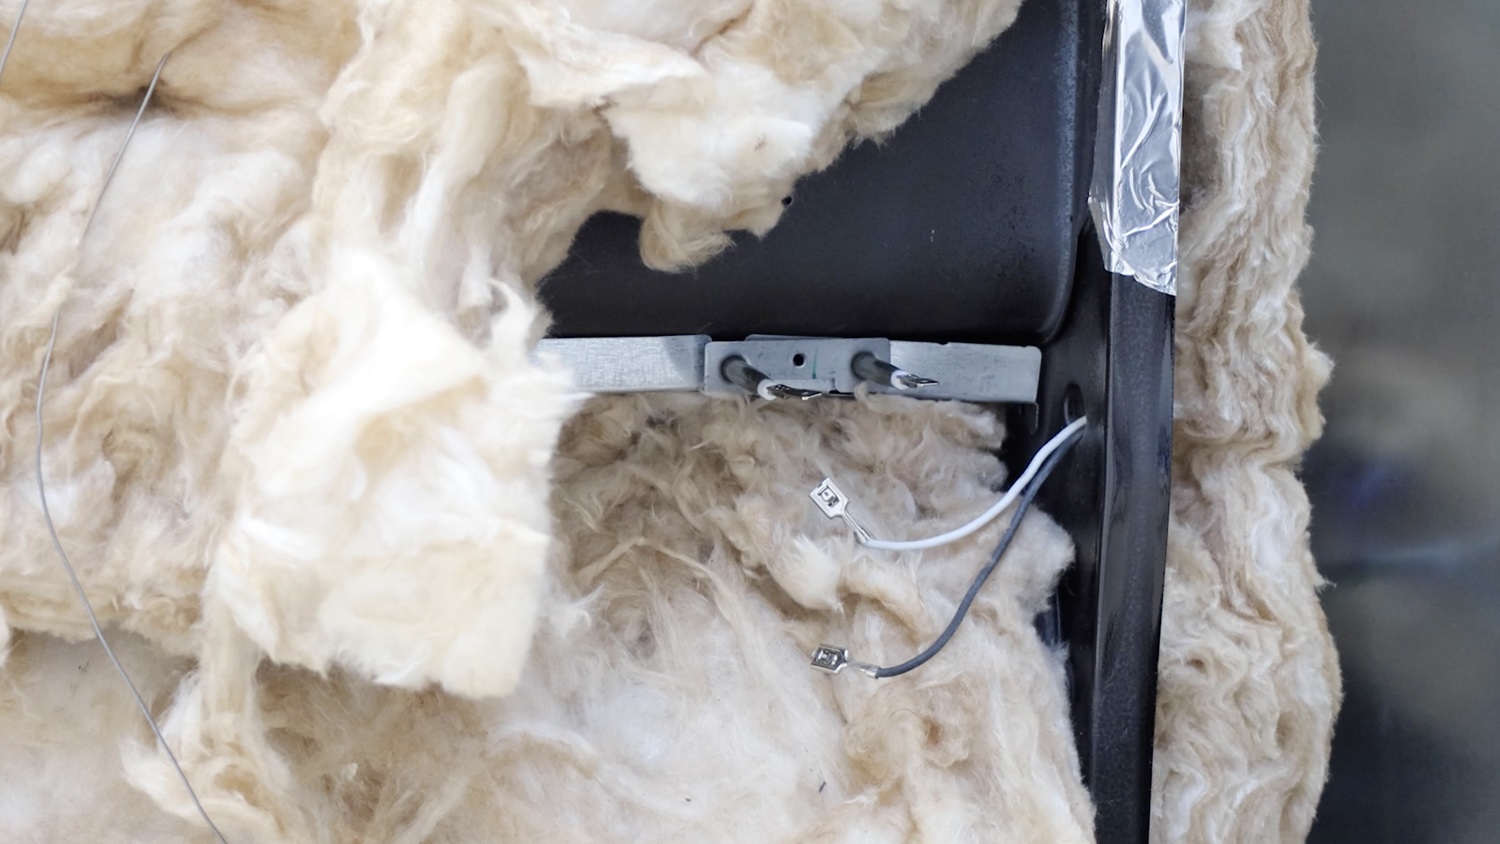
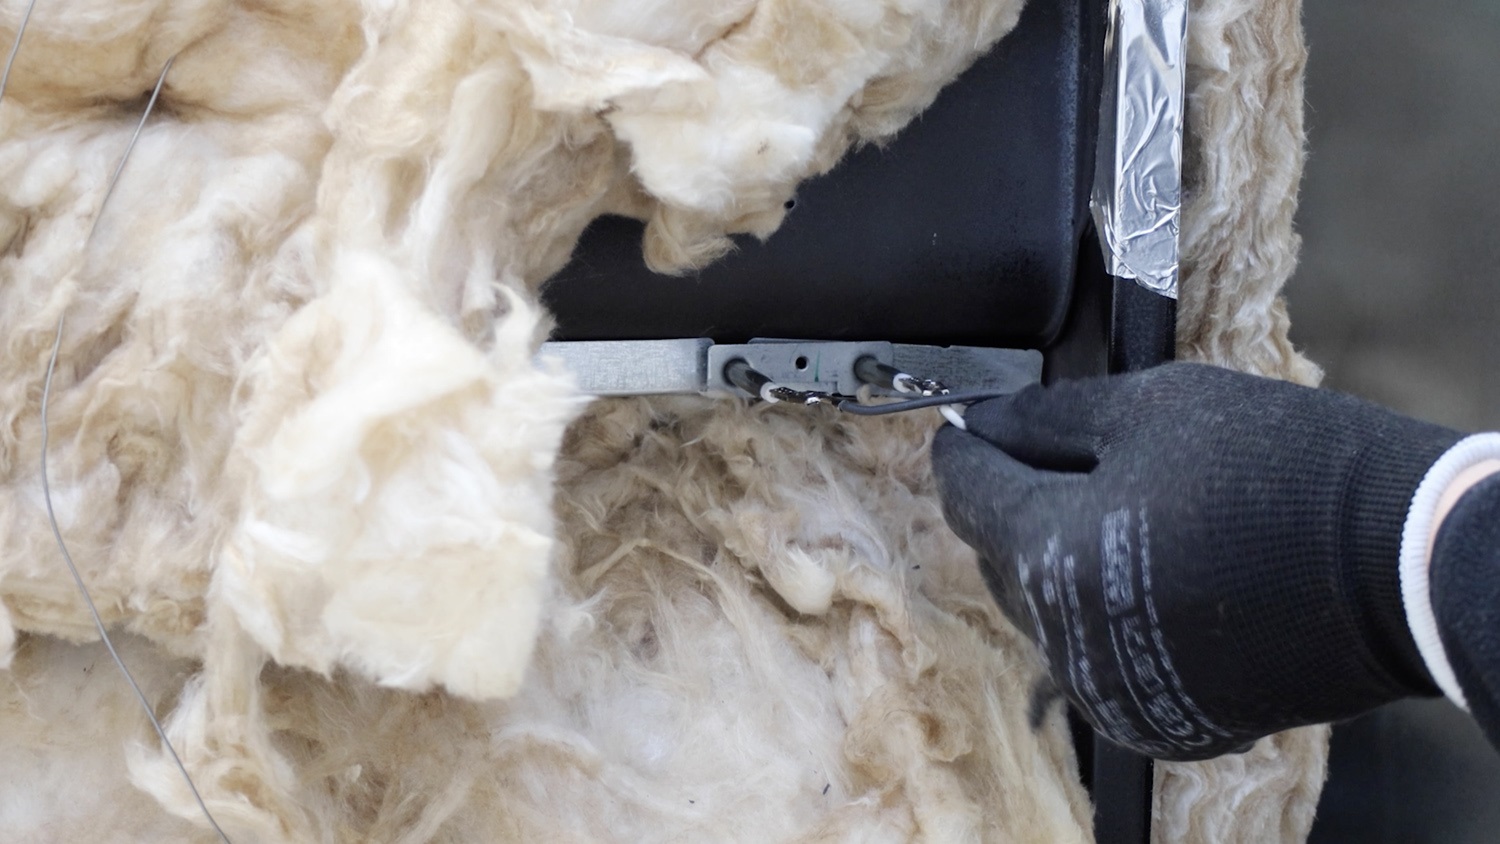
Re-attach the electrical connectors. The grey wire connects to the left and white to the right.
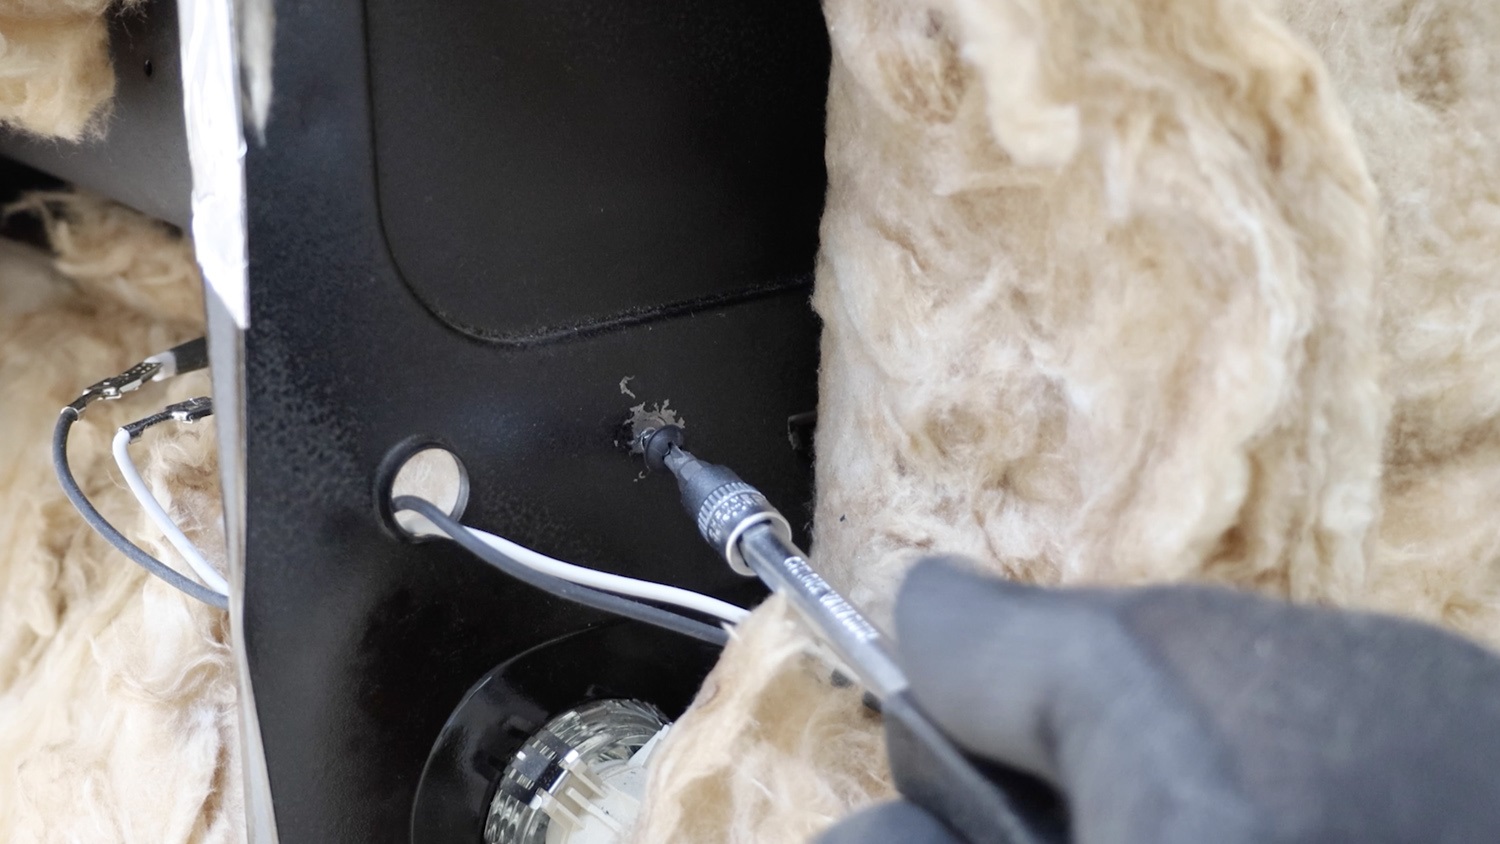
Re-screw the screw on the rear panel which holds the element tray in place. This can be tricky to line up, so take your time.
4. Re-assemble oven
Tidy the insulation on the side and rear of the oven.
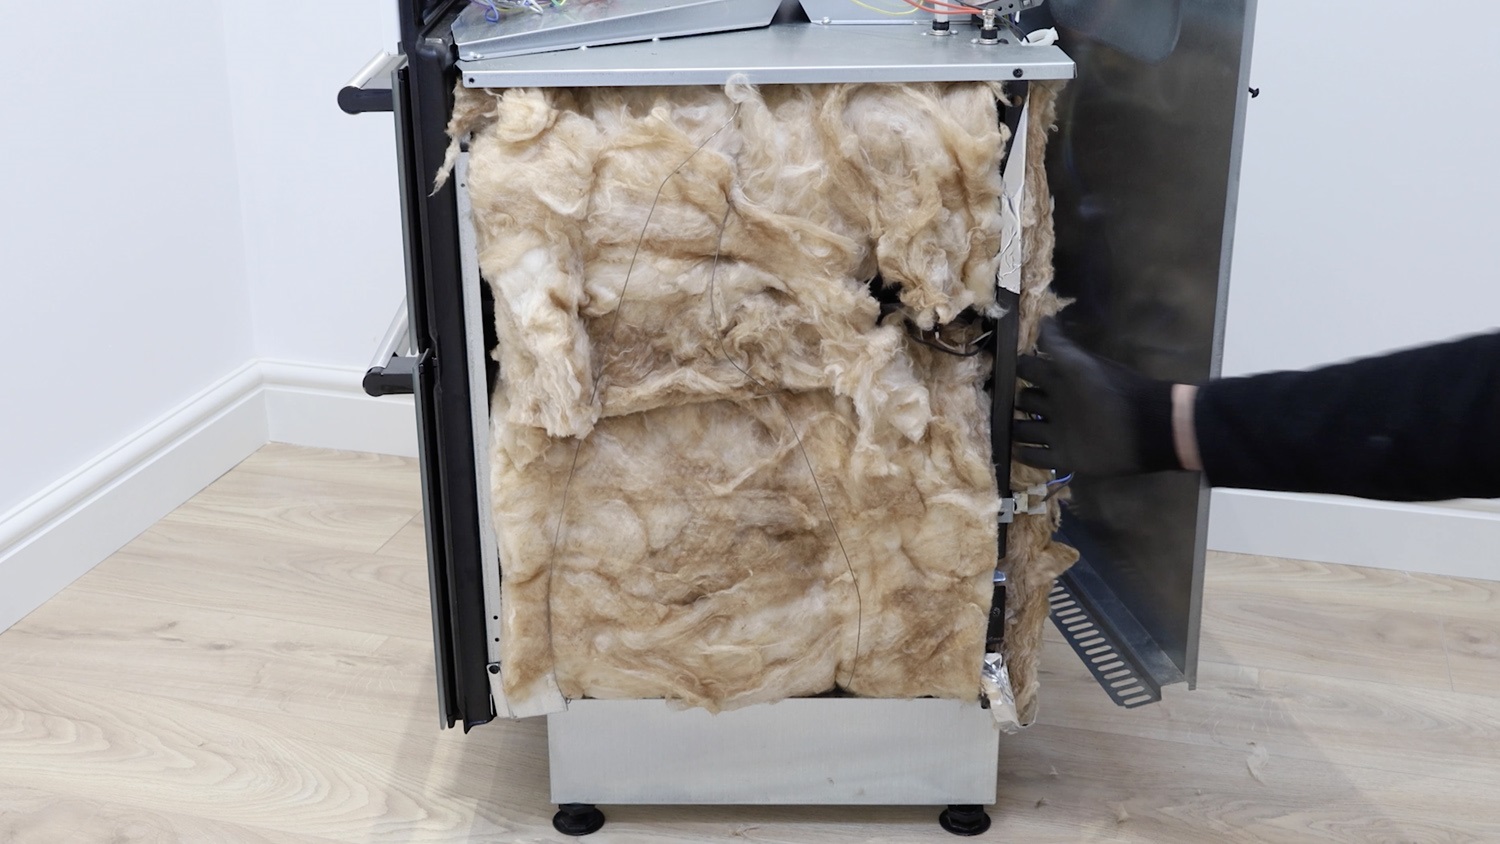
Re-attach the side panel to the two existing screws.
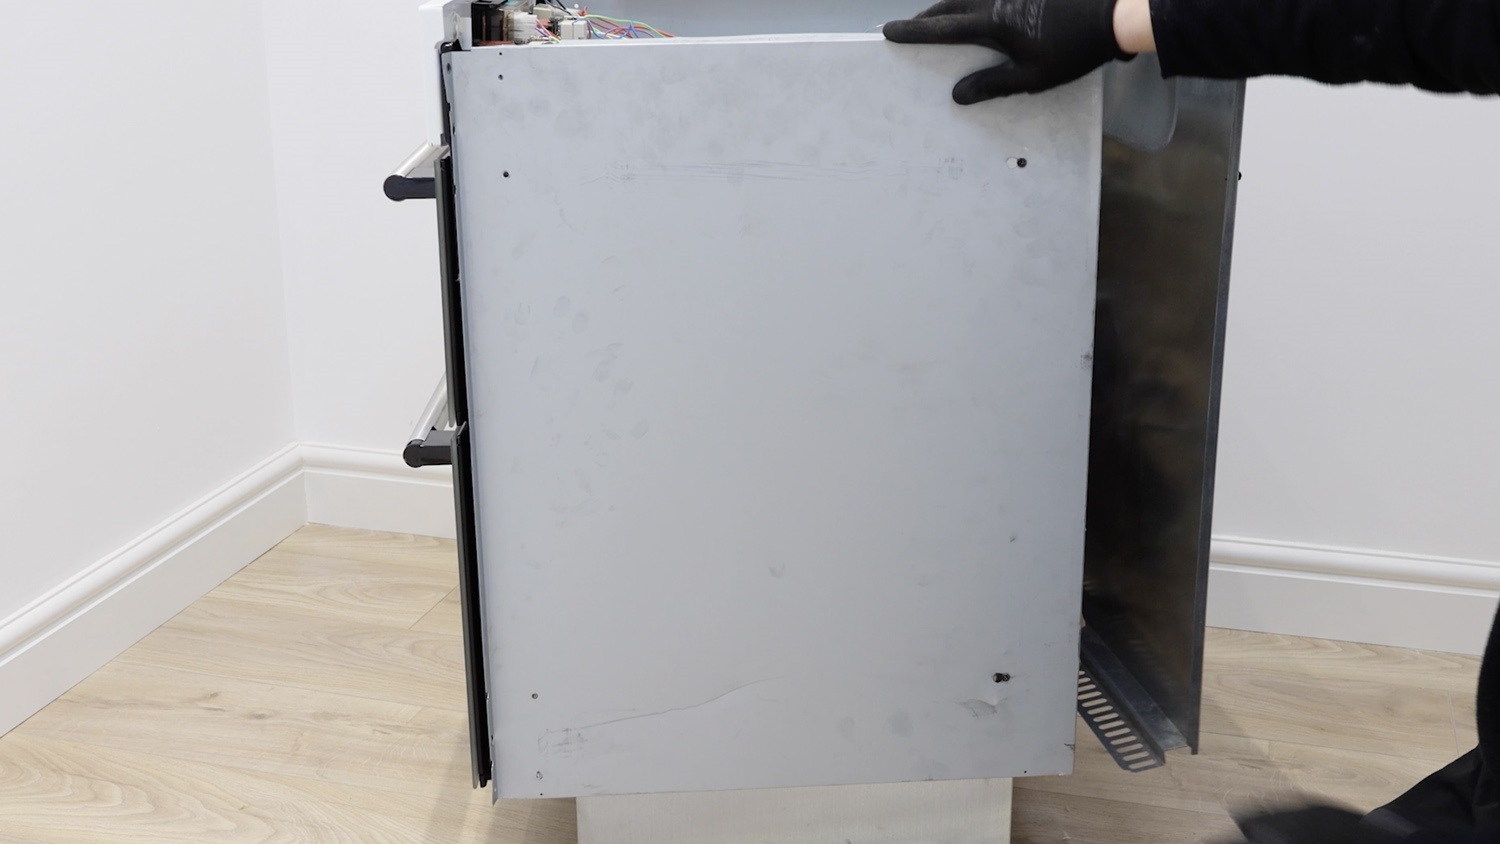
Re-screw the two side screws from the top and bottom back in place.
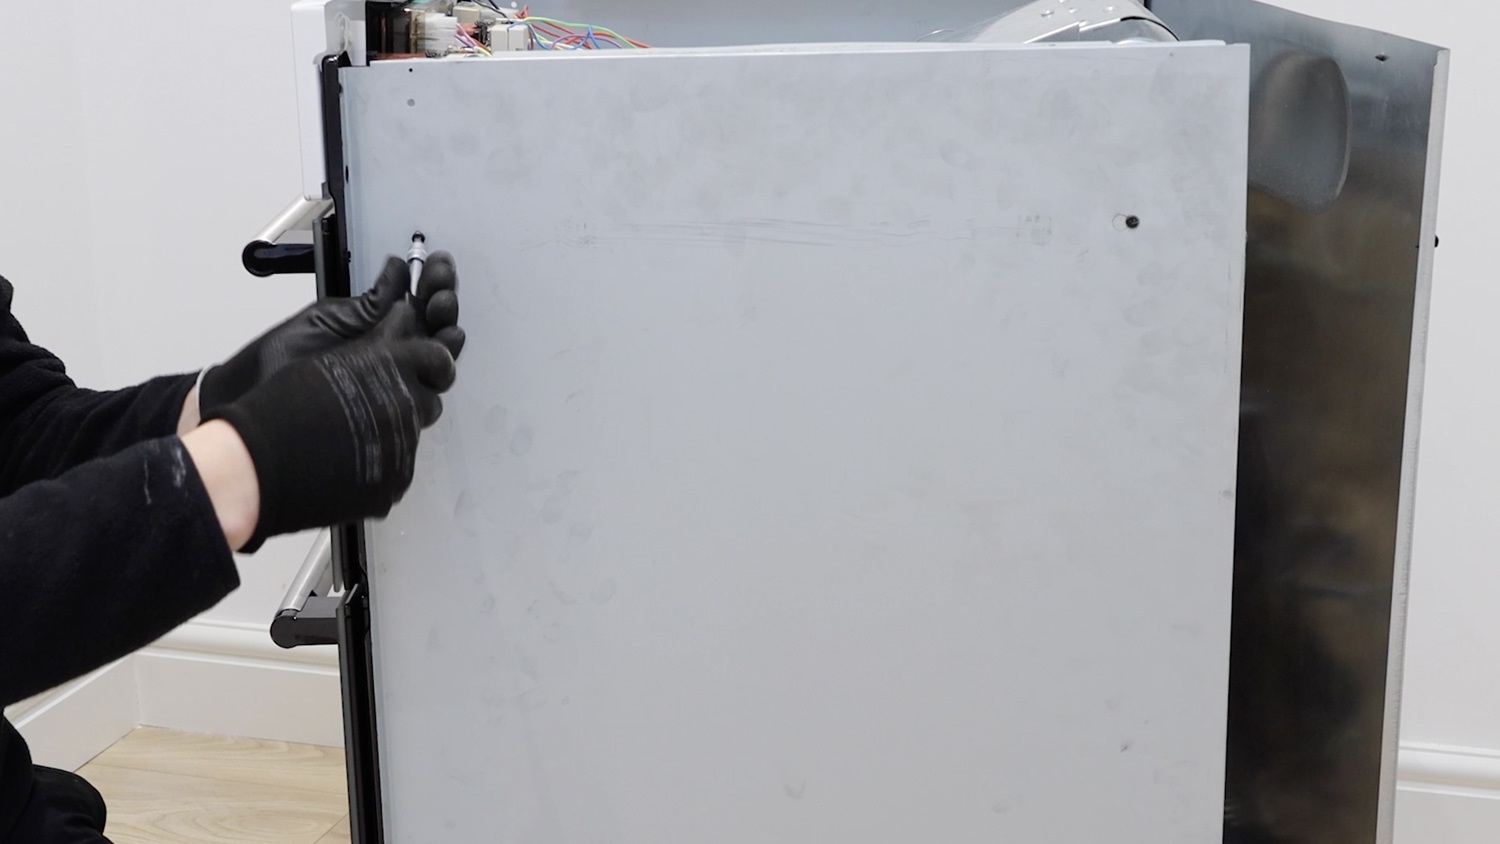
Re-screw the screw holding the side panel to the front control panel.
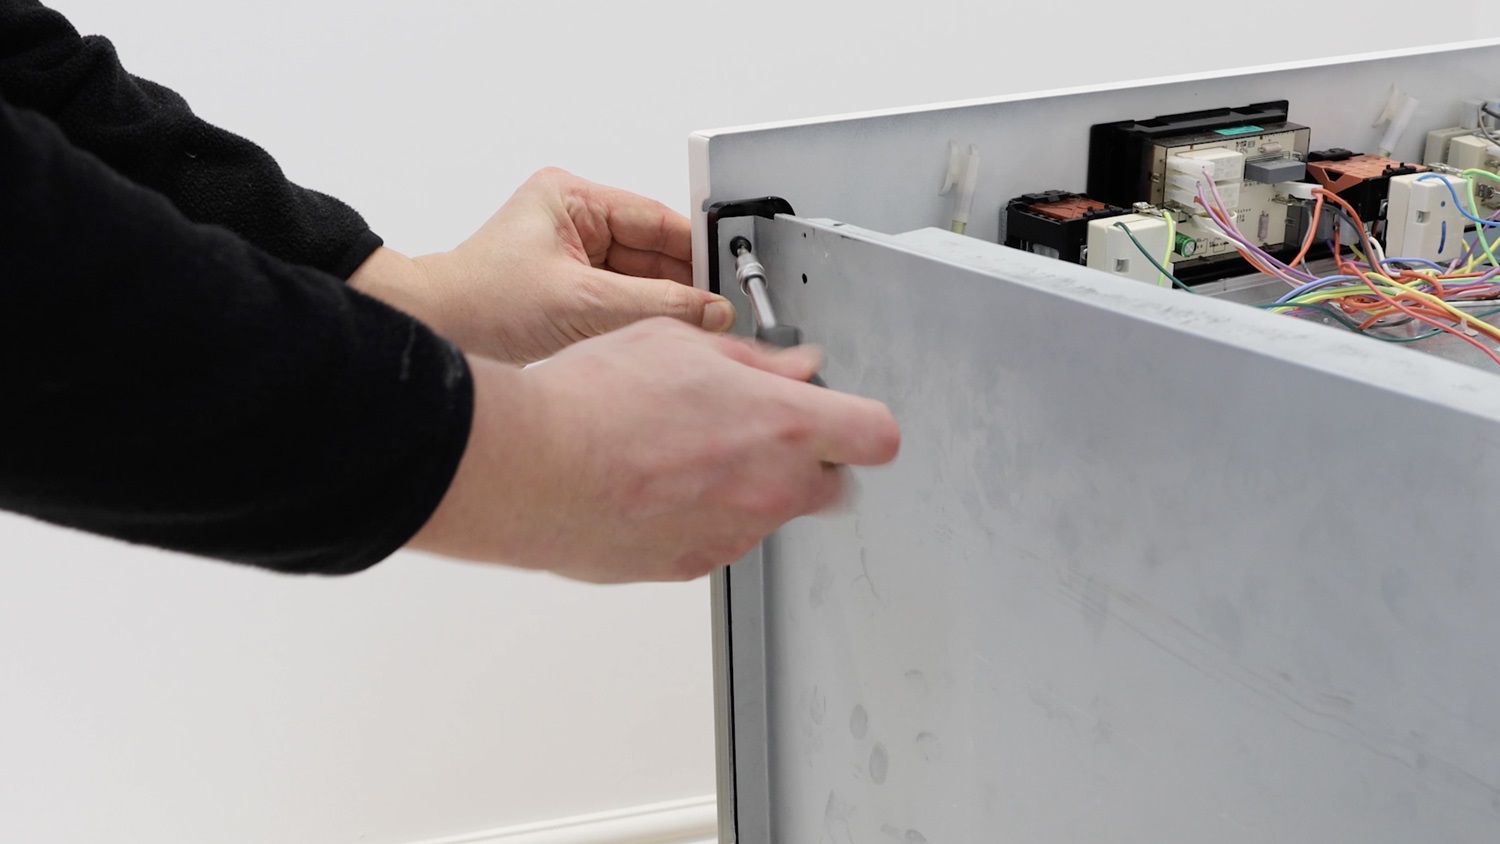
Re-screw the screws on the rear panel.
Re-attach the top oven panel and re-screw all the screws back in place. Remembering to tighten the two rear screws if they were loosened earlier.
And that’s it, your new bottom heater element is all set to go.