Make and Model of Oven Used in This Video
Hotpoint DU2540WH (61022940000)
Hotpoint DU2540WH (769991022942)
Part Used in This Video
Hotpoint Oven Top Oven Ego Thermostat1. Access old top oven thermostat
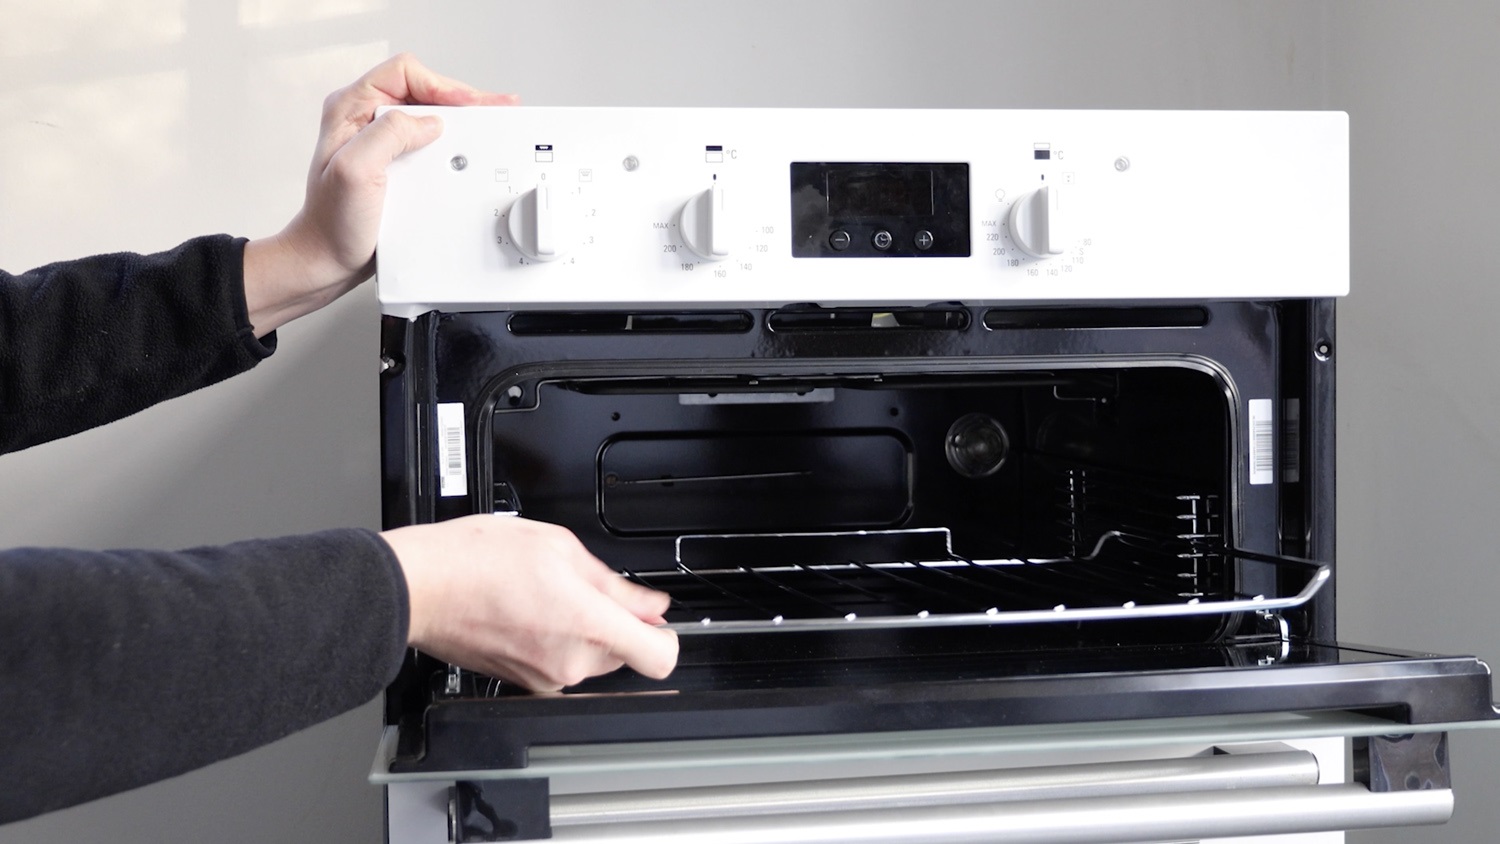
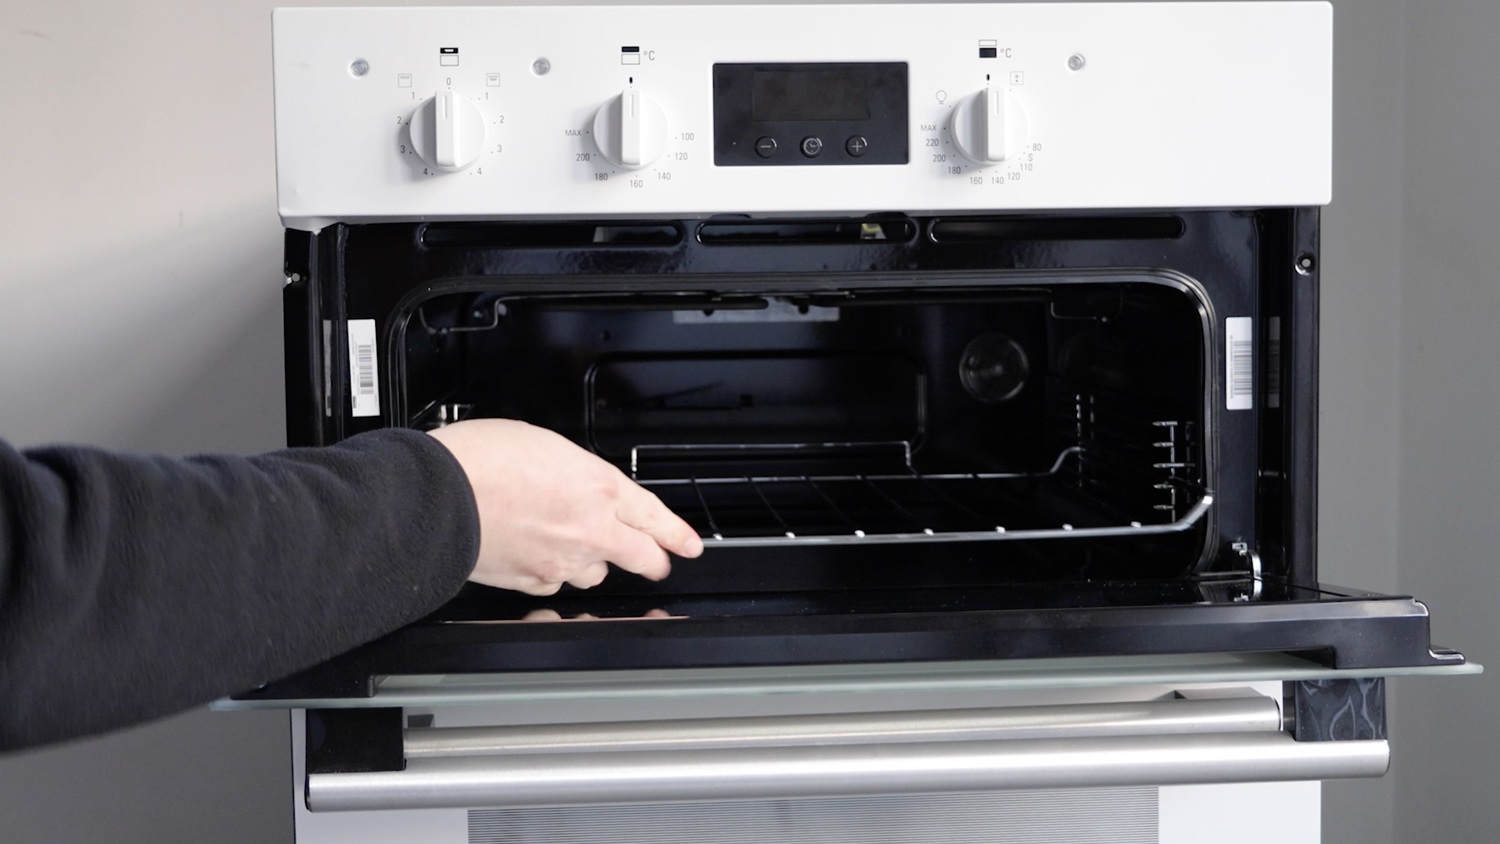
Firstly, remove any trays and shelves from your oven.
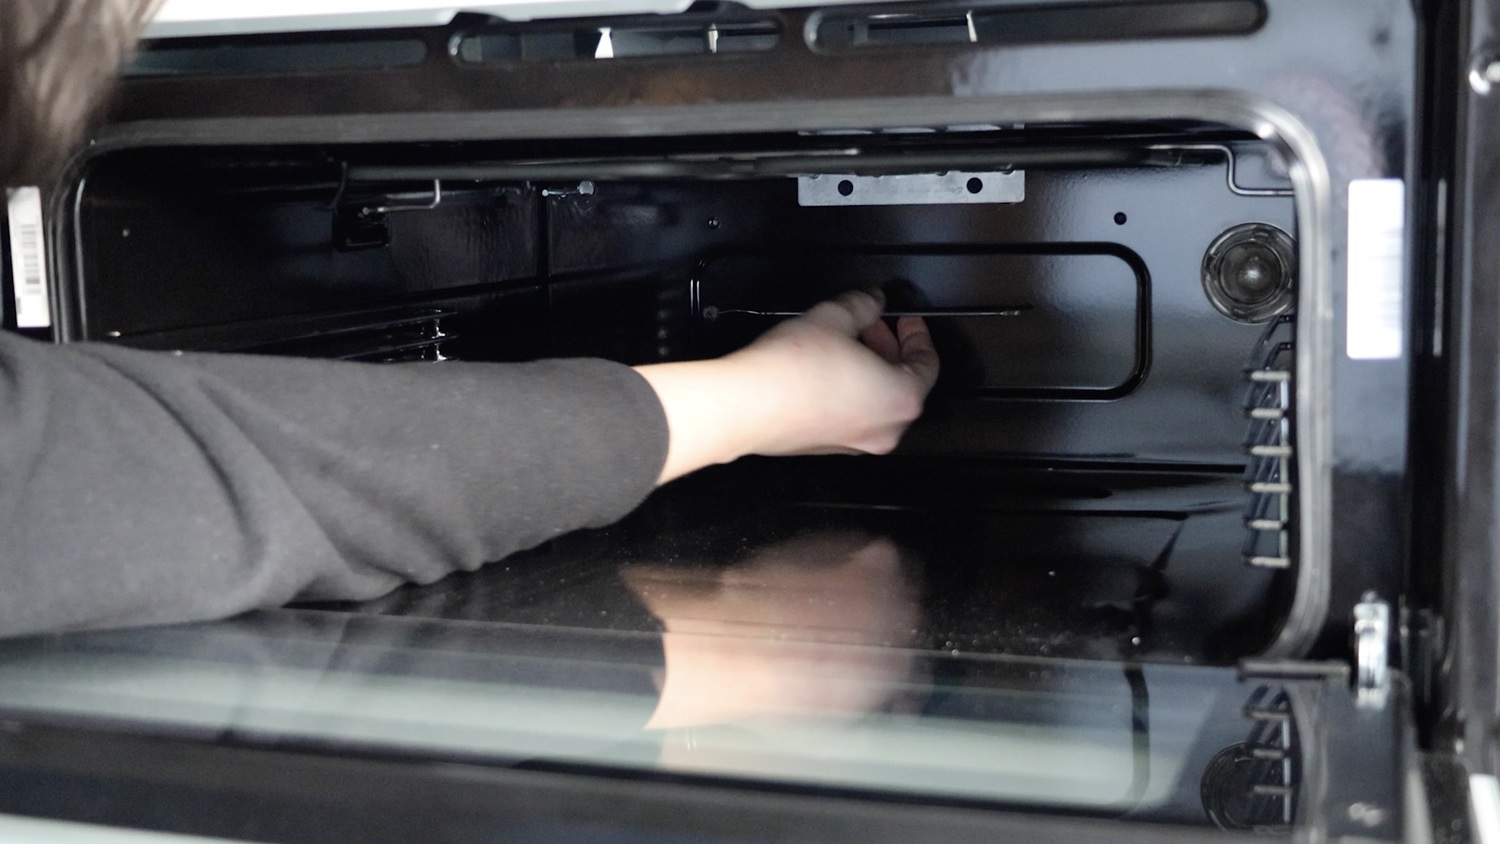
Unclip the current thermostat capillary tube from the rear of your oven cavity. We’ll come back to it in a second.
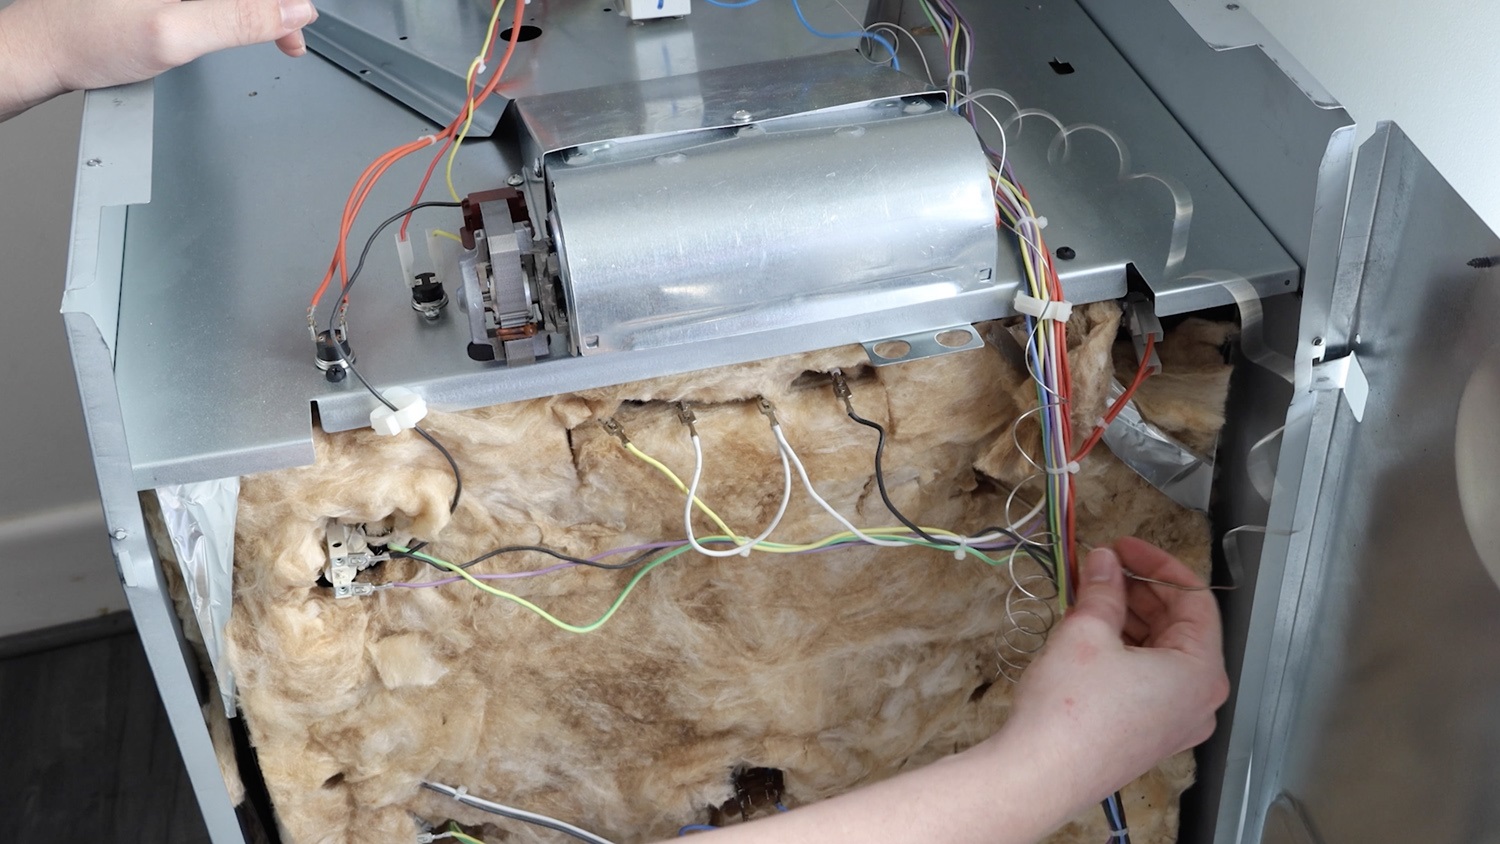
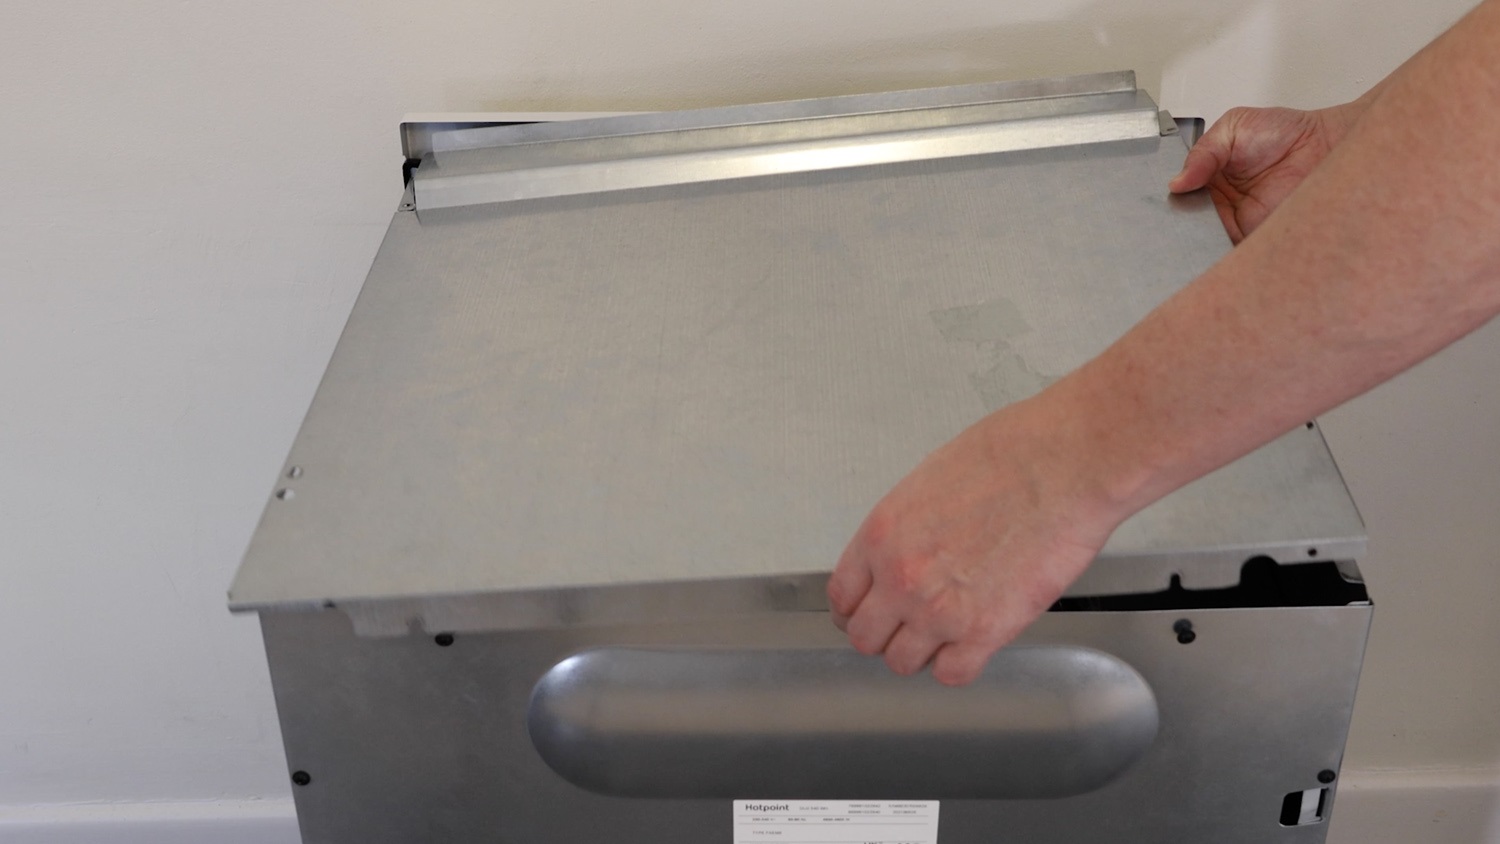
Remove your oven from your kitchen unit or recess to gain access to the top of the oven. Then unscrew the screws for the top panel.
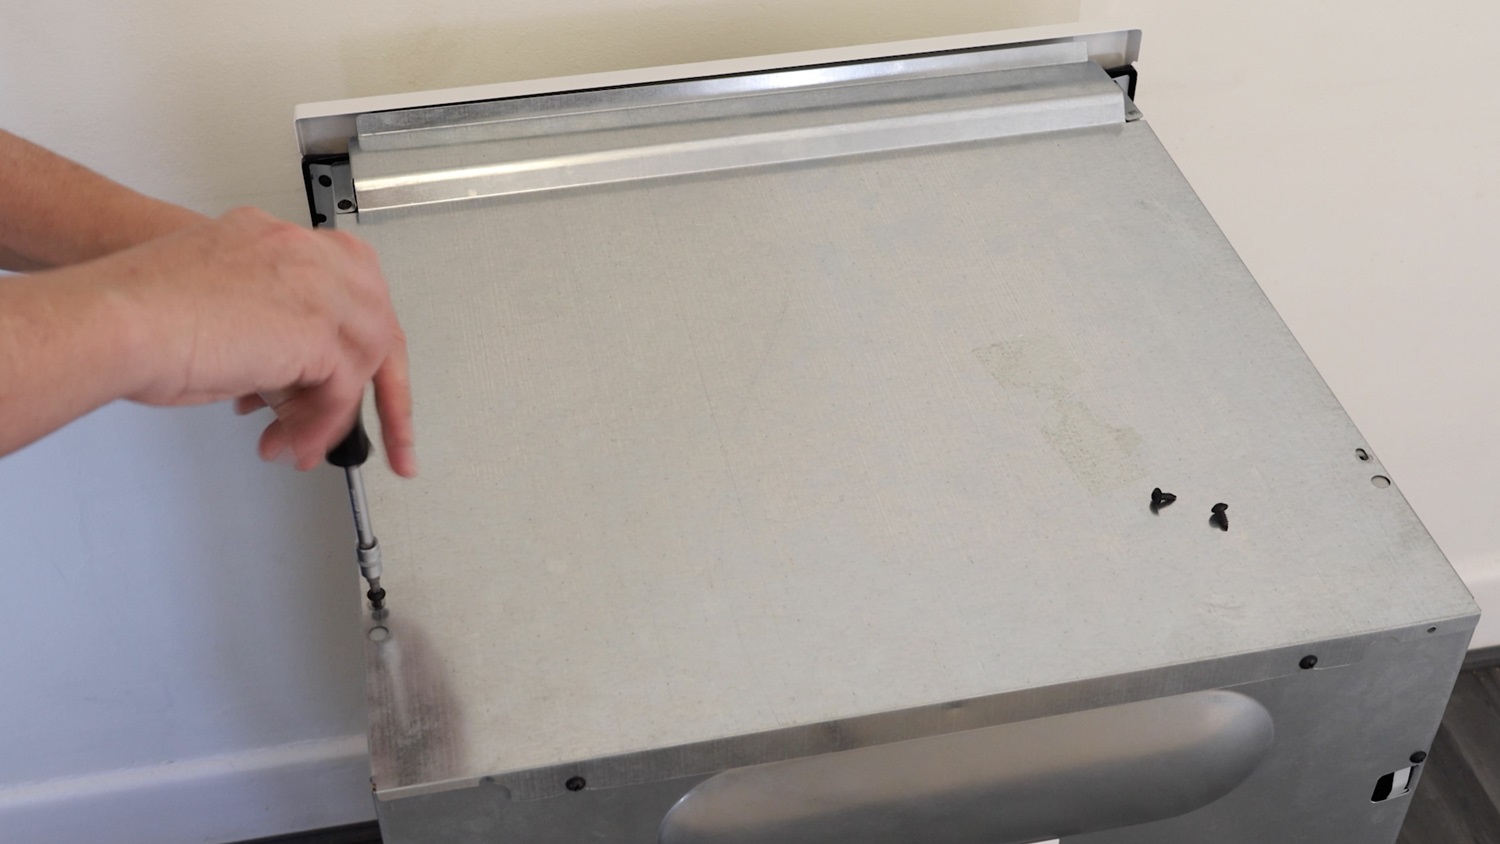
You may need to slightly loosen the two rear screws. Be careful of any sharp edges.

Remove the top panel and place to one side.
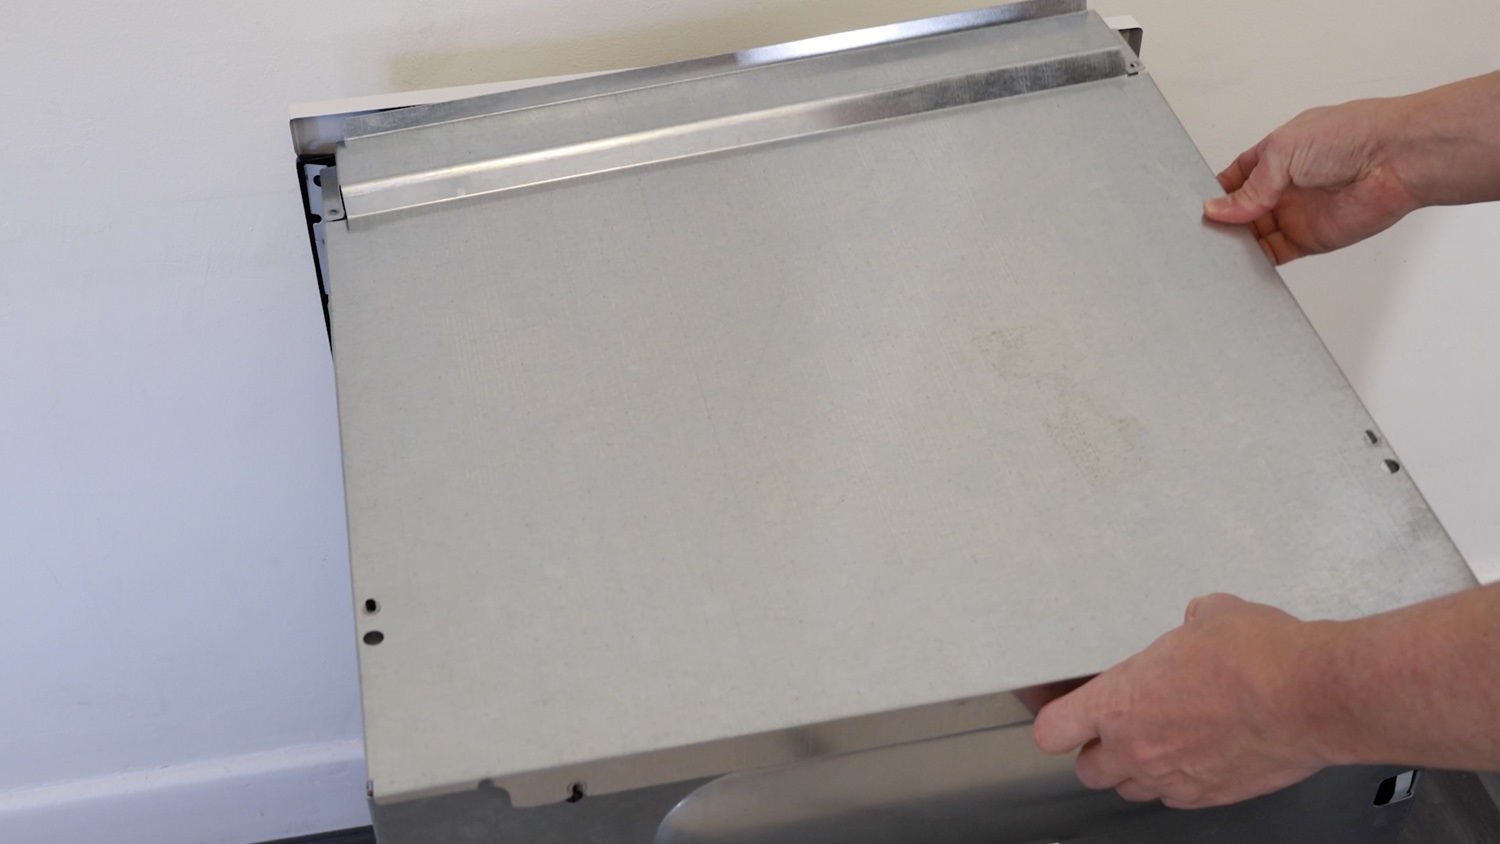
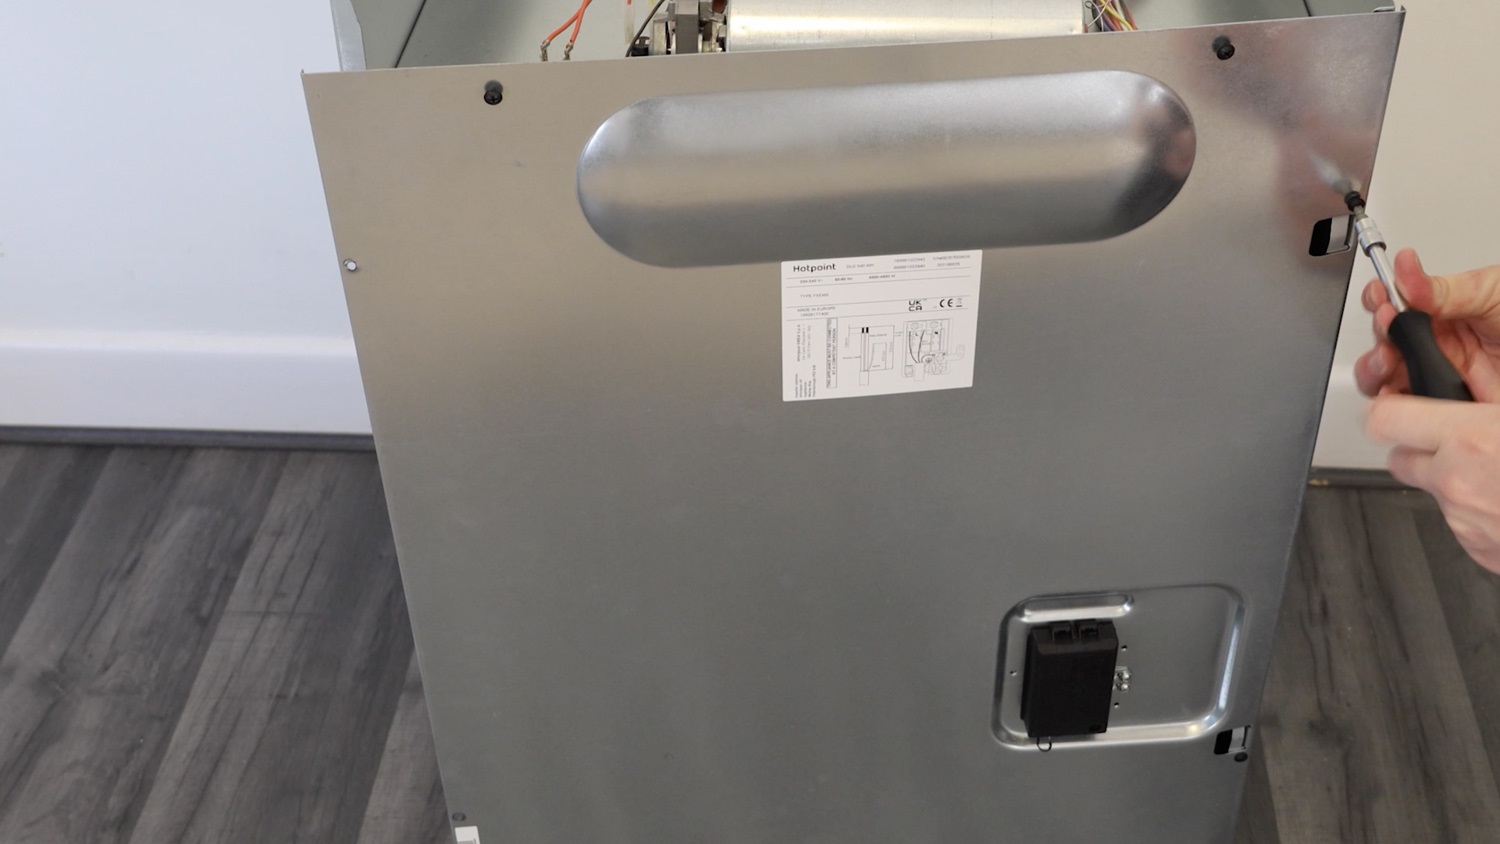
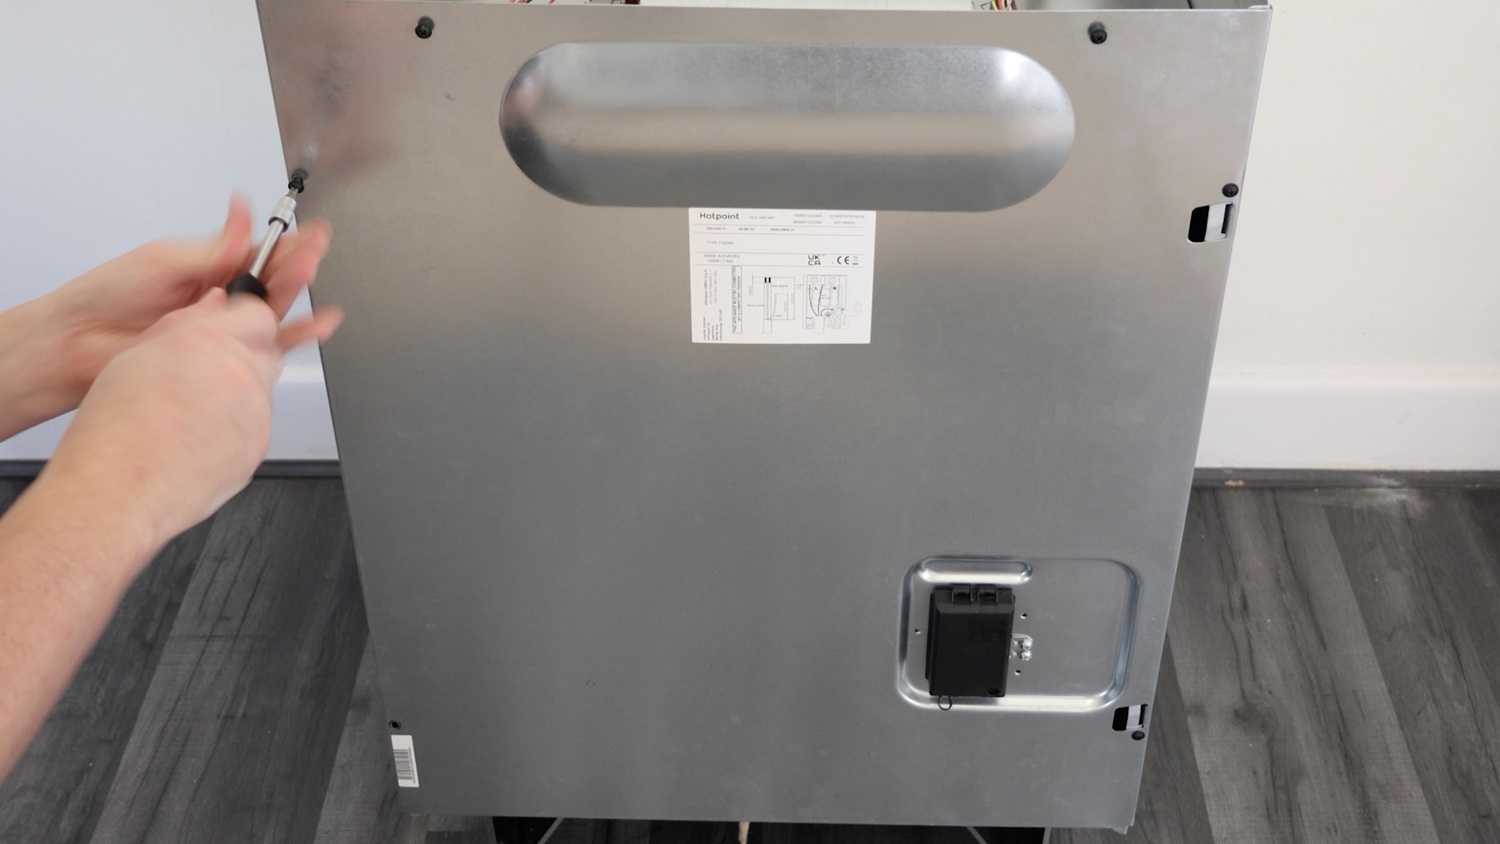
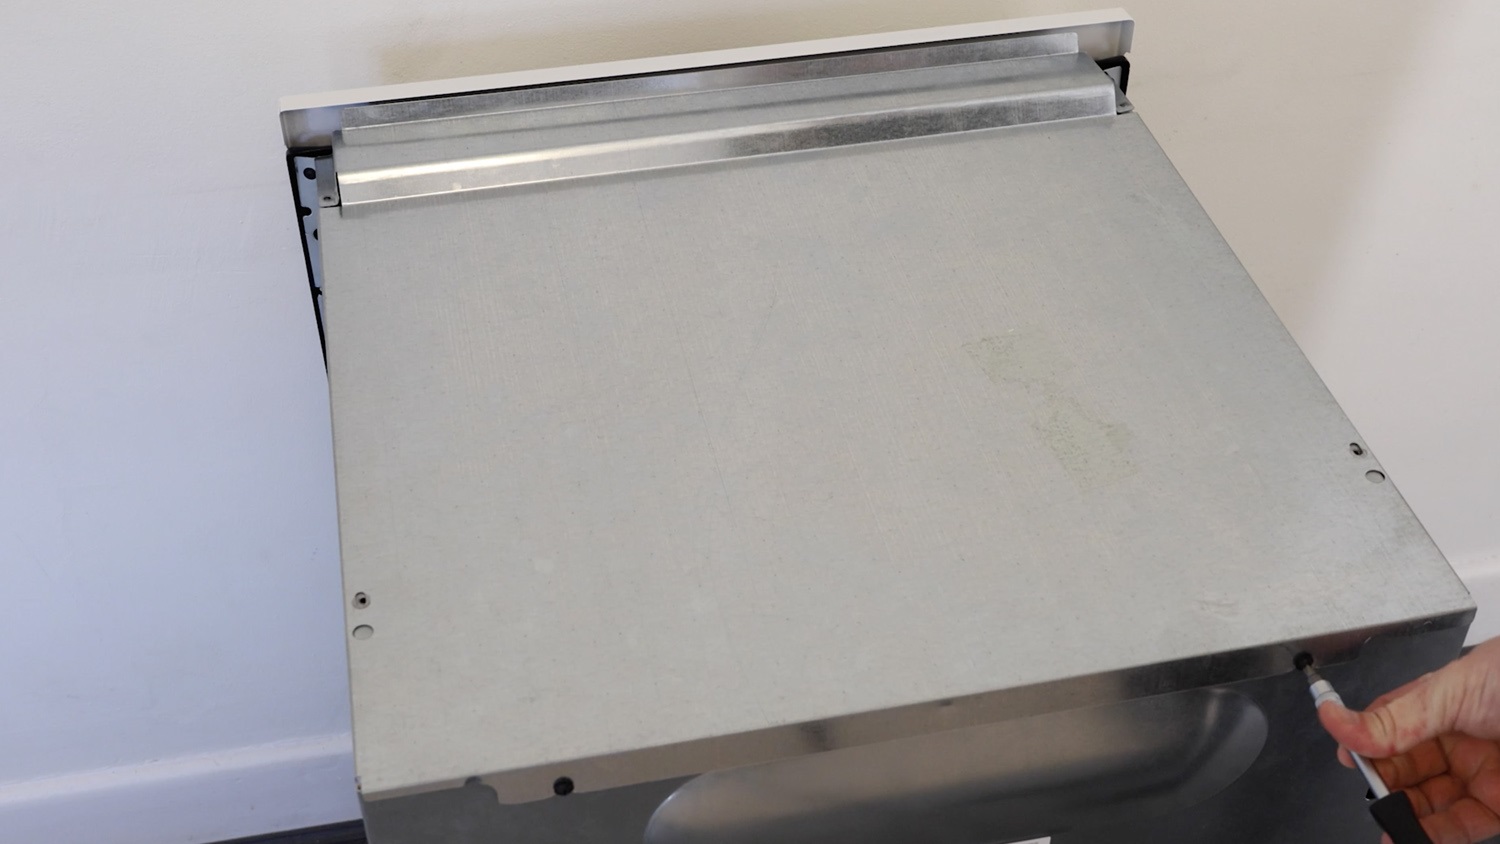
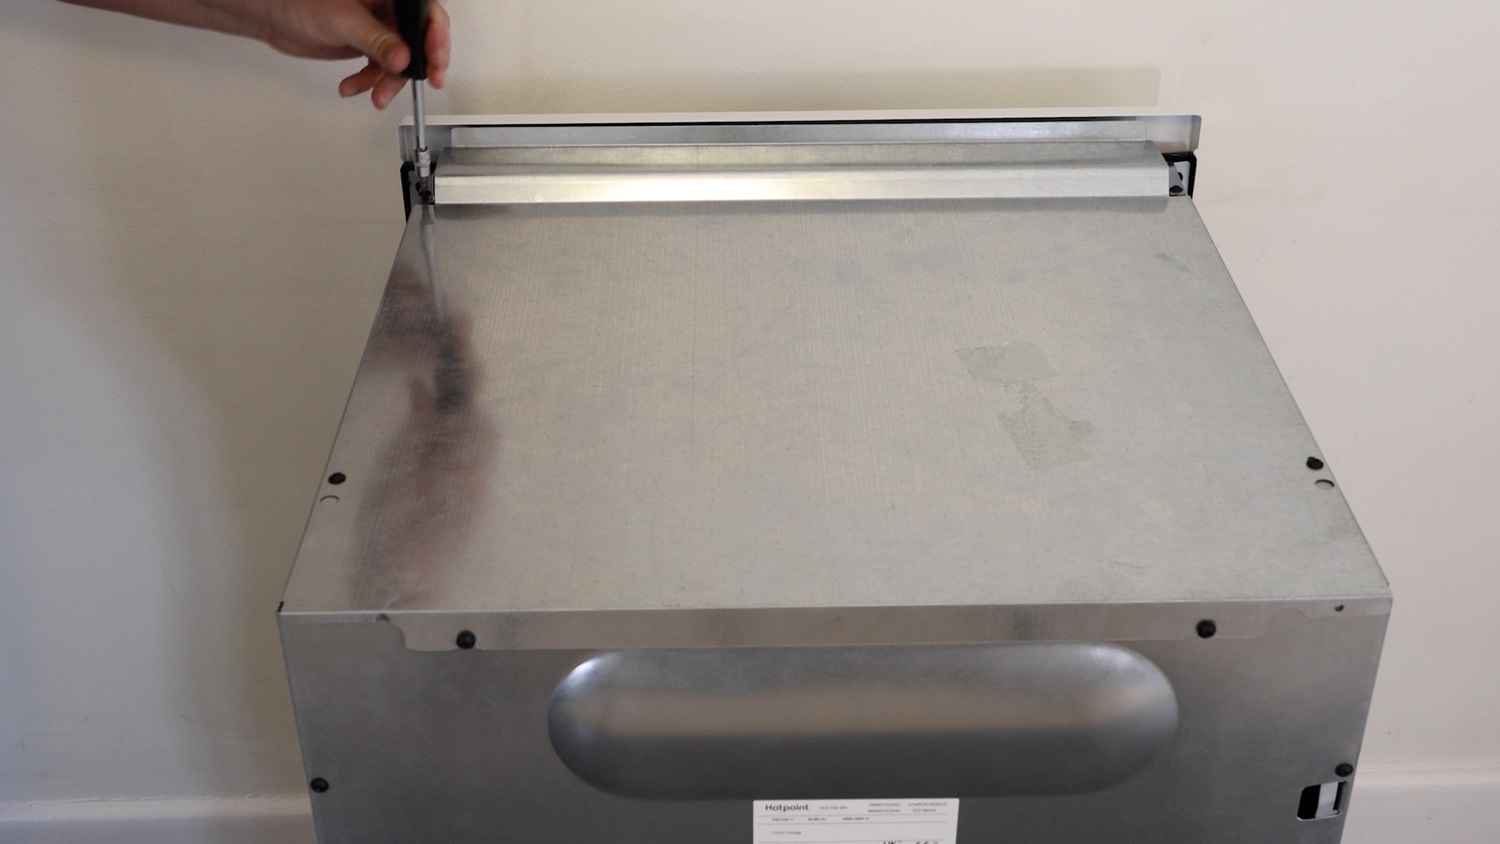
Remove the screws from the rear panel.
2. Remove old top oven thermostat
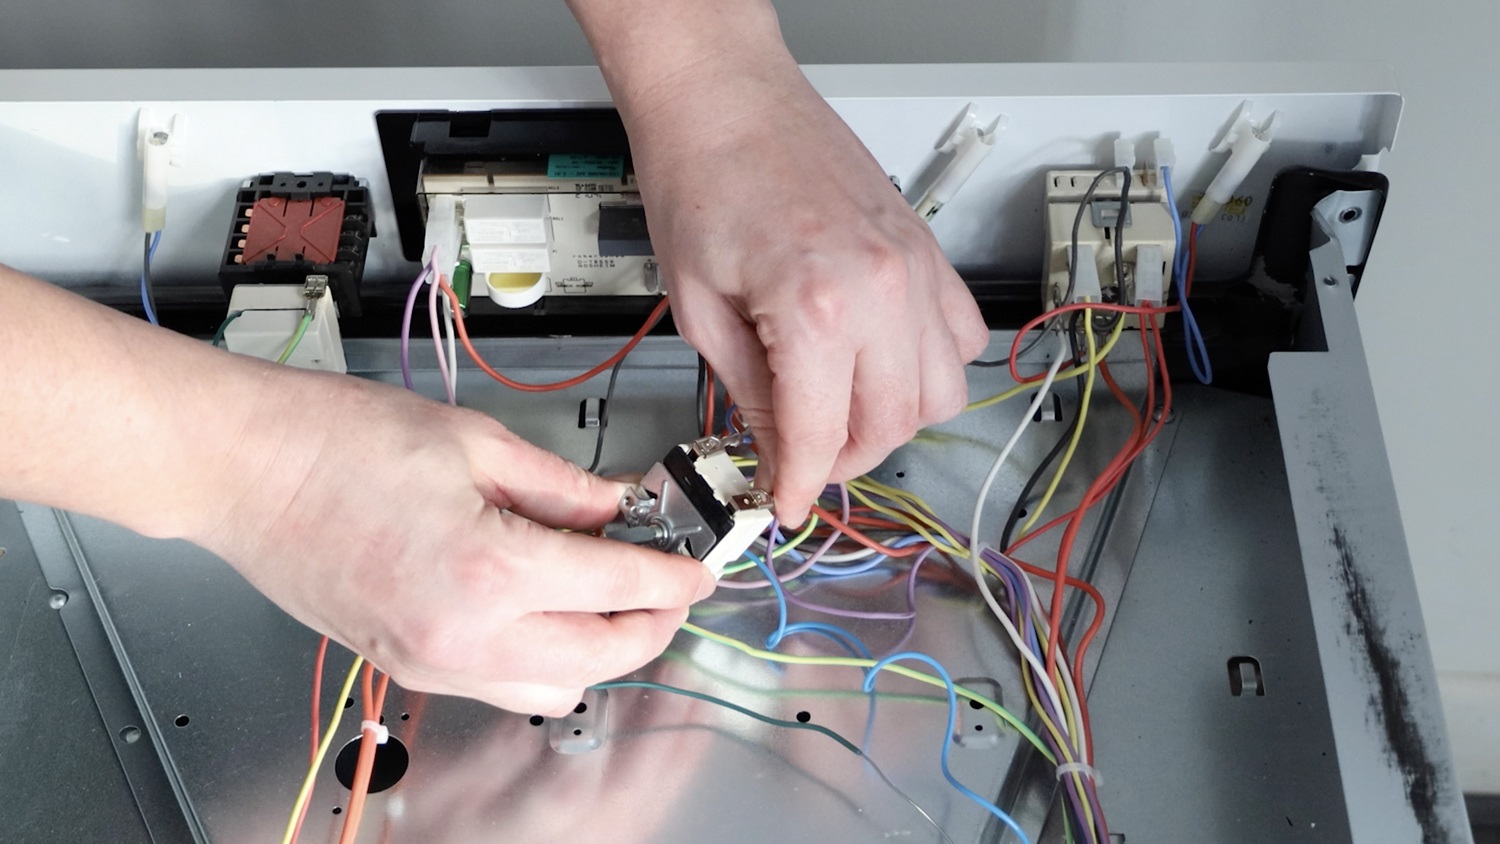
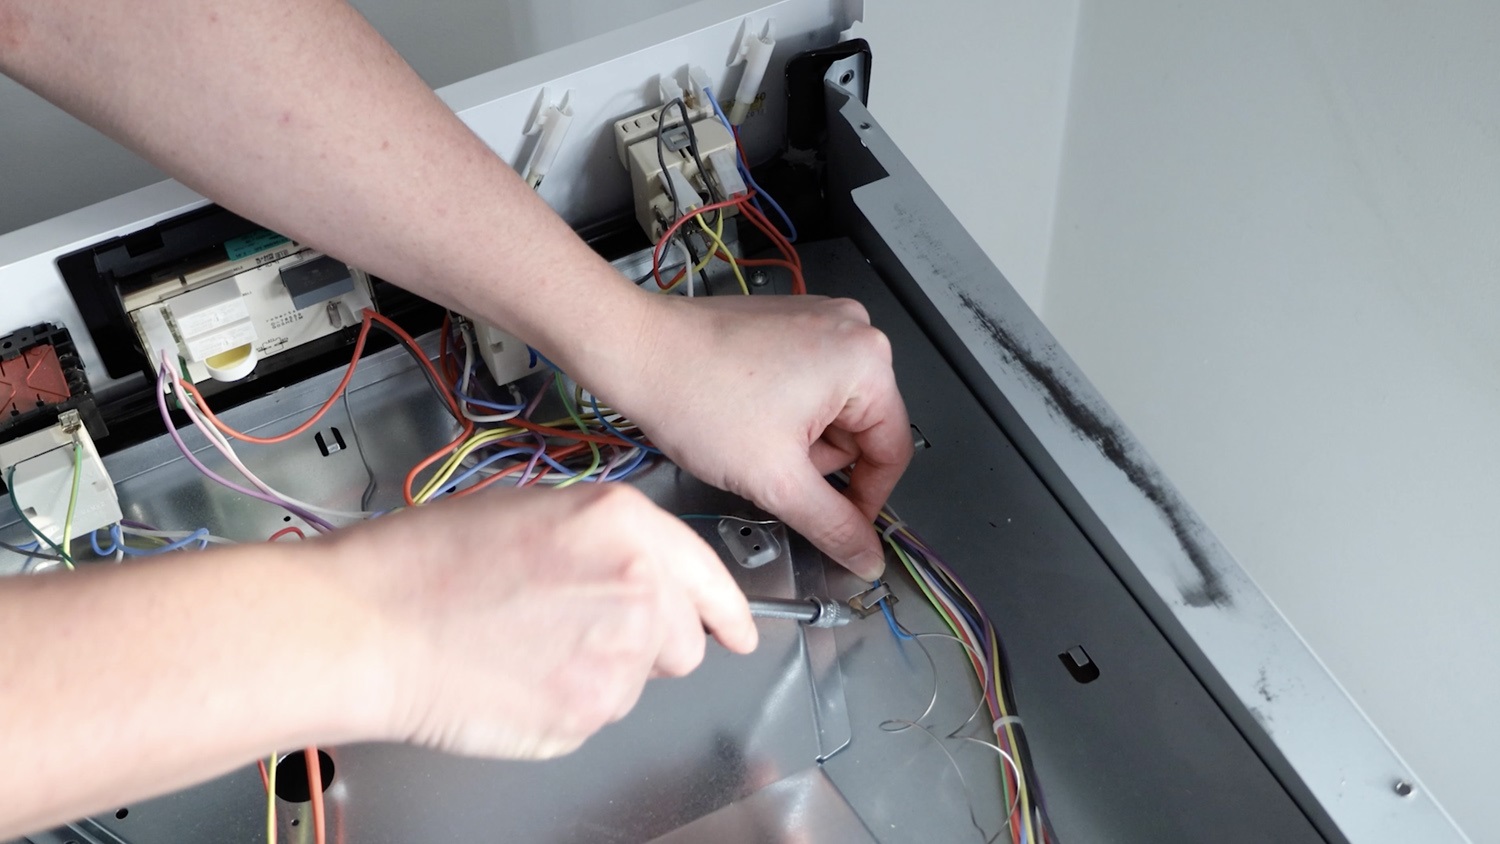
Make sure you’re removing the thermostat attached to the correct oven. We’re removing the one for the top oven marked here in black. The one on the right will be for the bottom oven.

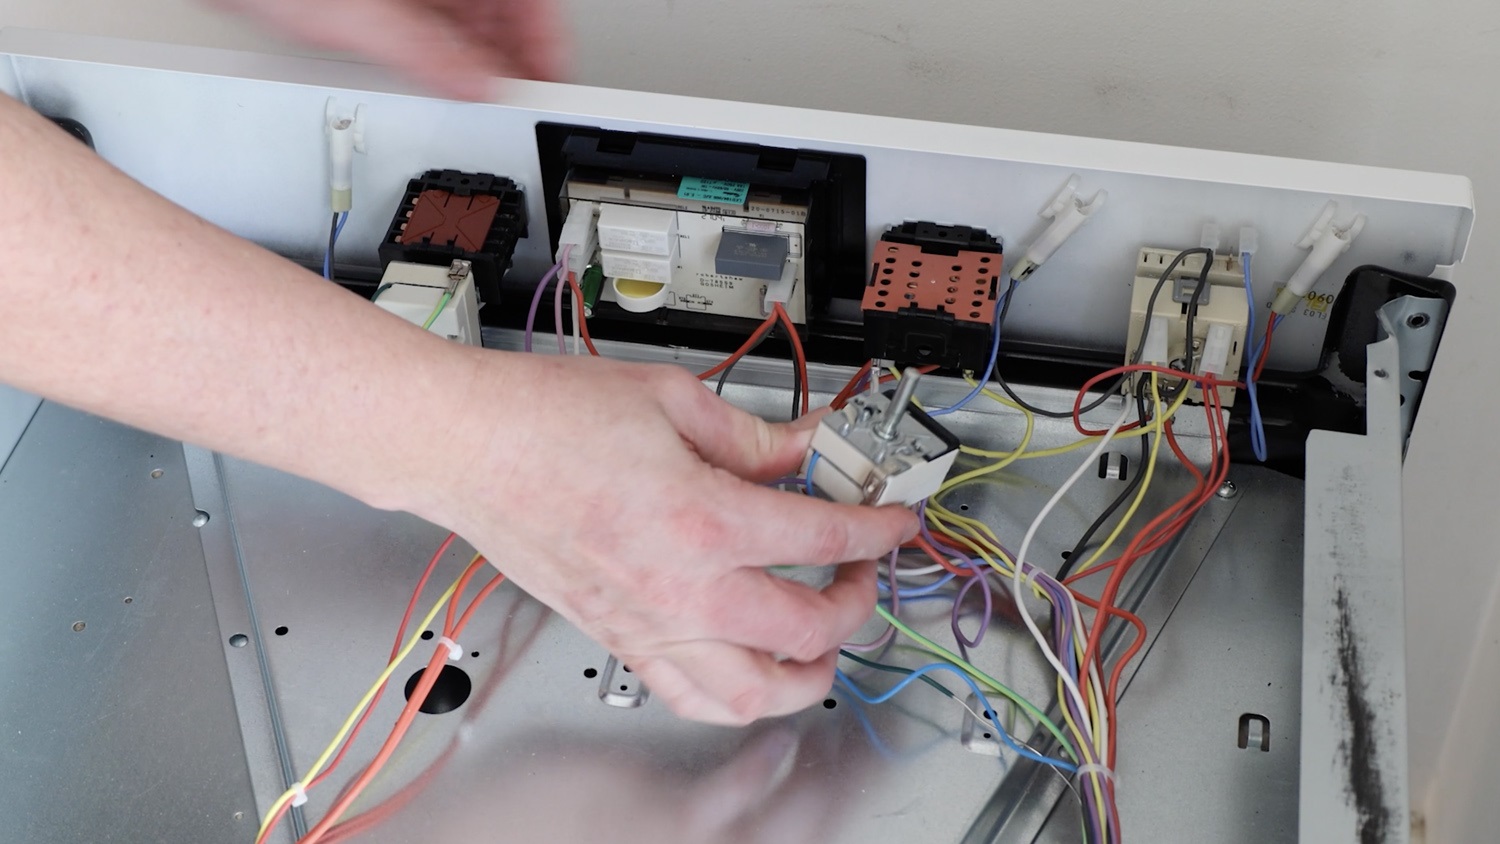
Remove the thermostat from the selector switch.
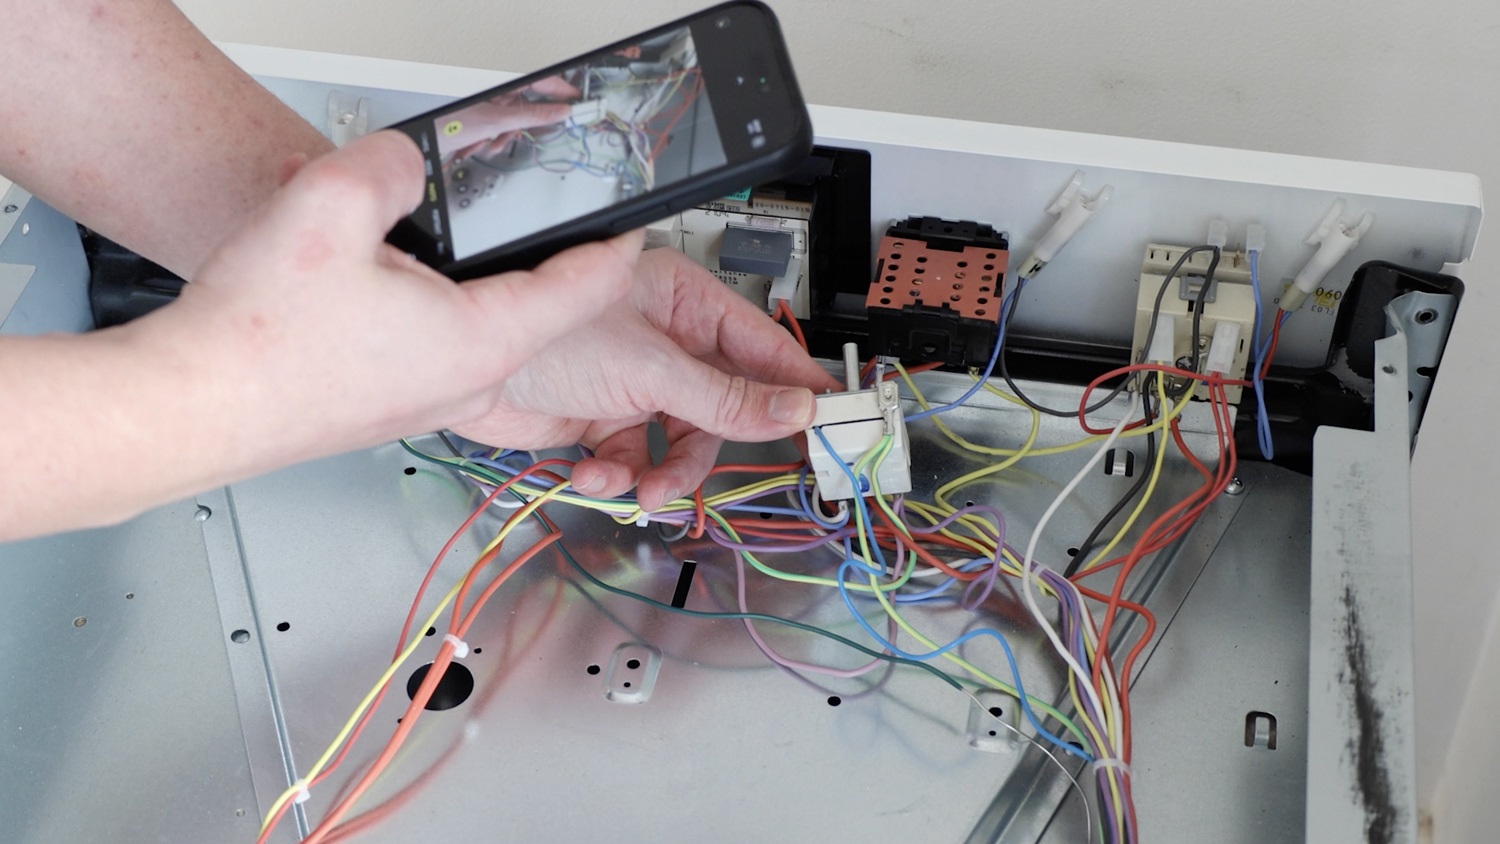
Take a photo of the existing wiring layout so you have a reference of where the new ones need to go.
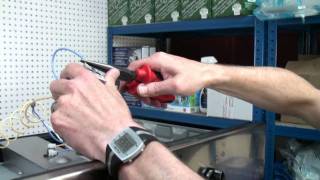
Unclip the wiring terminals. If they’re tight, use a pair of long-nose pliers.
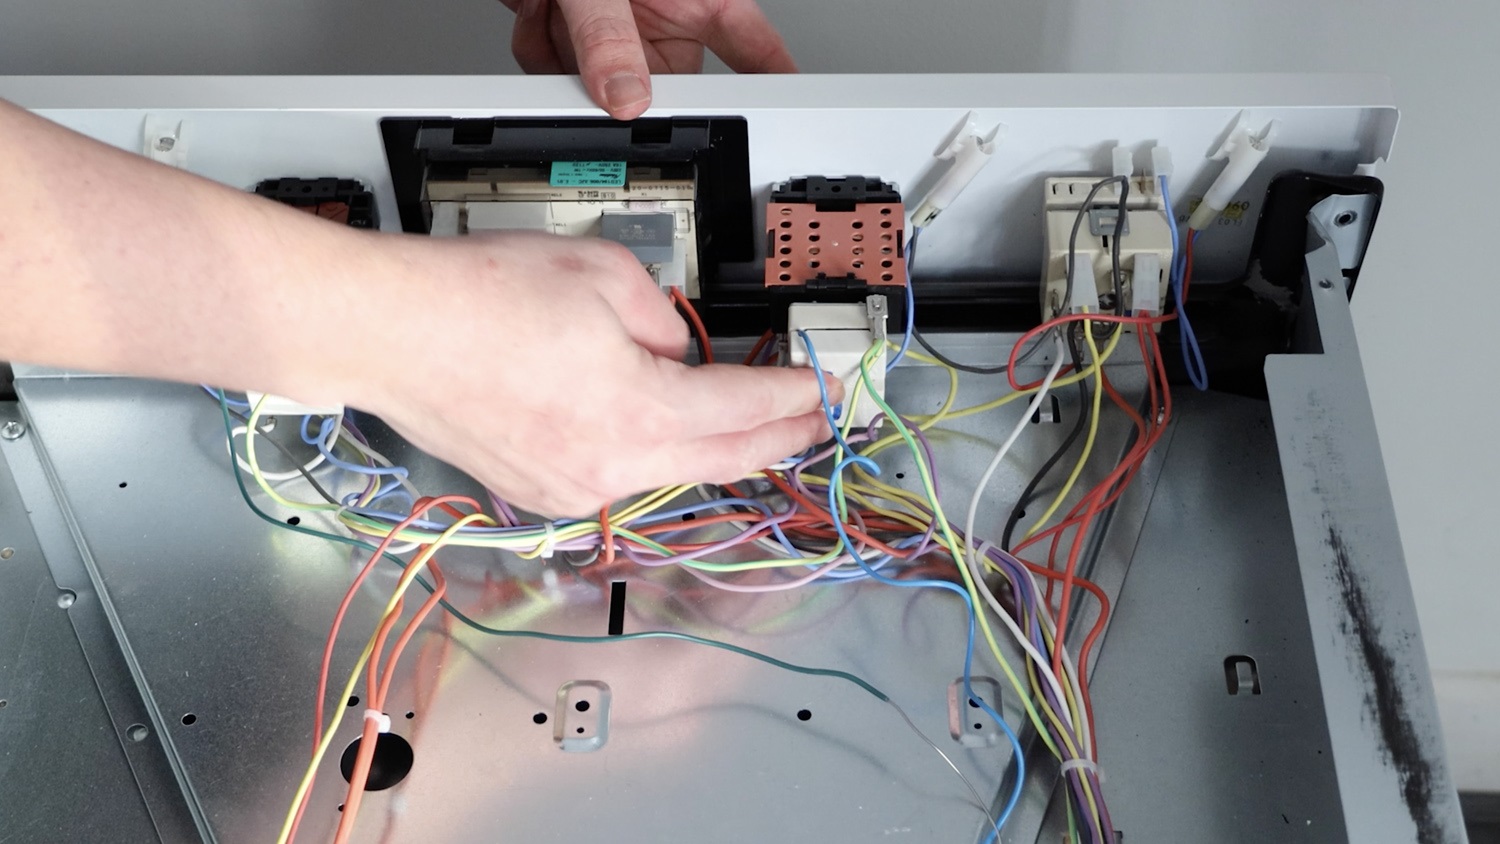
Unclip the thermostat wire from the top of the oven.
Remove the thermostat from the rear of the oven.
3. Install new top oven thermostat
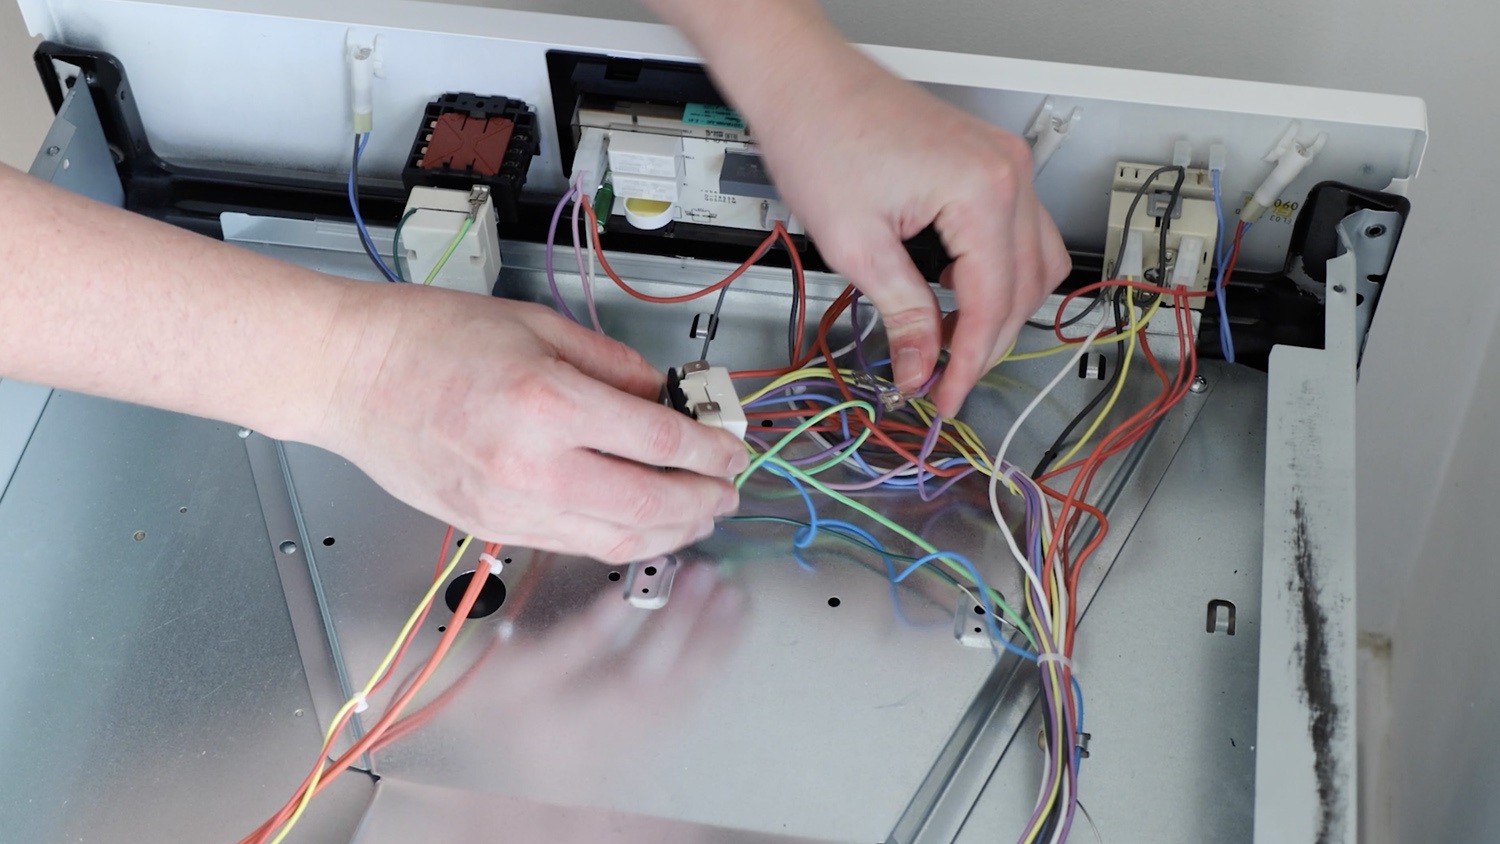
Attach the wires to your new top oven thermostat. Use the photo taken earlier to ensure they go in the exact place as before.
Attach your new thermostat to the selector switch.
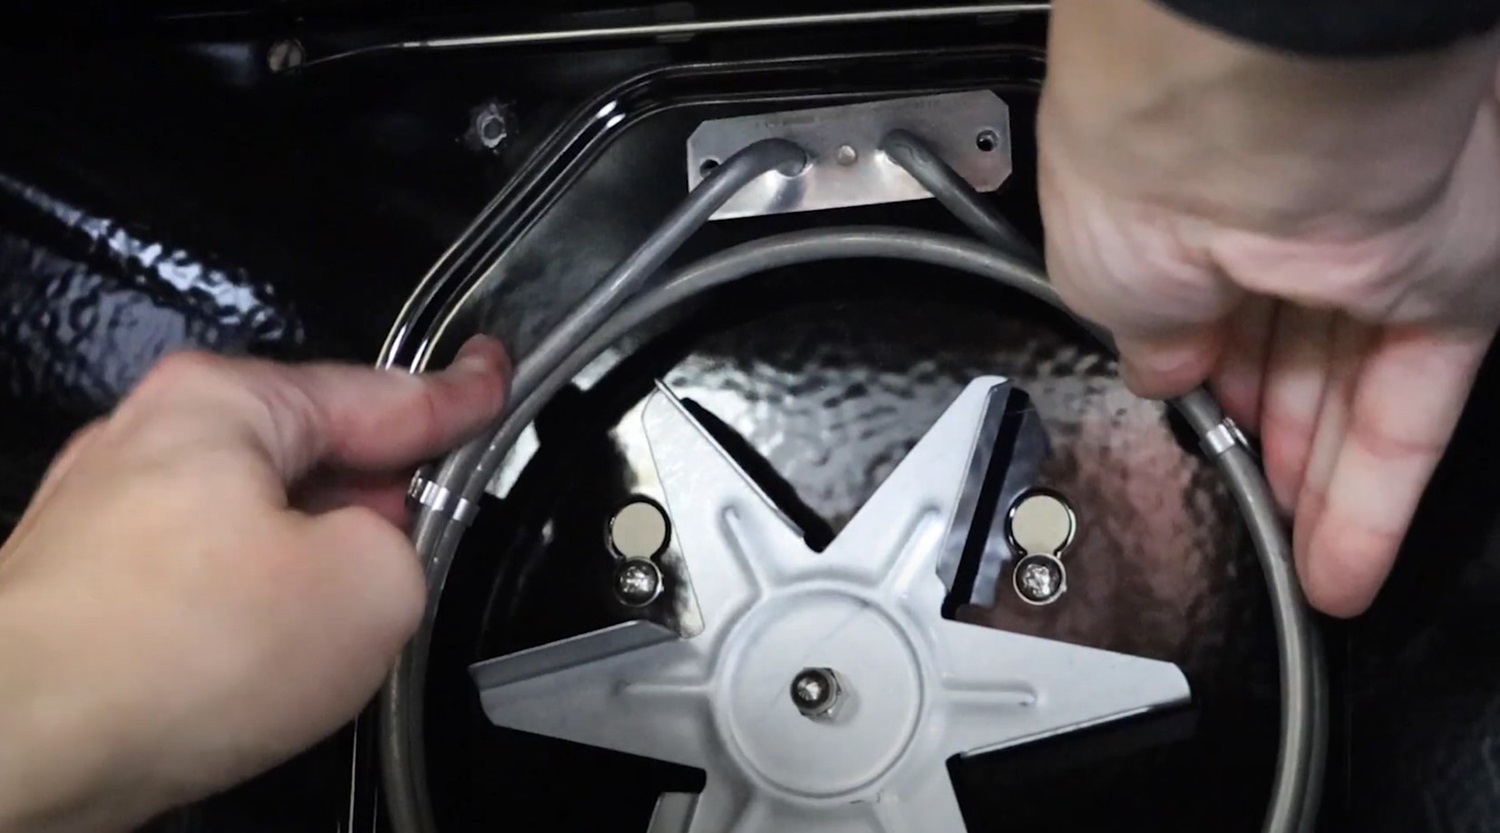
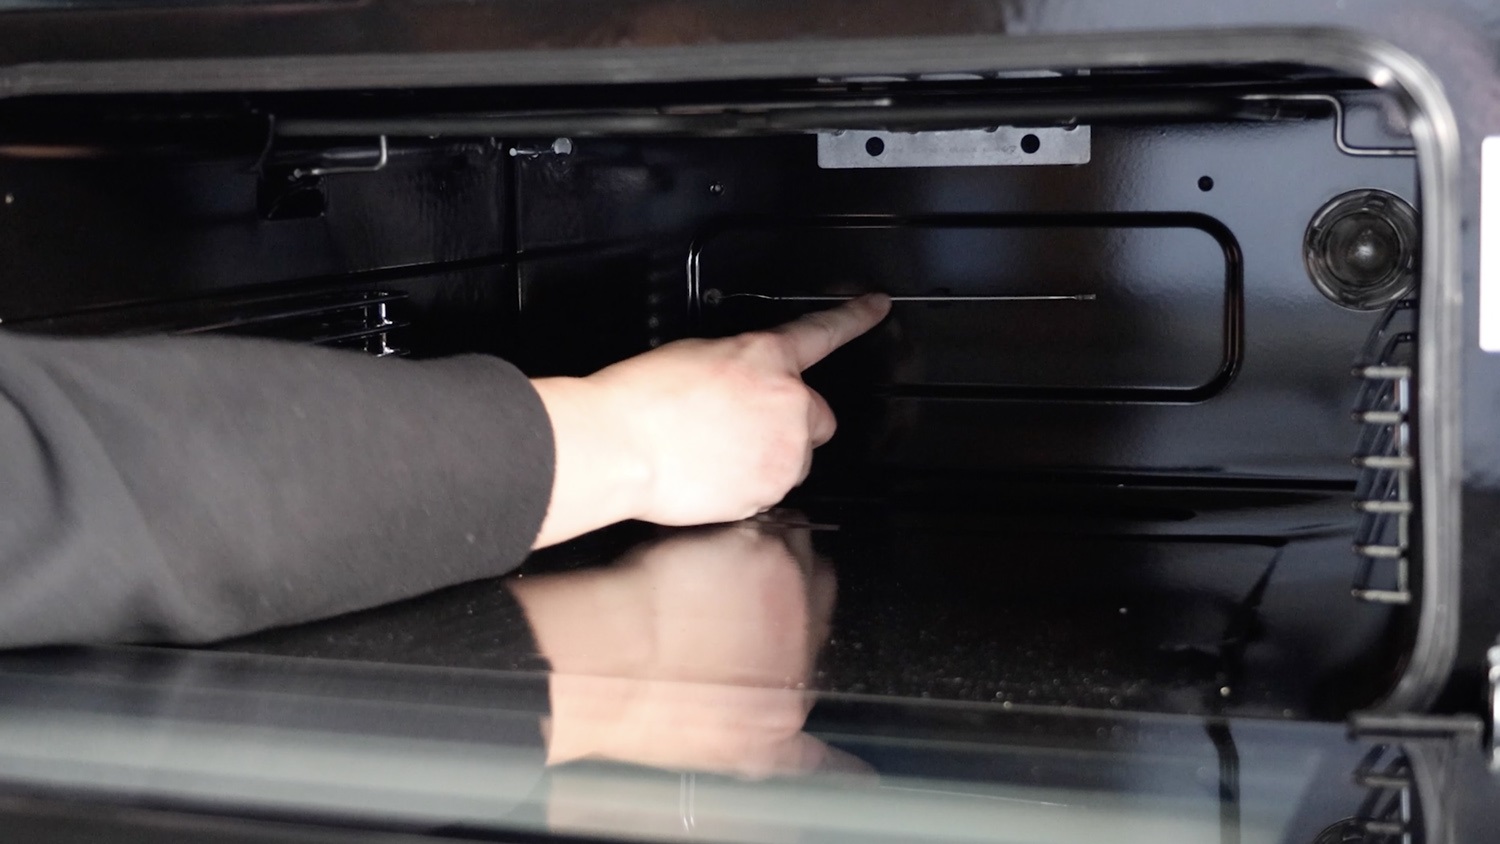
Feed the capillary tube end of the thermostat through the rear and into the top oven cavity.
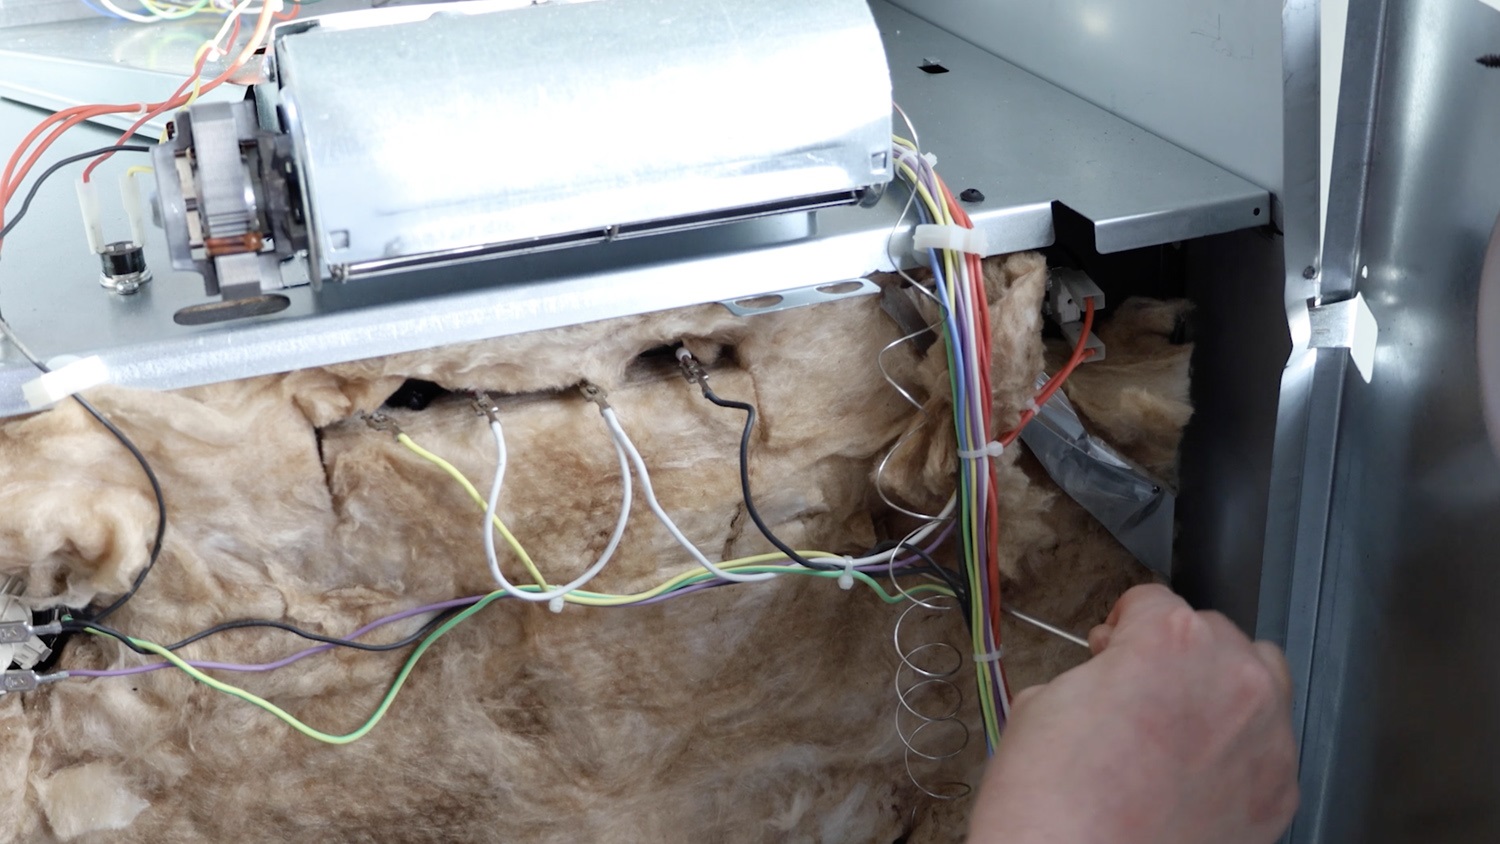
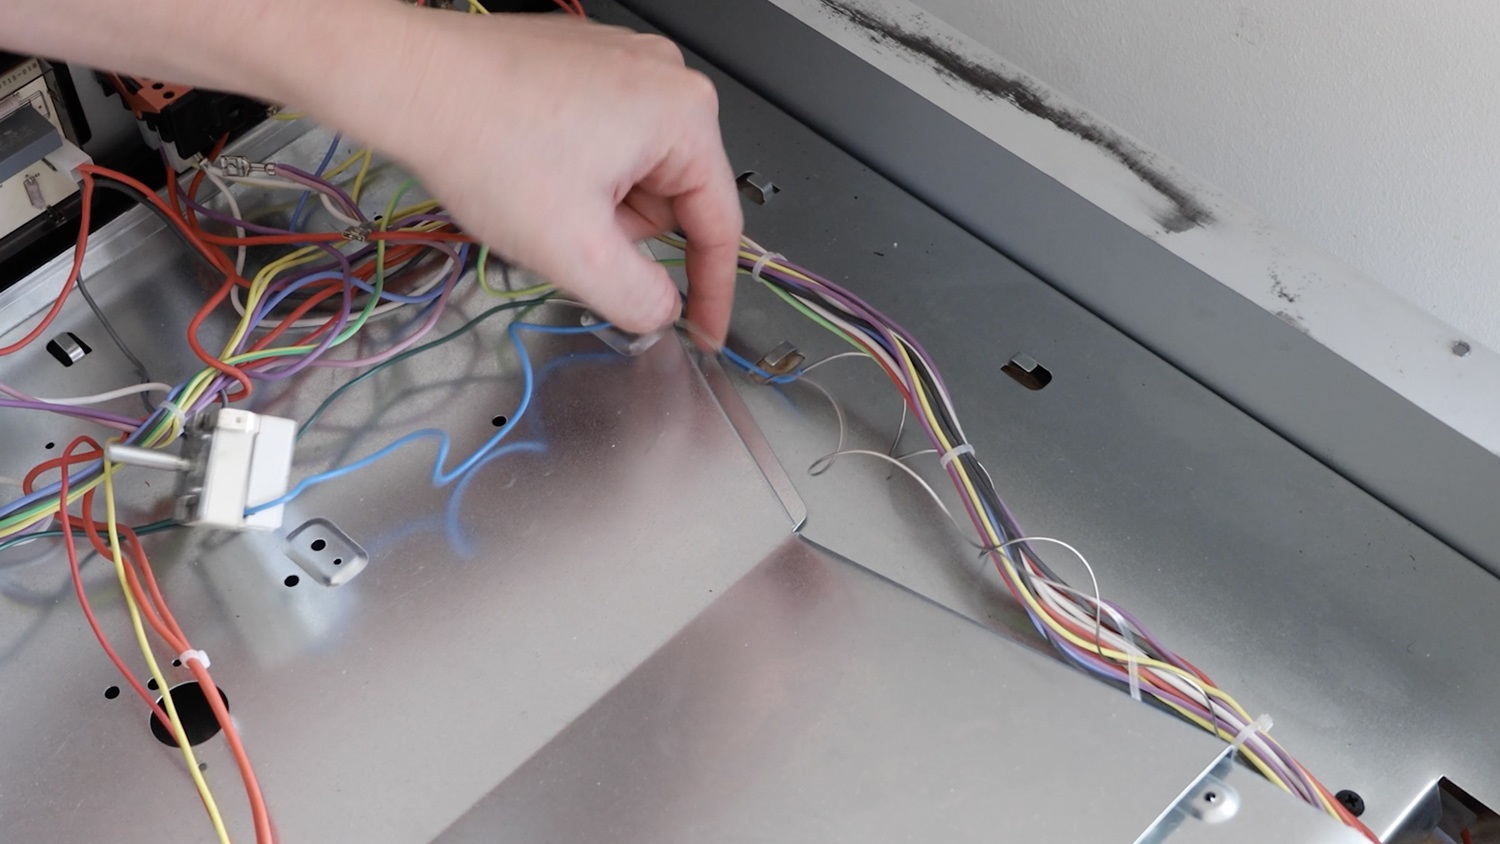
Clip the wire to the top of the oven, along with the wire from the bottom oven thermostat.
Clip the capillary tube of the thermostat to the rear of the top oven cavity.
4. Reassemble oven parts
Place any shelves and trays back into the oven.
Re-screw the screws for the rear oven panel back in.
Then, place the top panel back on.
Re-screw the two rear screws if they were loosened.
Re-screw the top screws back in.
If you had to remove your oven from a recess or a kitchen unit, place it back in and secure it tightly.
That’s it, your new top oven thermostat is all set to go!