Make and Model of Oven Used in This Video
Hotpoint DU2540WH (61022940000)
Hotpoint DU2540WH (769991022942)
Part Used in This Video
1. Access old thermostat
Gaining access to the rear is needed. If the oven is in a kitchen unit or recess, remove the screws found at the front holding it in place and gently pull the oven out.
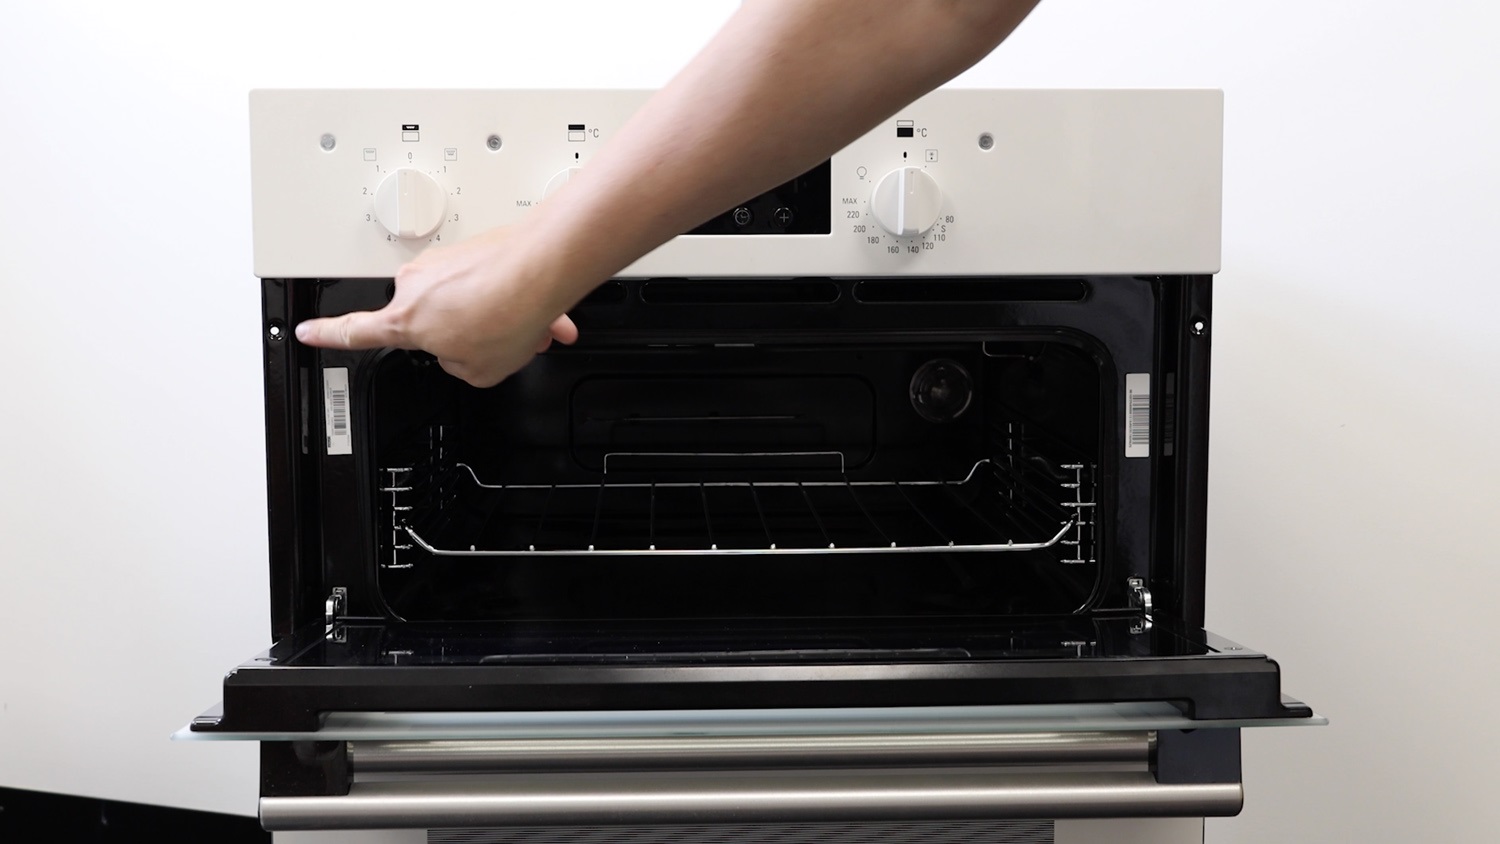
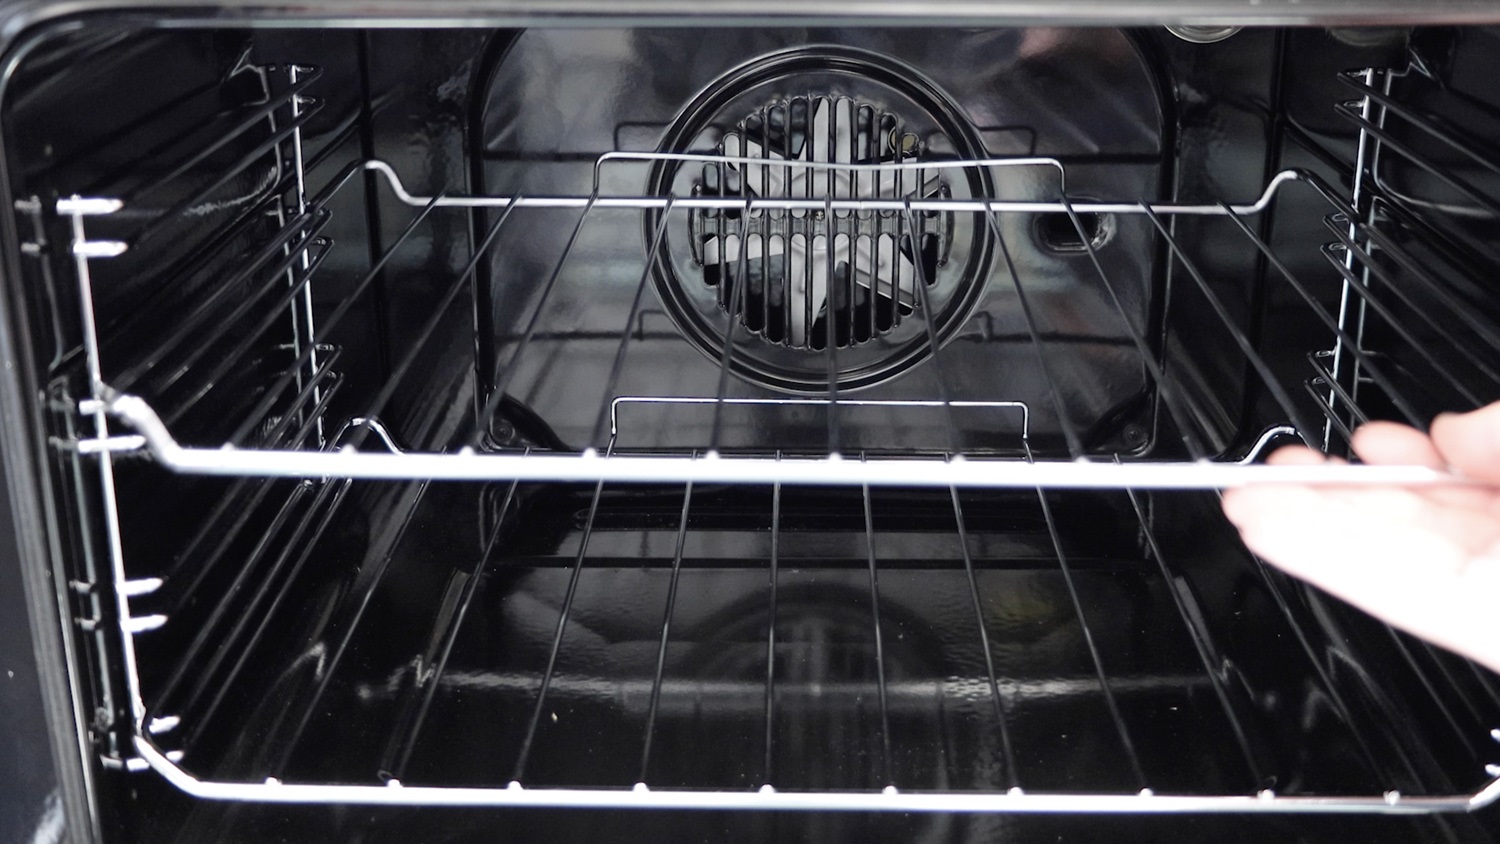
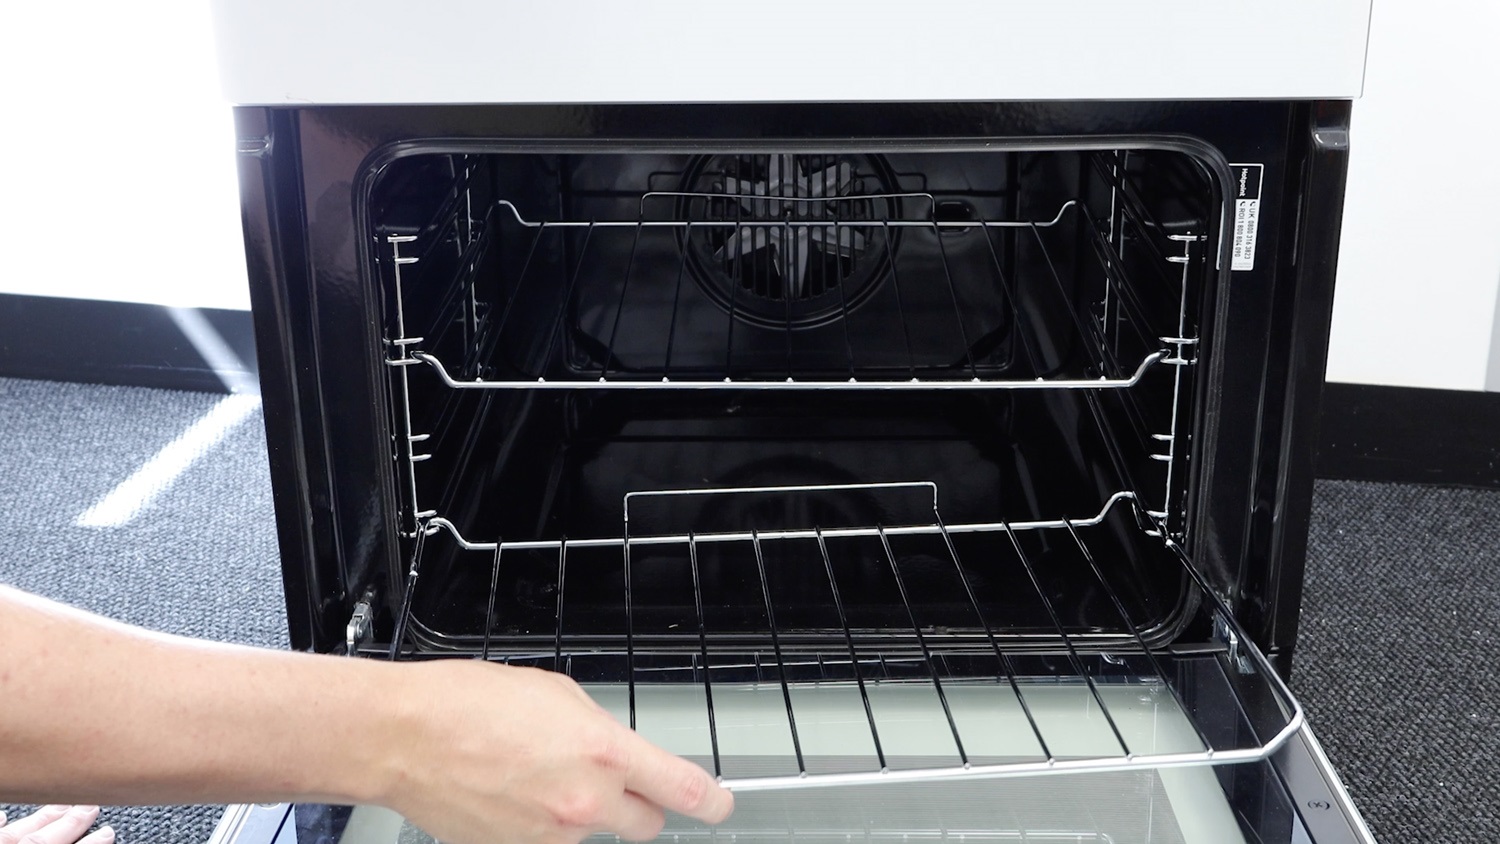
Remove trays and racks
Firstly, remove any trays and shelves from the oven.
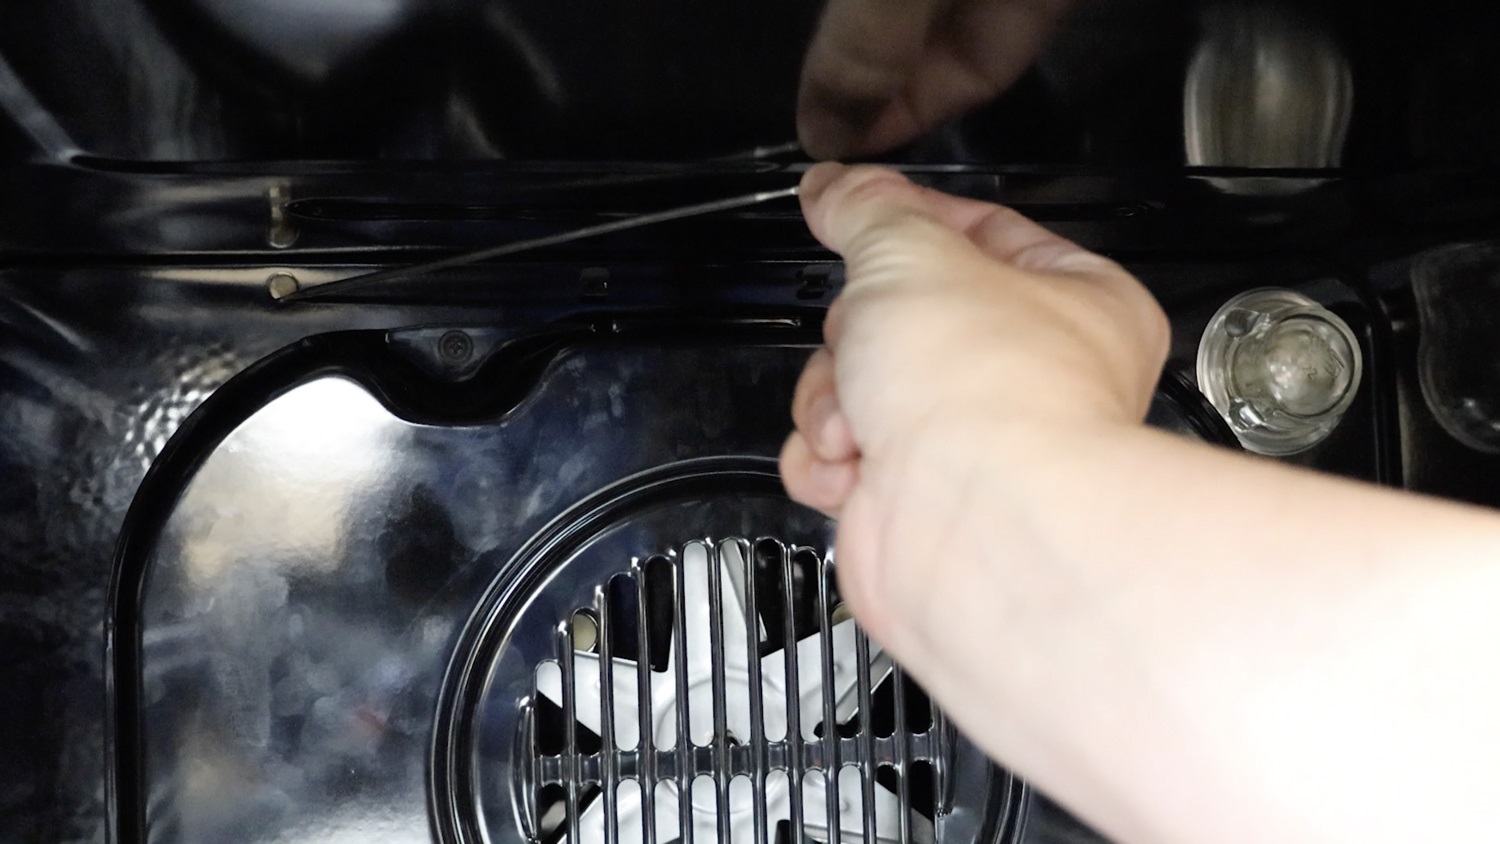
Unclip thermostat capillary tube
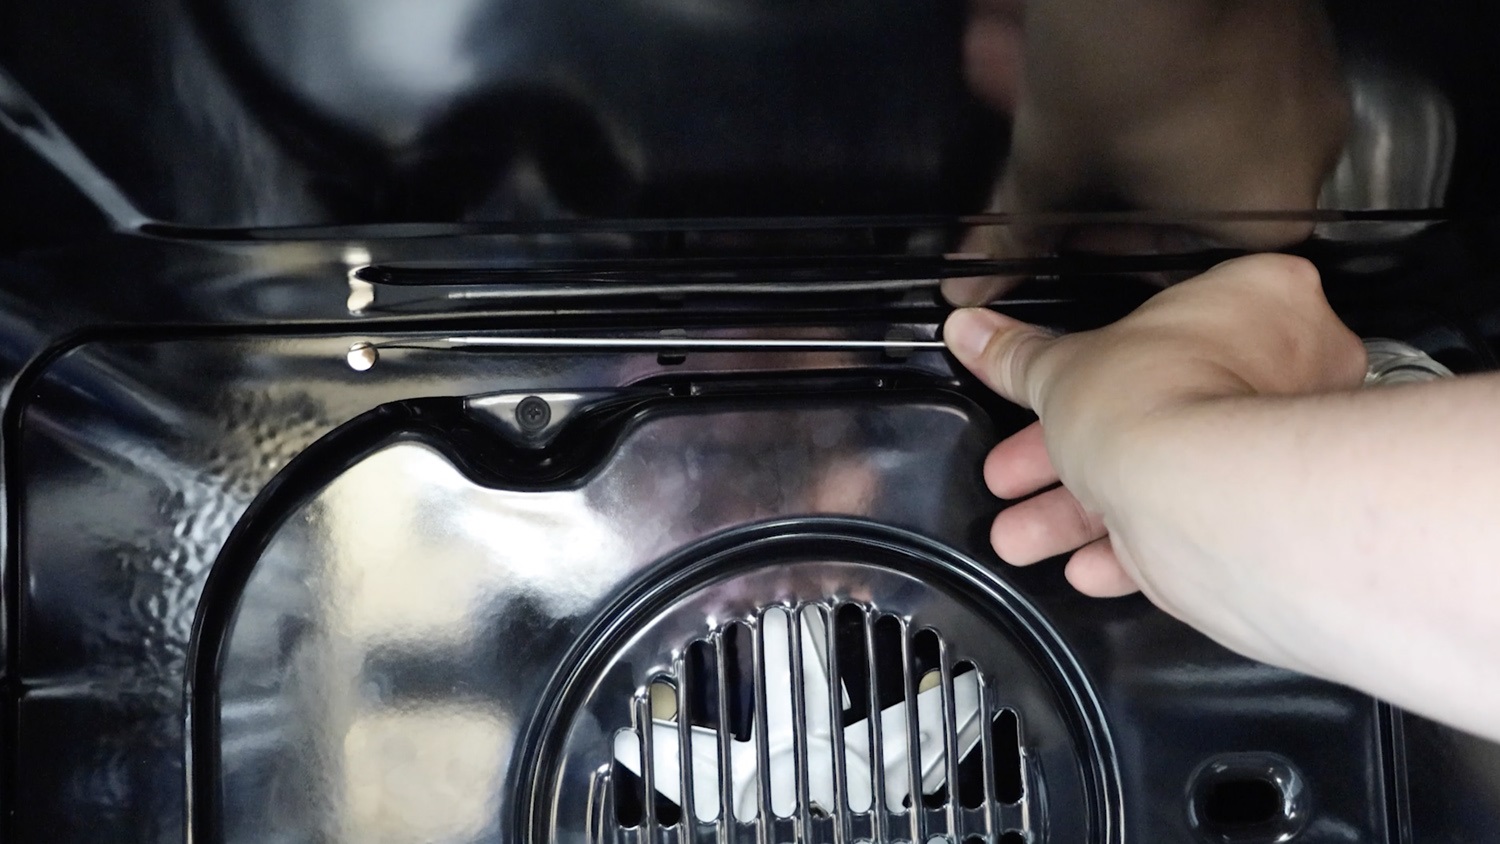
Unclip the current thermostat capillary tube from the back of the oven.
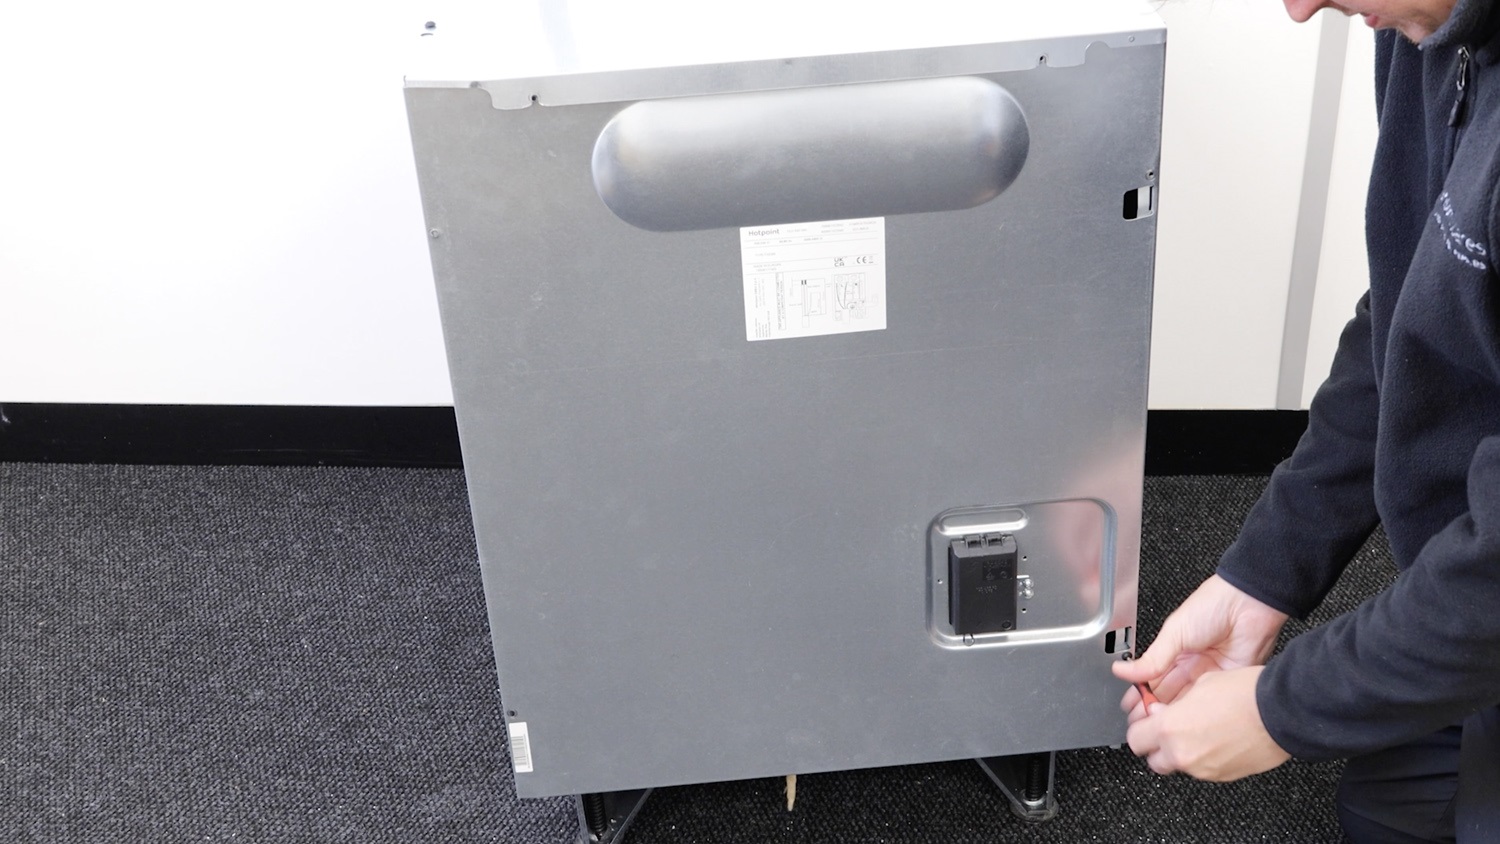
Remove oven panels
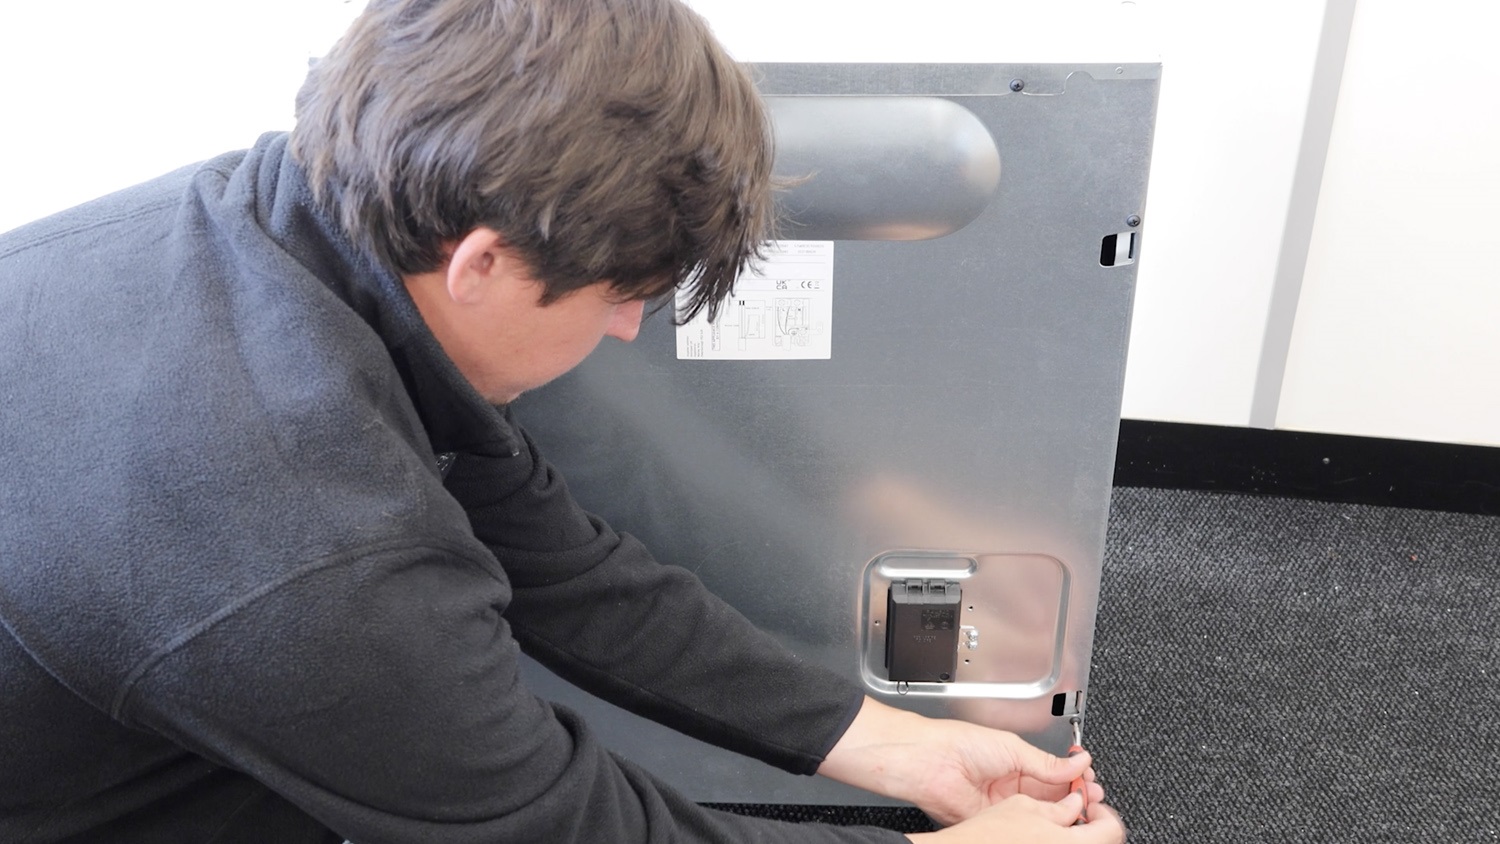
To gain access to the back of the oven, unscrew the screws from the rear panel and place them to one side.
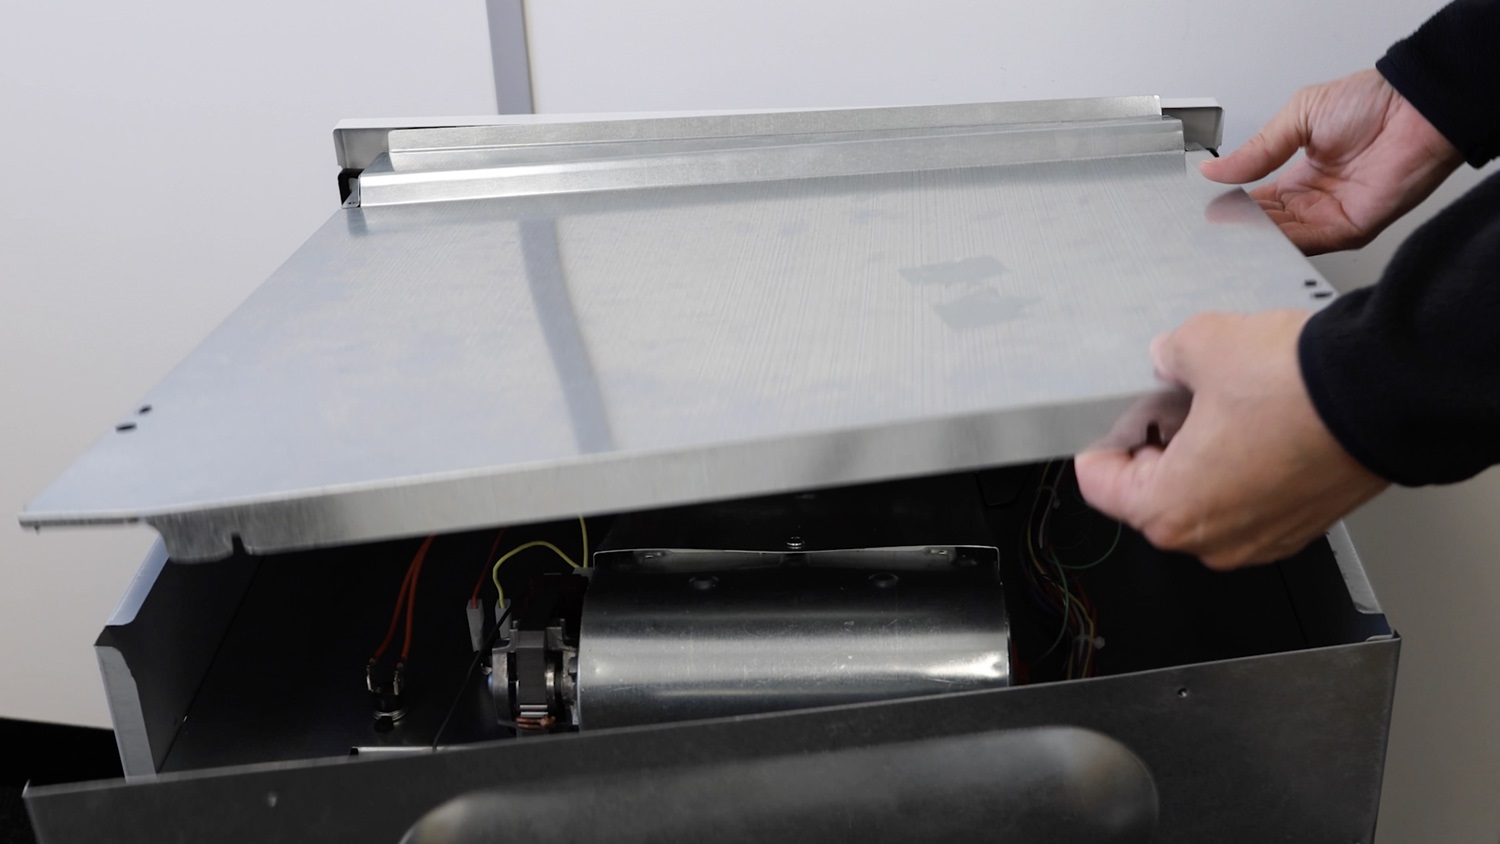
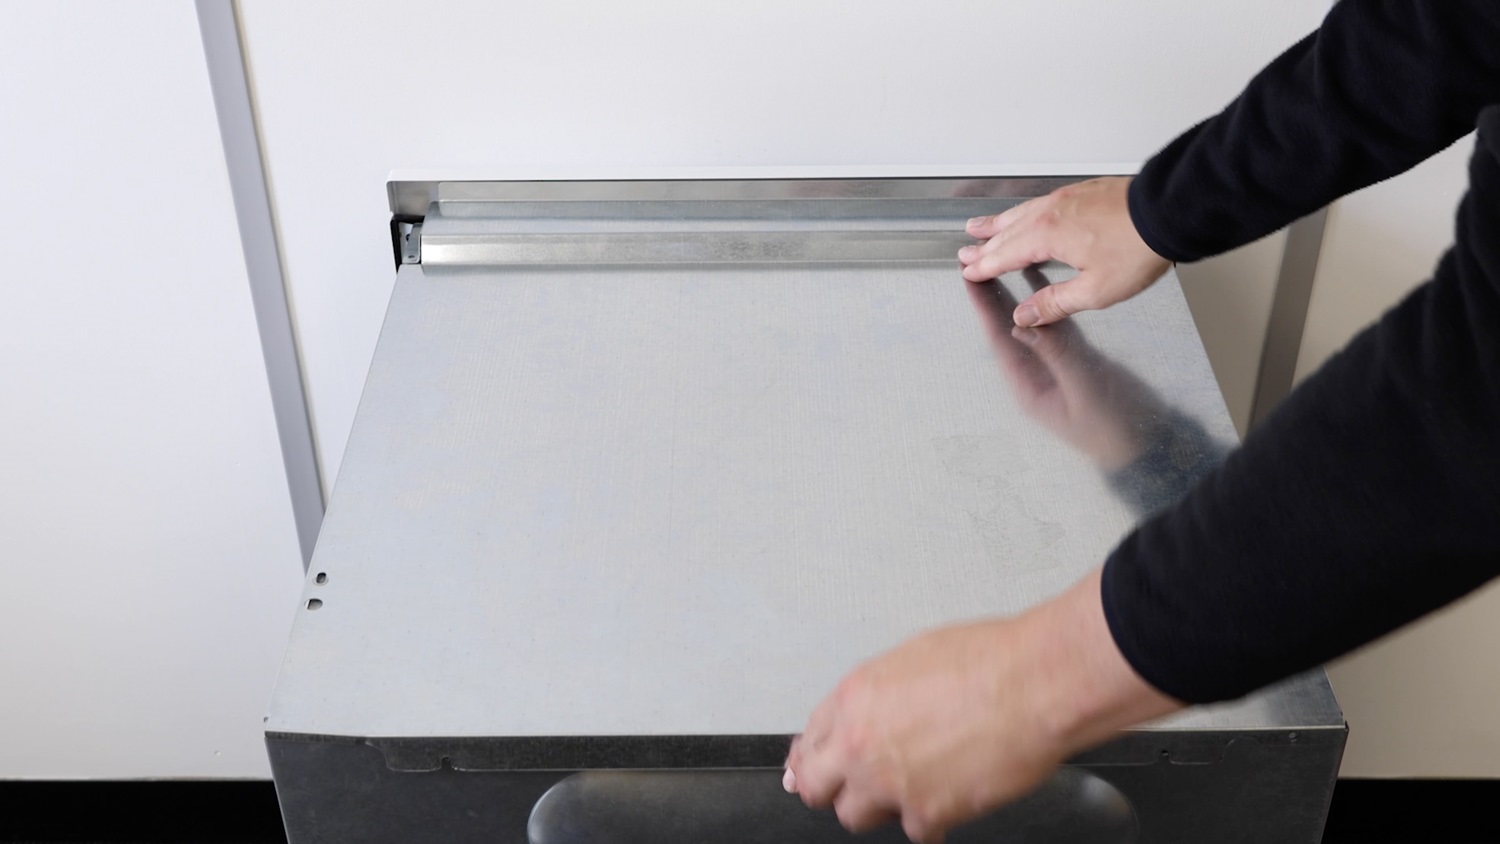
Also, remove the screws holding the top panel of the oven in place.
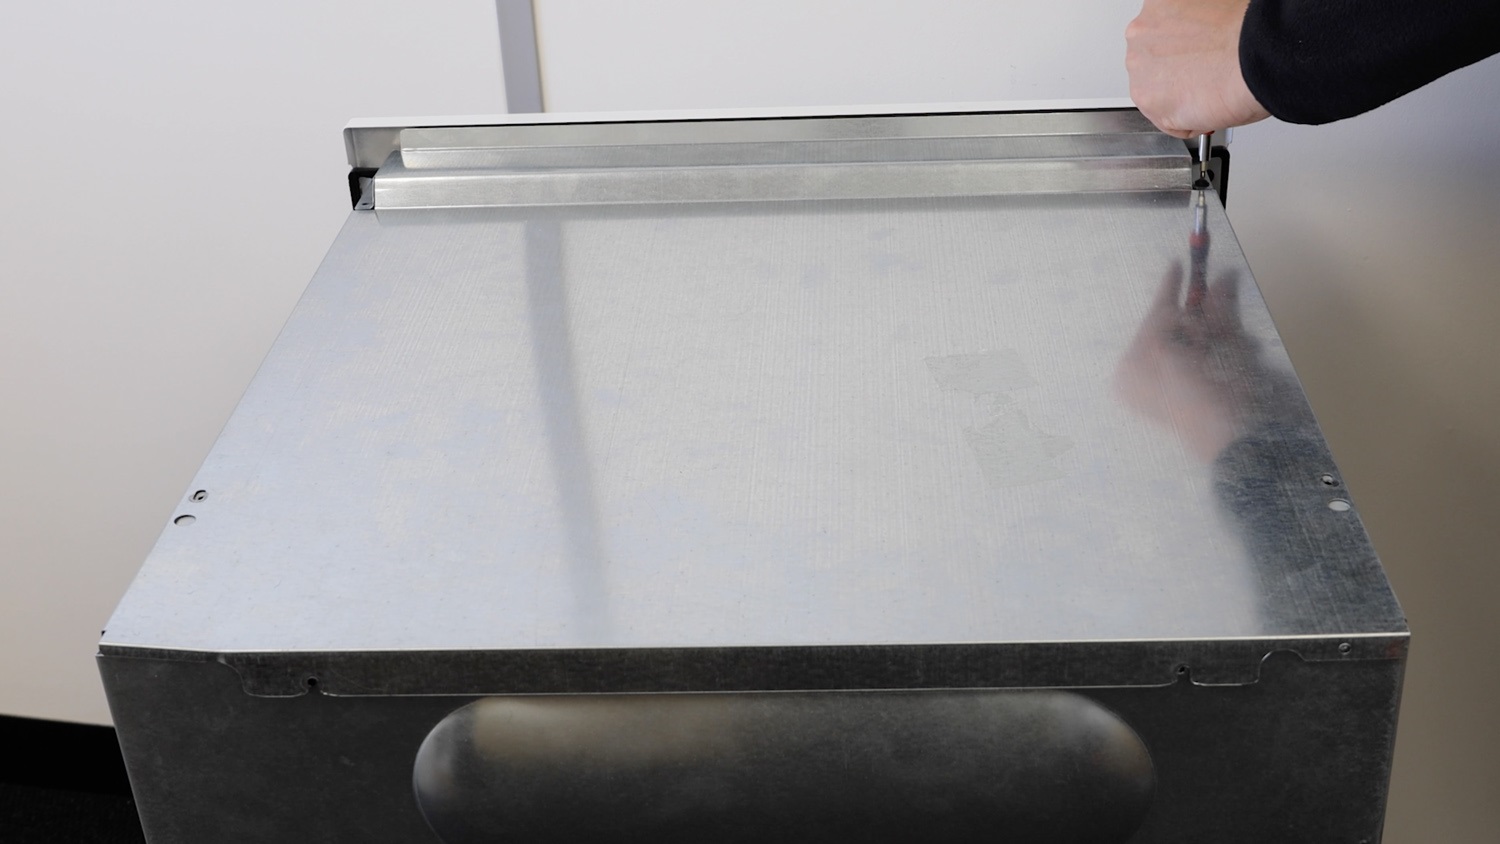
Remove the top panel and place to one side. Be careful of any sharp edges and corners.
Slide old thermostat out
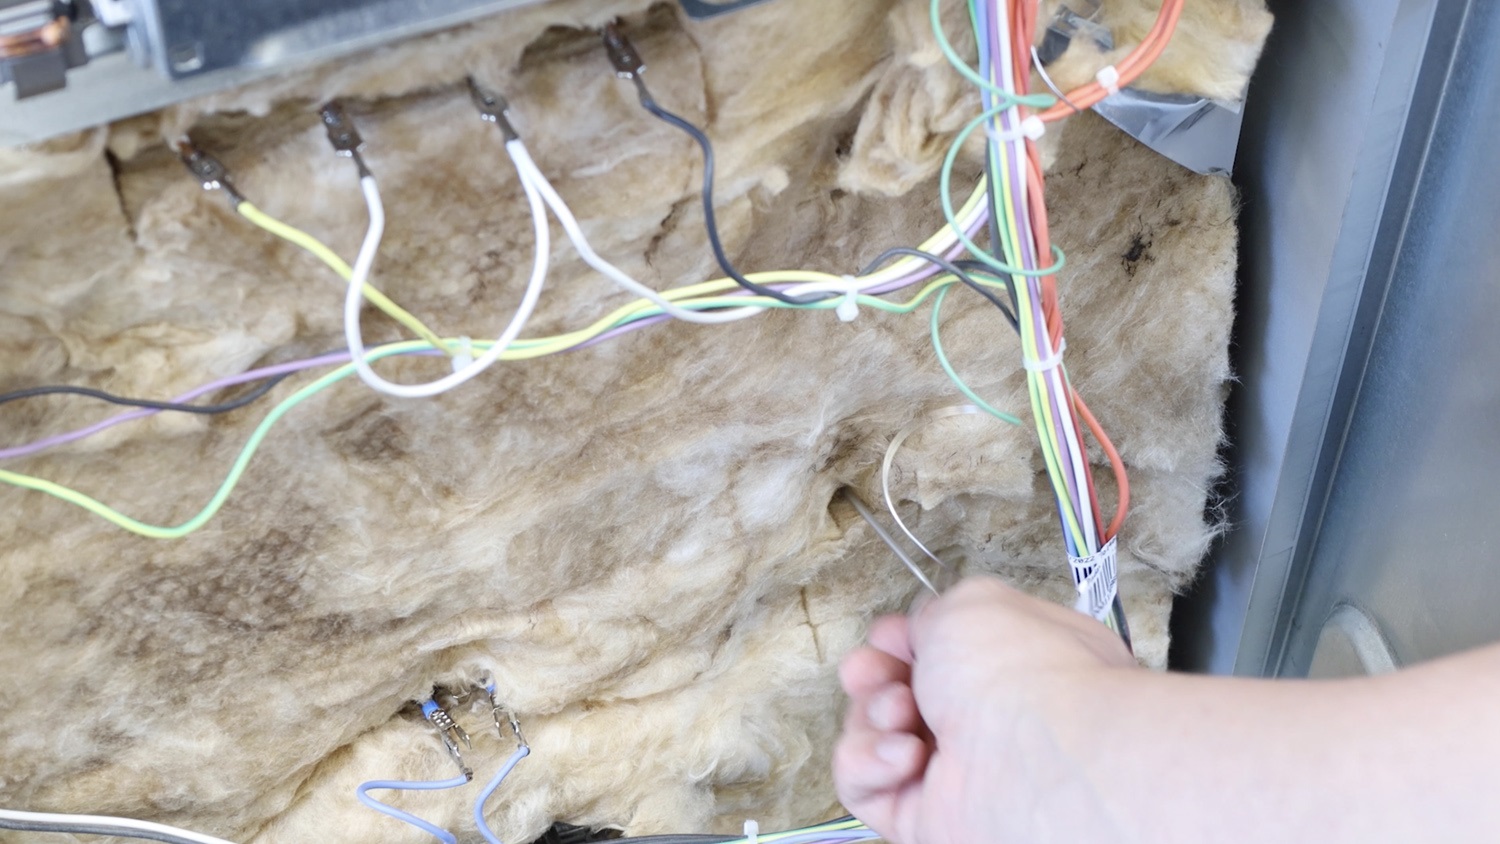
Firstly, gently slide the existing capillary tube out from the oven cavity.
Remove oven knob
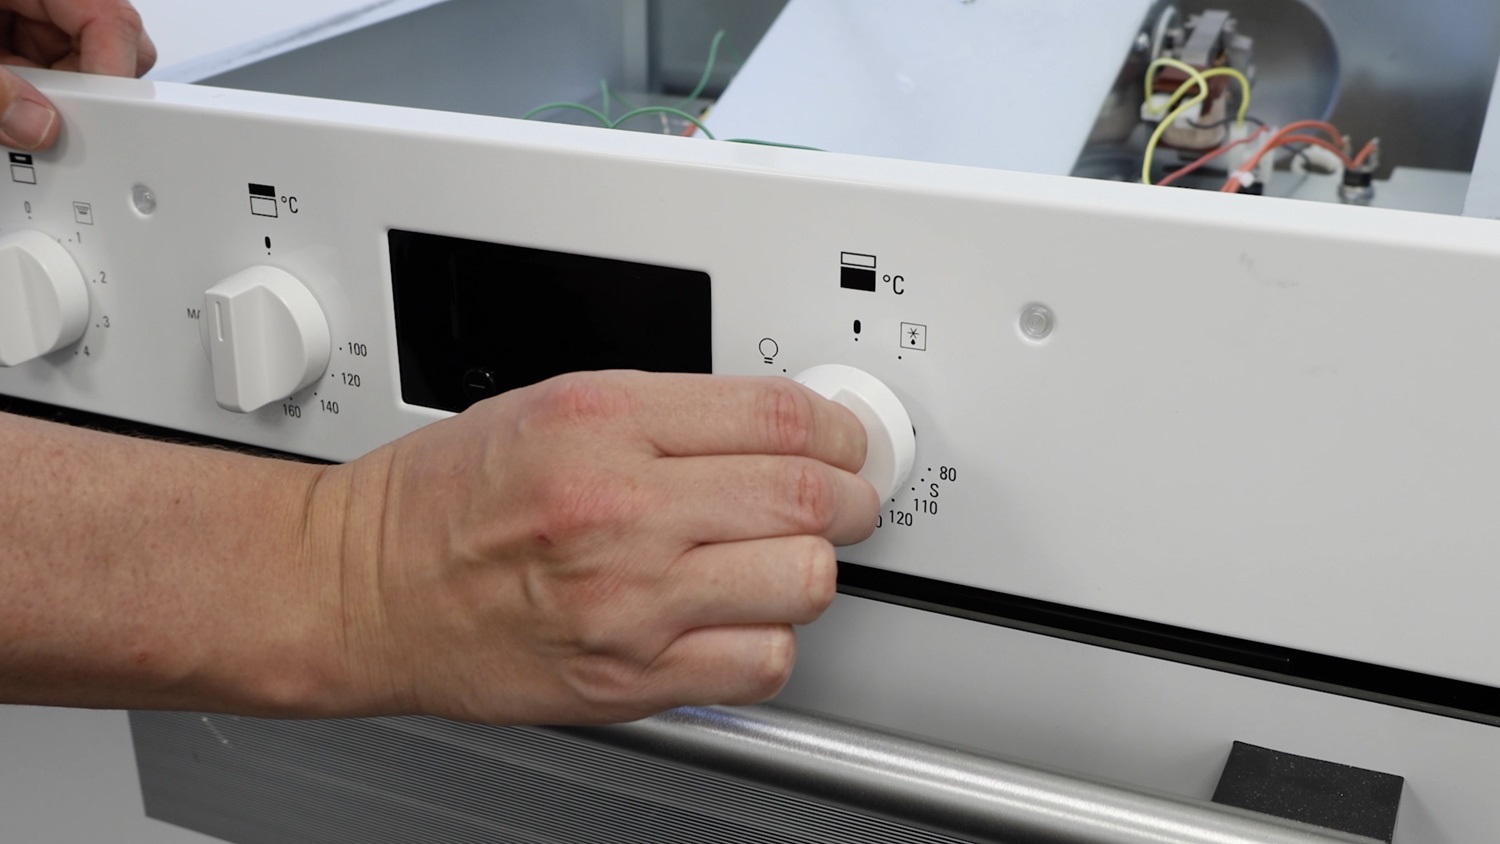
Slide the bottom oven knob off the front panel.
2. Remove old thermostat
Remove both screws.
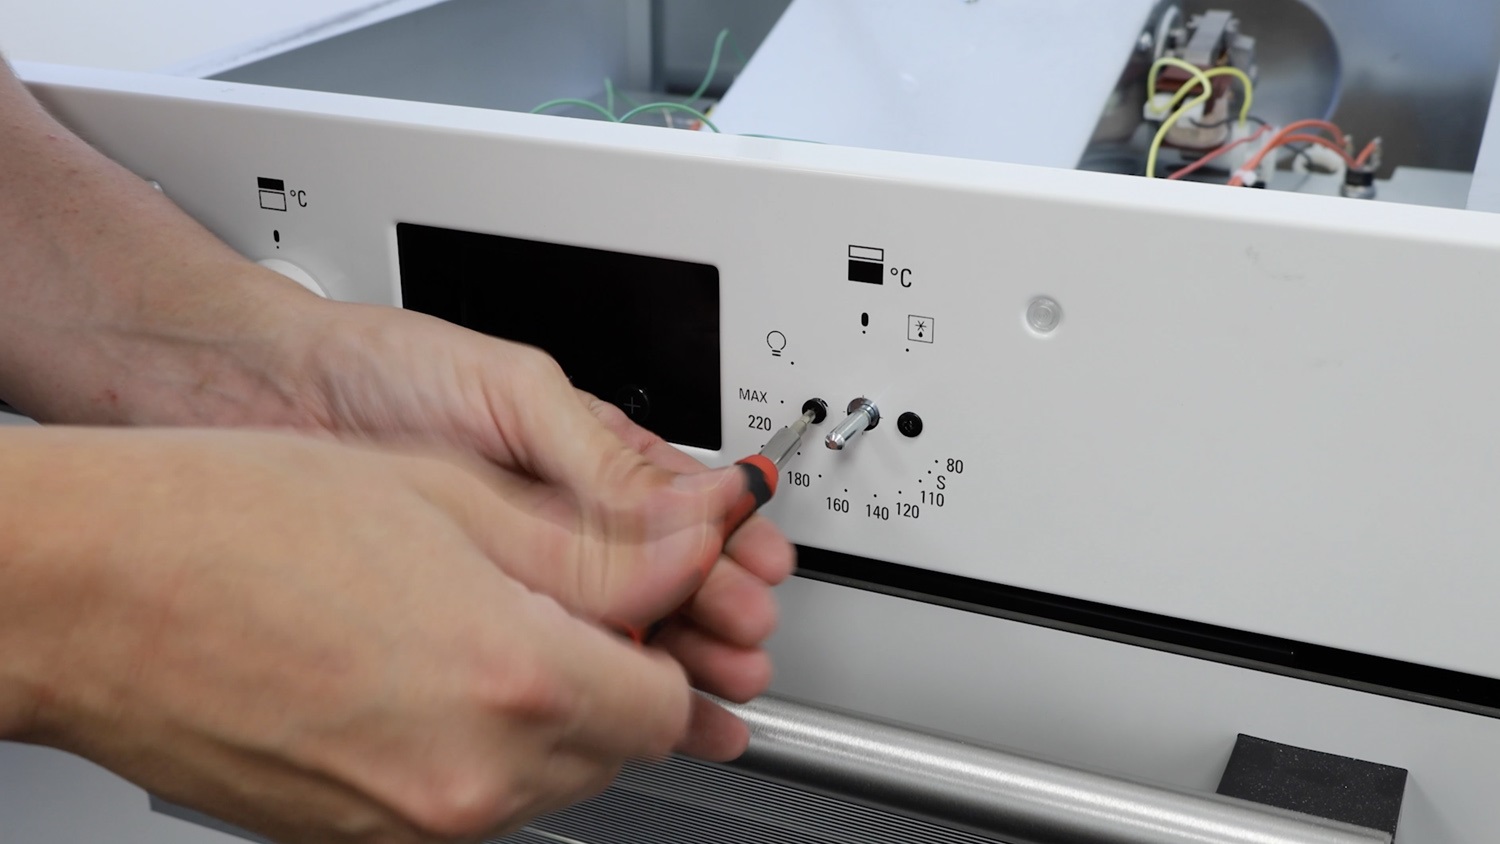
Push the existing thermostat through.
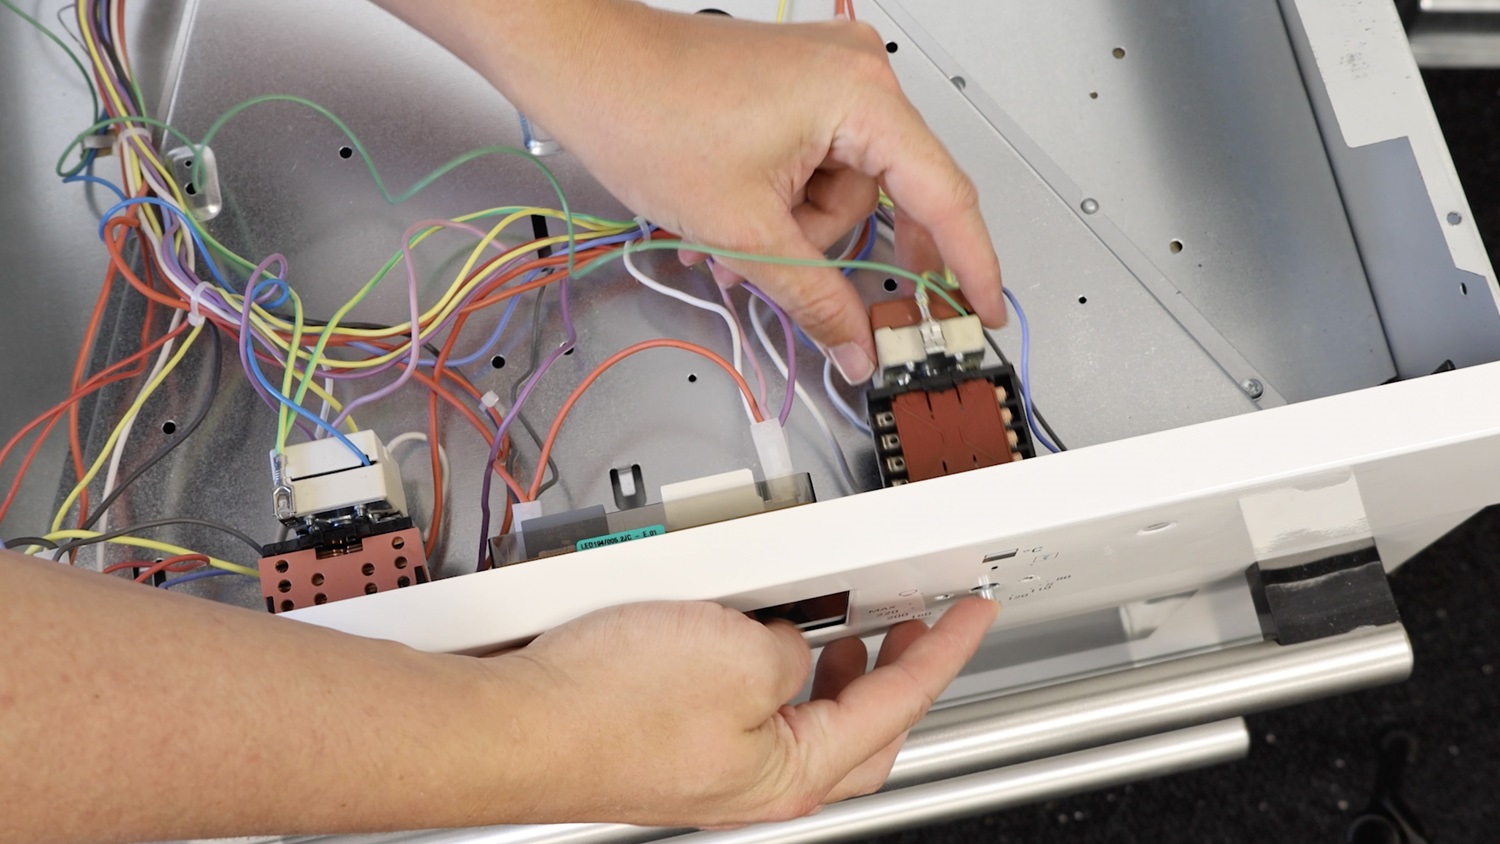
Take a photo for reference
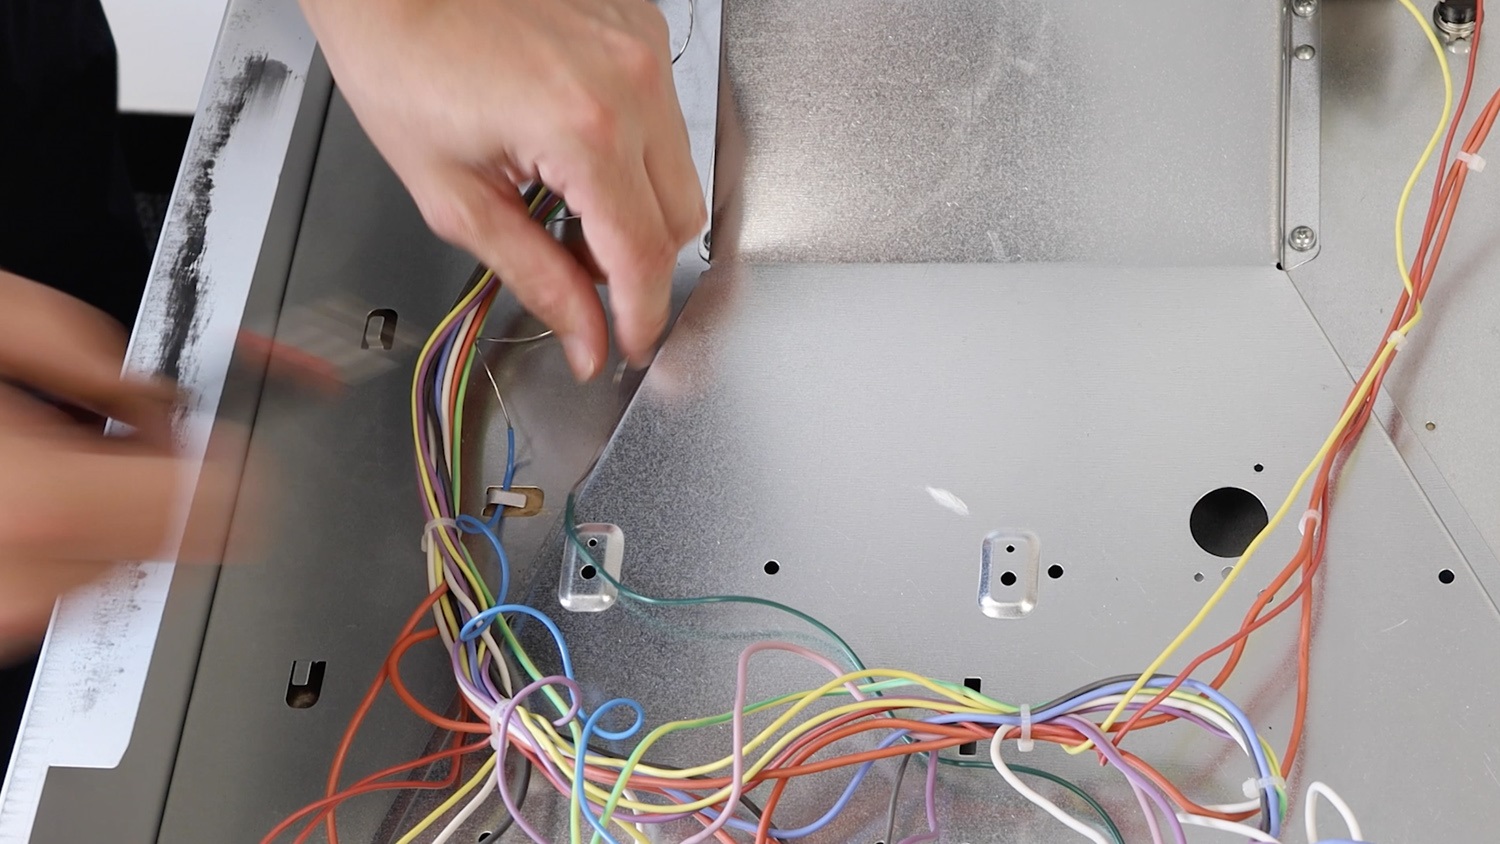
A little tip. Before removing any wiring, take some photos of the existing wire connectors, so that you have a reference for later.
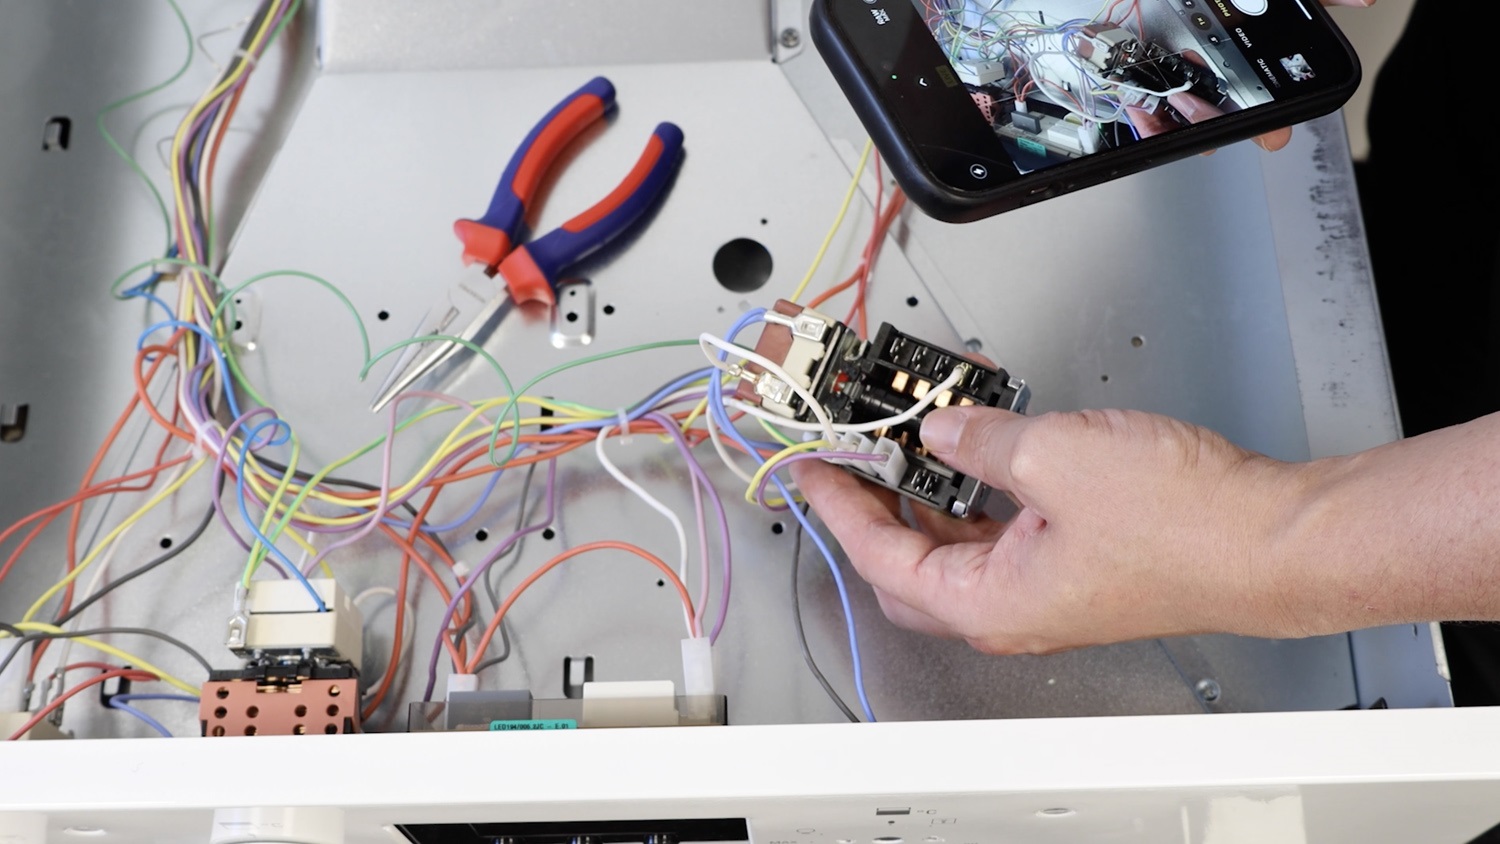
Unclip wire connectors
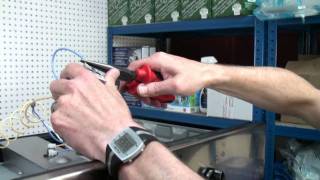
With the long-nose pliers, remove the wire connectors. These can be stiff to take off.
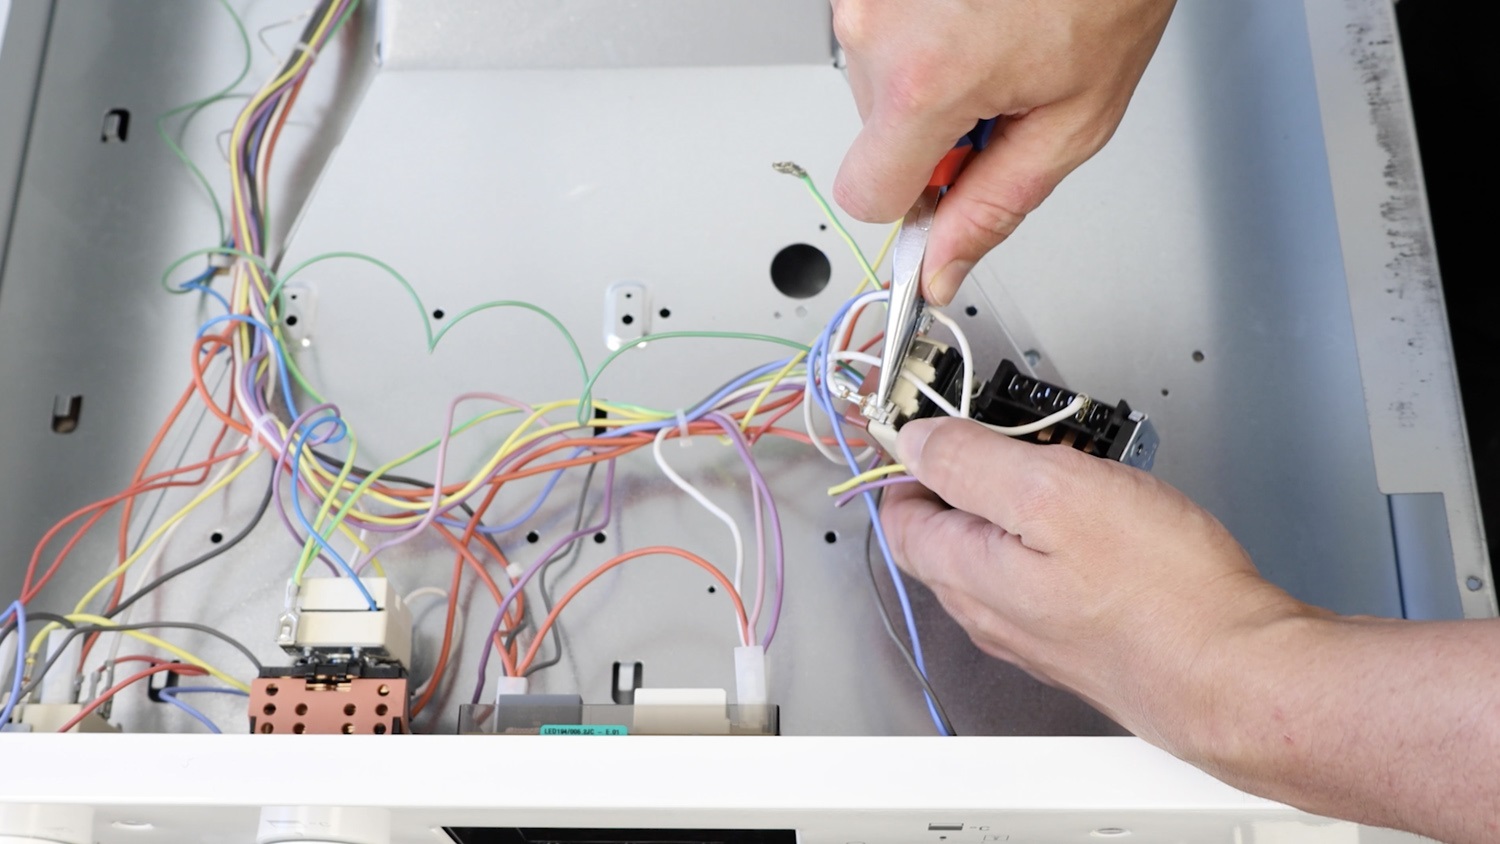
Unclip thermostat
Then remove the thermostat from the switch.
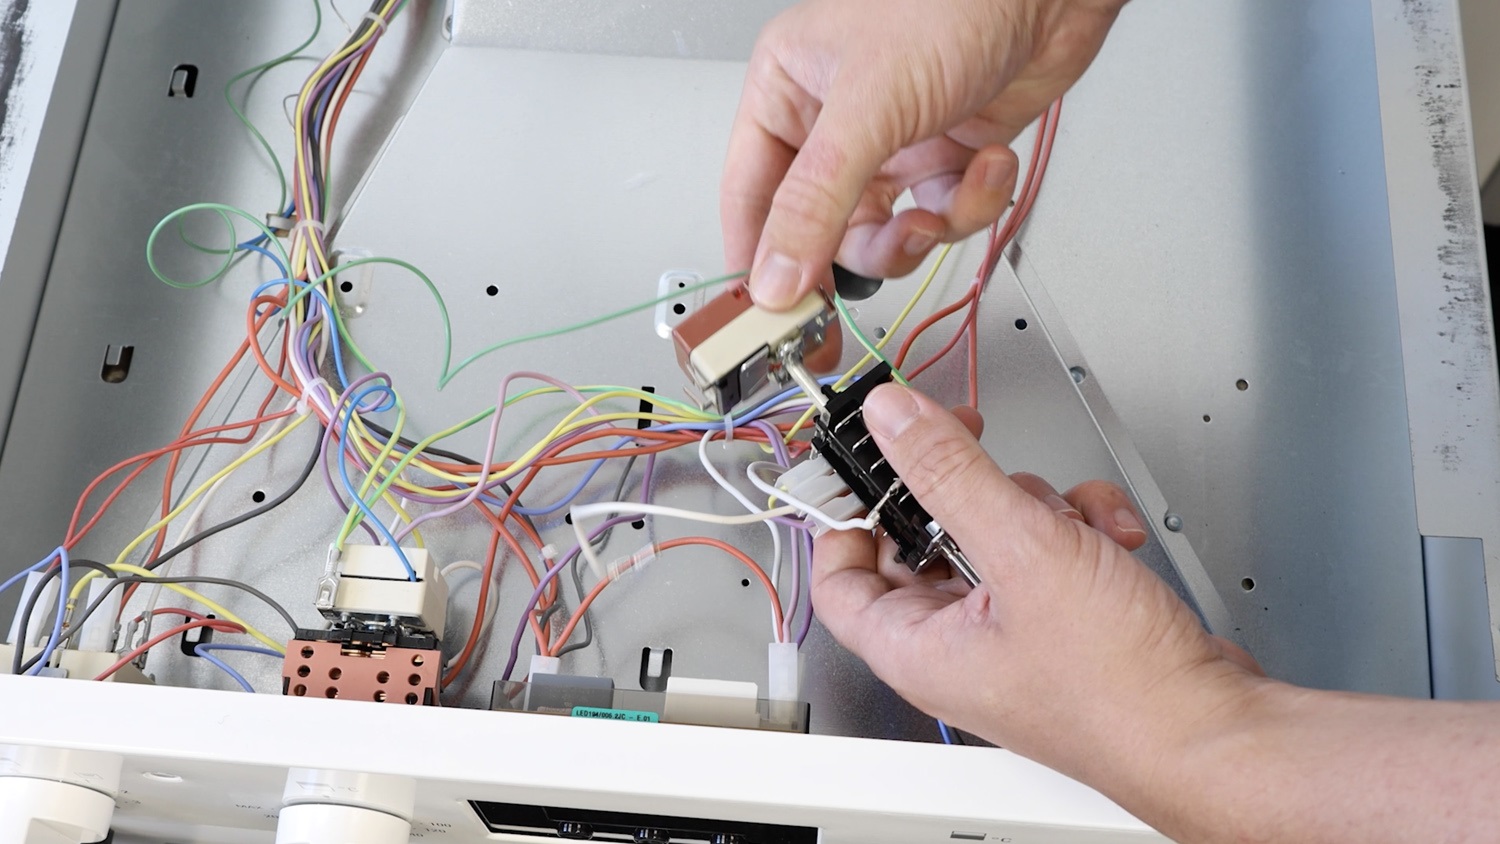
Remove the wiring from the clip and then you’ll be able to fully remove the old thermostat.
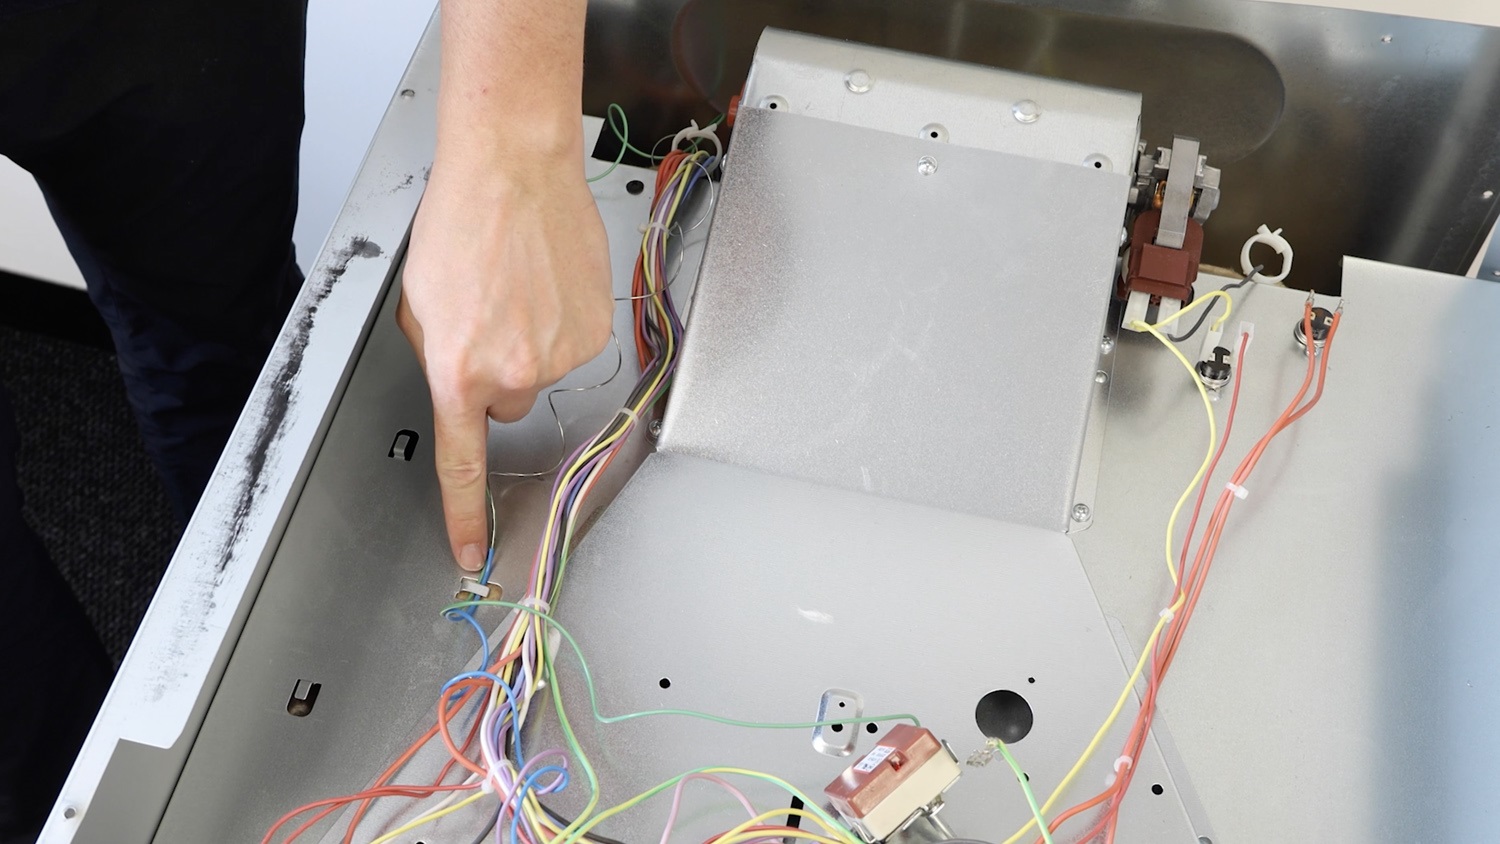
3. Install new thermostat
With the new thermostat, unravel the wire and gently drop the capillary tube down the back of the oven.
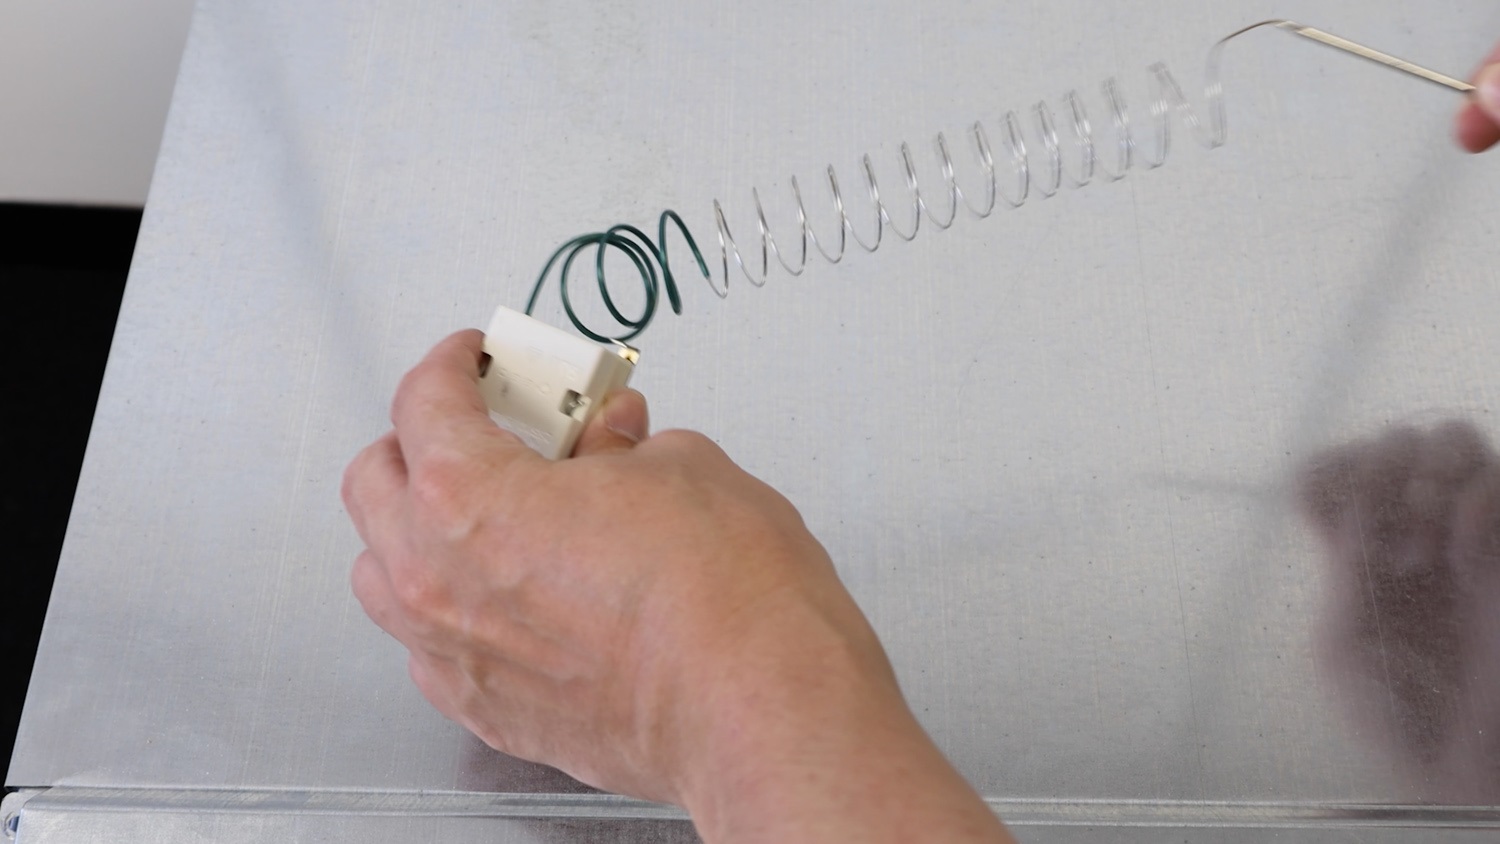
Slide thermostat in oven
Then, slot it into the oven cavity.
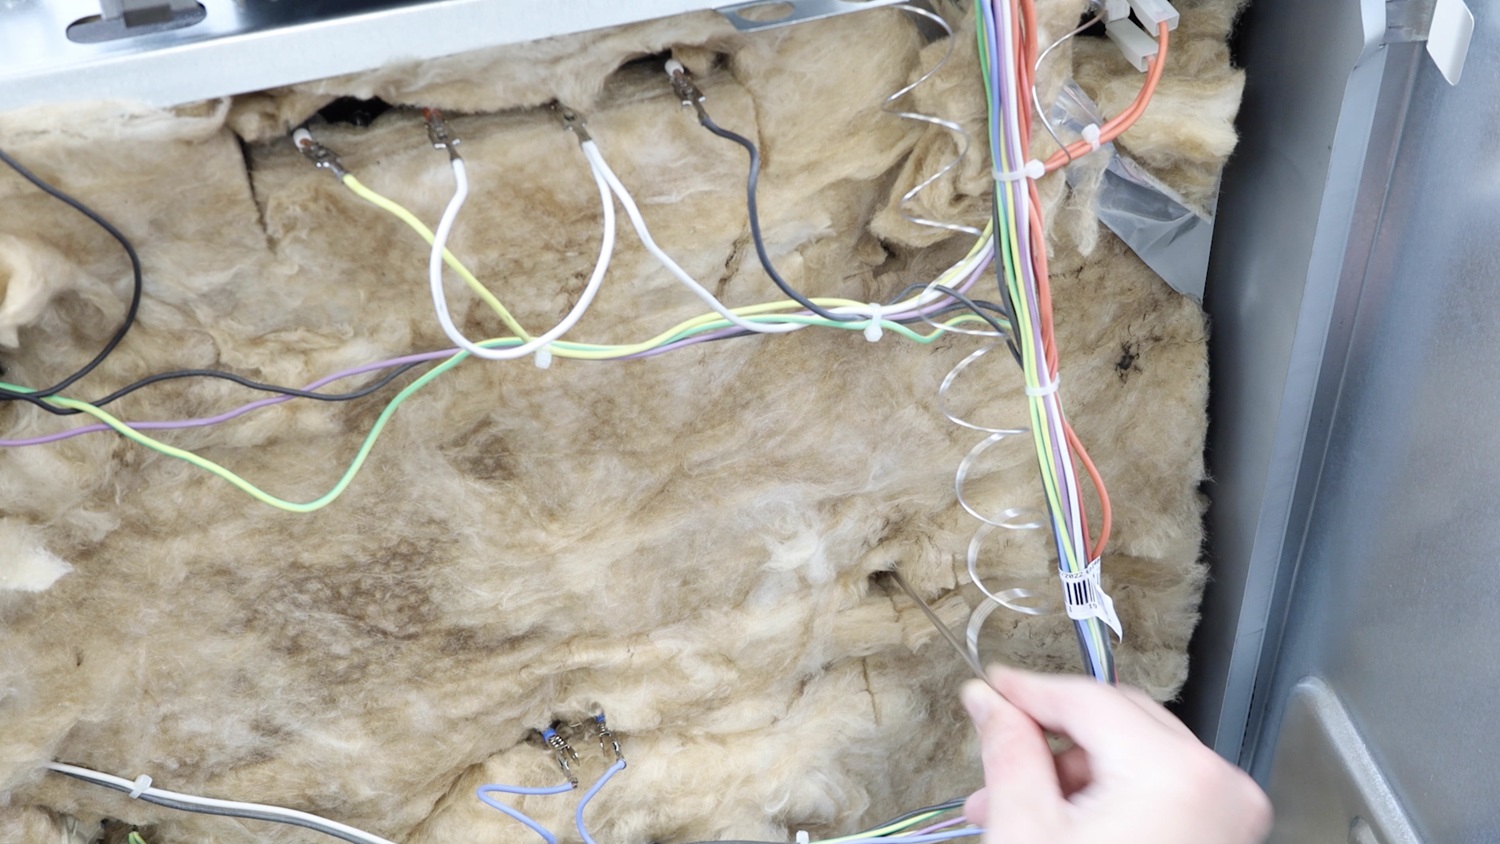
Connect thermostat
Now connect the new thermostat to the existing switch.
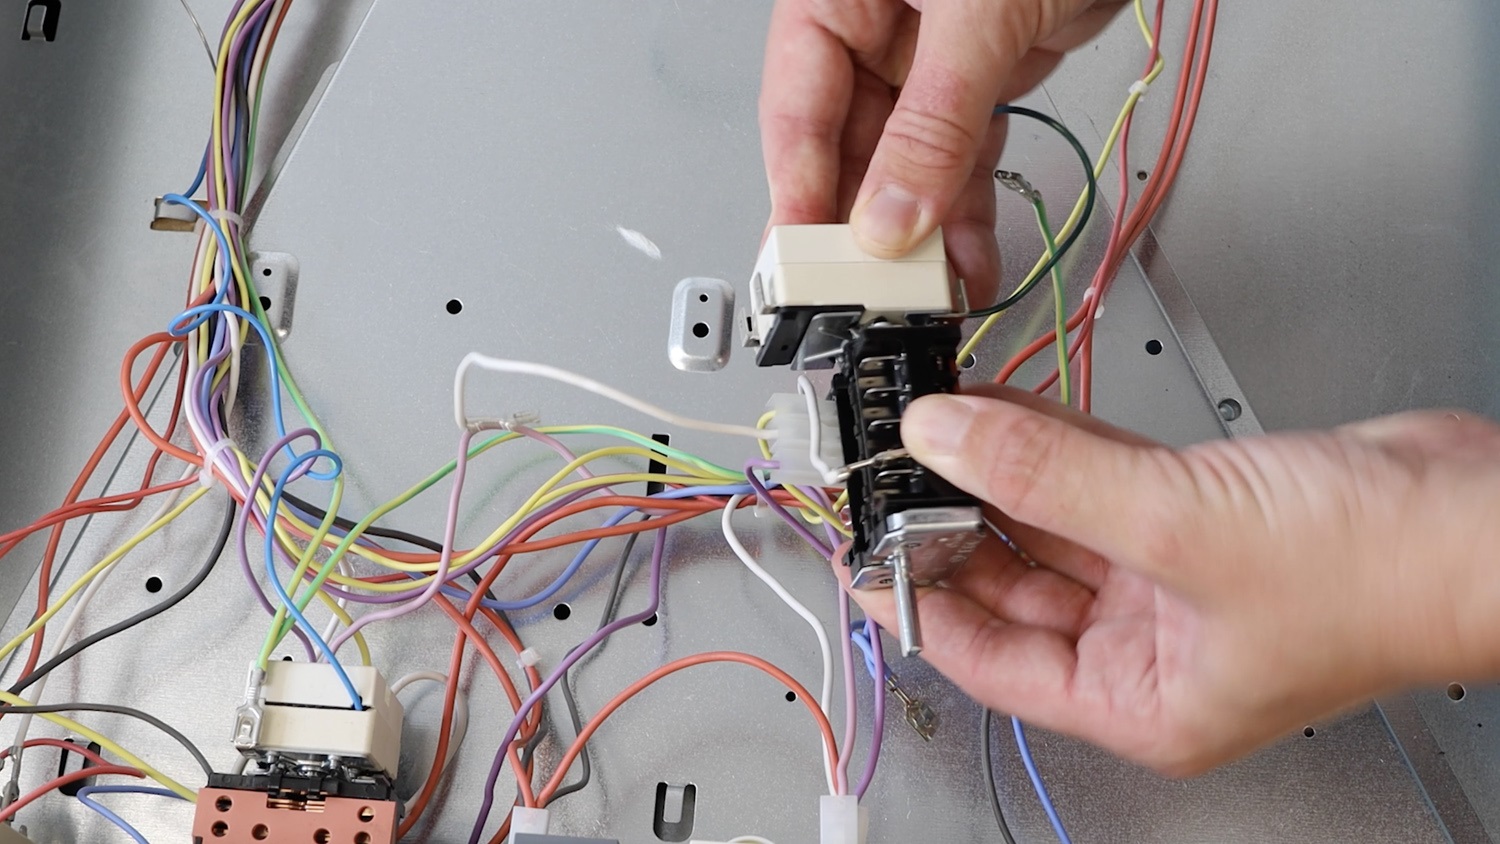
Re-connect wire connectors
You can then re-connect the wiring. Use the photo from earlier if needed.
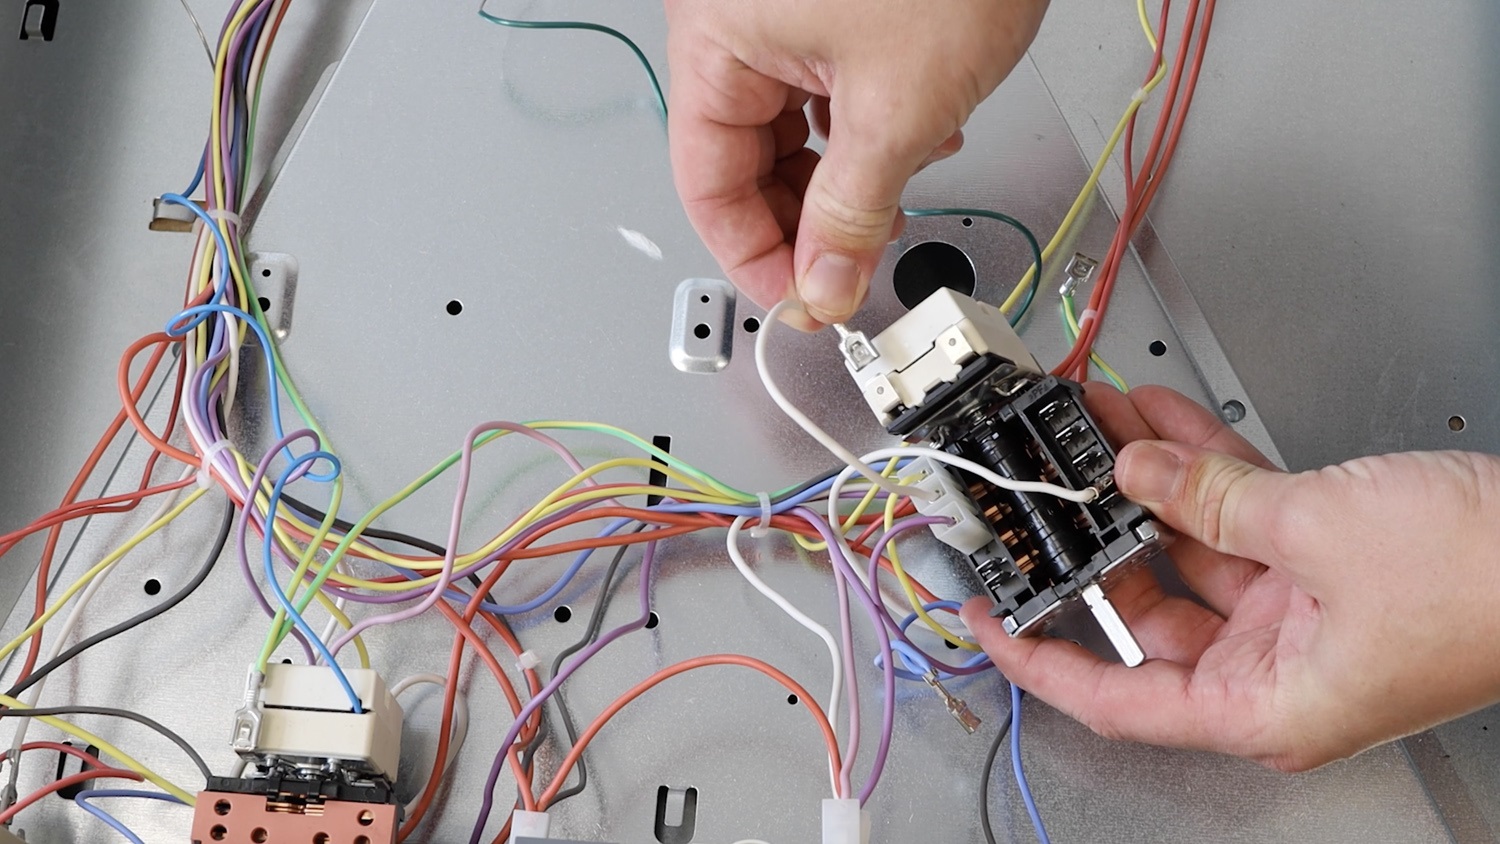
Attach thermostat to control panel
Thread the thermostat through the front control panel of the oven. Ensuring it goes in with the earth wire at the top.
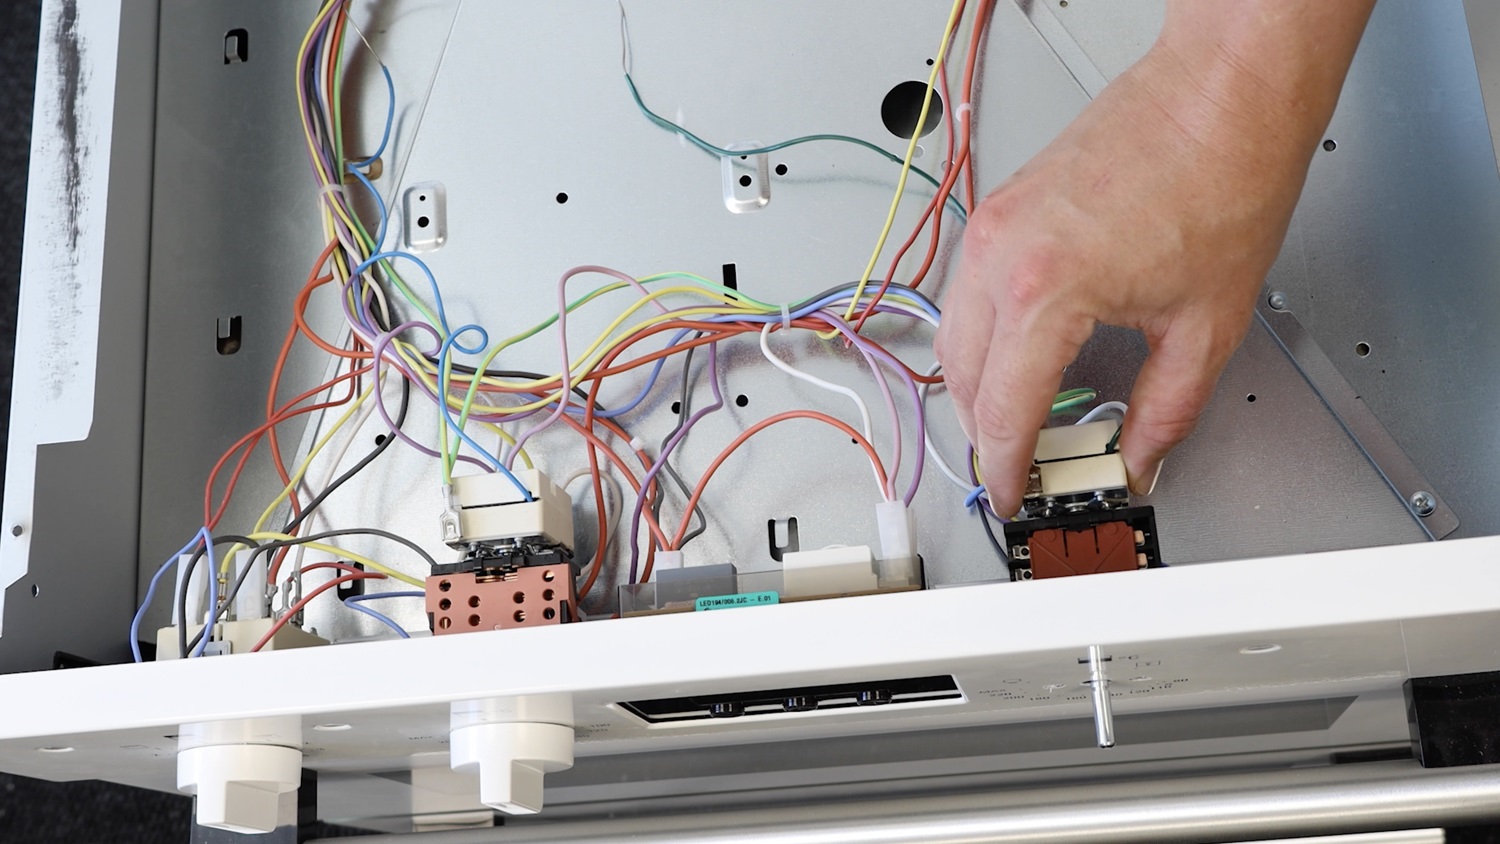
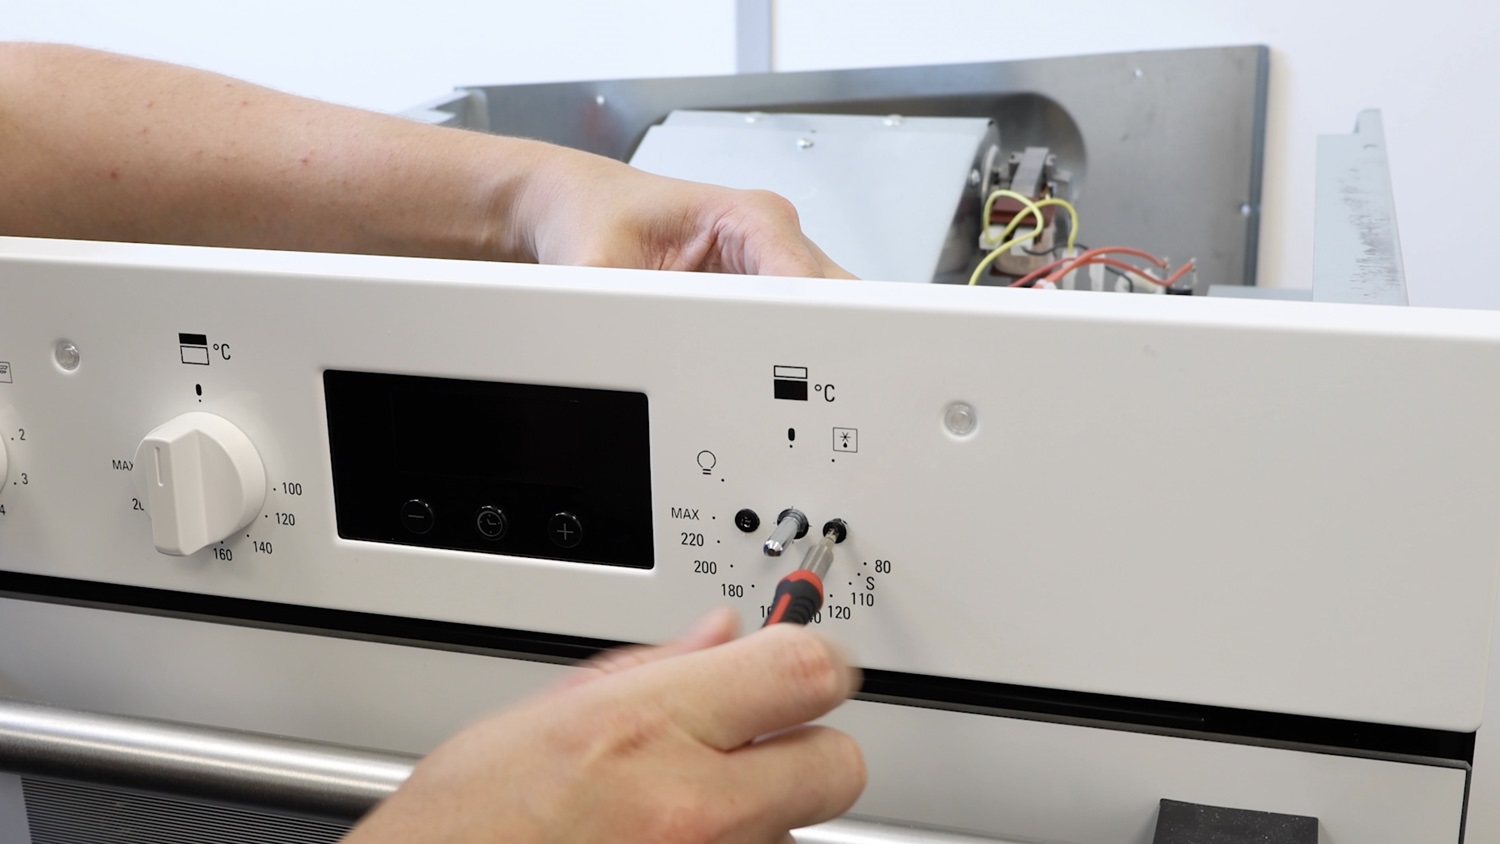
Then re-screw the two screws into the front panel to hold the thermostat in place.
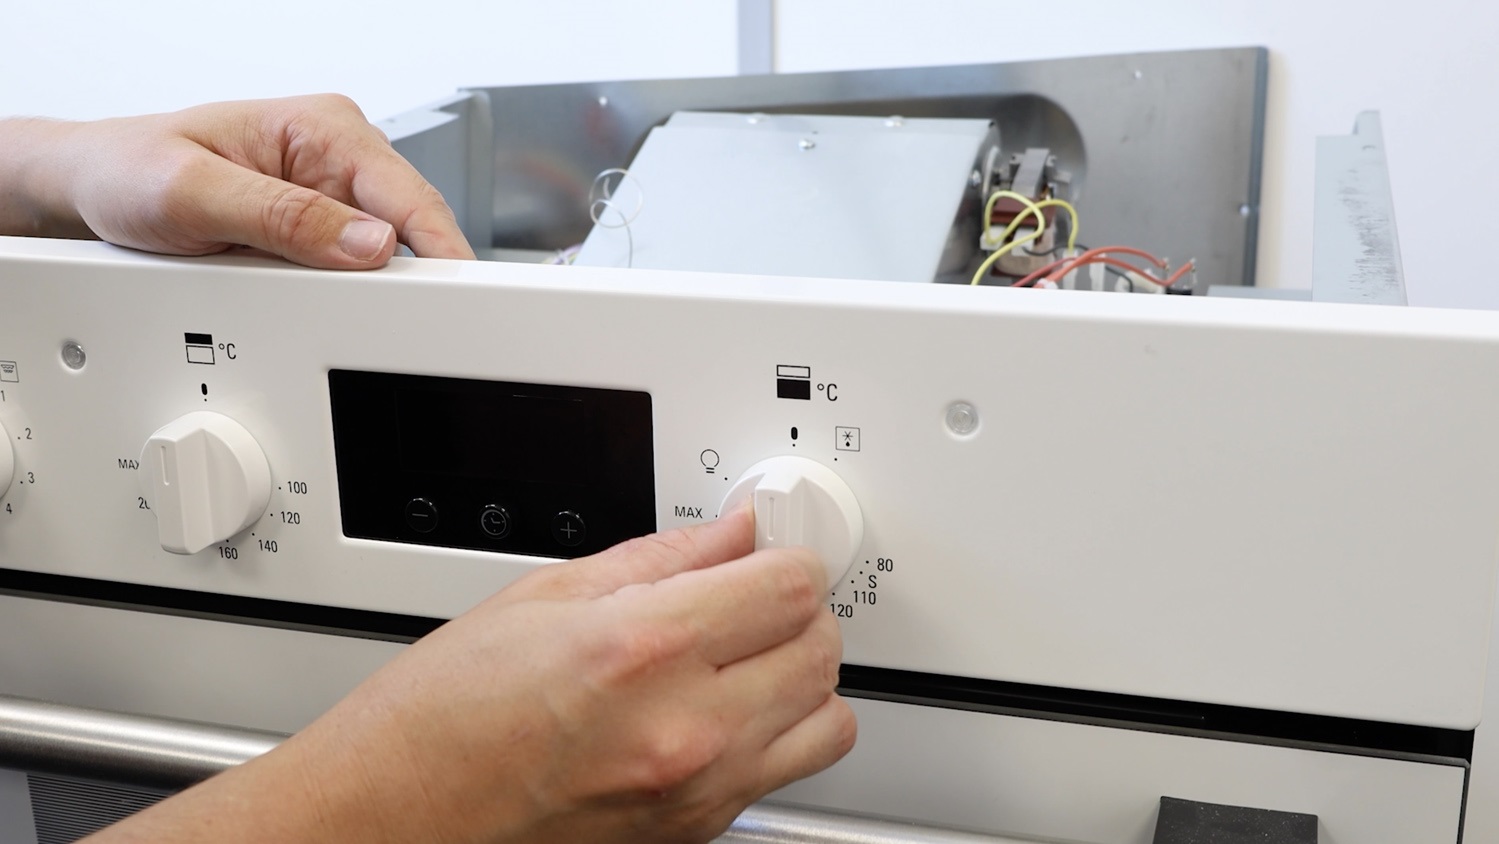
Re-attach oven knob
Re-attach the knob and give it a quick test to make sure it’s rotating correctly.
Using the screwdriver or something flat, re-clip the two wires into place, just as we removed them earlier.
With the new capillary tube inside the oven cavity, gently clip it to the back of the oven.
4. Re-assemble oven panels
Place the top panel back on the oven and re-screw the screws back in.
Then, do the same for the rear panel.
Insert any trays and shelves back in, and if you had to remove the oven from a recess, place it back in and secure it tightly.
That’s it, your new oven thermostat is all set to go.