Make and Model of Oven Used in This Video
Hotpoint DU2540WH (61022940000)
Hotpoint DU2540WH (769991022942)
Part Used in This Video
Hotpoint Oven Mains Terminal Block
1. Remove old terminal block
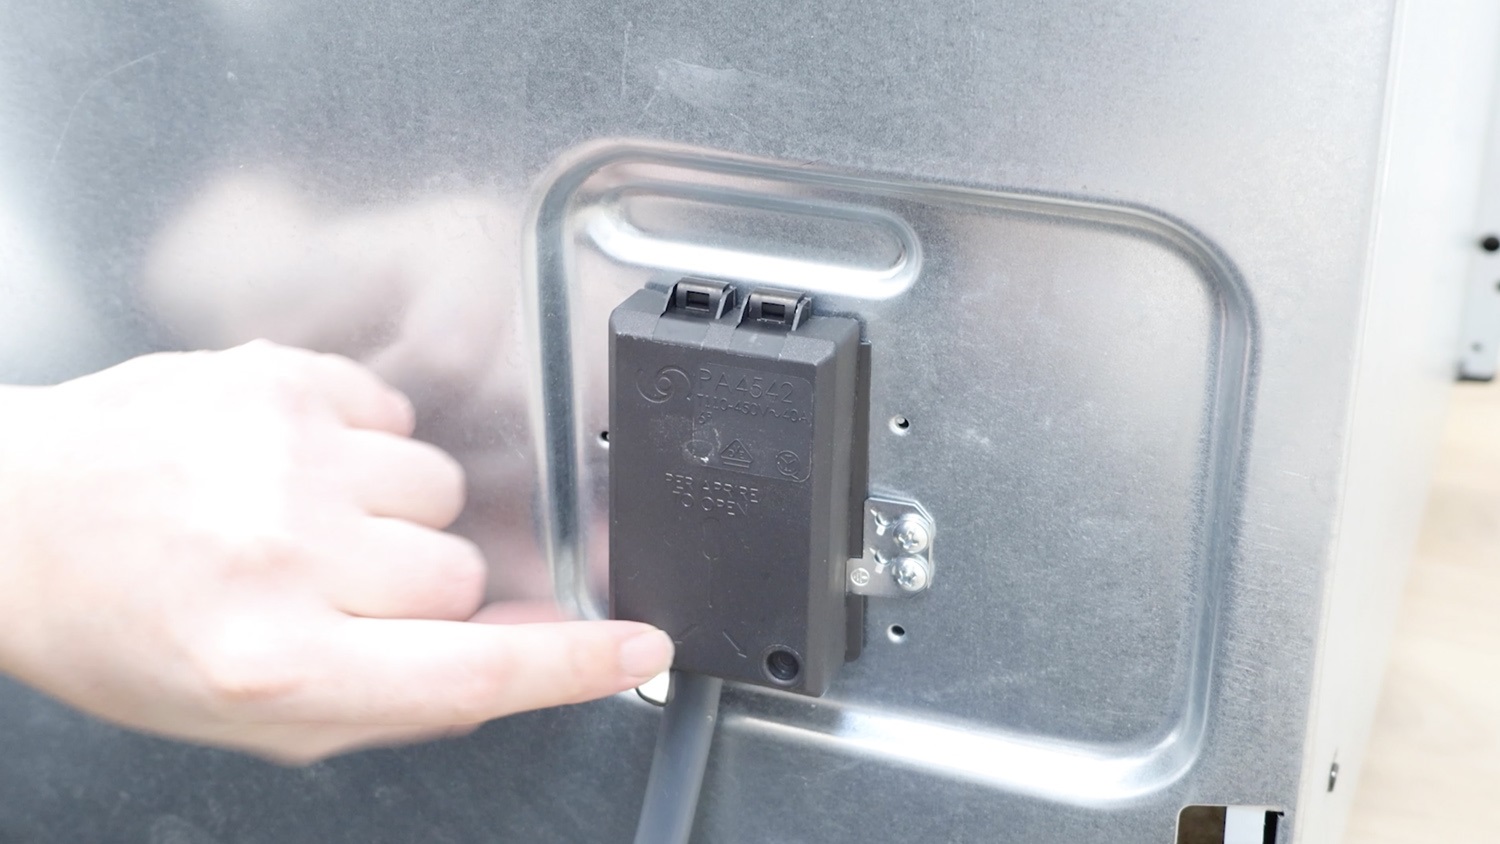
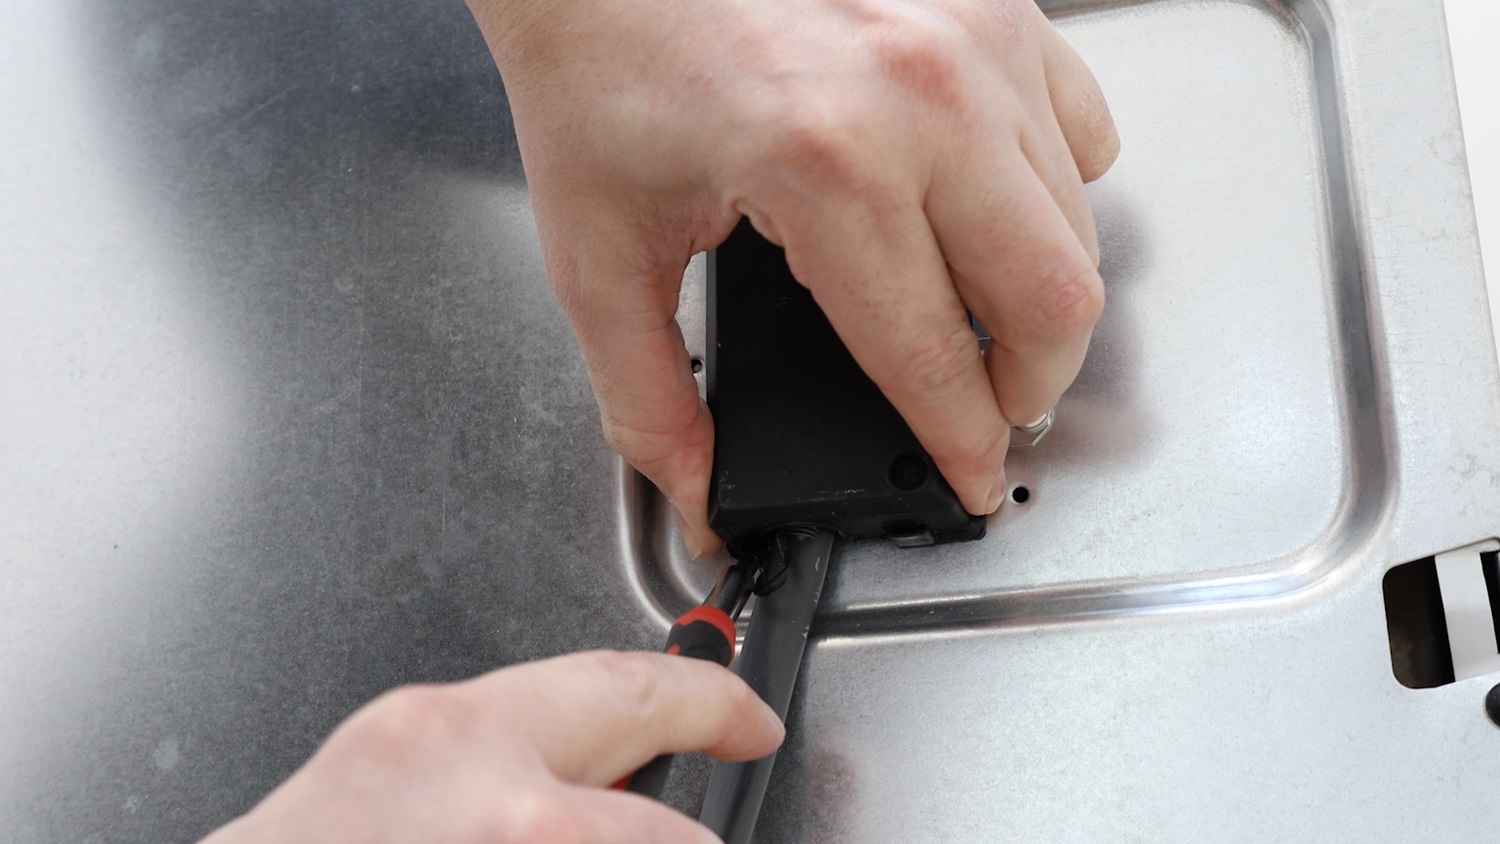
Use a flathead screwdriver to release the latches and open the old mains terminal block.
Remove electrical wiring
Remove the bottom screw with your Phillips screwdriver.
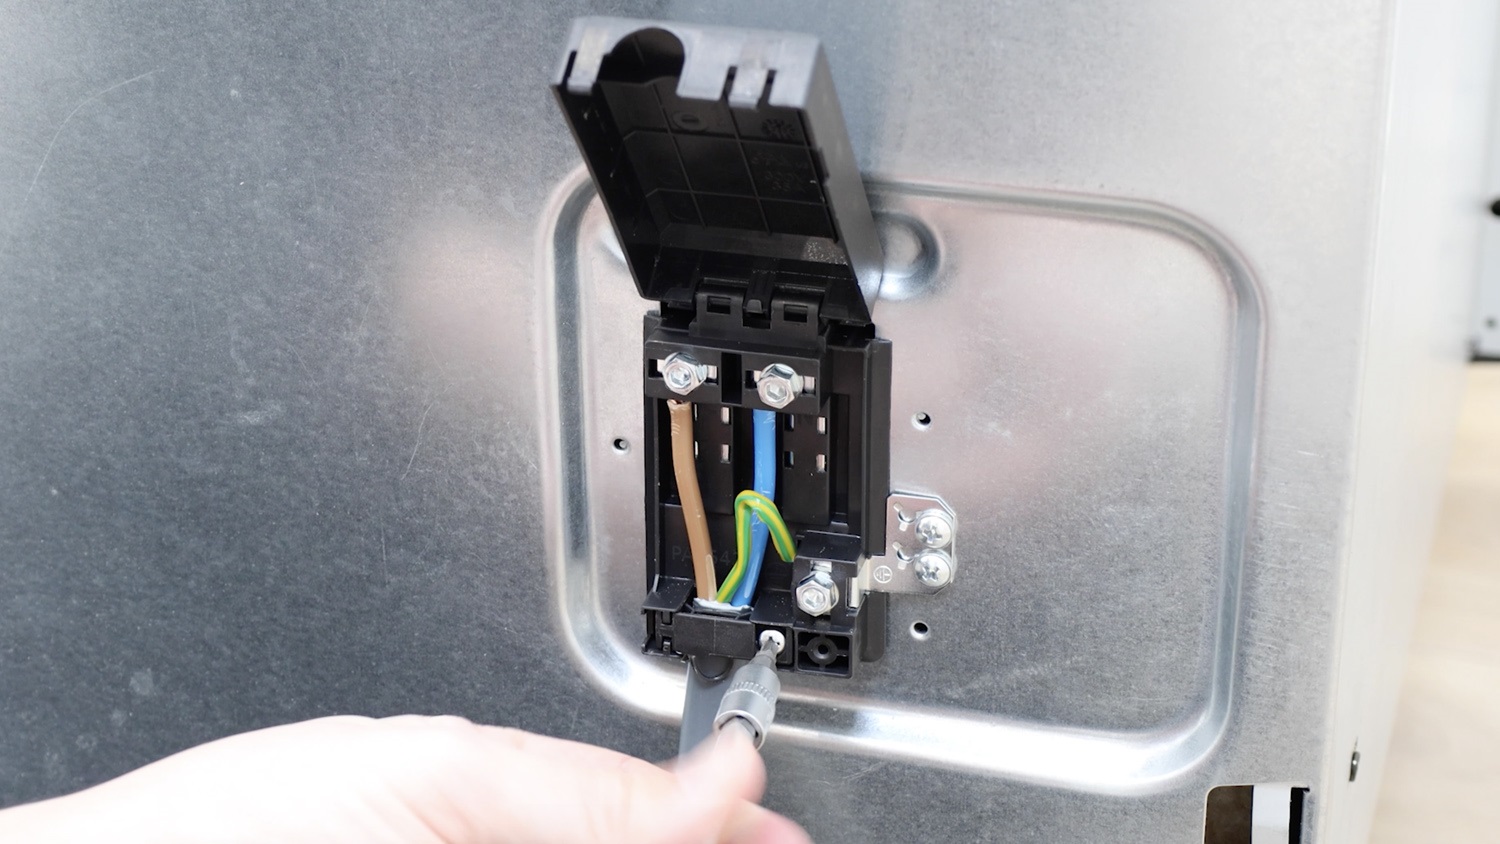
Remove the clamp holding the electric cable in place.
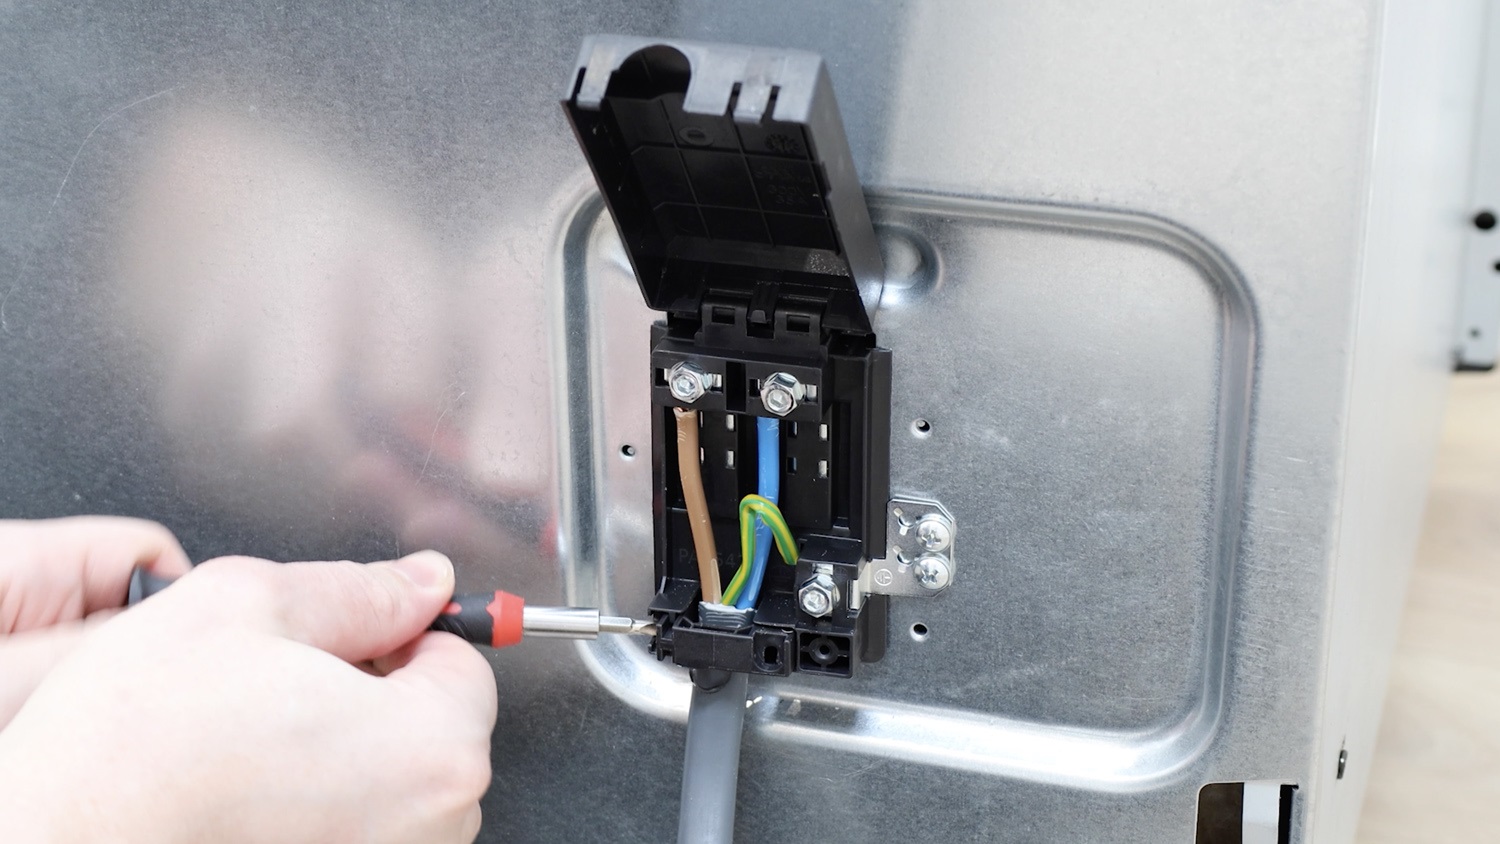
With your 4mm hex bit, unscrew the screw for the live wire and remove it, followed by the neutral and the earth.
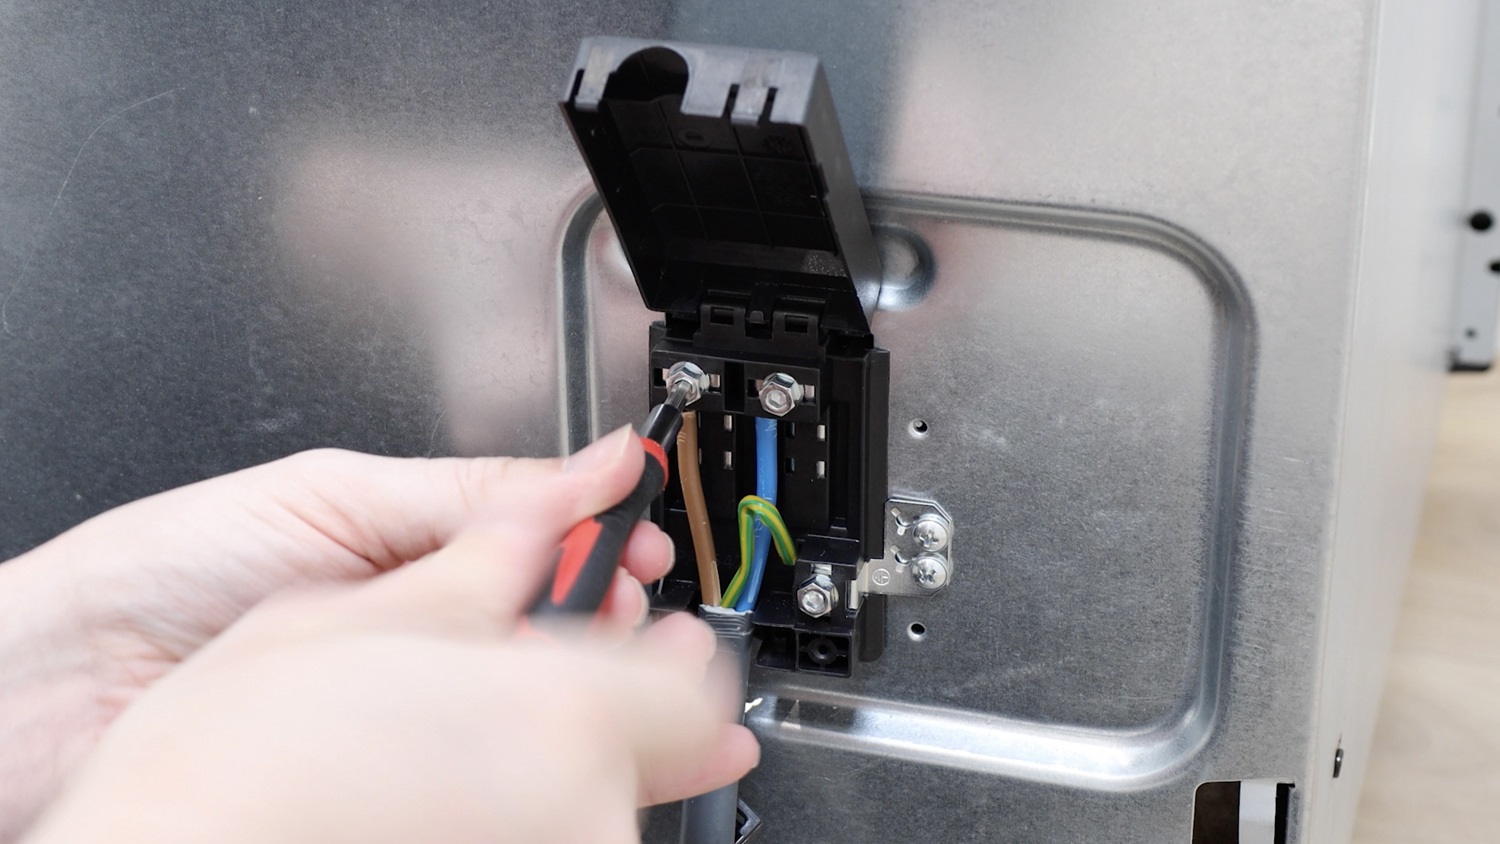
Remove all wires from the old terminal block.
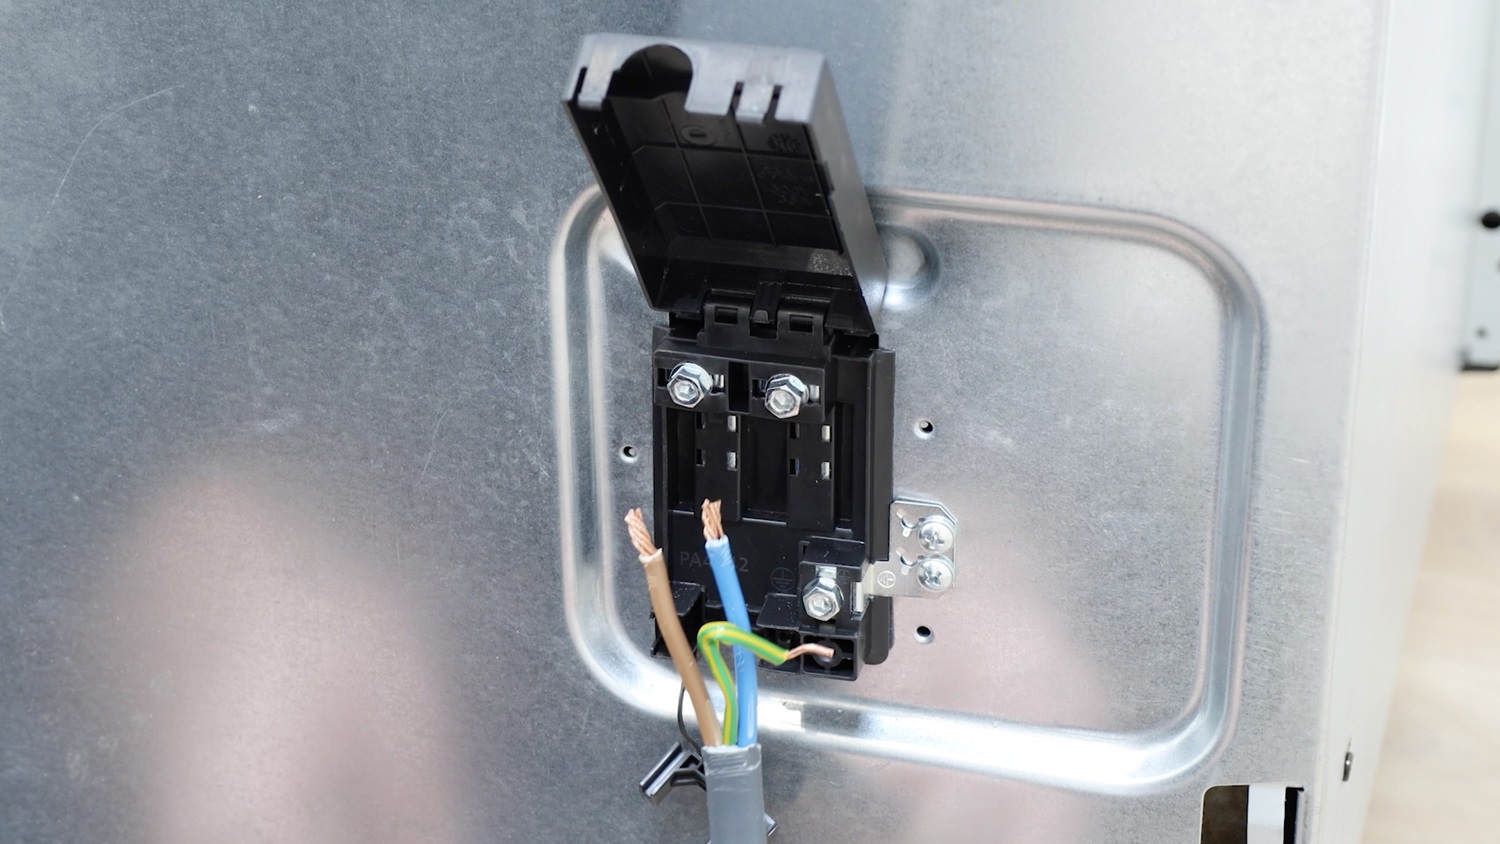
Remove terminal block from oven
Remove the two screws holding the terminal block to the rear of the oven.
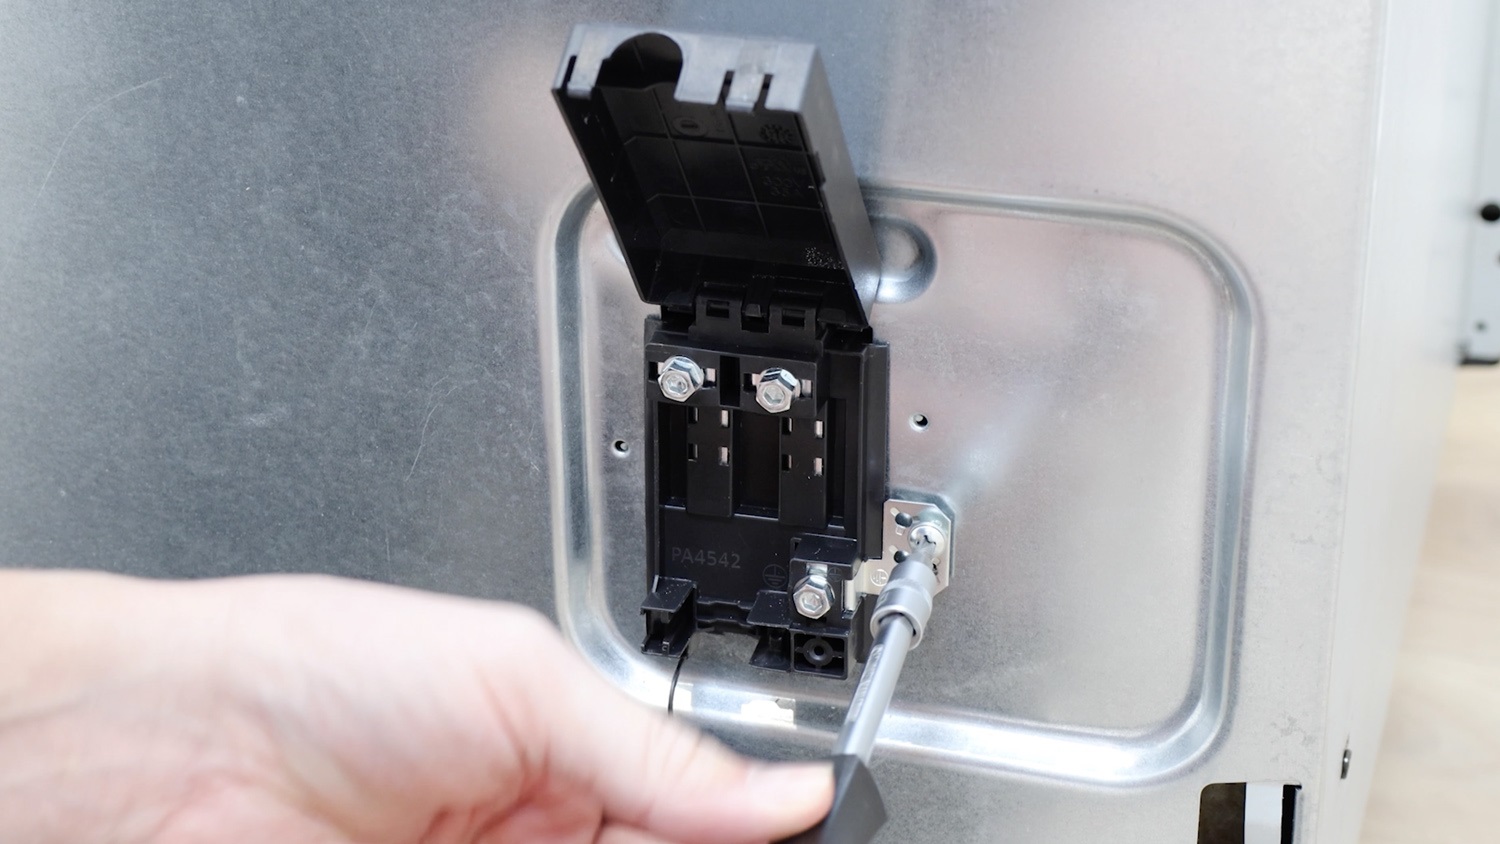
Unclip your terminal block by pressing down on the latches shown here.
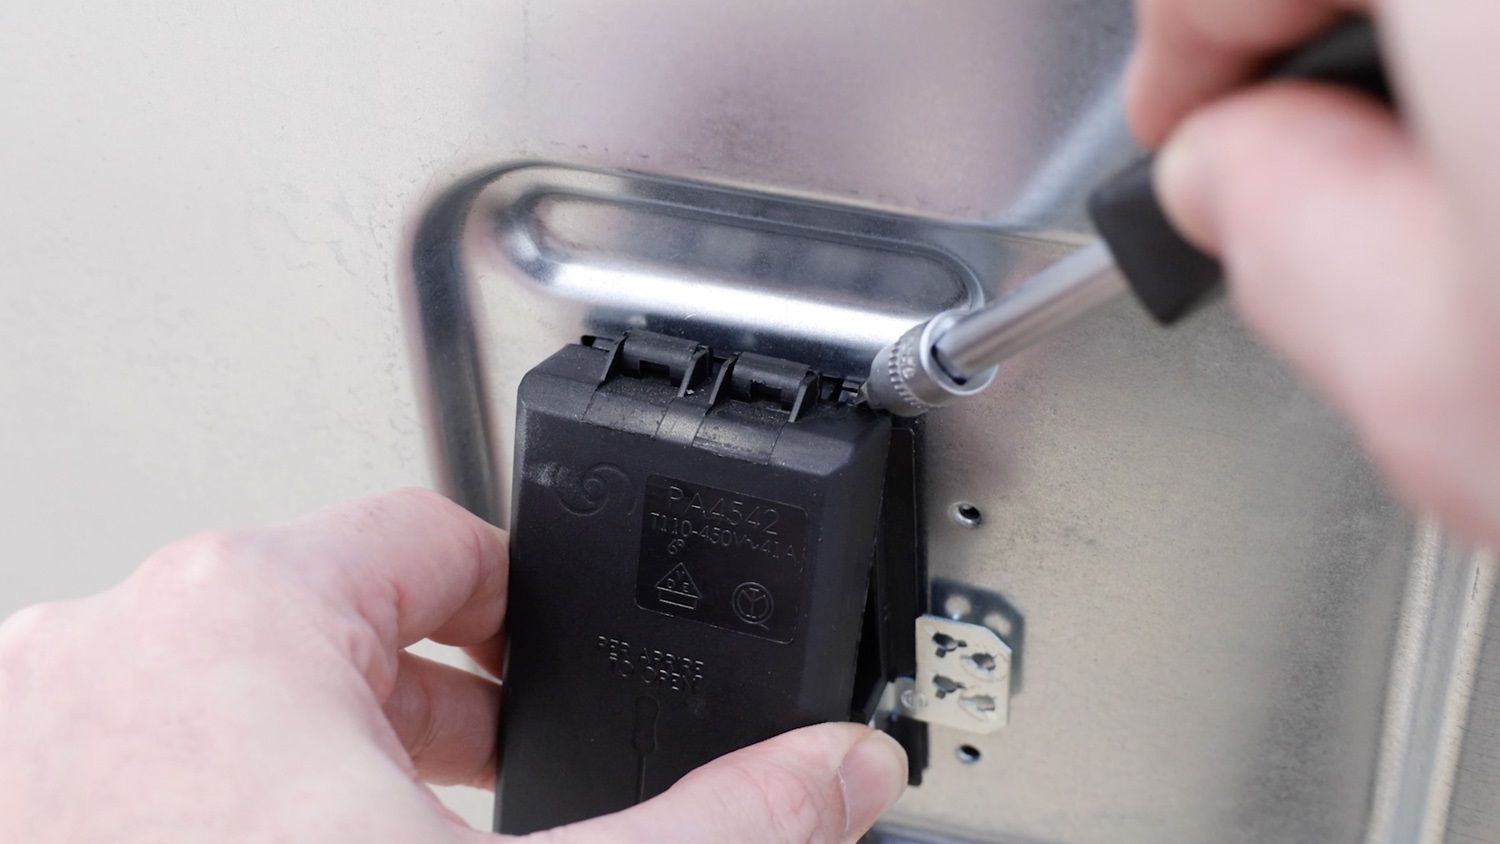
The terminal block can then be lifted away from the oven.
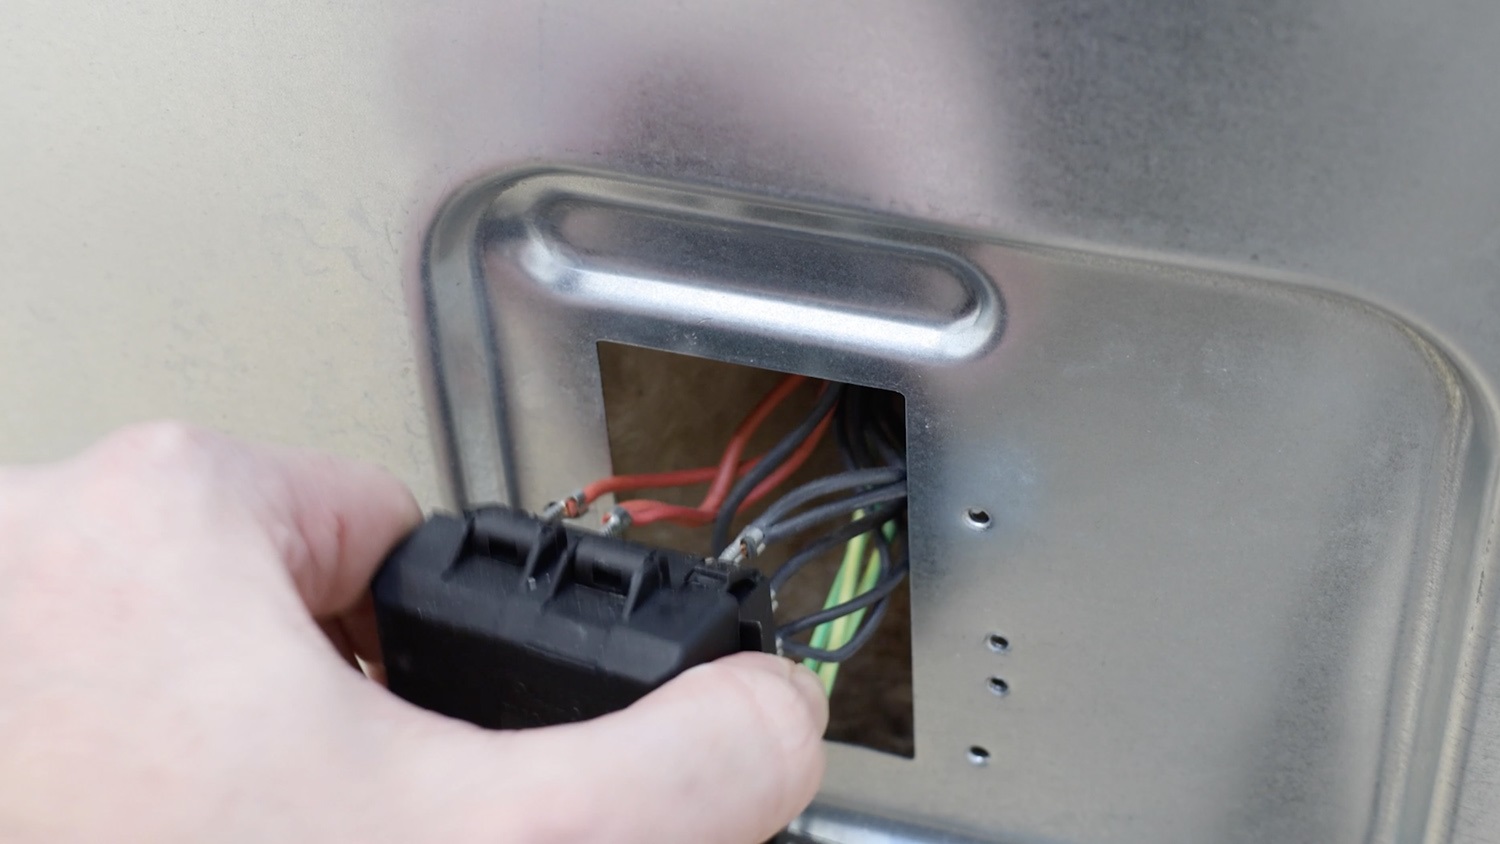
2. Remove wiring connectors
We recommend placing the new terminal block next to the old one, and one by one, removing the electrical connectors from the old terminal block and connecting them in the same place to the new terminal block. This ensures they’re being connected correctly.
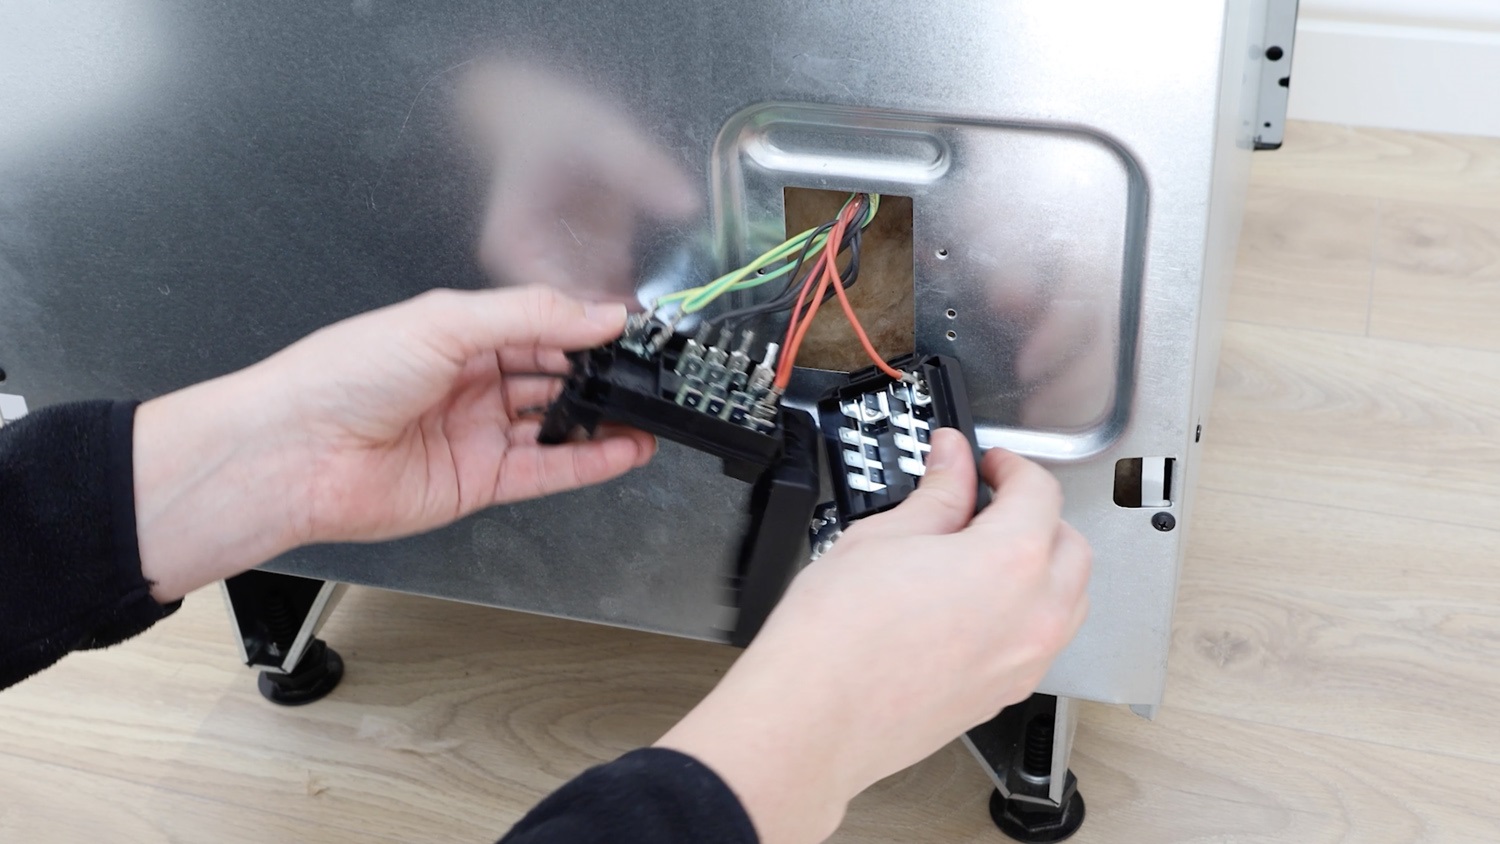
Use a pair of long-nosed pliers if any are tight to remove.
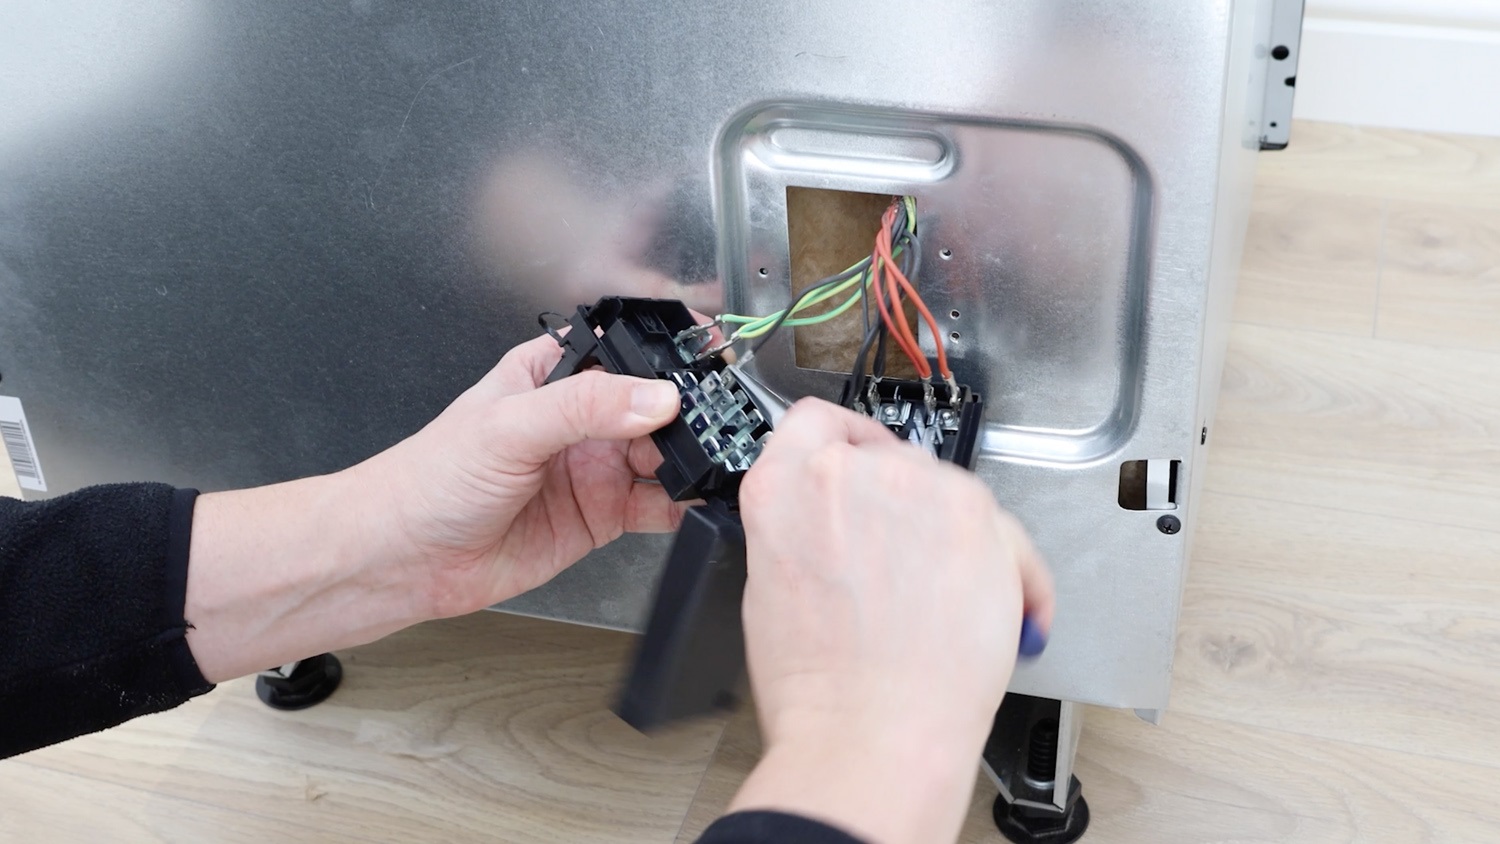
3. Install new terminal block
Attach the new terminal block to the rear of the oven. Ensuring it clicks into place.
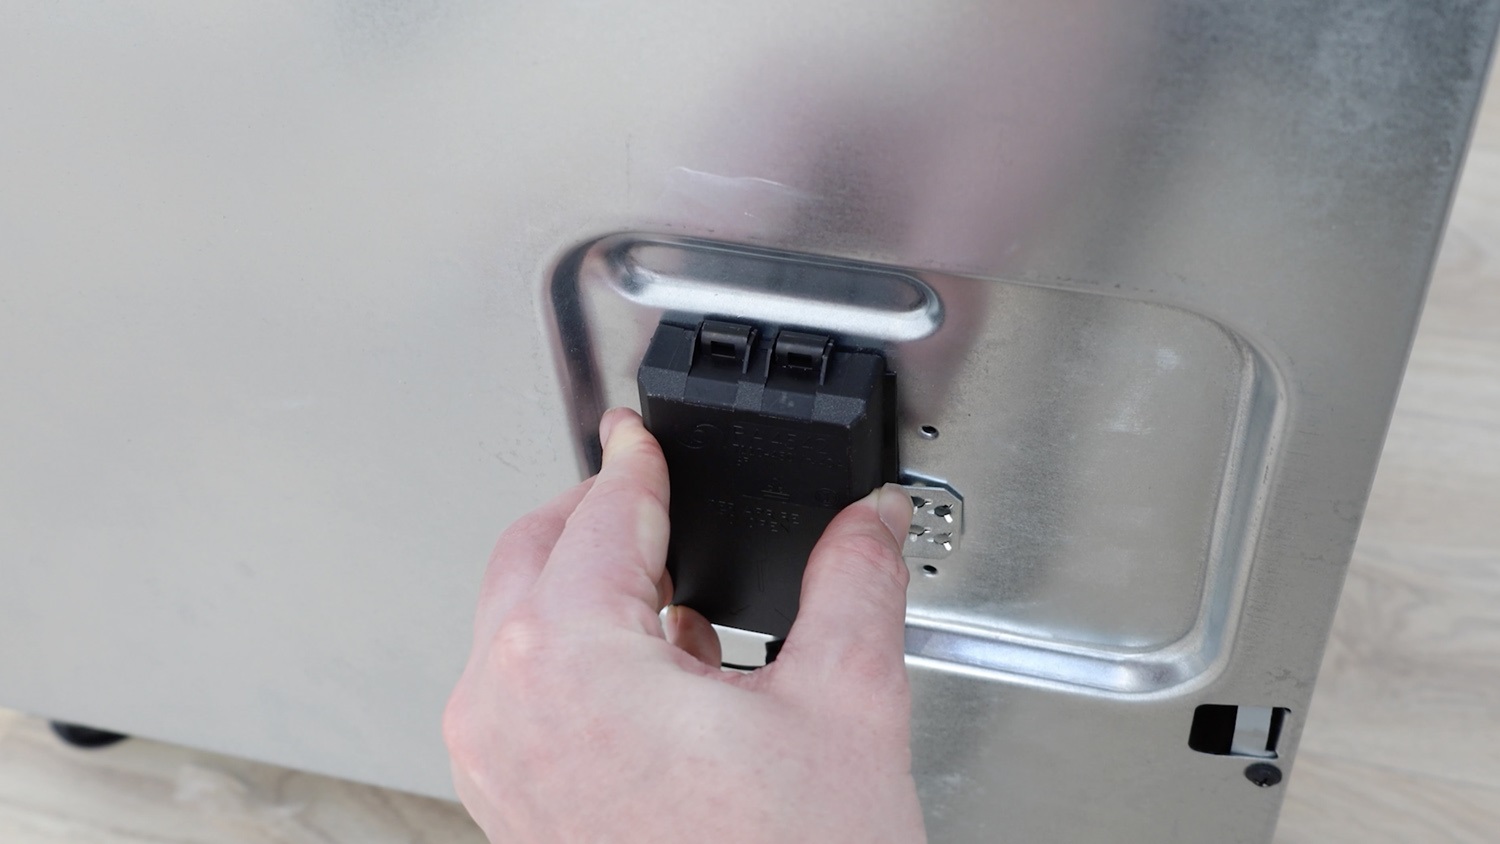
Re-screw the two screws back in.
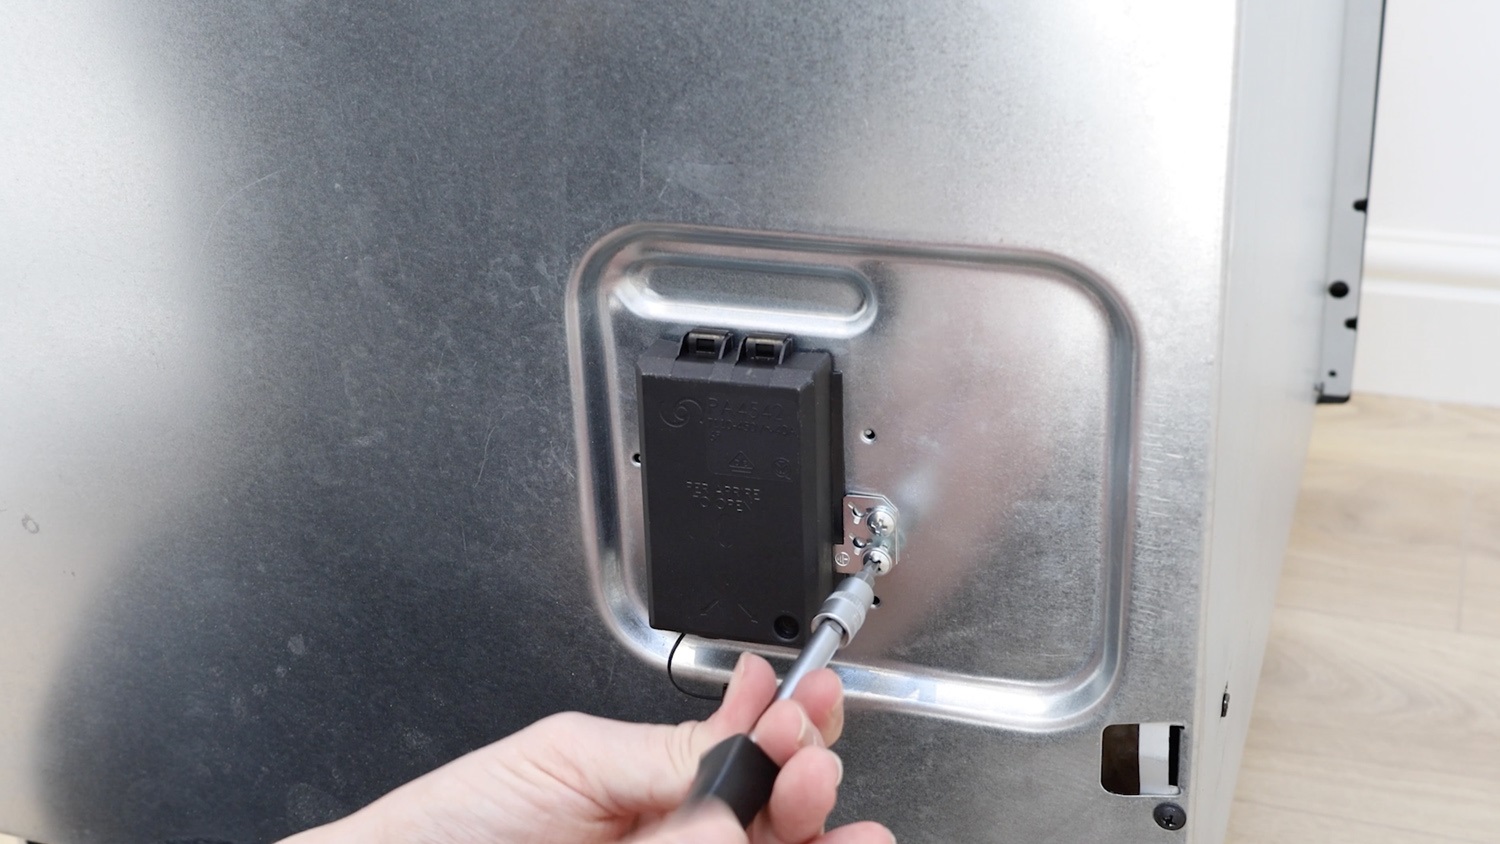
4. Attach electrical wiring to new terminal block
Some ovens have a sticker on the rear showing a diagram of how long your cables should be trimmed to. On this Hotpoint model, the diagram notes the live and neutral should have 10mm of copper exposed and a total of 65mm. Trim them to this length but make sure the earth wire is slightly longer, by about 10mm. This is so if any tension is put on the cable, the earth is last to detach.
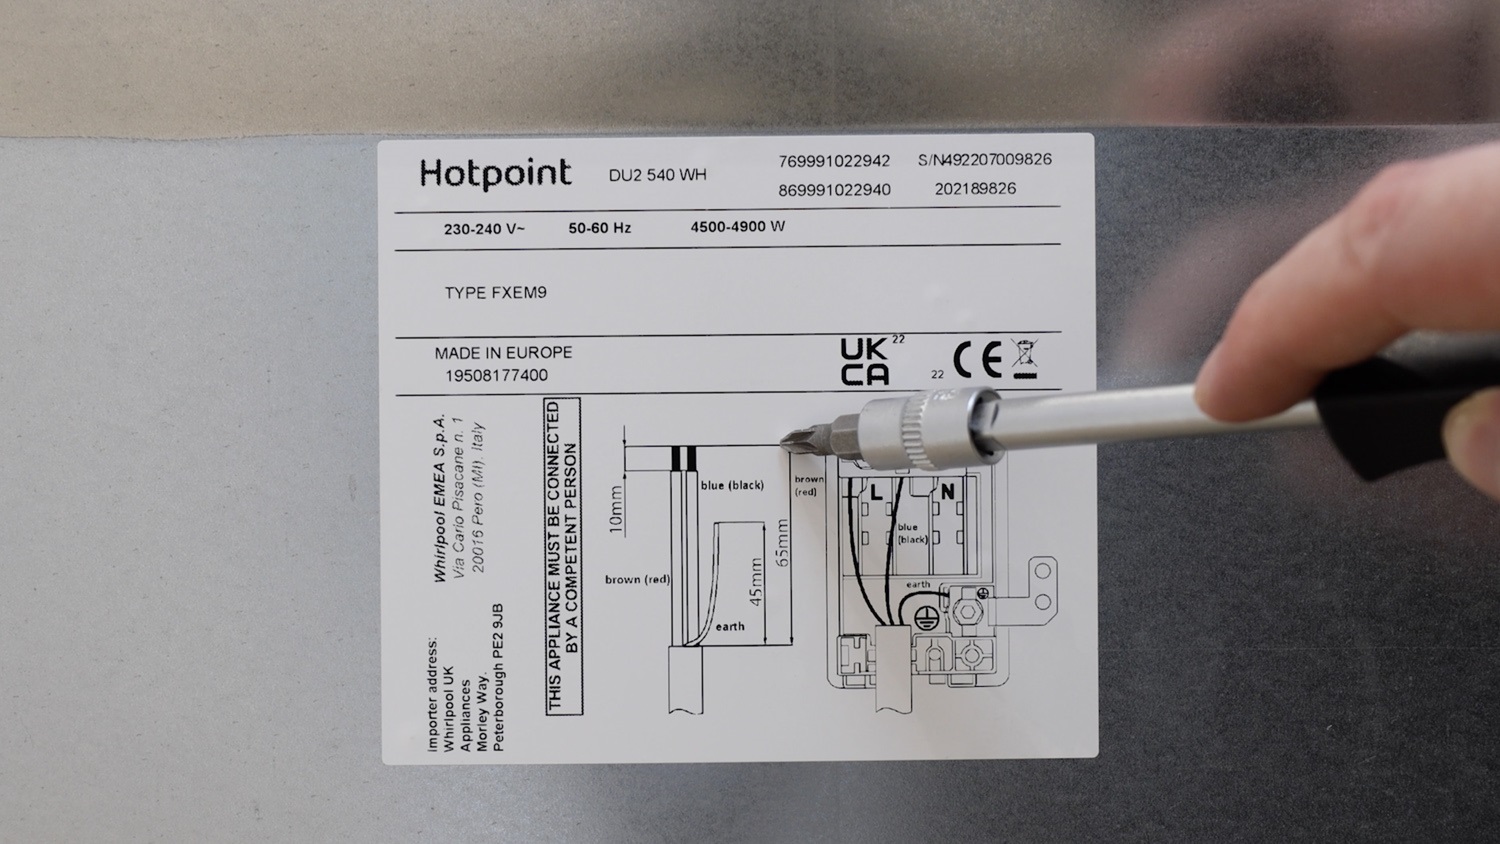
Prep electrical wiring
Refer to the manual for electrical connection installation guides.
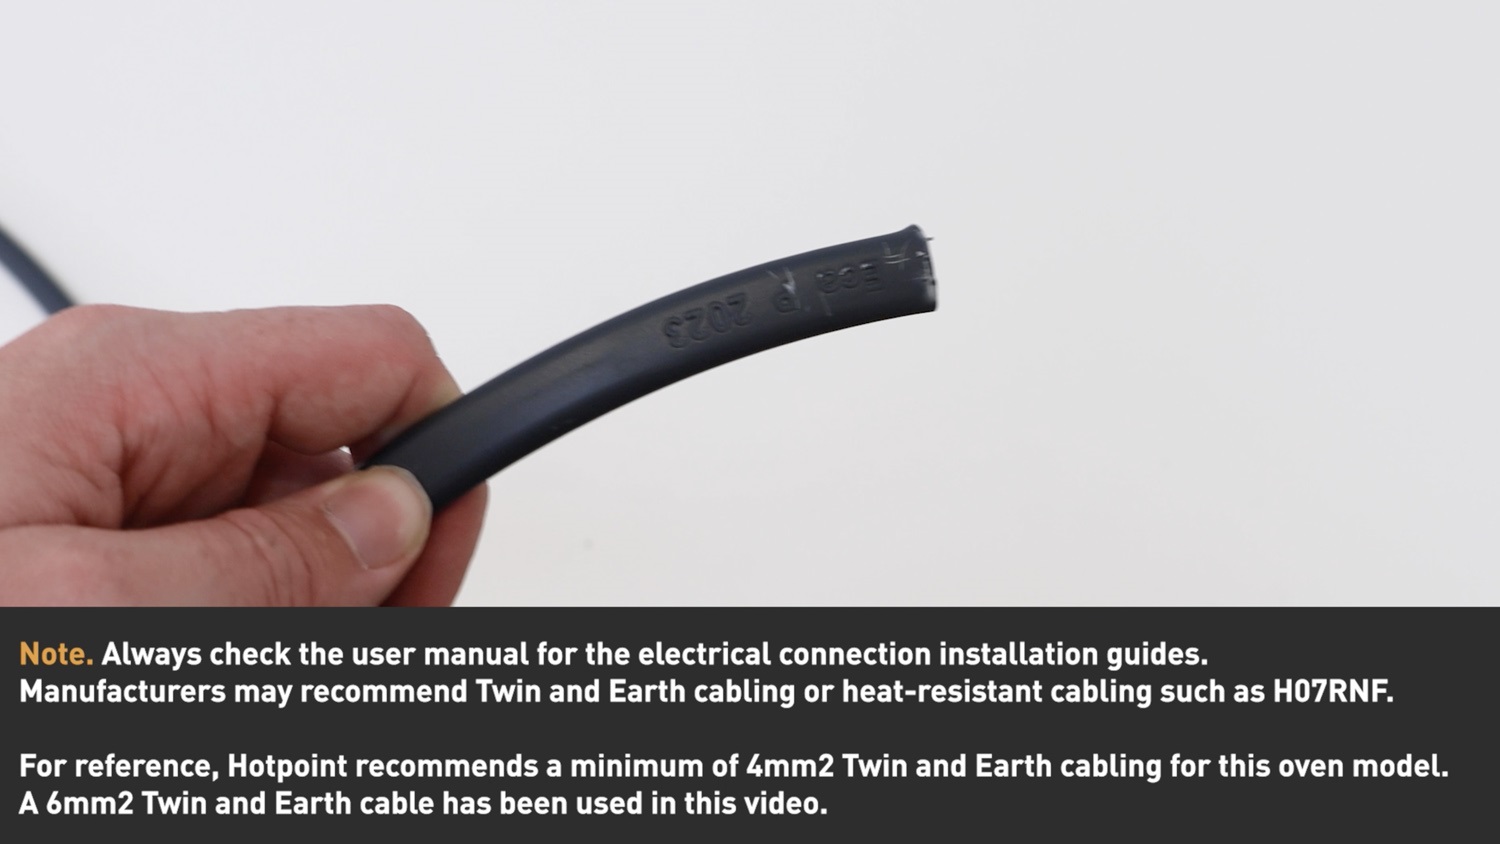
A pair of wire trimmer tools makes this job super easy.
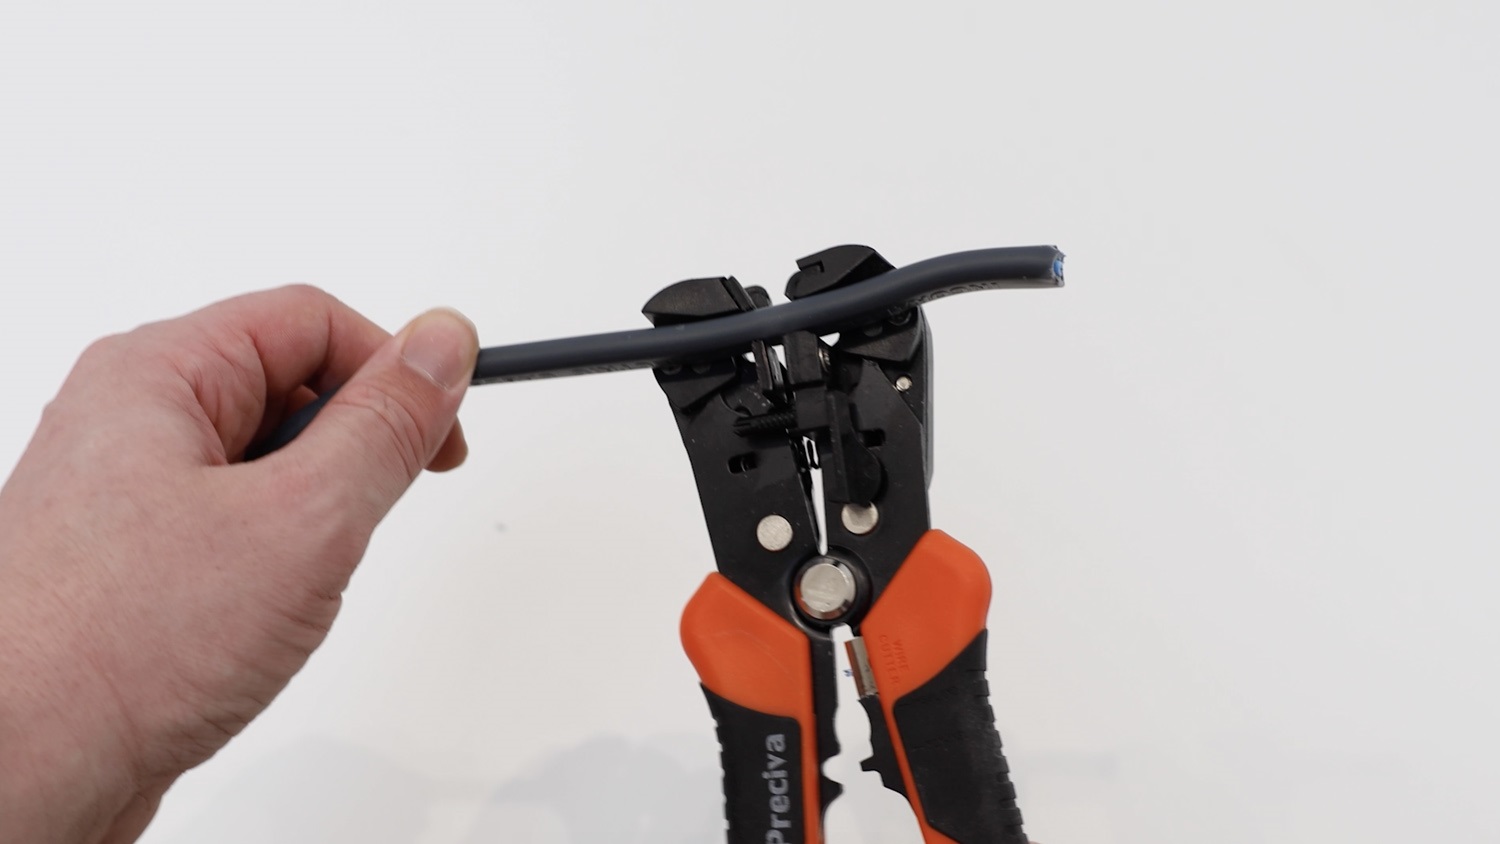
Trim all of your wires to 75mm.
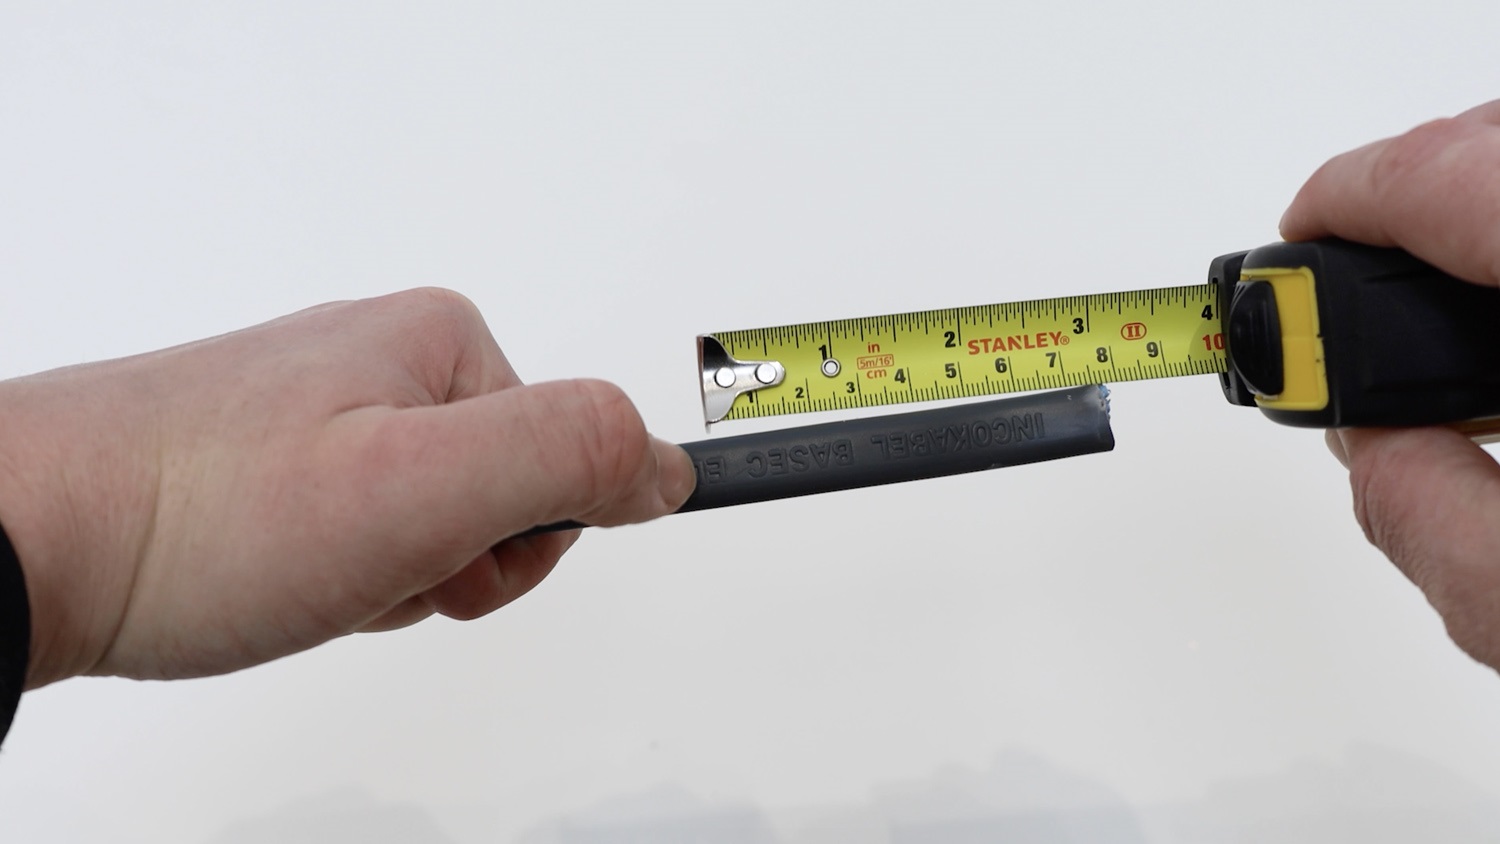
Then, we can trim your live and neutral wire down to 65mm.
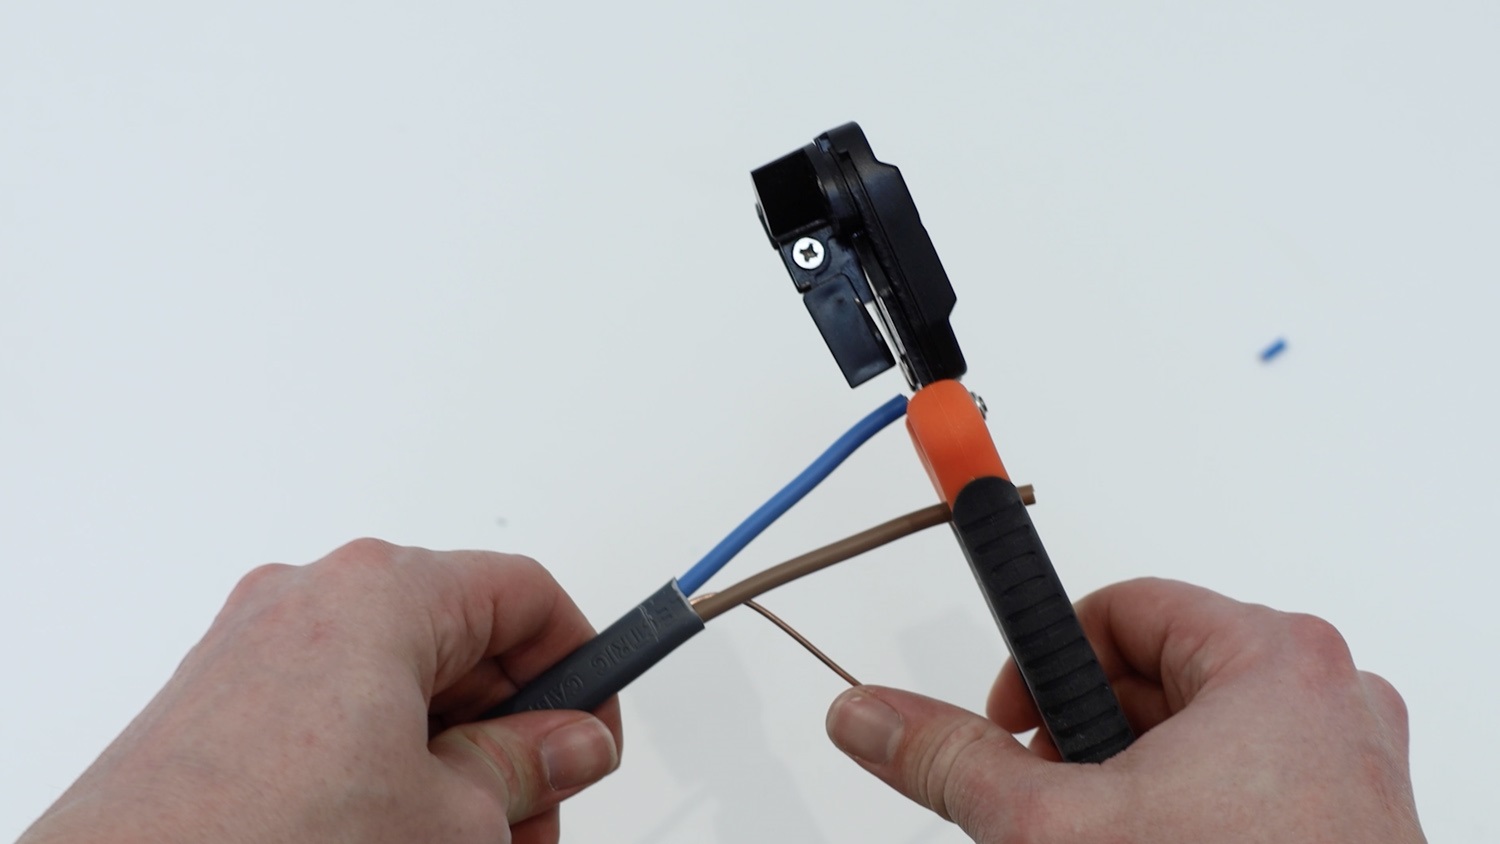
Take 10mm of the ends of the live and neutral cable to expose the copper.
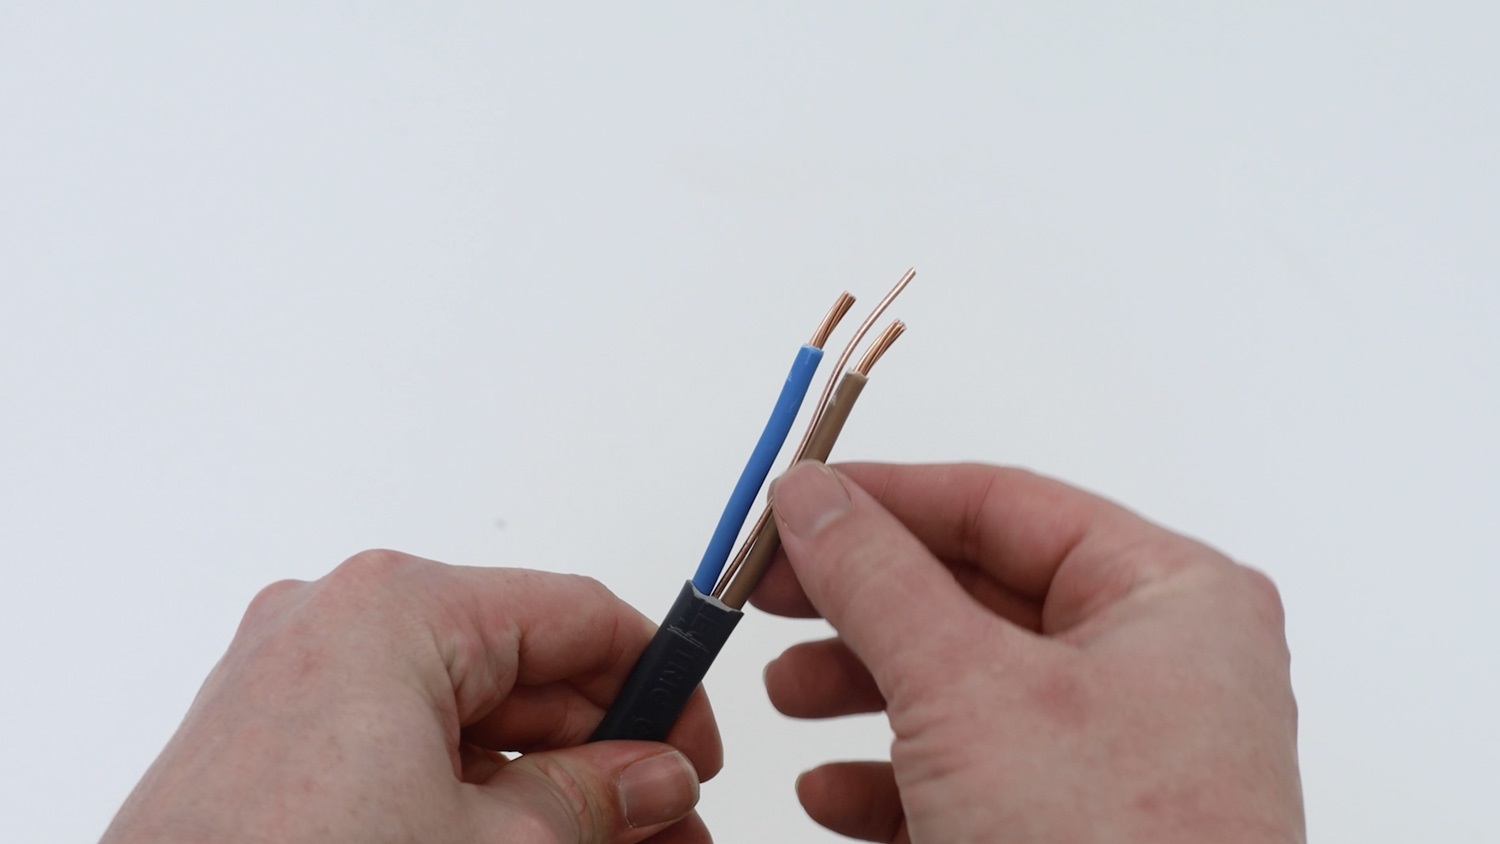
When your cables are cut to length, ensure you place your earth-sleeving over the earth wire.
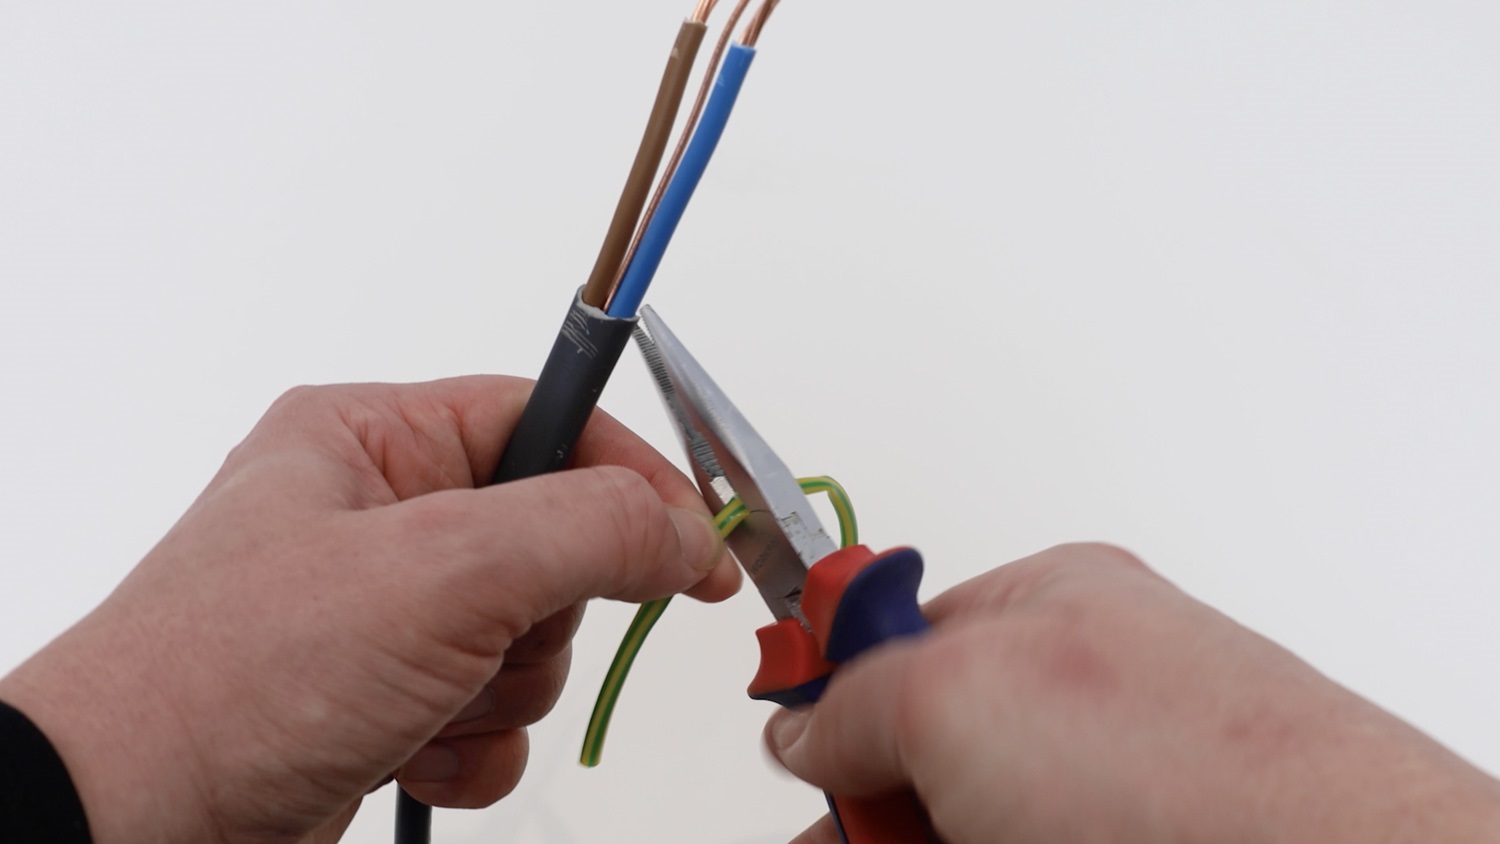
If your copper ends aren’t twirled together, use a pair of pliers to twist them around.
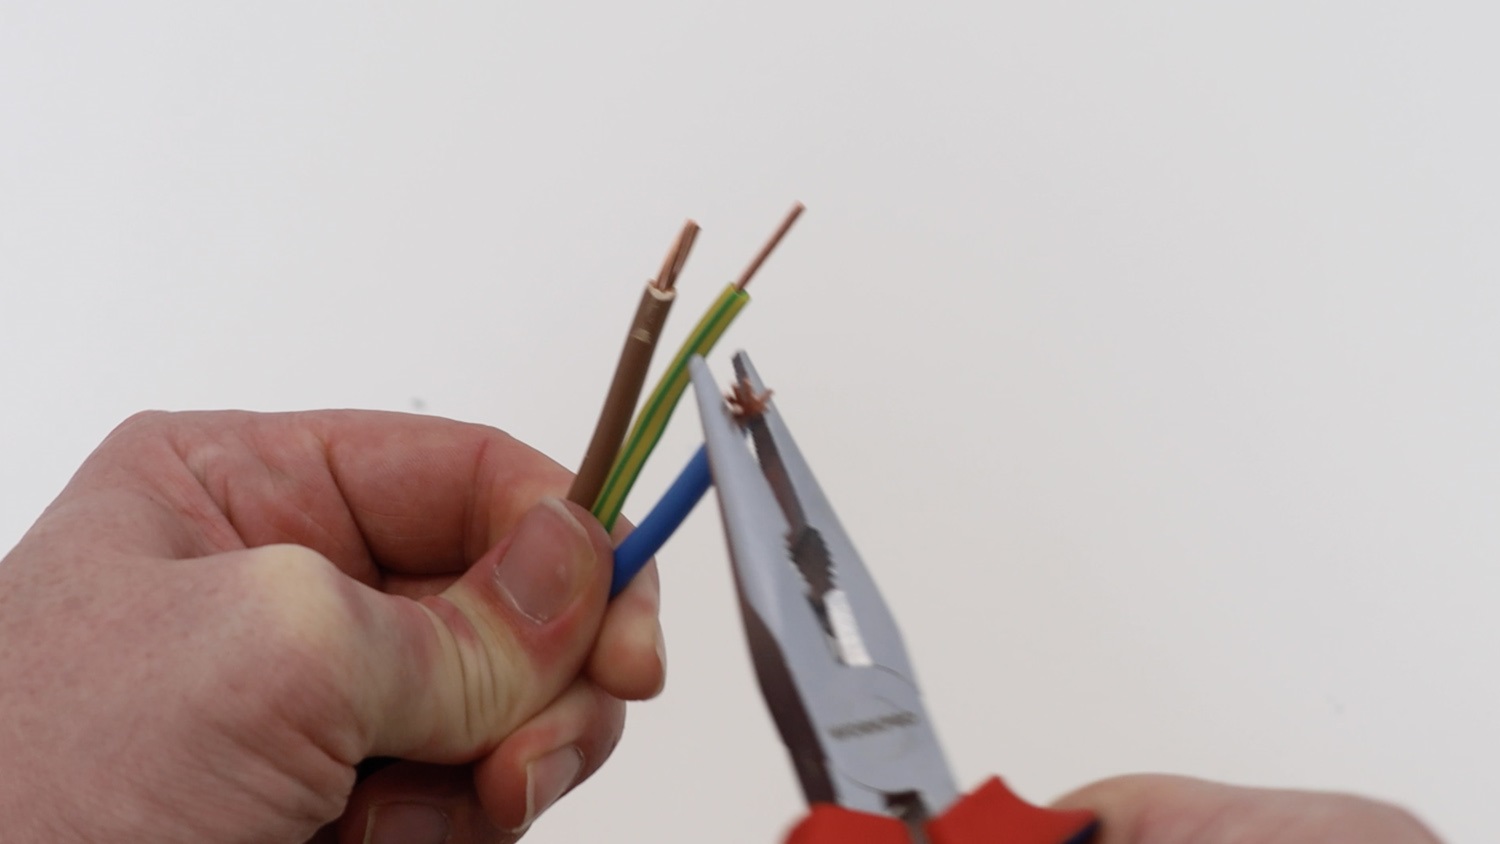
After this, you’ll have a nice fresh set of wires ready to be installed.
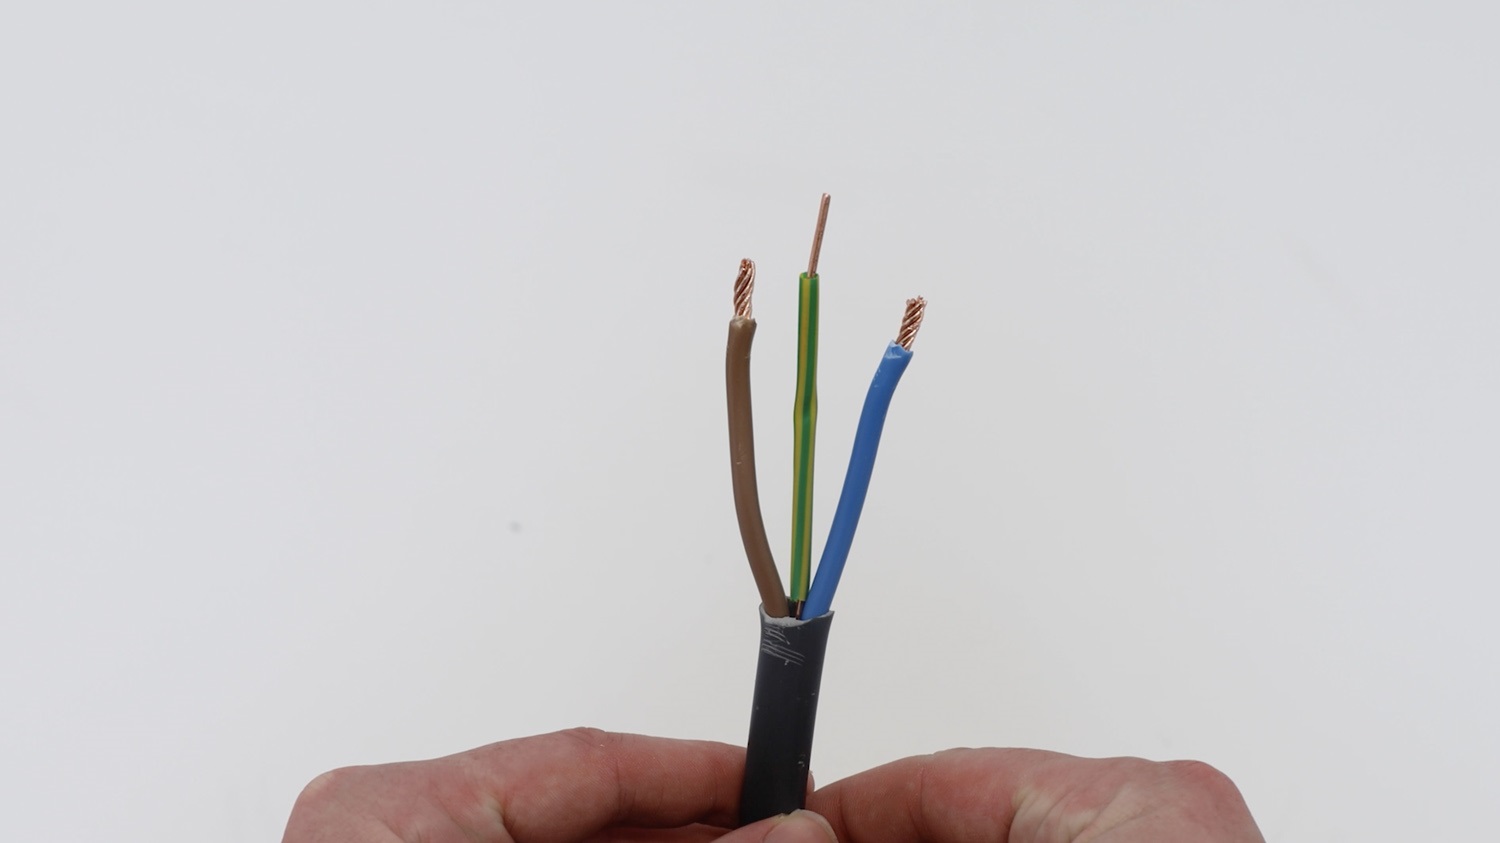
Attach electrical wiring
Attach your earth wire first and screw the 4mm hex screw nice and tight. Then attach the neutral wire and tighten the screw, lastly, attach the live wire. Ensure all the screws and nice and tight.
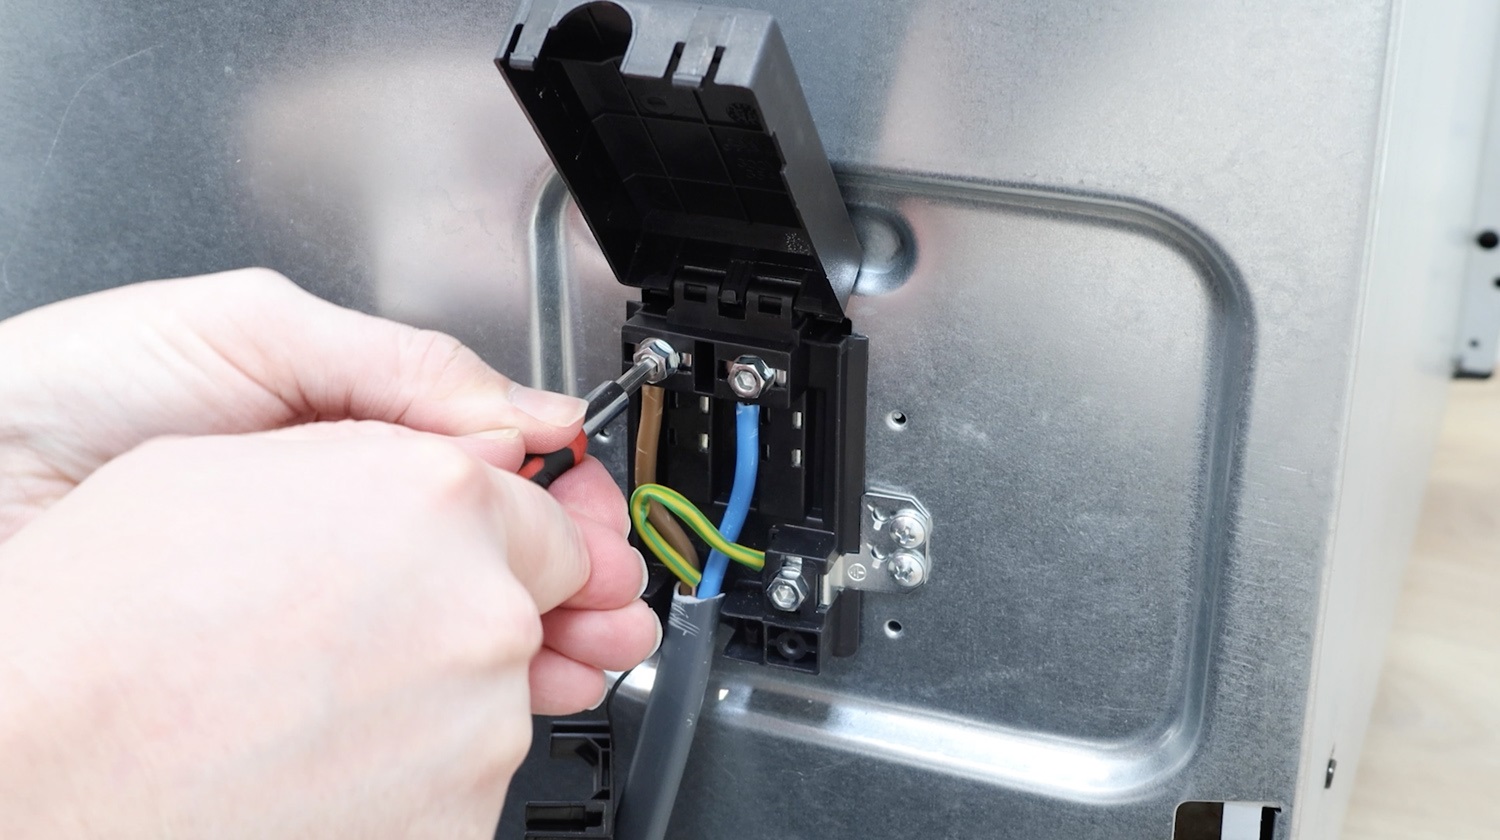
Clip the clamp back in place and re-screw the Phillips screw back in.
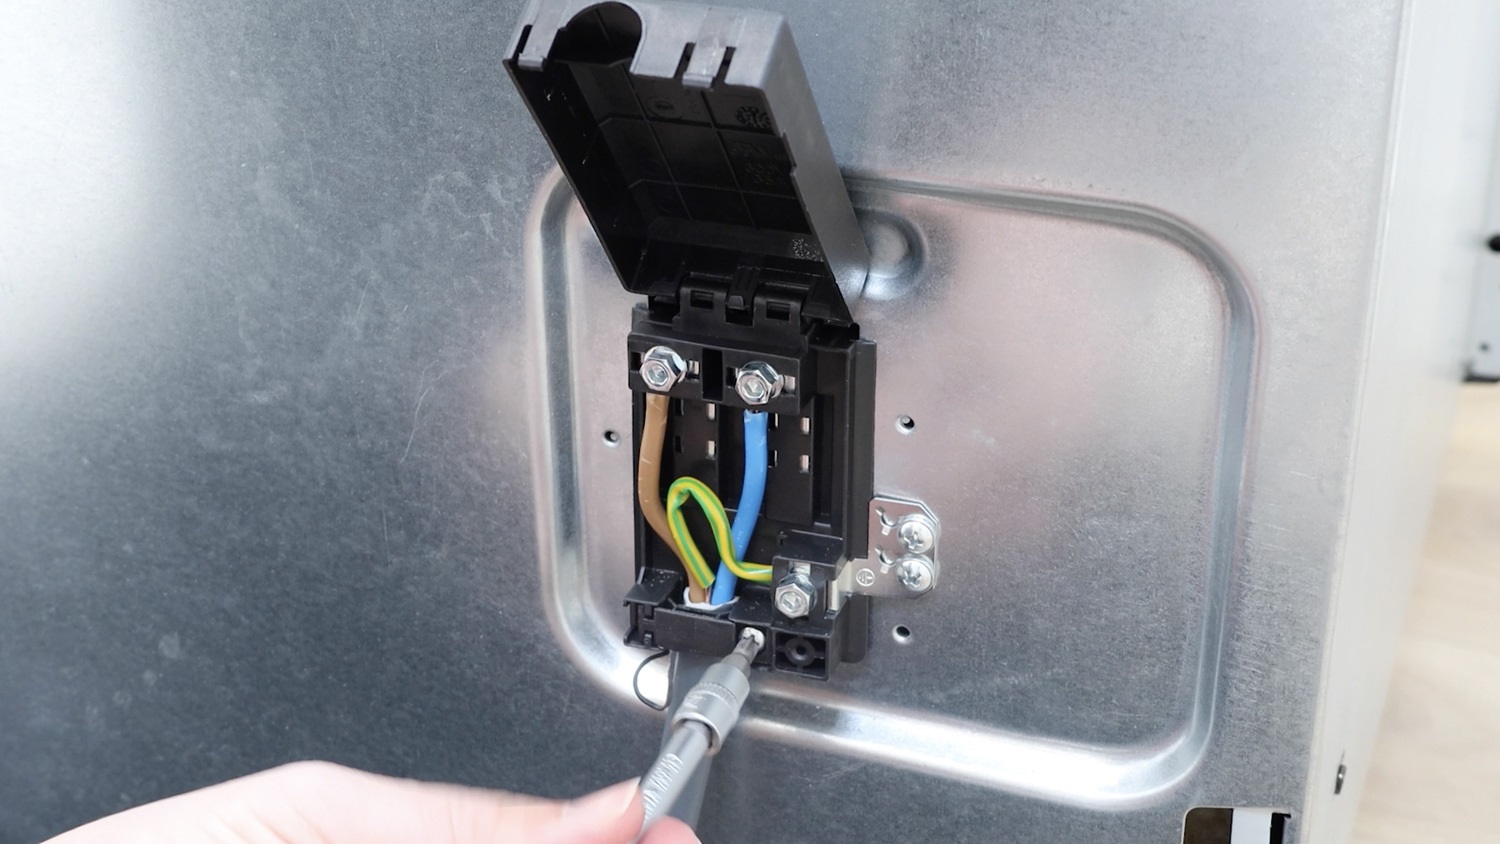
Close the terminal block lid shut and that’s it, your new terminal block is all set to go!