Make and Model of Oven Used in This Video
Hotpoint DU2540WH (61022940000)
Hotpoint DU2540WH (769991022942)
Part Used in This Video
Hotpoint Oven Door Hinge Side Support Bracket Left Or Right
1. Accessing door hinge side support bracket
If your oven is in a unit, you’ll need to remove it by unscrewing the screws found here on either side.
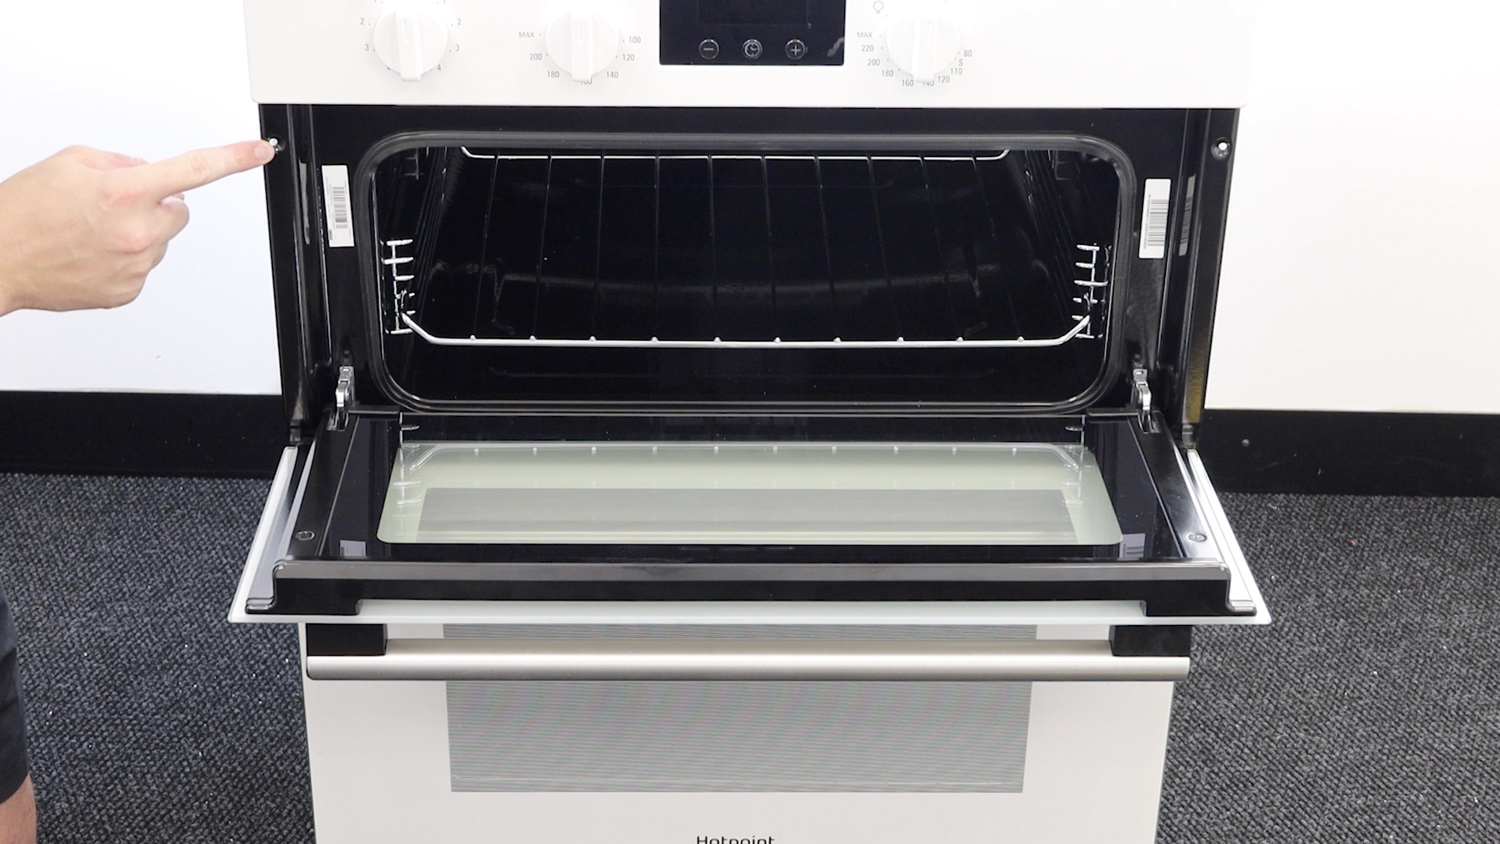
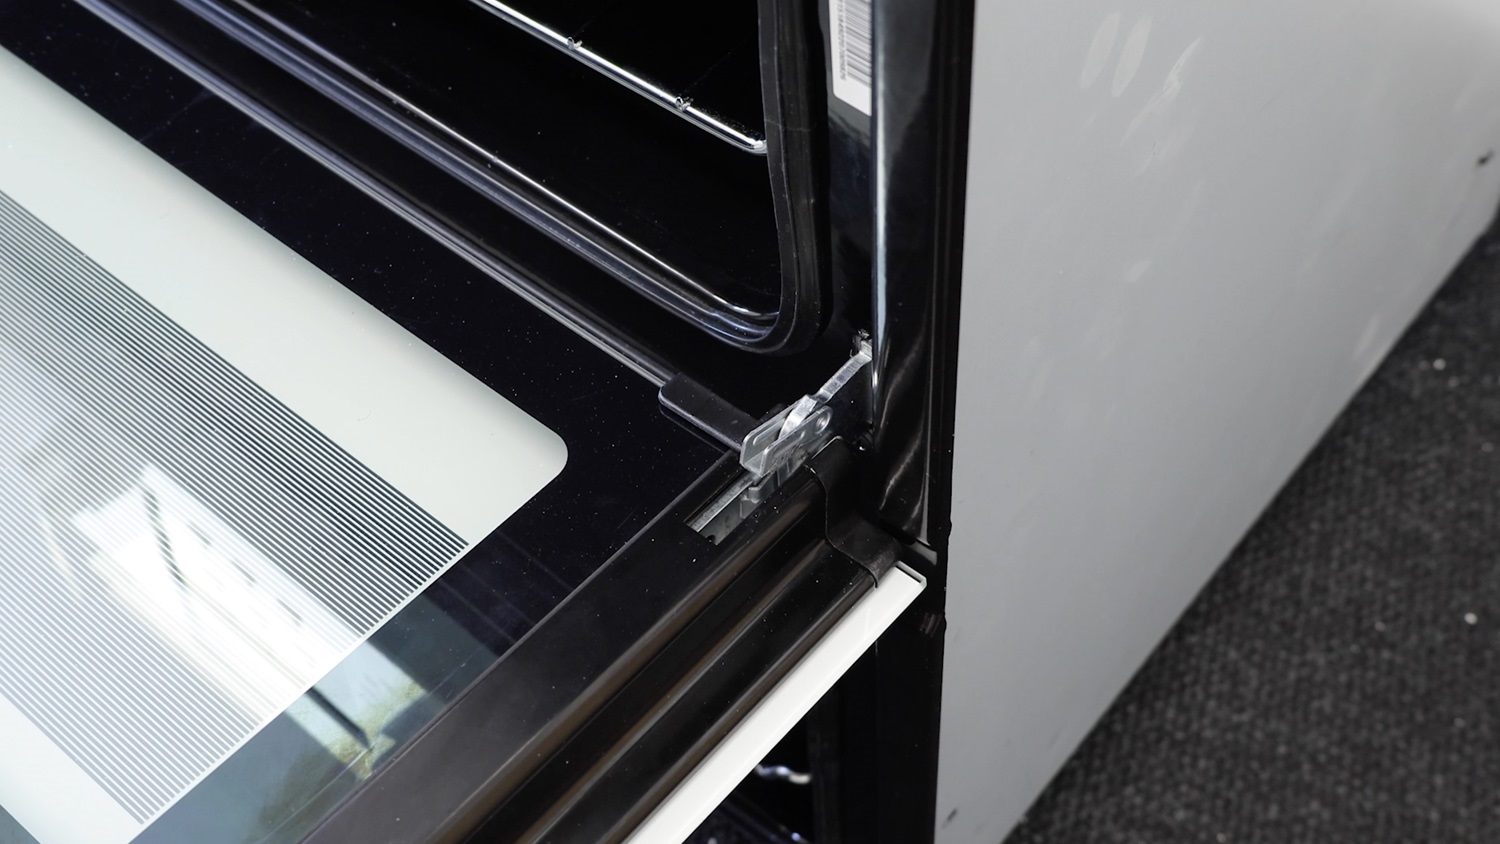
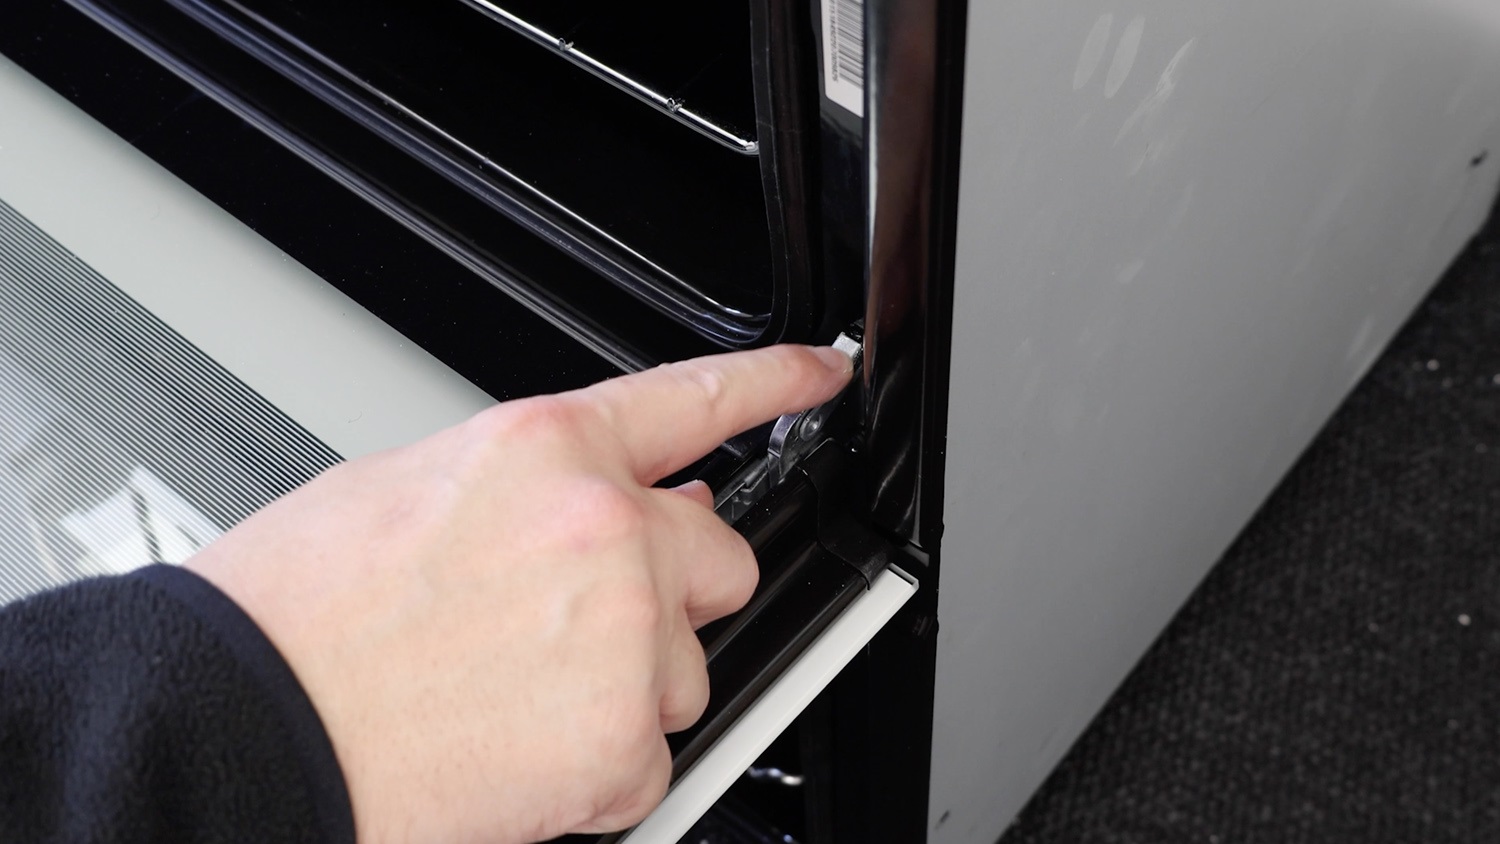
Remove both oven doors
Both oven doors need to be removed. Open the catches on either side with a flathead screwdriver or if they’re stiff, use some pliers.
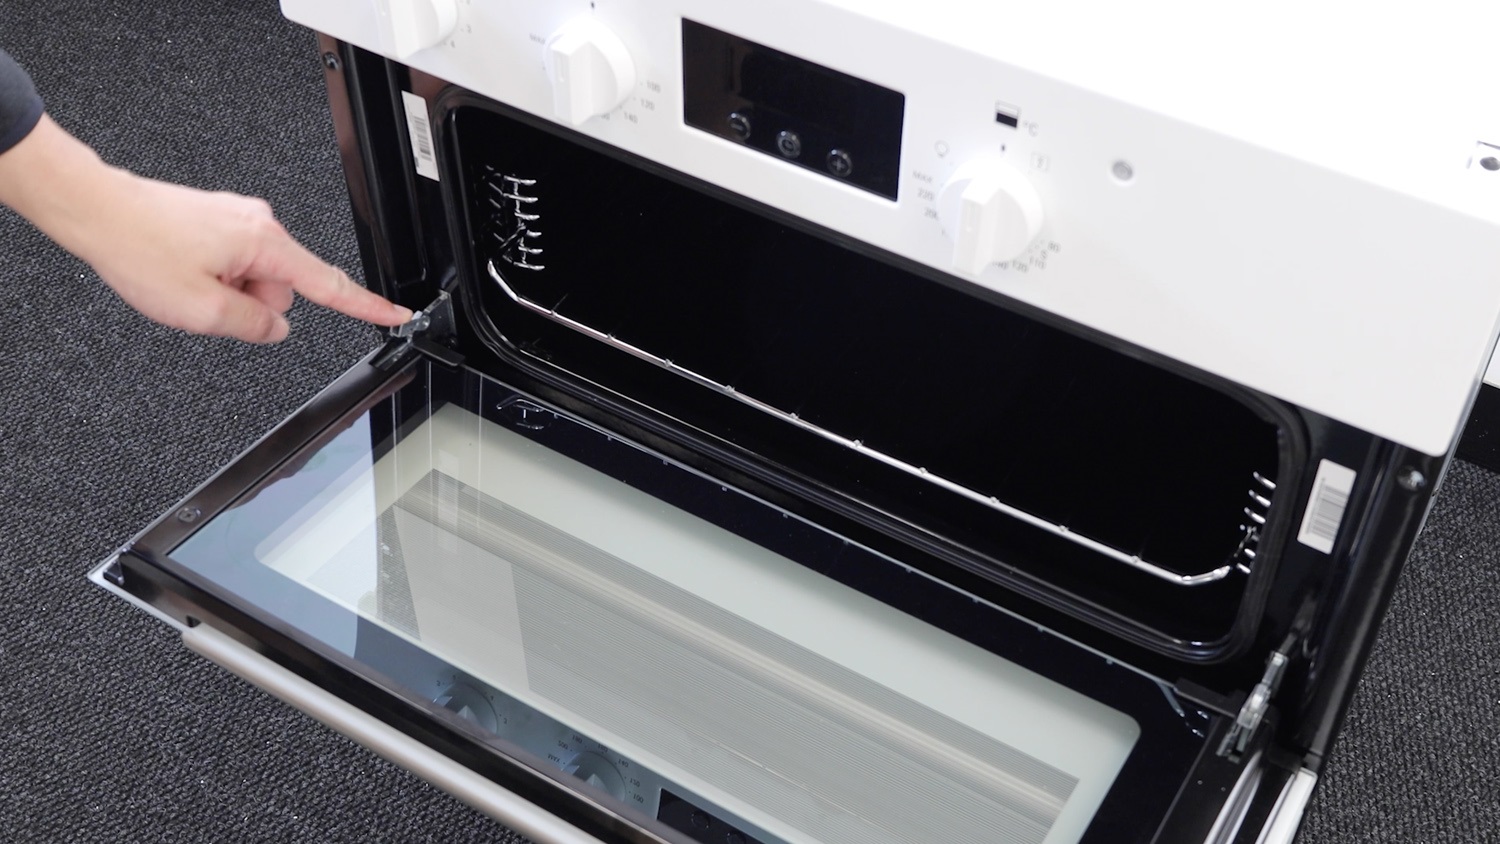
Holding the door with both hands, one on either side and not on the handle, start to close the door whilst lifting up and the door hinge will release from the oven.
Repeat the process on the other door.
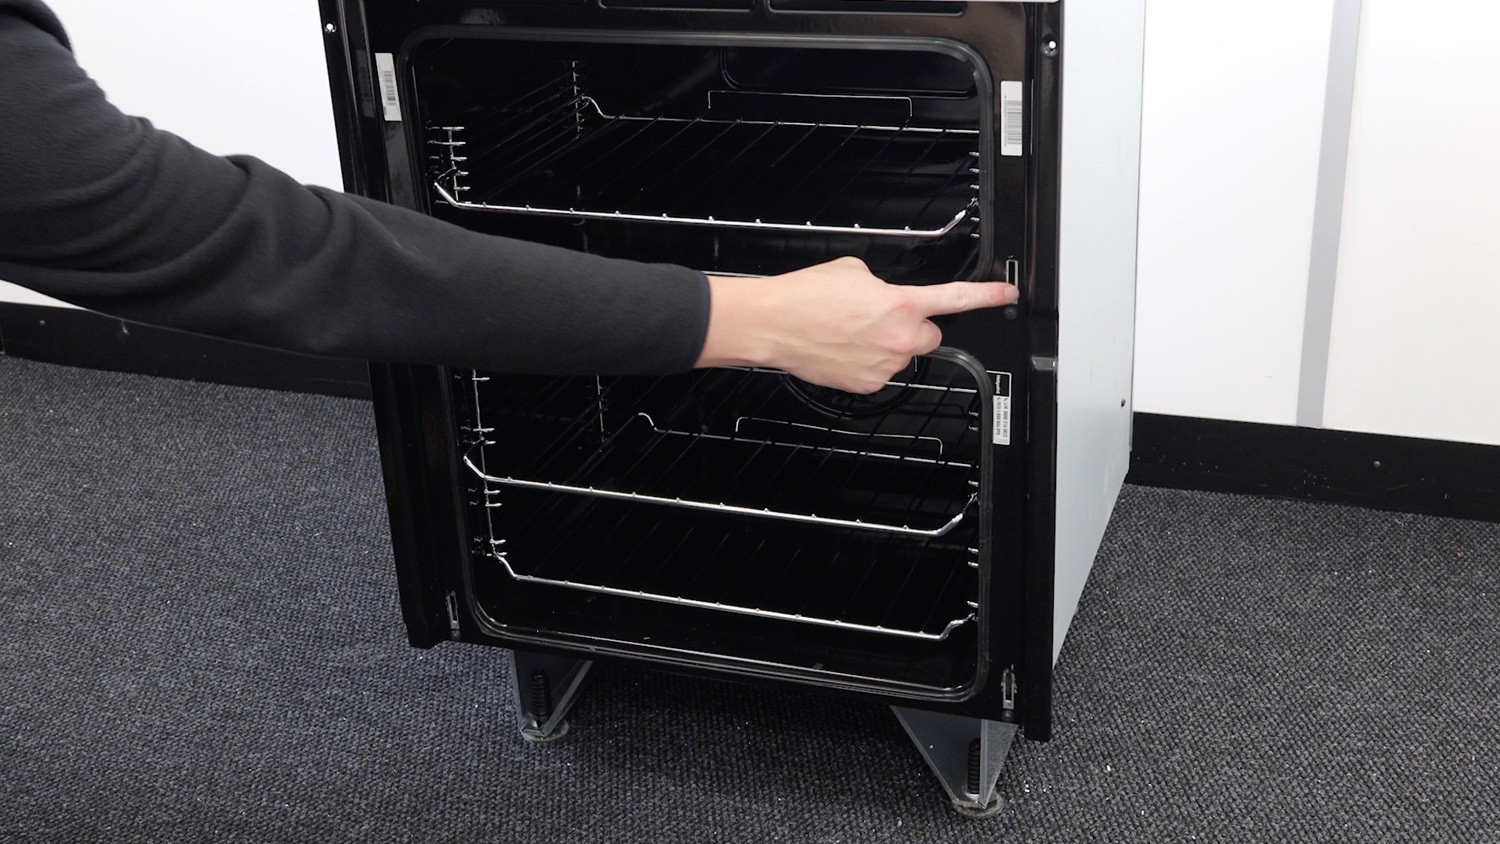
An oven door hinge side support bracket is located on both sides of the oven. This shows removing the right side support bracket. The process will be the same if you’re removing the bracket on the left side.
Remove screws
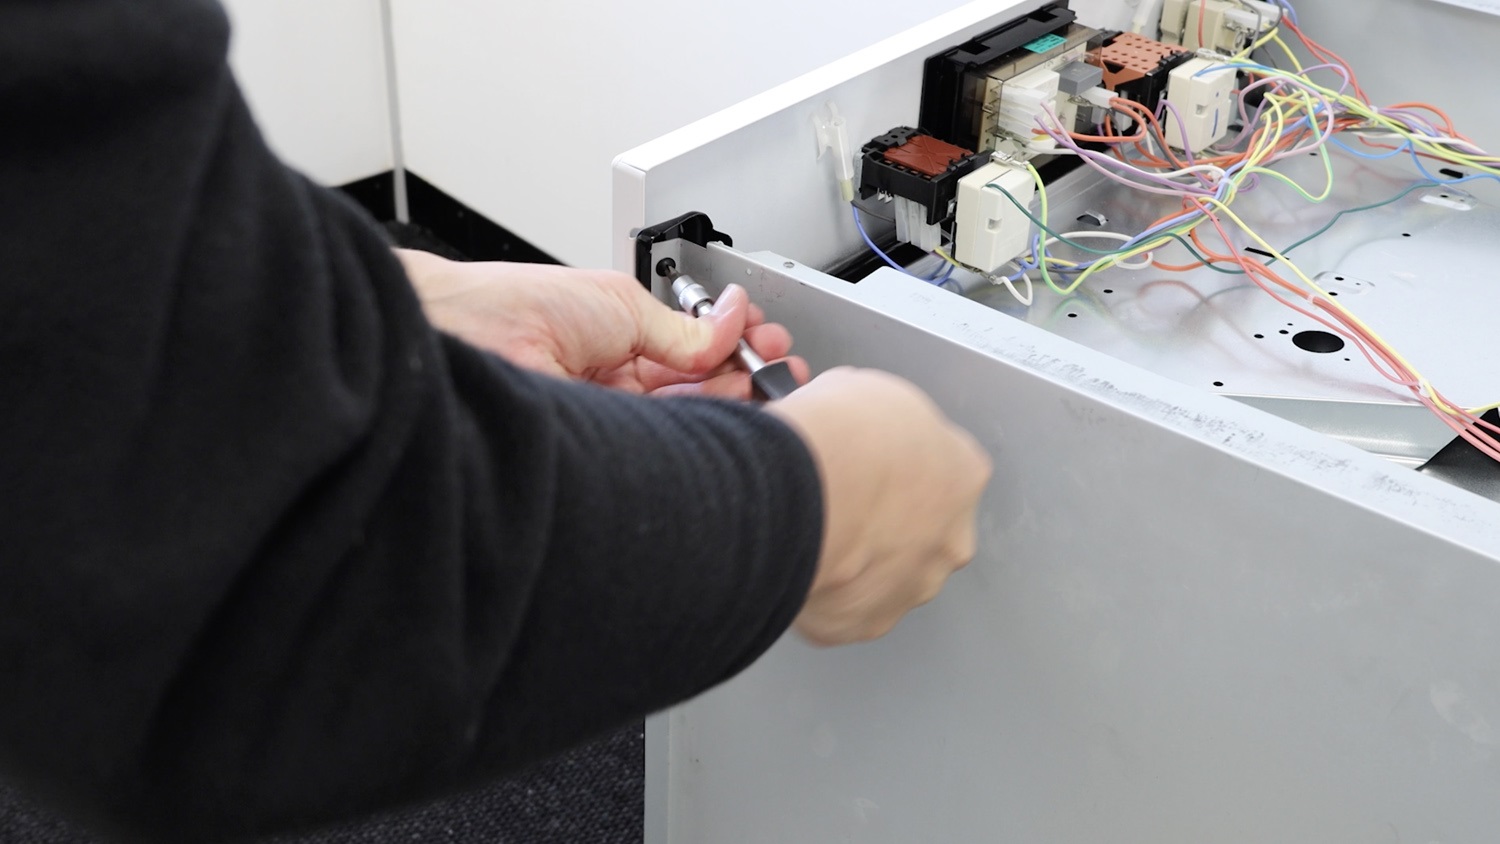
Remove the two screws holding the bracket to the front of the oven and place these to one side.
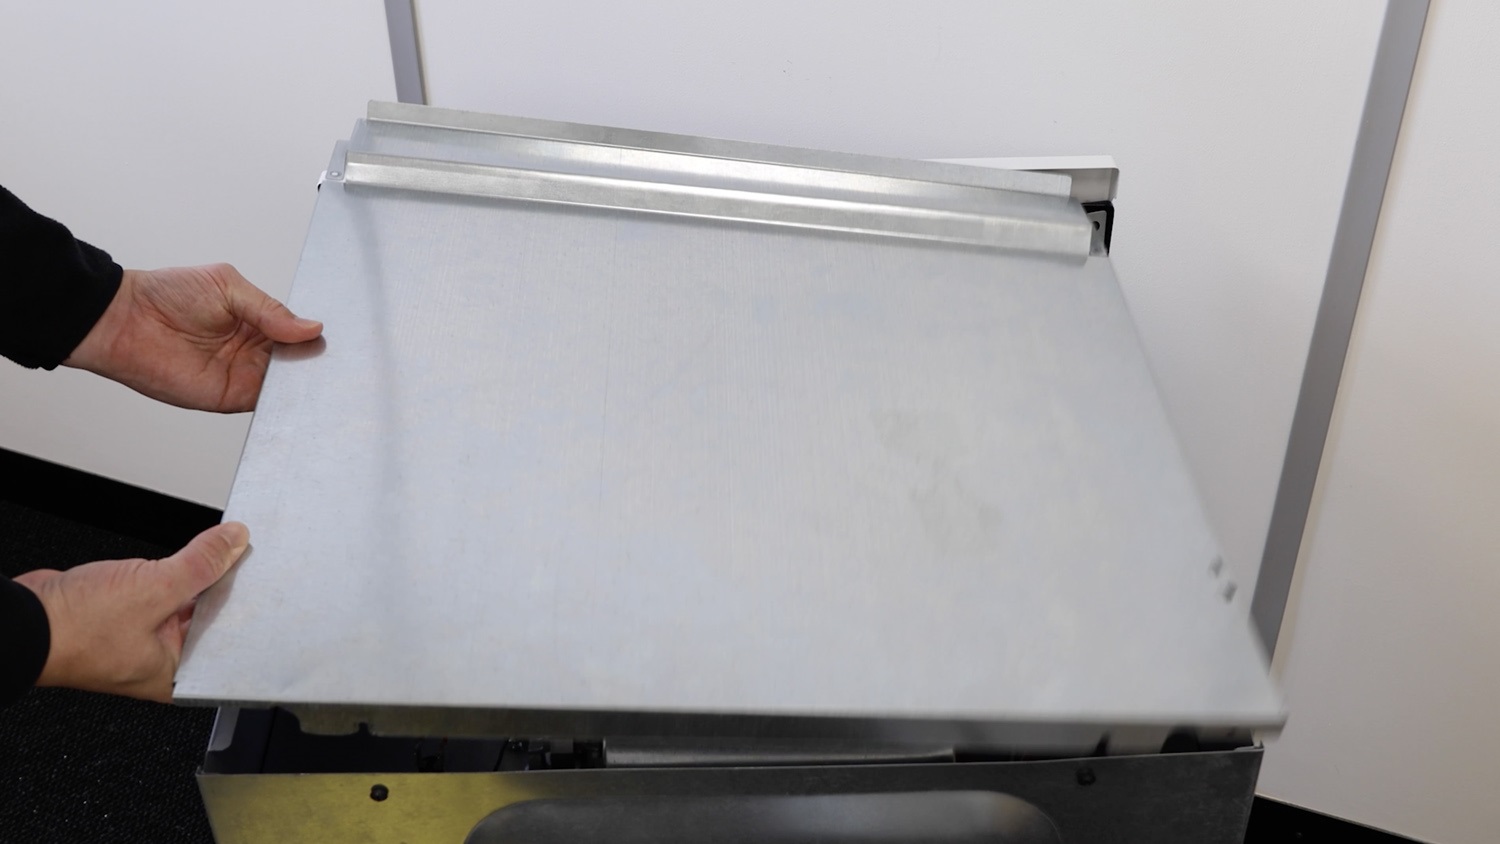
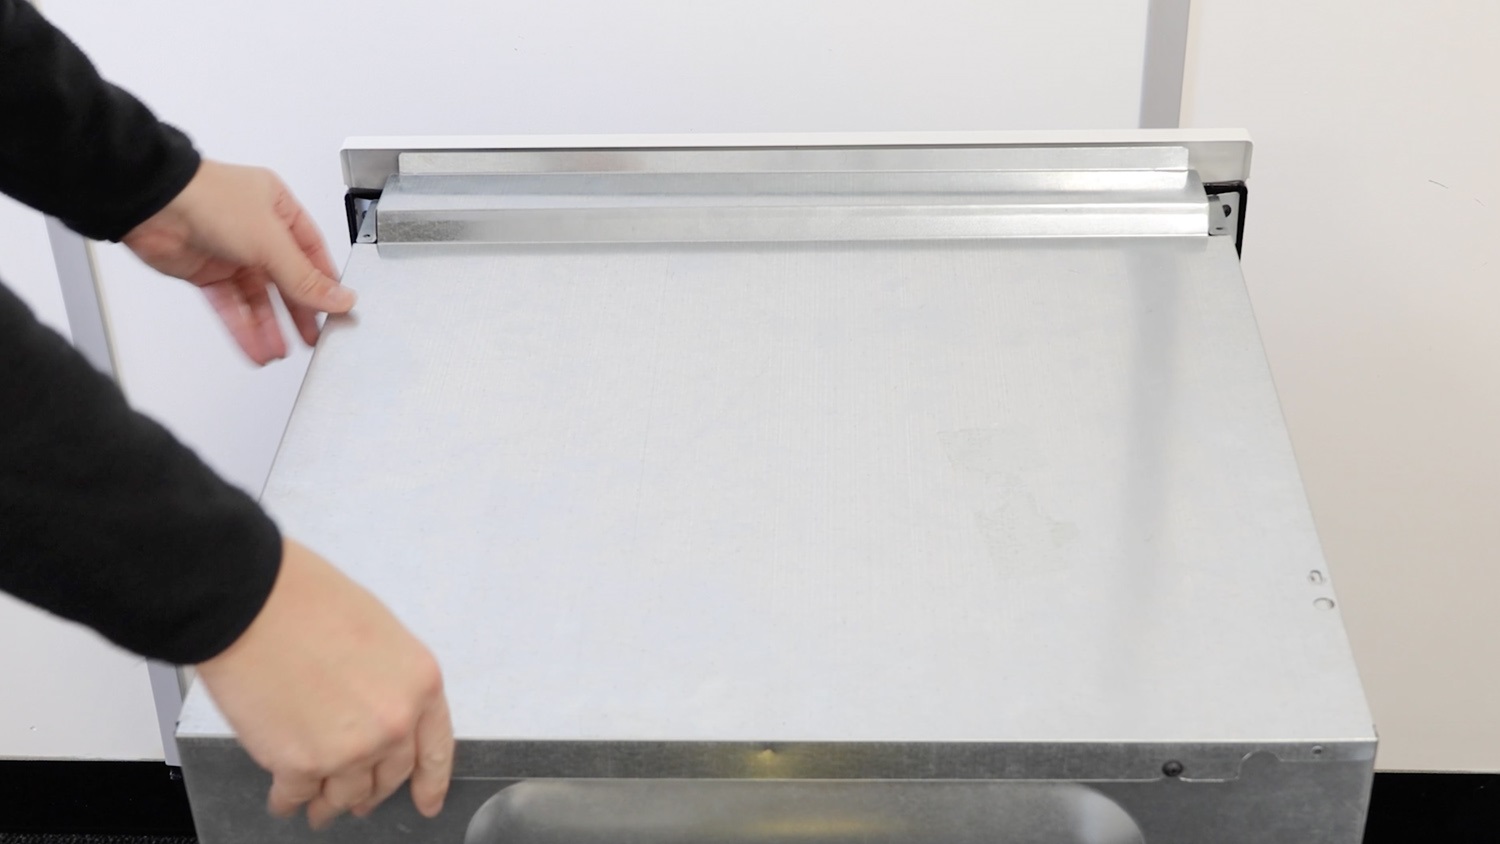
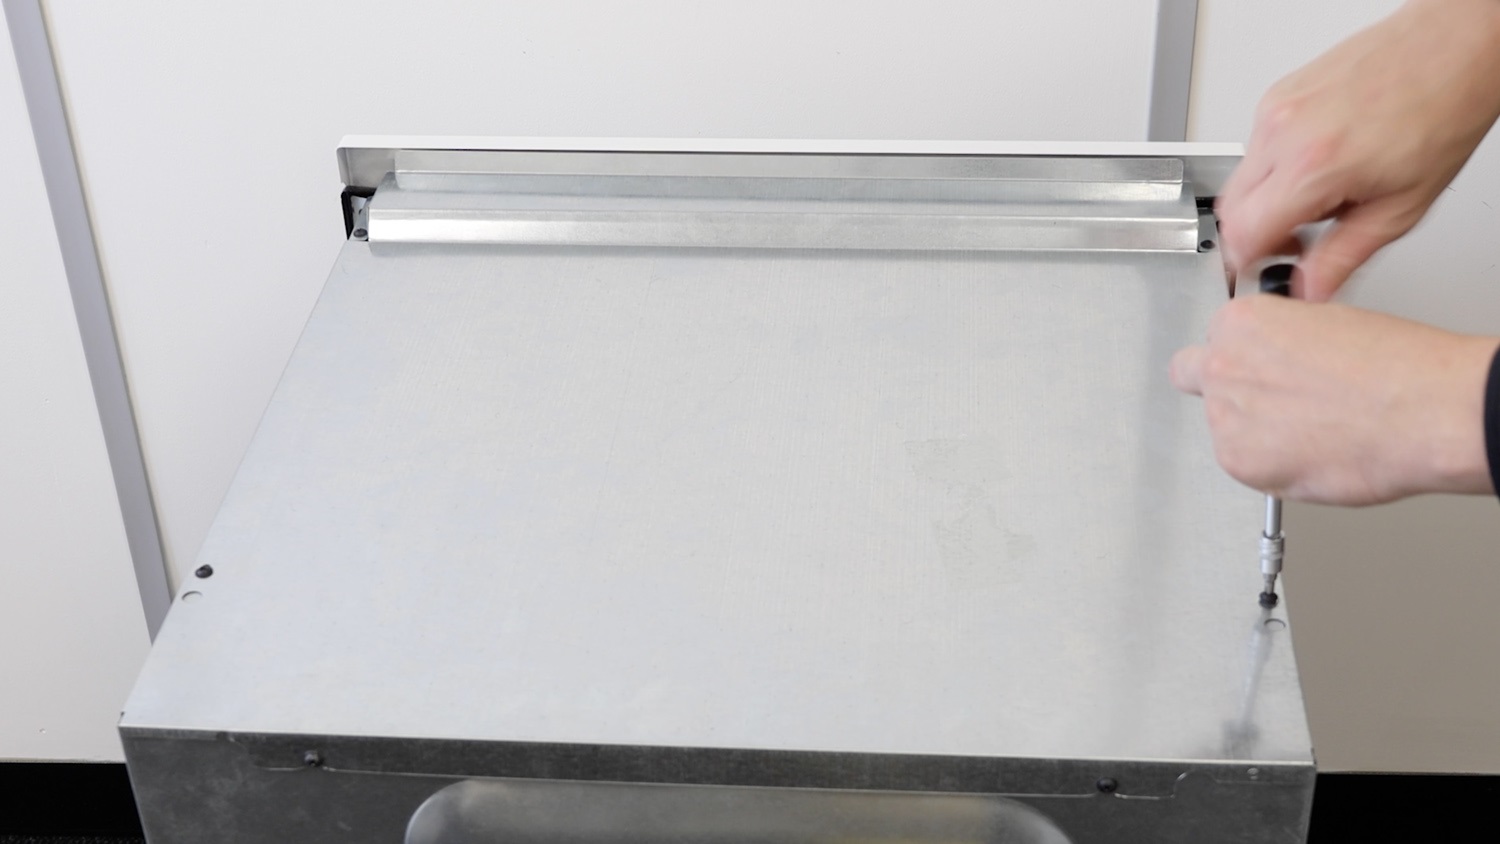
Remove oven panels
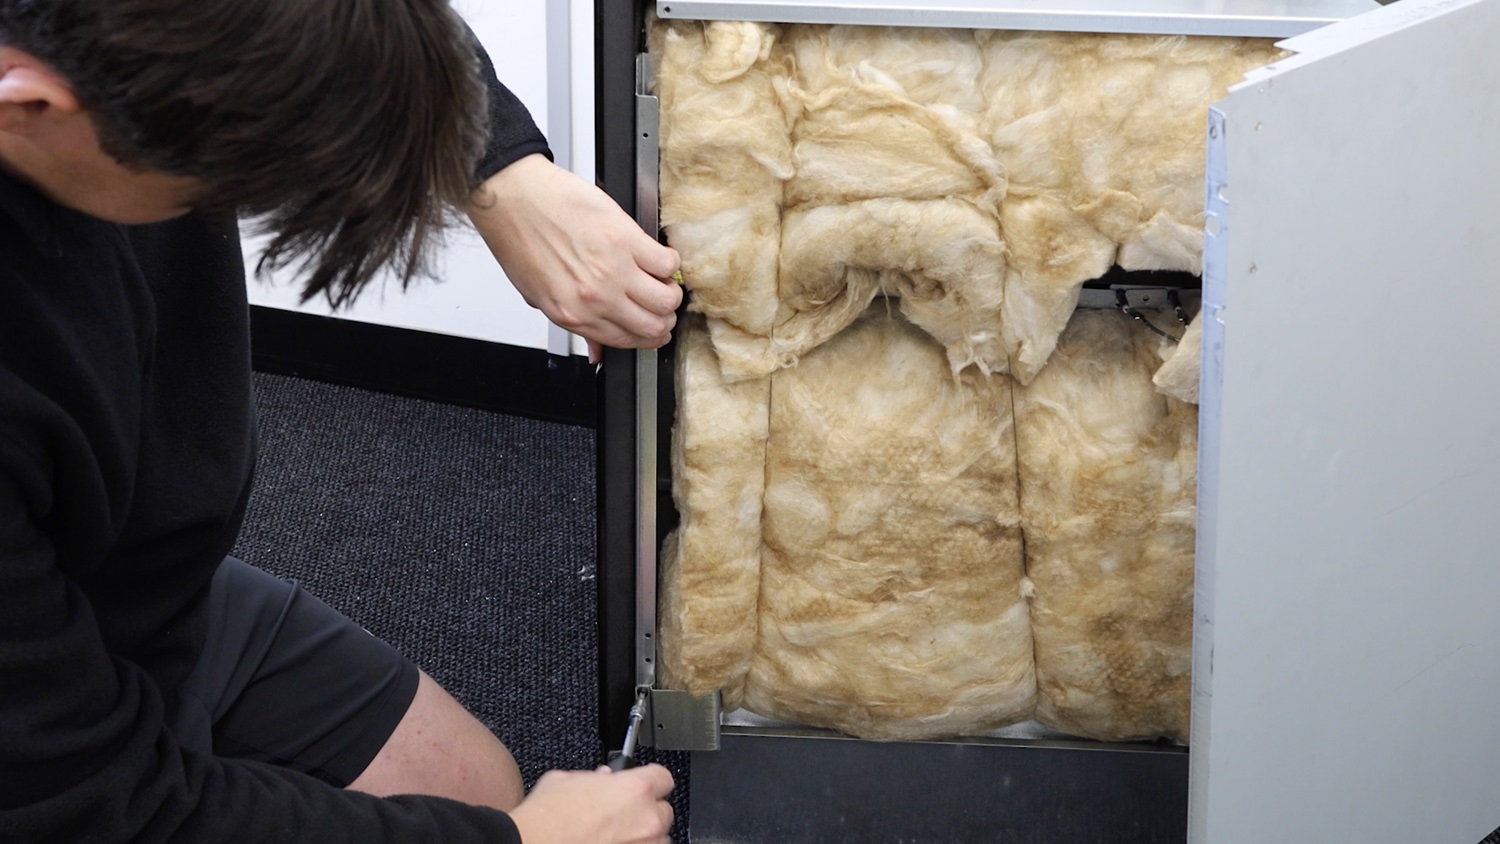
Then, remove the screws from the top oven panel.
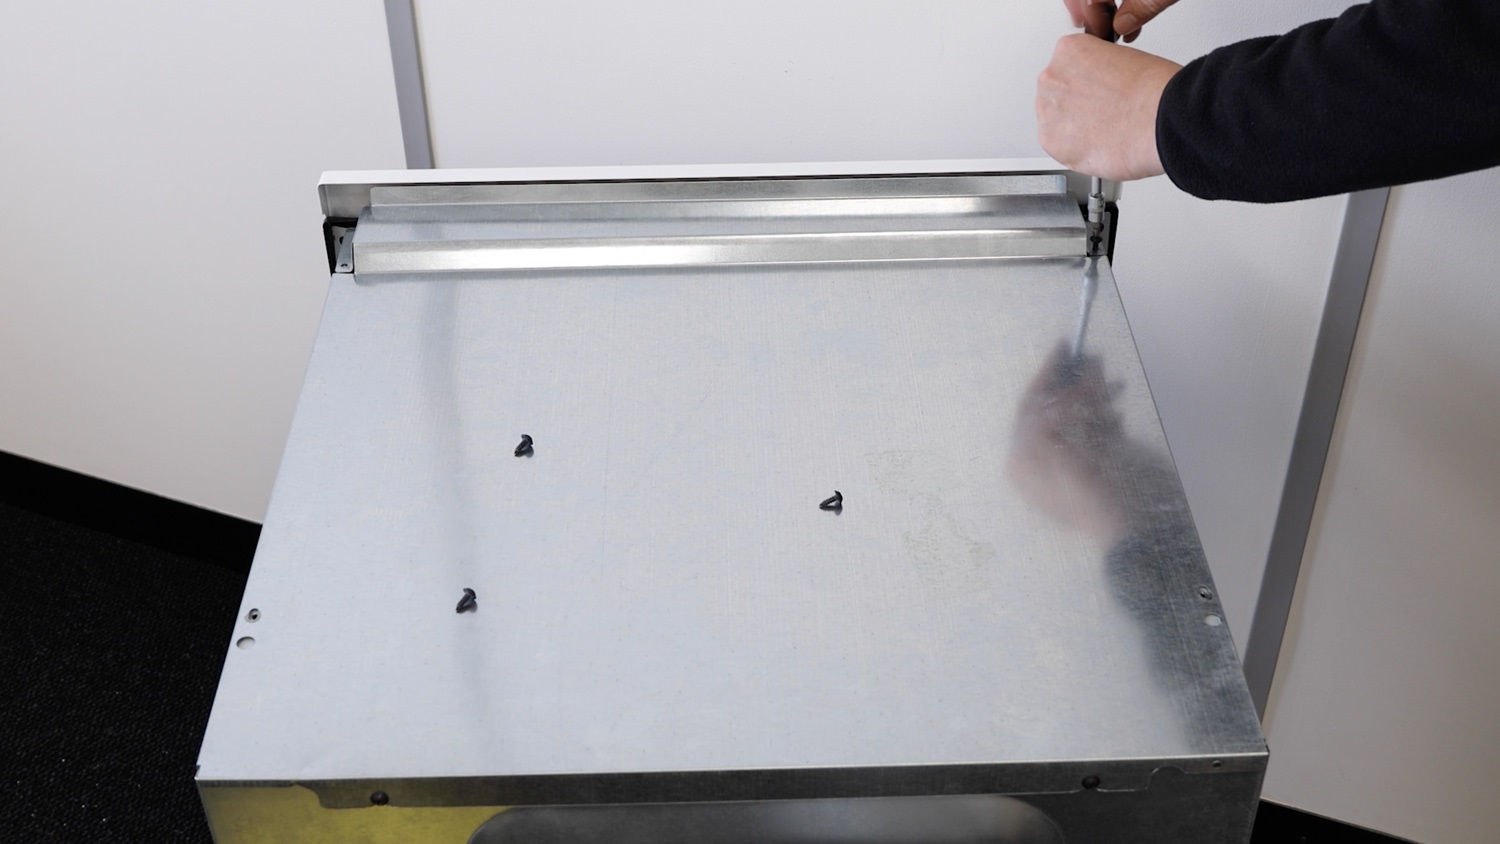
Lift the panel away and place it to one side. Be careful of any sharp edges or corners.
 0
0
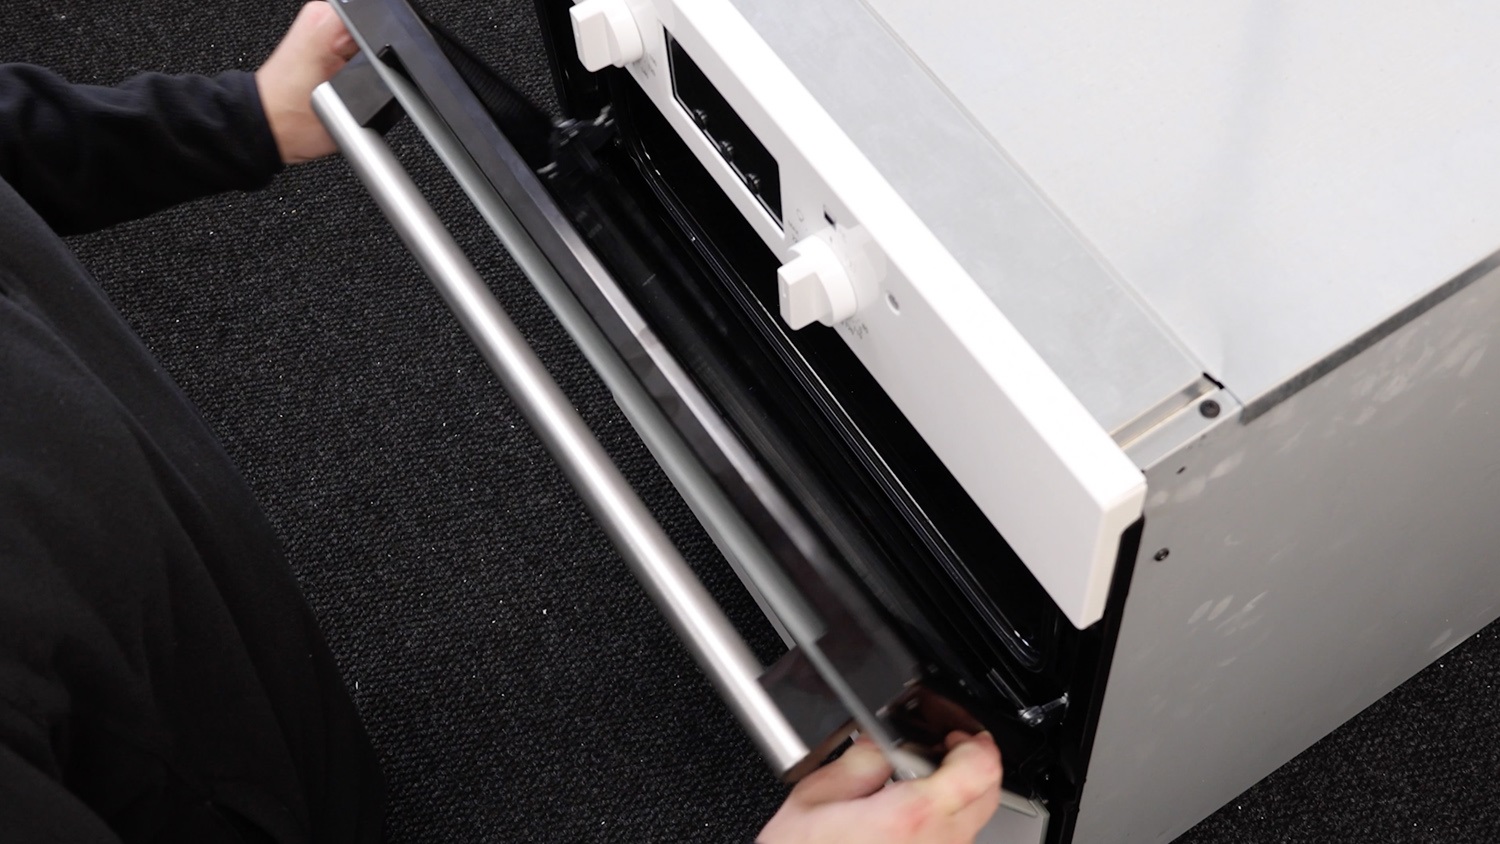
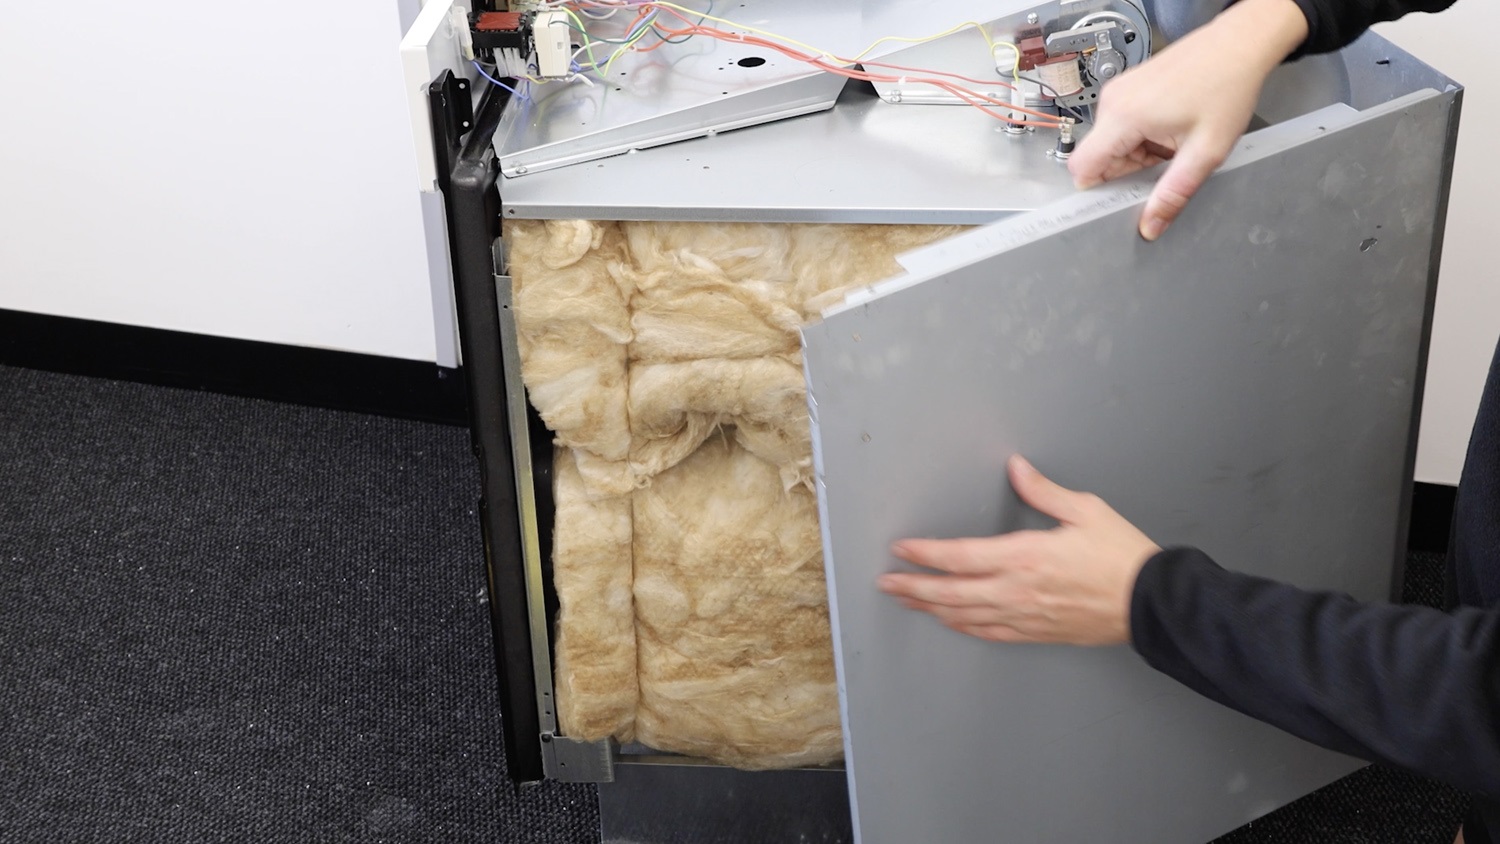
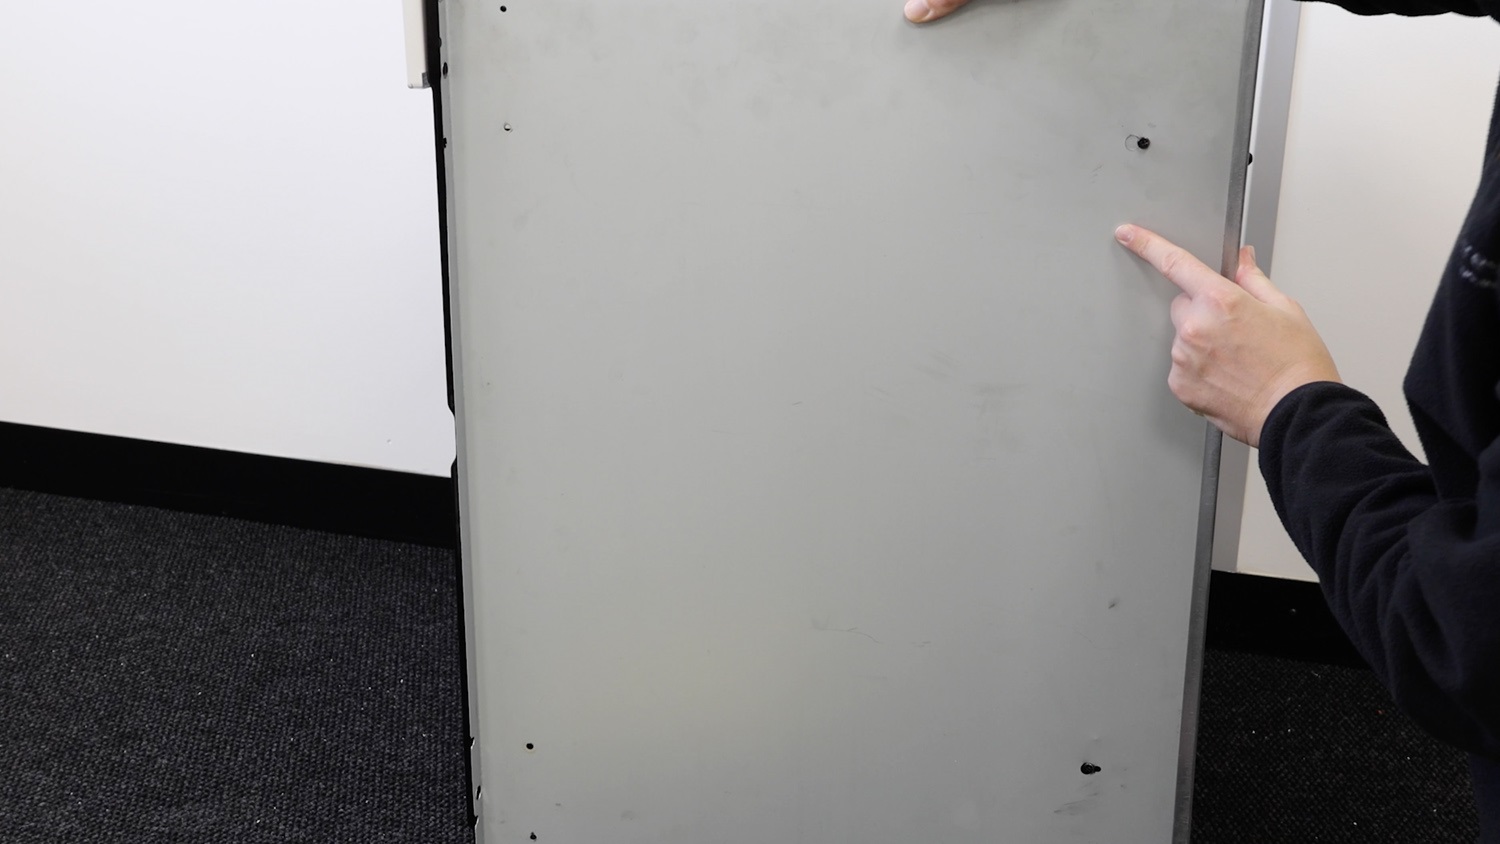
Remove the forward two screws from the top and bottom holding the side panel in place.
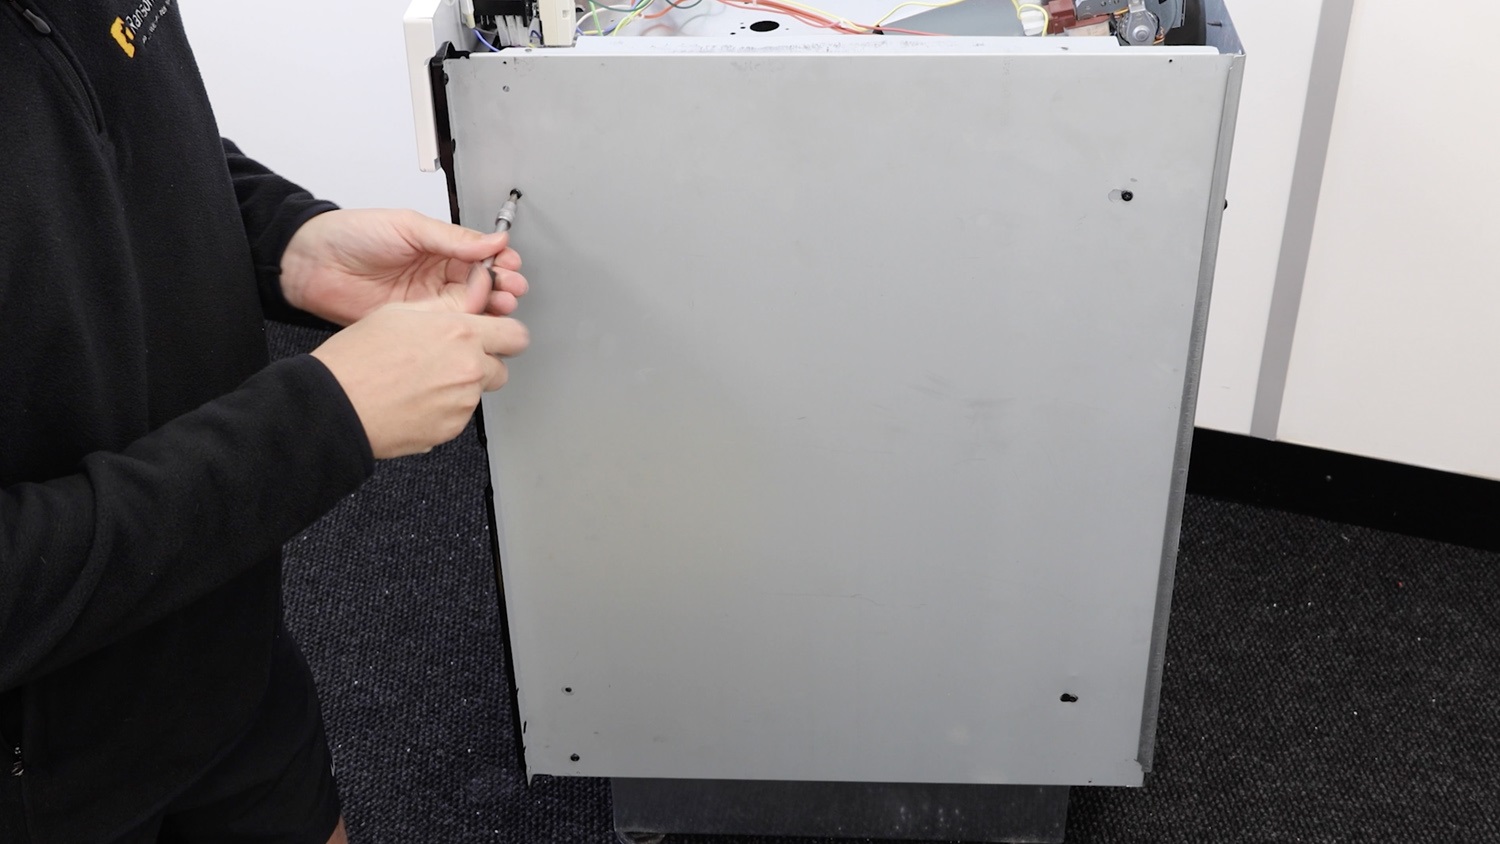
Then, the screw here holding the side panel to the control panel.
Slide the side panel towards you to release the screws from the smaller circular cut-out.
2. Remove door hinge side support bracket
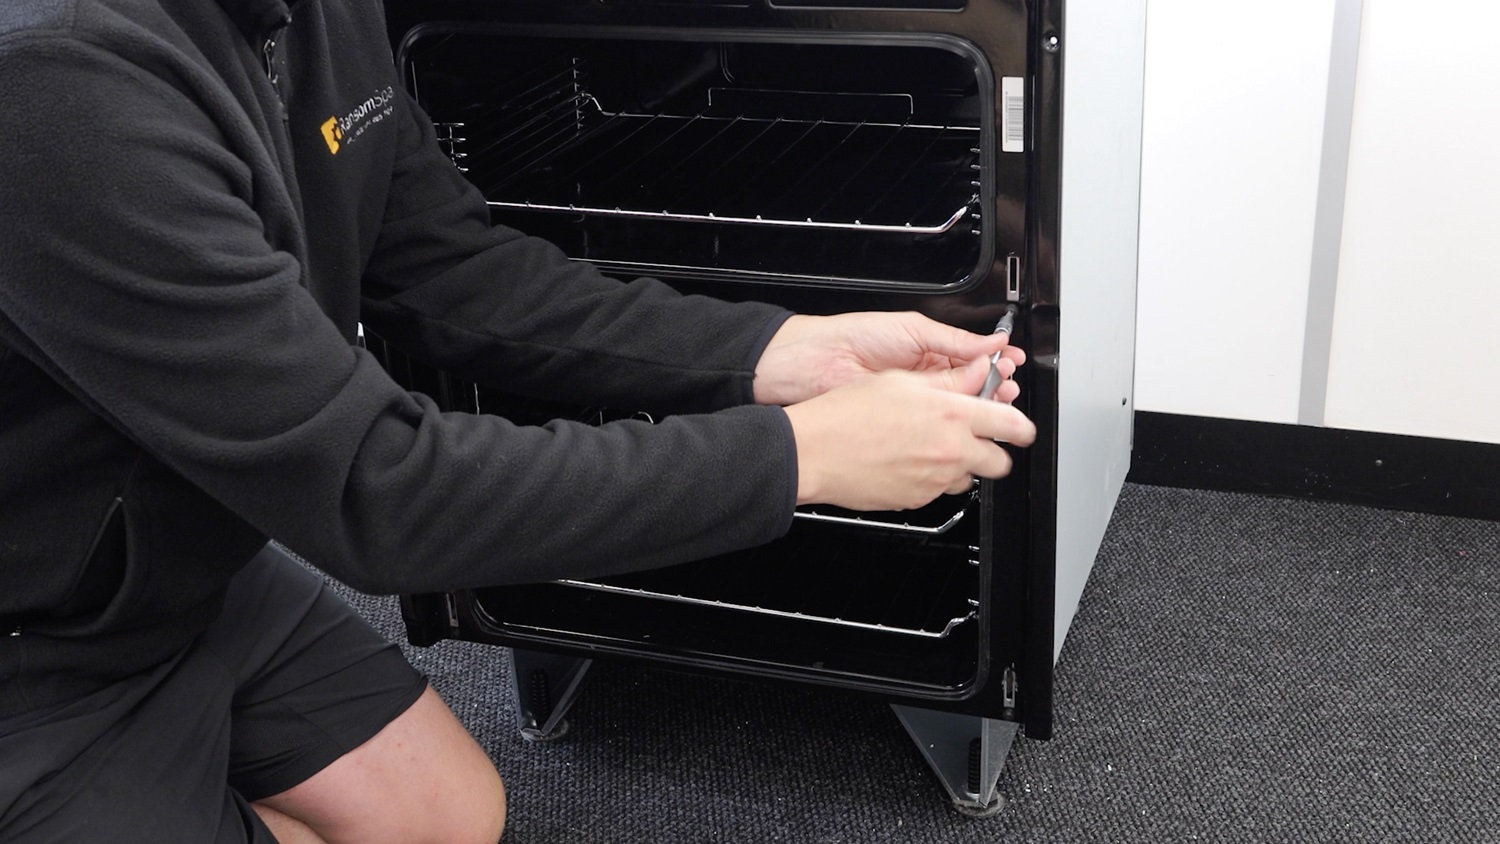
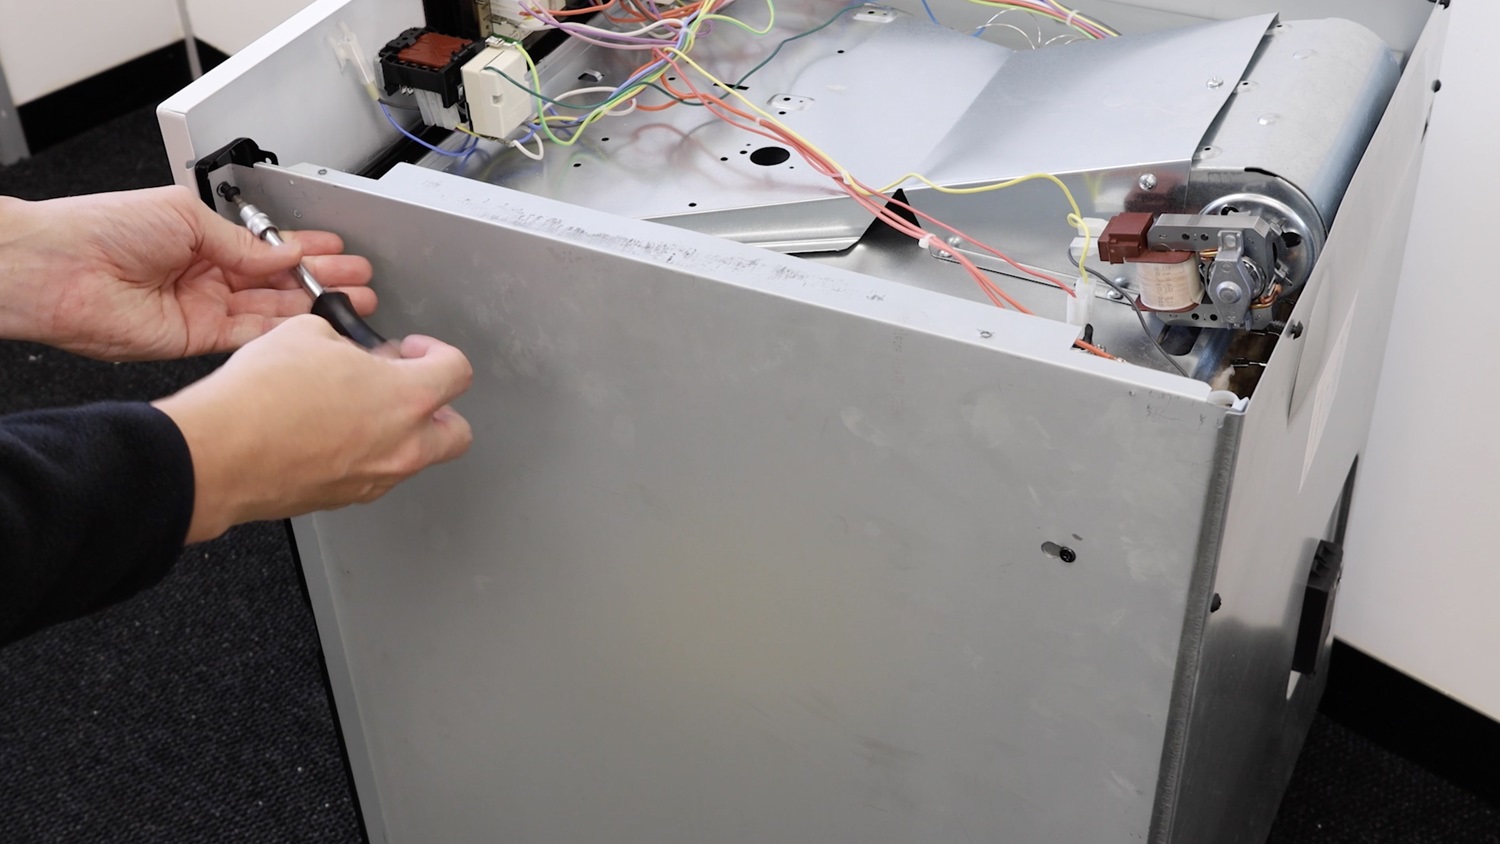
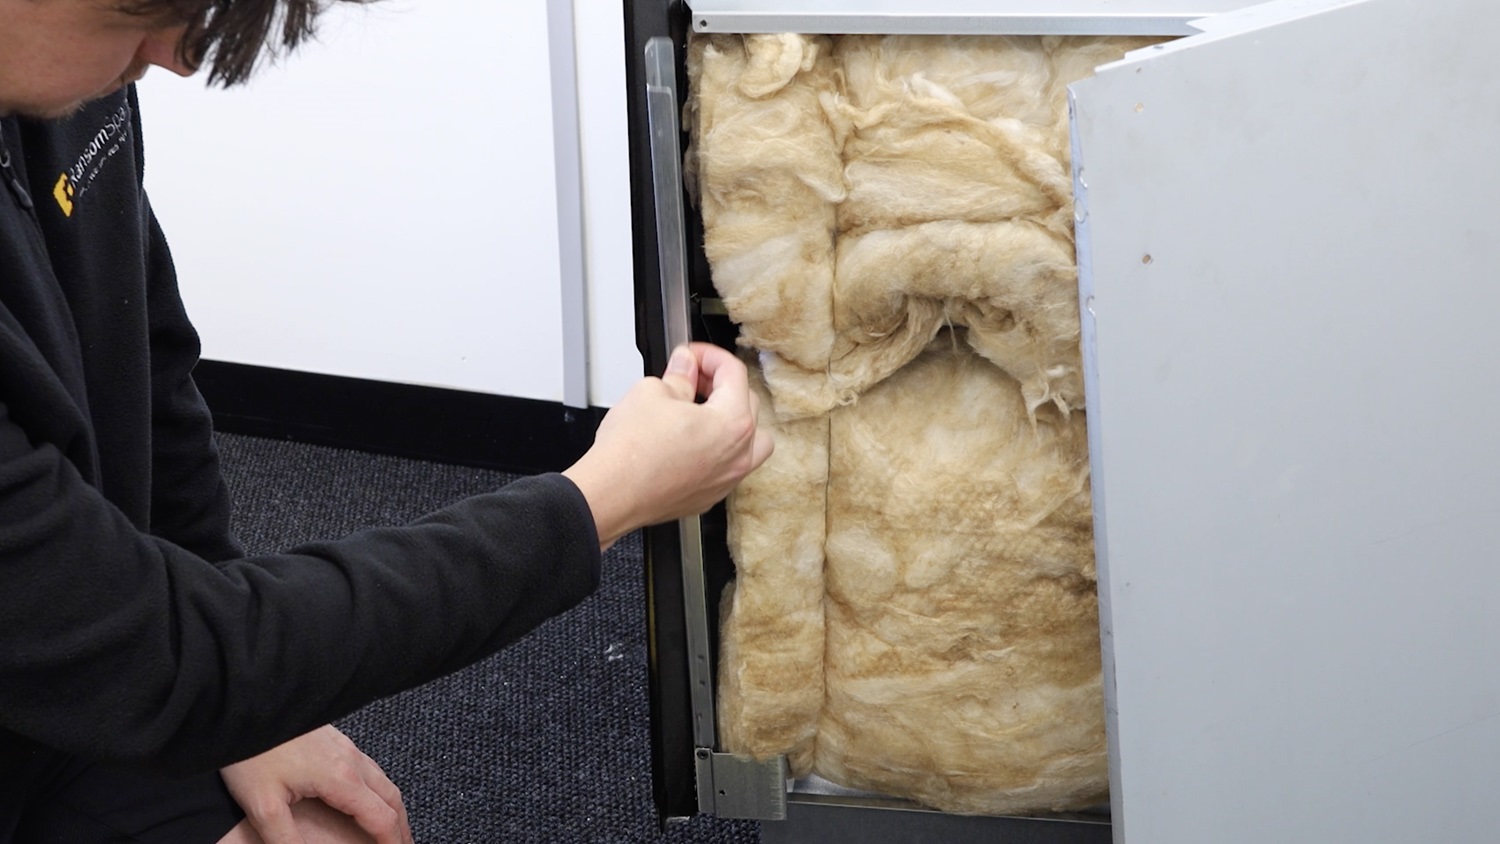
Remove the bottom screw holding the door hinge side support bracket in place and pop it to one side.

You can then remove the door hinge side support bracket from the oven.
3. Install new side hinge door support bracket
With your new door hinge side support bracket, insert it into the oven as shown, with the three holes at the bottom and the single hole at the top.
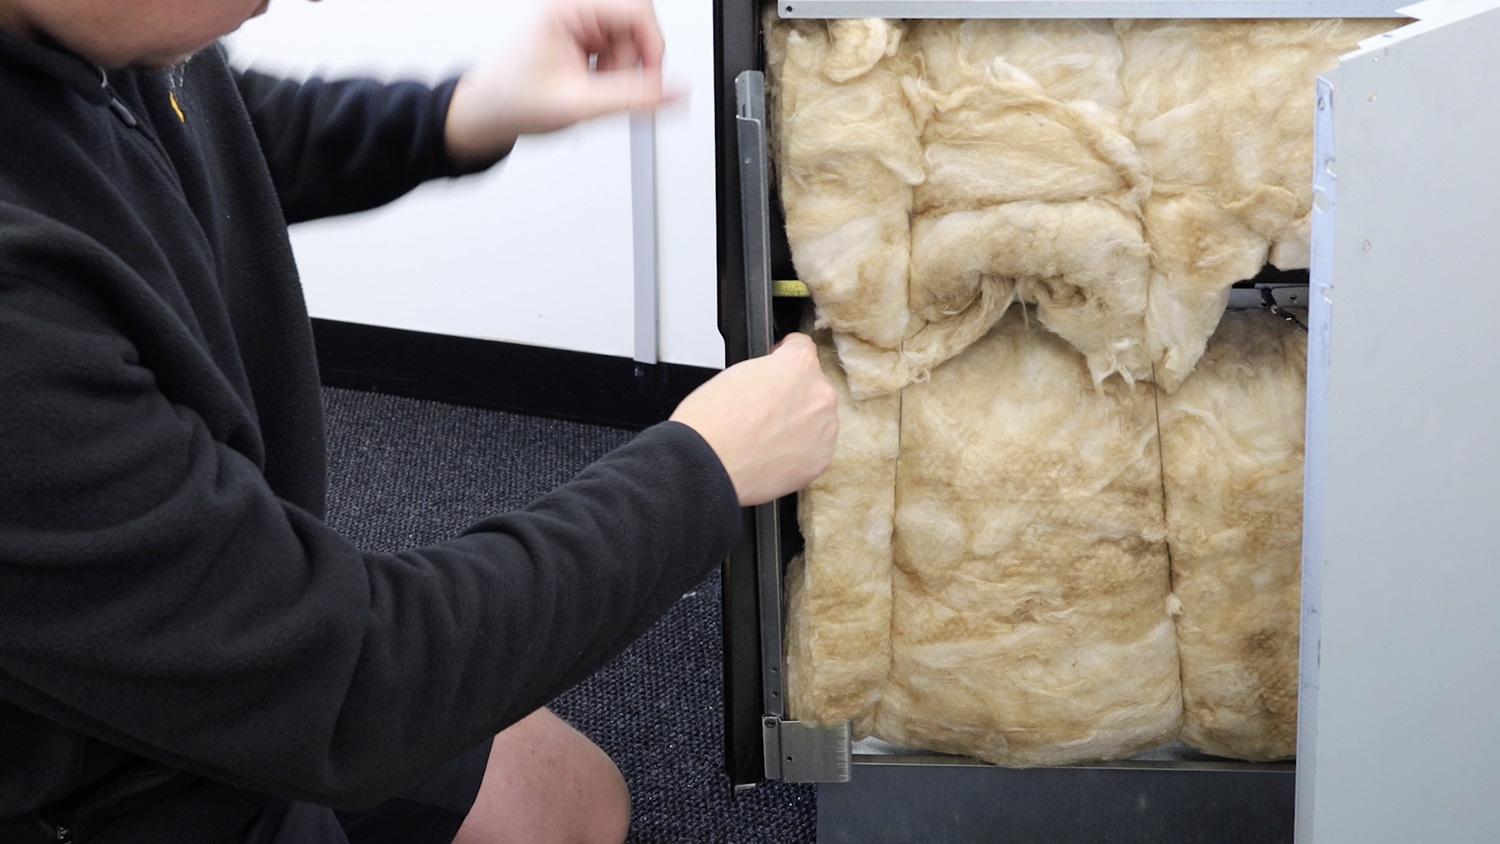
You’ll know it’s on correctly by looking at the front. The slot for the door hinge and screw will match up, for both the top oven door and bottom oven door.
Re-screw the bottom screw into the new door hinge side support bracket.
Head back to the front of the oven and re-screw the two screws into the side support bracket at the top and bottom.

4. Re-assemble oven
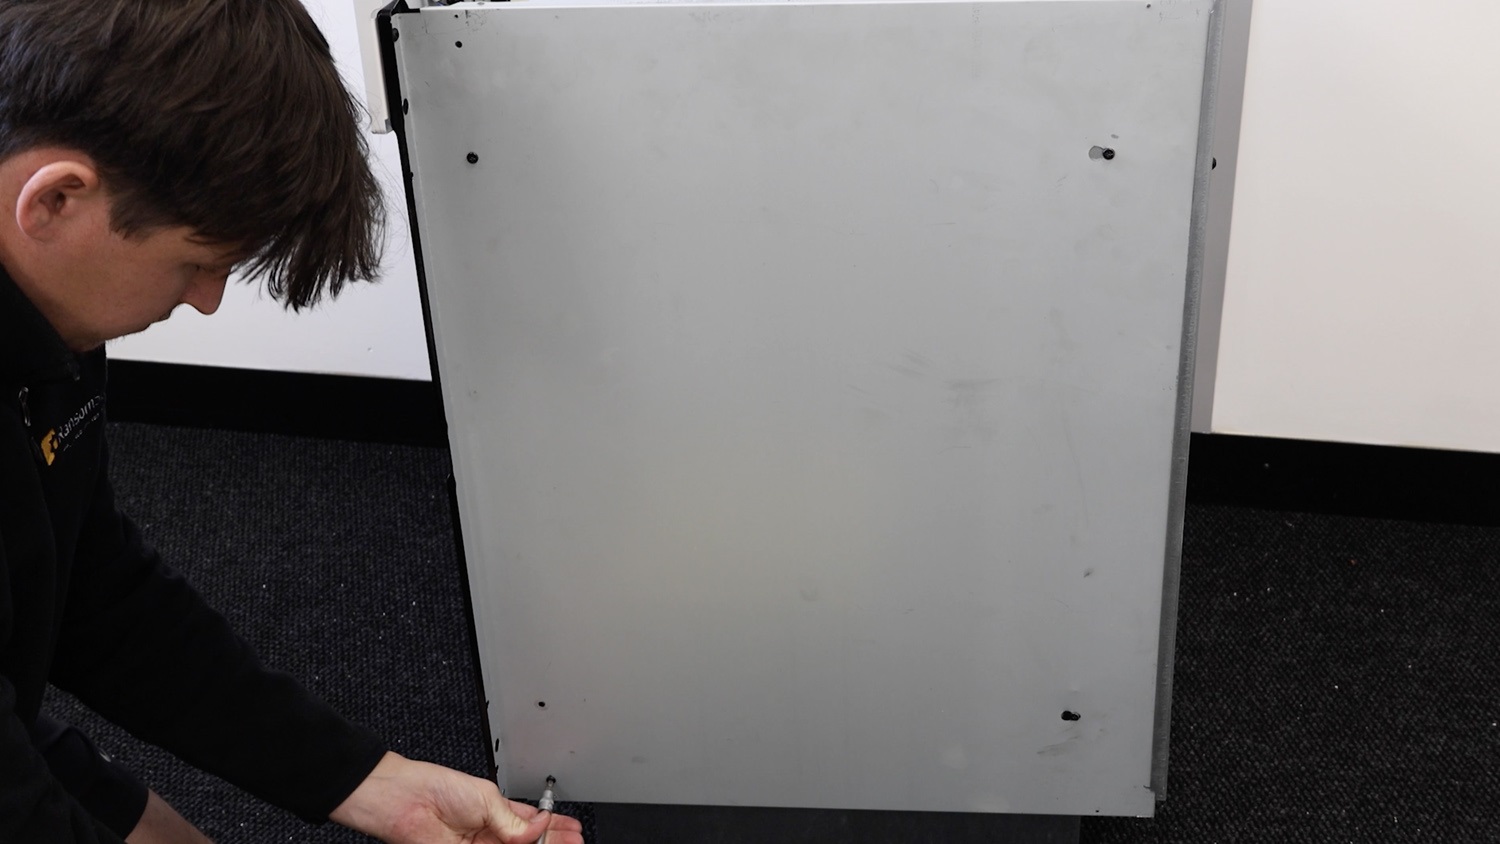
Slide the side panel onto the two side screws and larger hole cutouts. Then push the panel forwards, towards the front to attach the panel securely in the smaller hole cutouts. Be careful of any sharp edges and corners.
Re-screw screws
Re-screw the screw that connects the side panel to the front panel.
Then, re-screw the two screws into the side panel. One at the top and one at the bottom.
Re-attach top oven panel
Place the top panel back on the oven. Again, be careful of any sharp edges and corners. You may need to un-screw the back screws to fasten your top panel in place securely.
Re-screw the top screws back in place.
Re-attach both oven doors
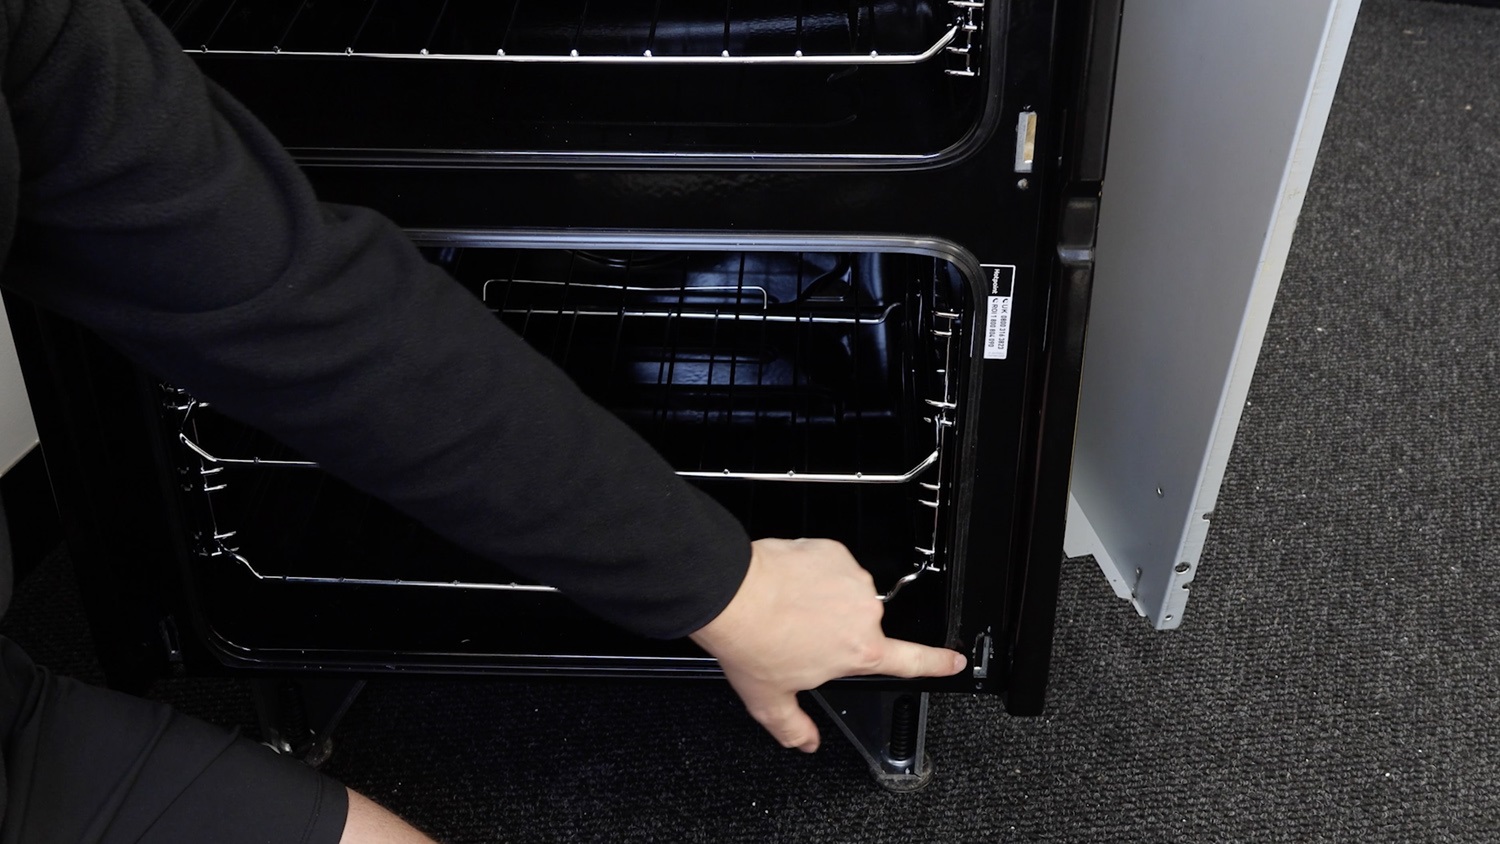
Now re-attach your top oven door. With the catches open, line up the hinges on the door with the slots in the oven. Insert the hinges into the slots whilst letting the oven door drop down away from you. 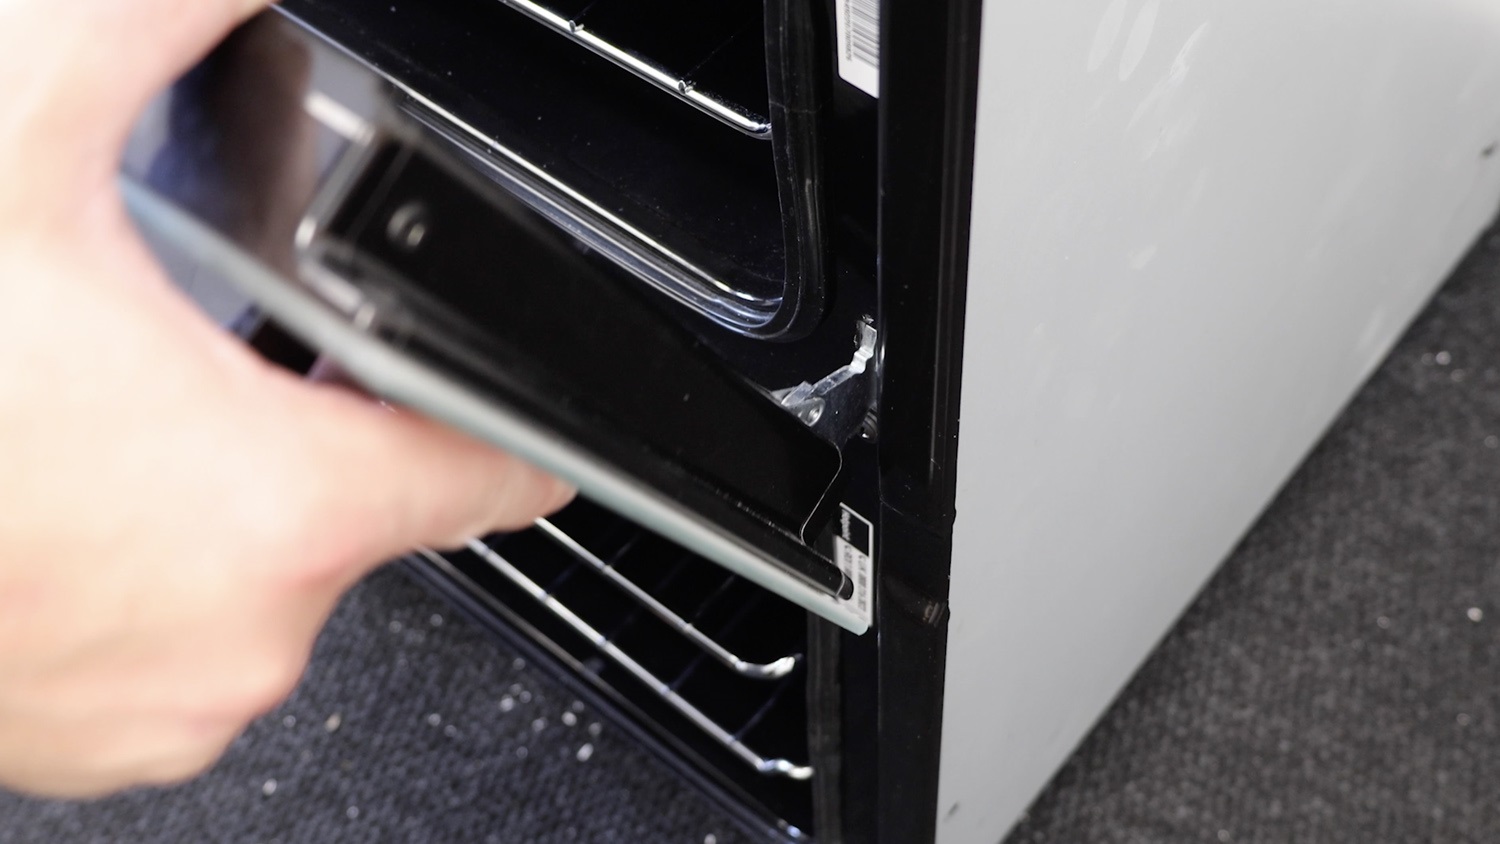
You’ll know it’s on correctly as the door will lay flat and you’ll be able to close the catches. This may take a couple of attempts if it’s your first time.
With the door attached, press the catches all the way down to secure your oven door. These can be stiff and may need a bit of pressure.
Repeat the process for the bottom oven door.
And that’s it, your new oven door hinge side support bracket is all set to go.