Make and Model of Oven Used in This Video
Hotpoint DU2540WH (61022940000)
Hotpoint DU2540WH (769991022942)
Part Used in This Video
Hotpoint Oven Main Oven Temperature Switch Electric Commutator
1. Access old temperature switch
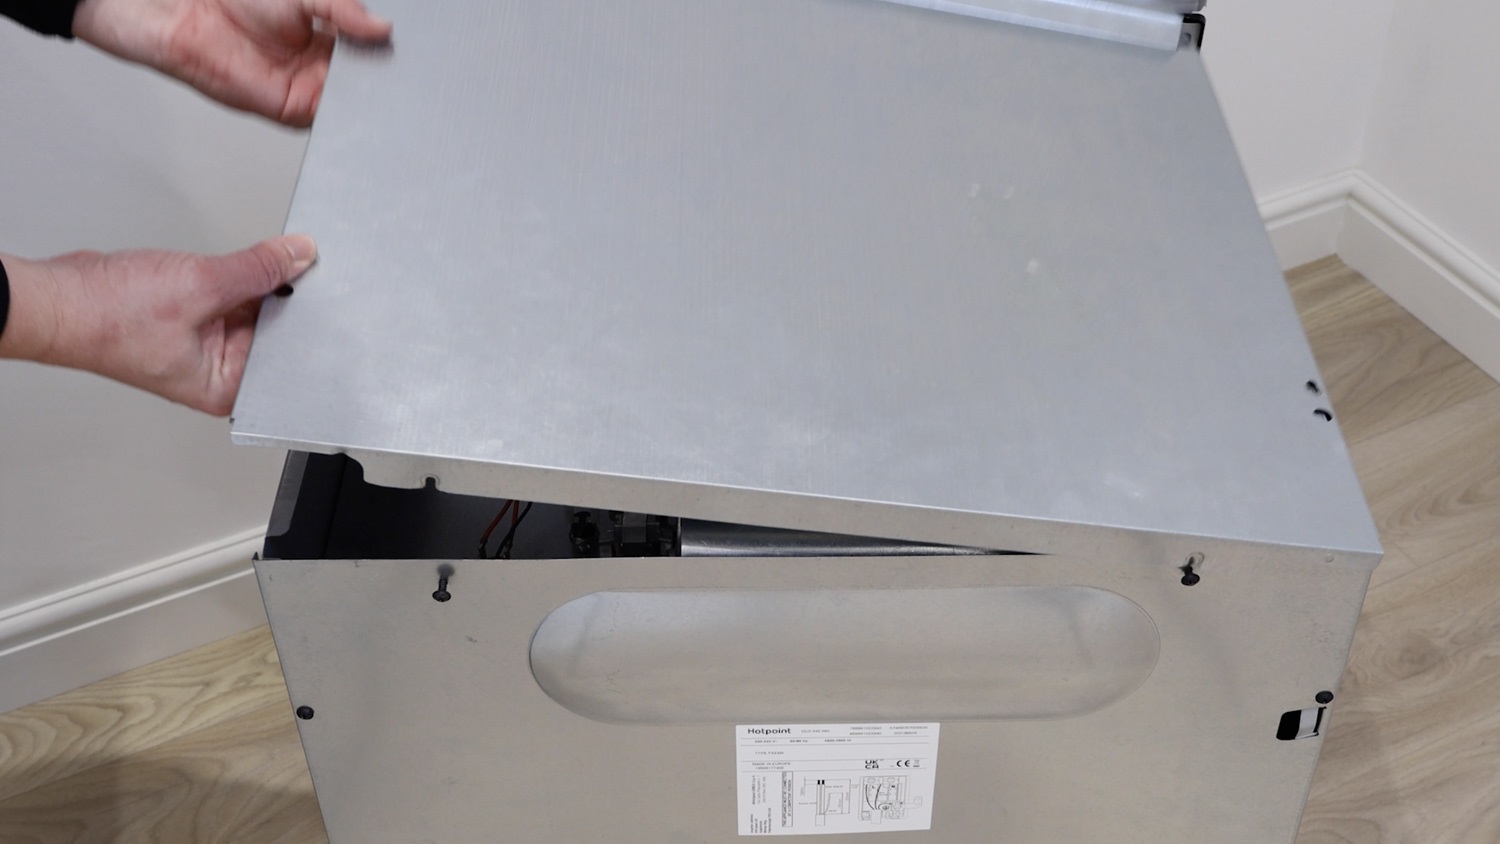
Remove the screws holding the top oven panel in place.
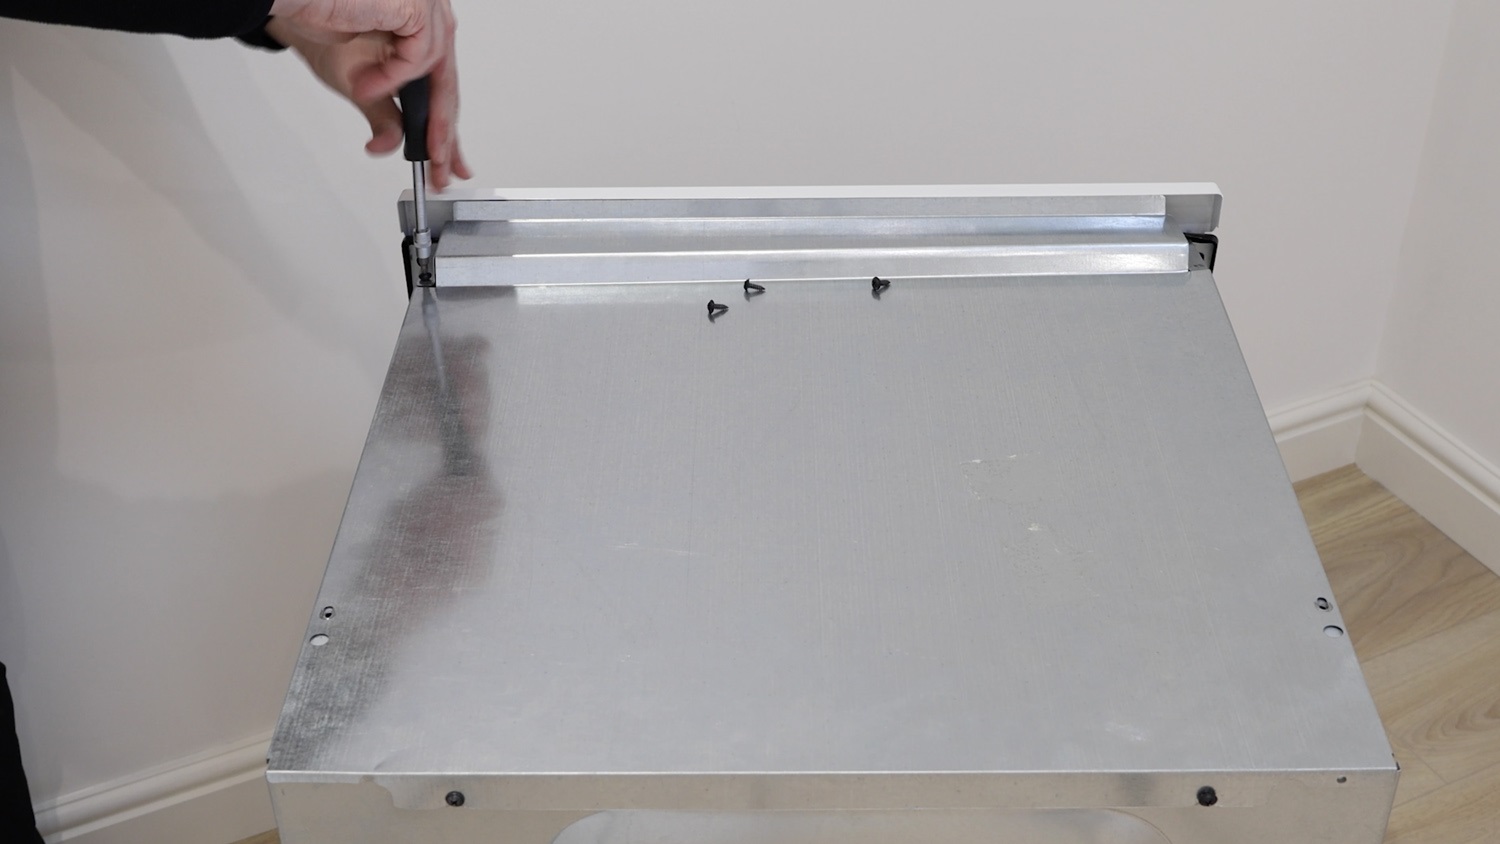
Slightly unscrew the top two screws on the rear panel.
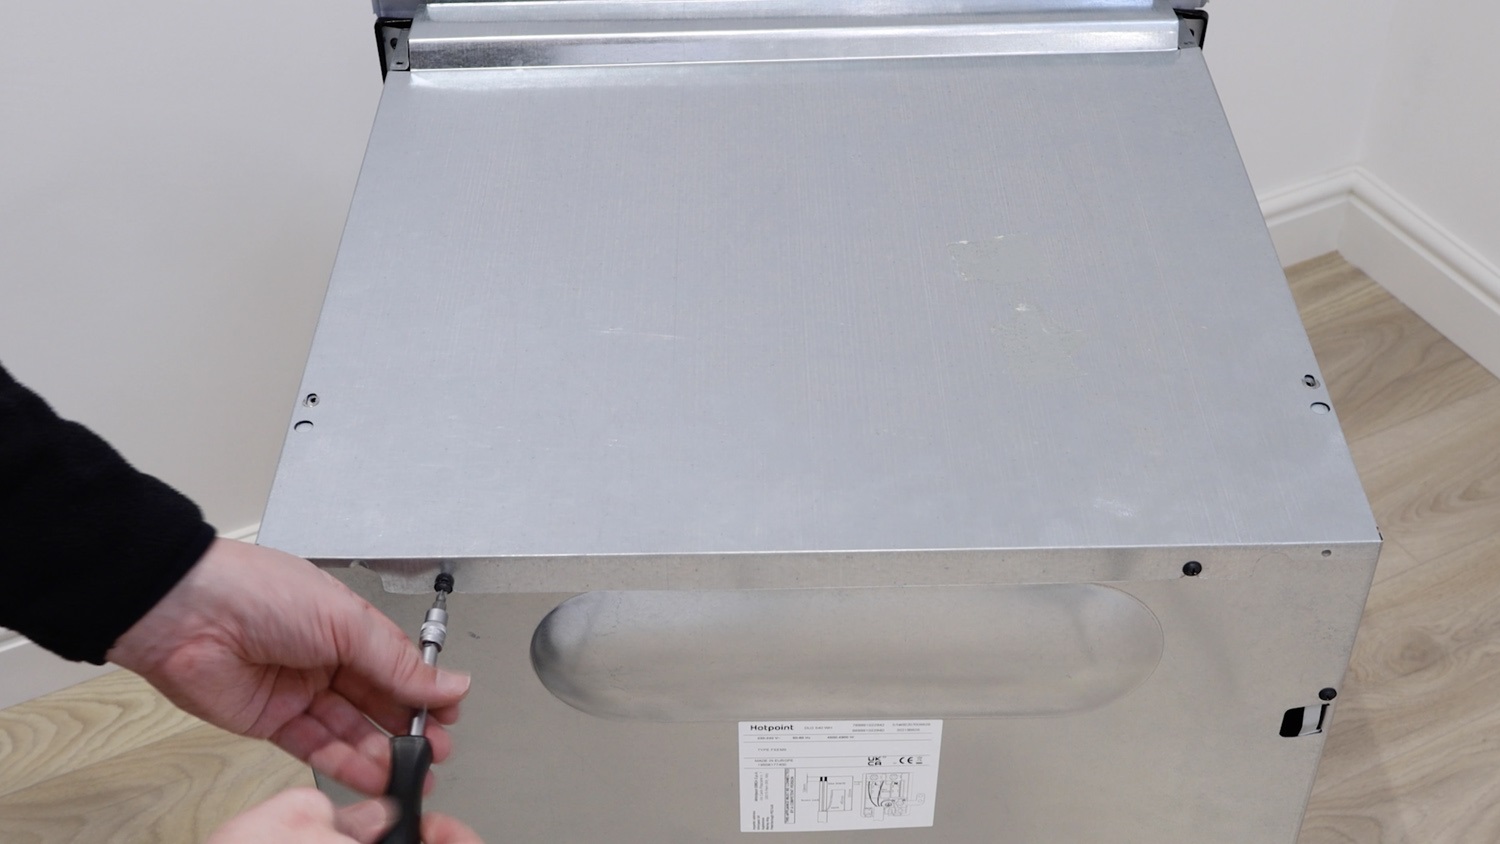
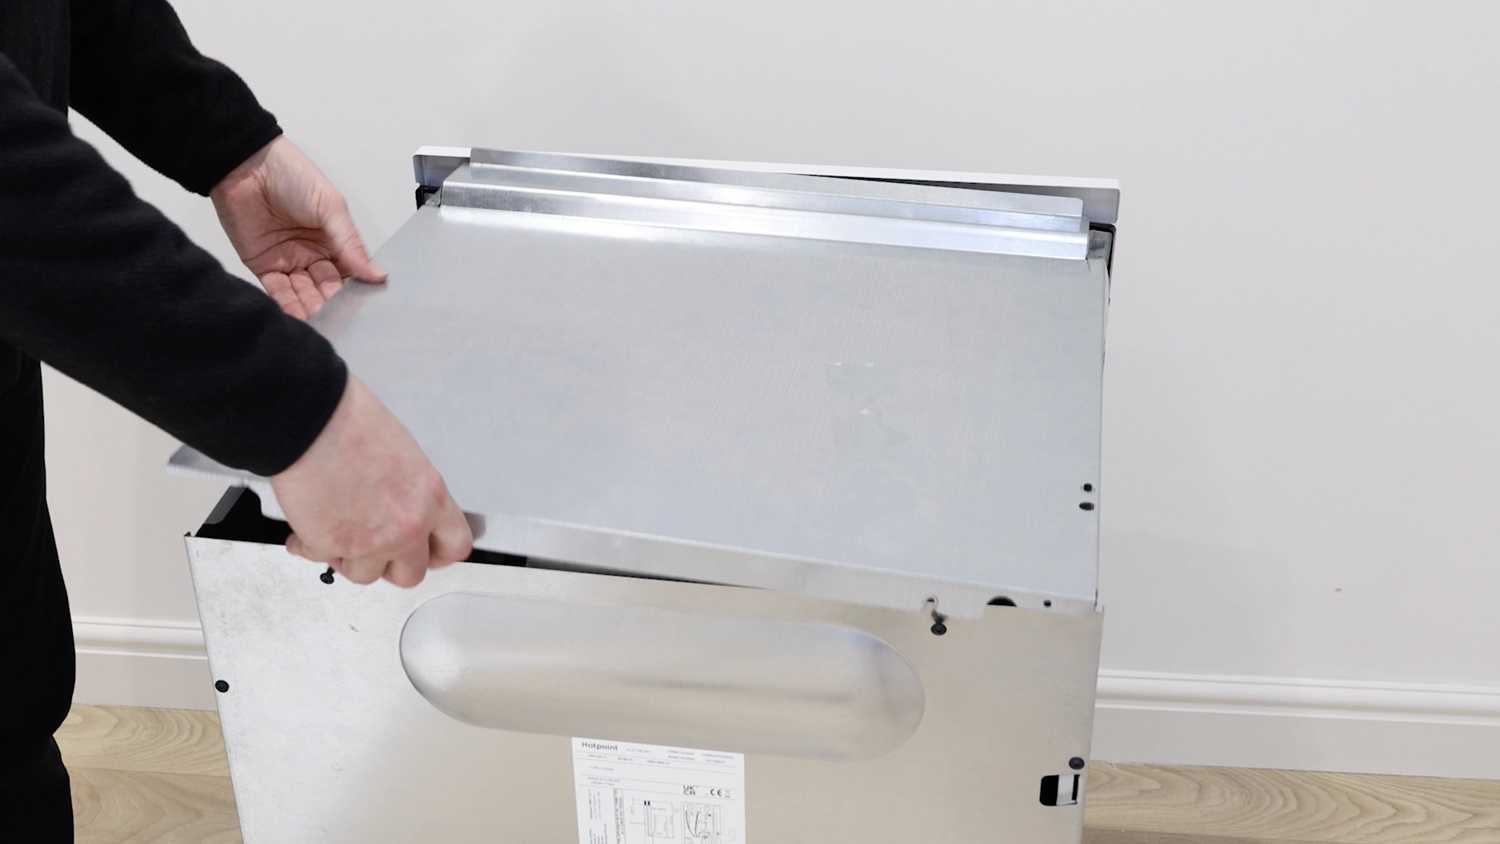
Remove the top oven panel. Be careful of any sharp edges and corners.
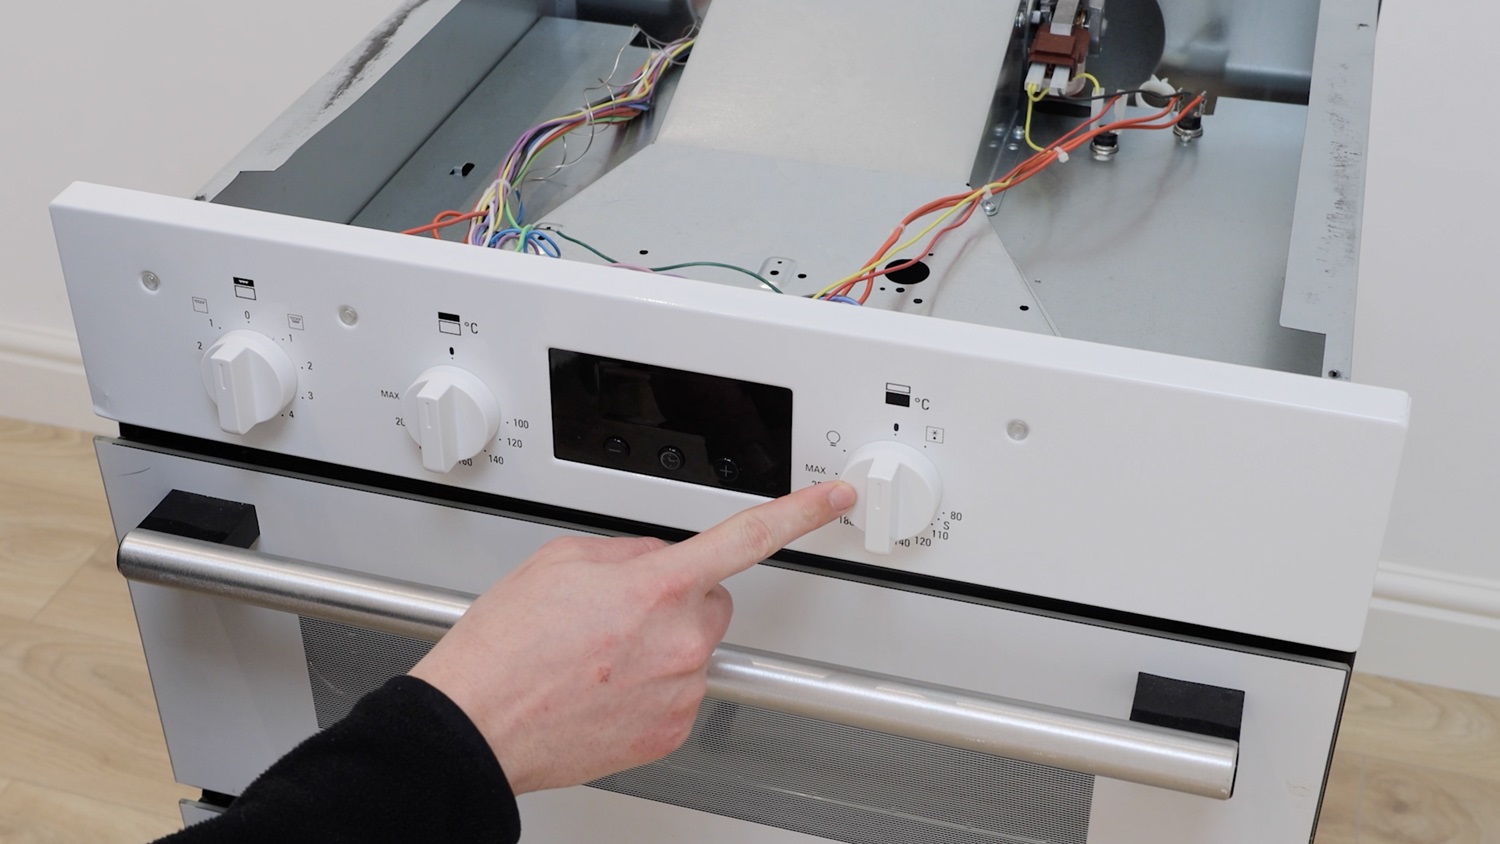
Ensure the selector switch correlating to the correct oven section is being replaced. This main oven temperature switch is on the right side of this Hotpoint model.
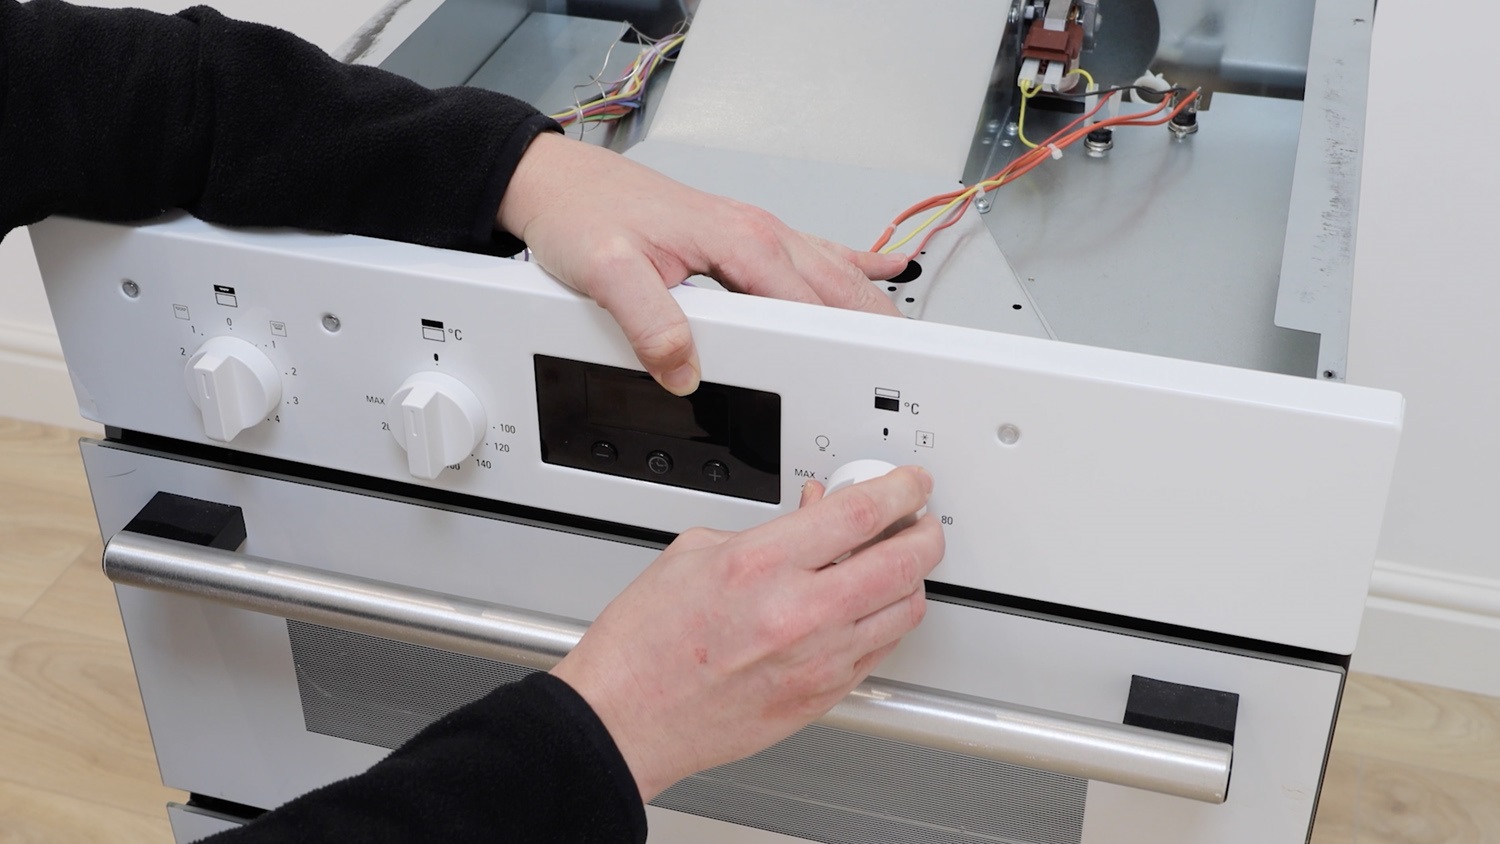
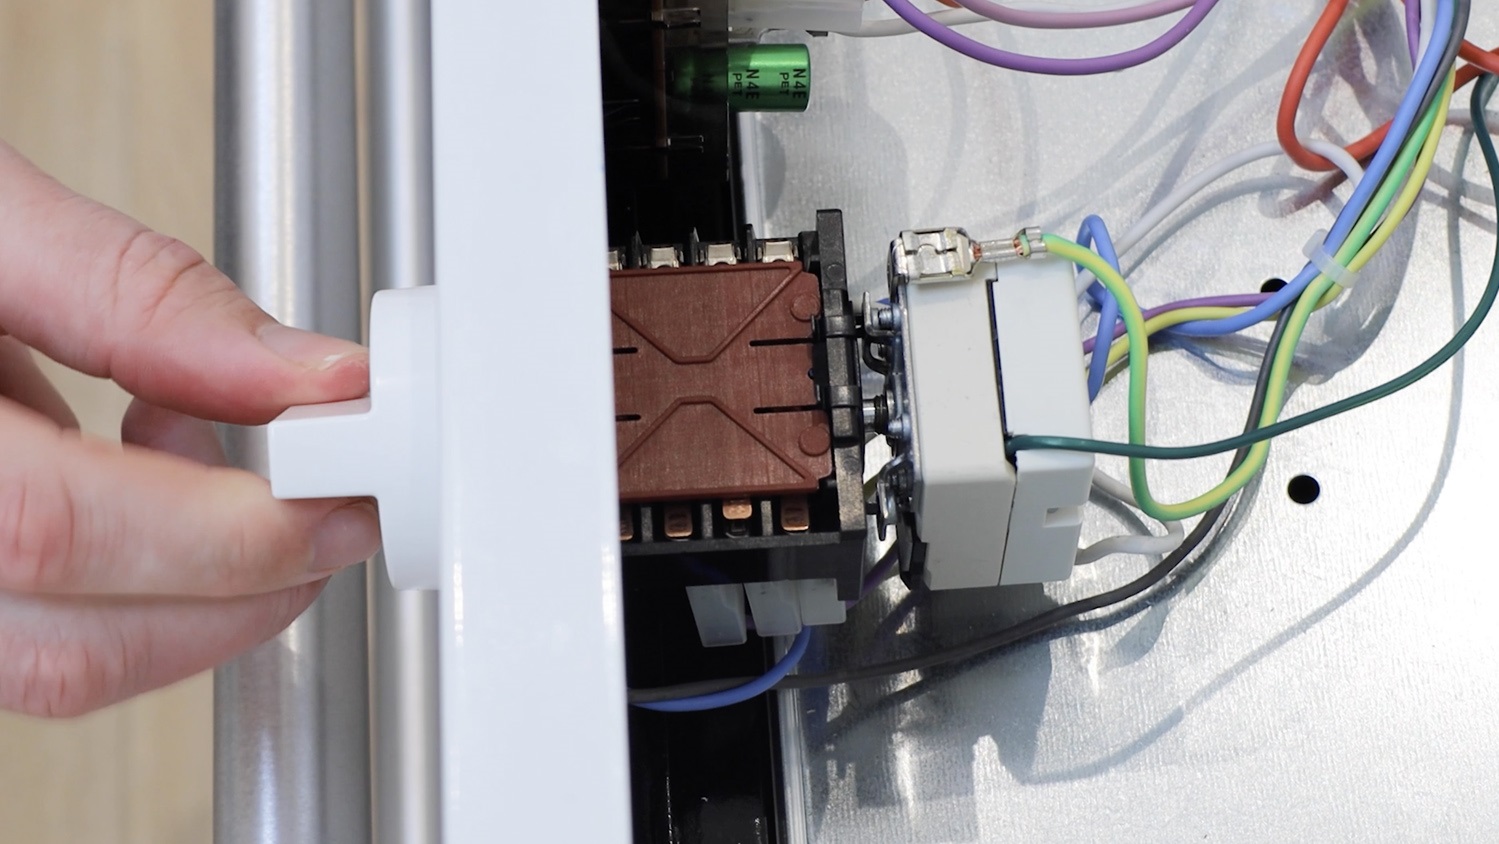
Remove the oven control knob.
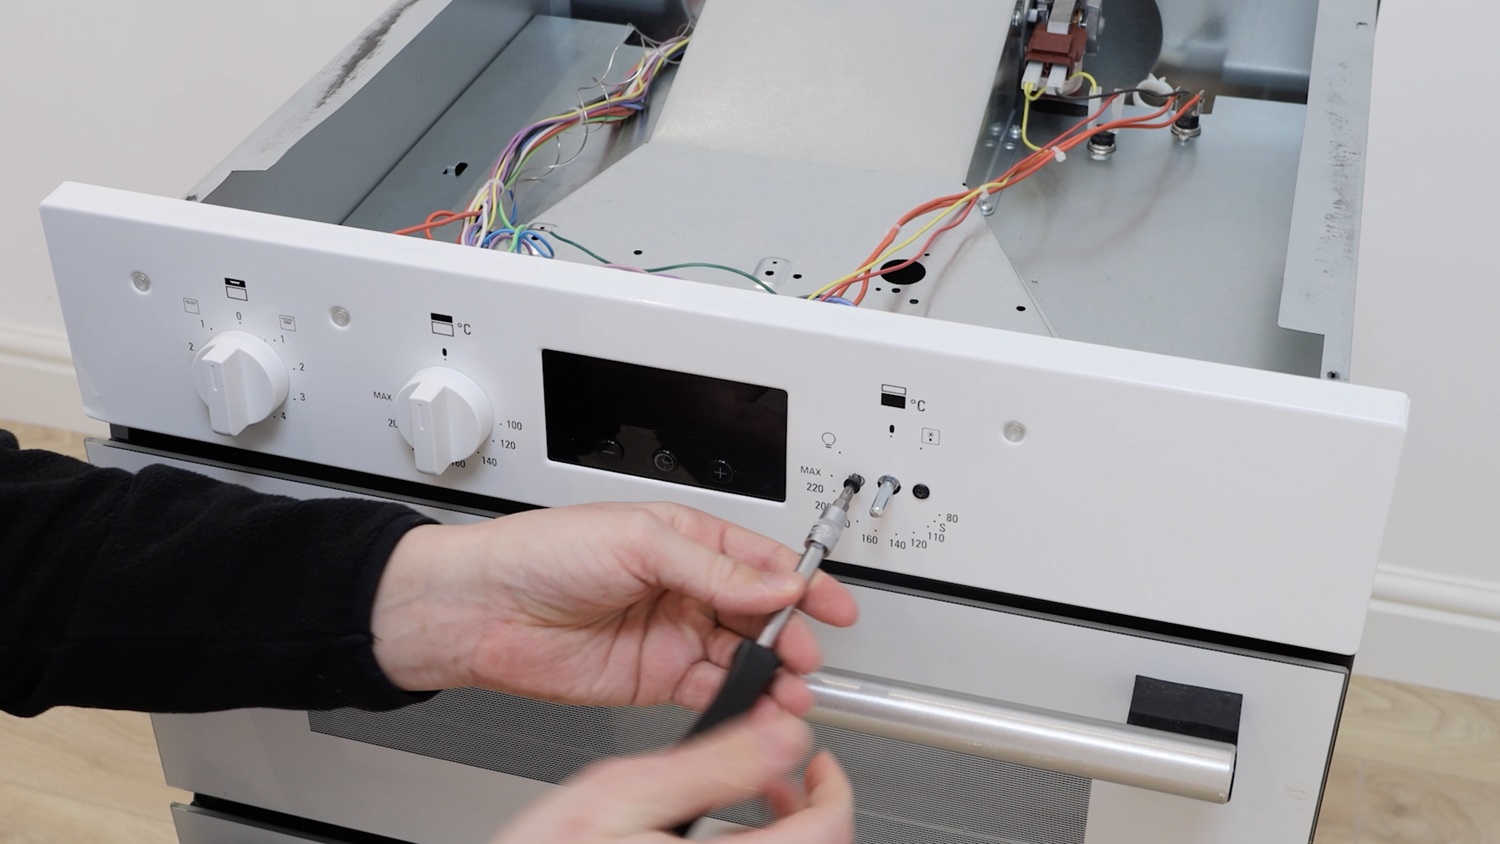
Then remove the two screws holding the main oven temperature switch in place.
2. Remove old temperature switch
The temperature switch can then be pulled away from the control panel.
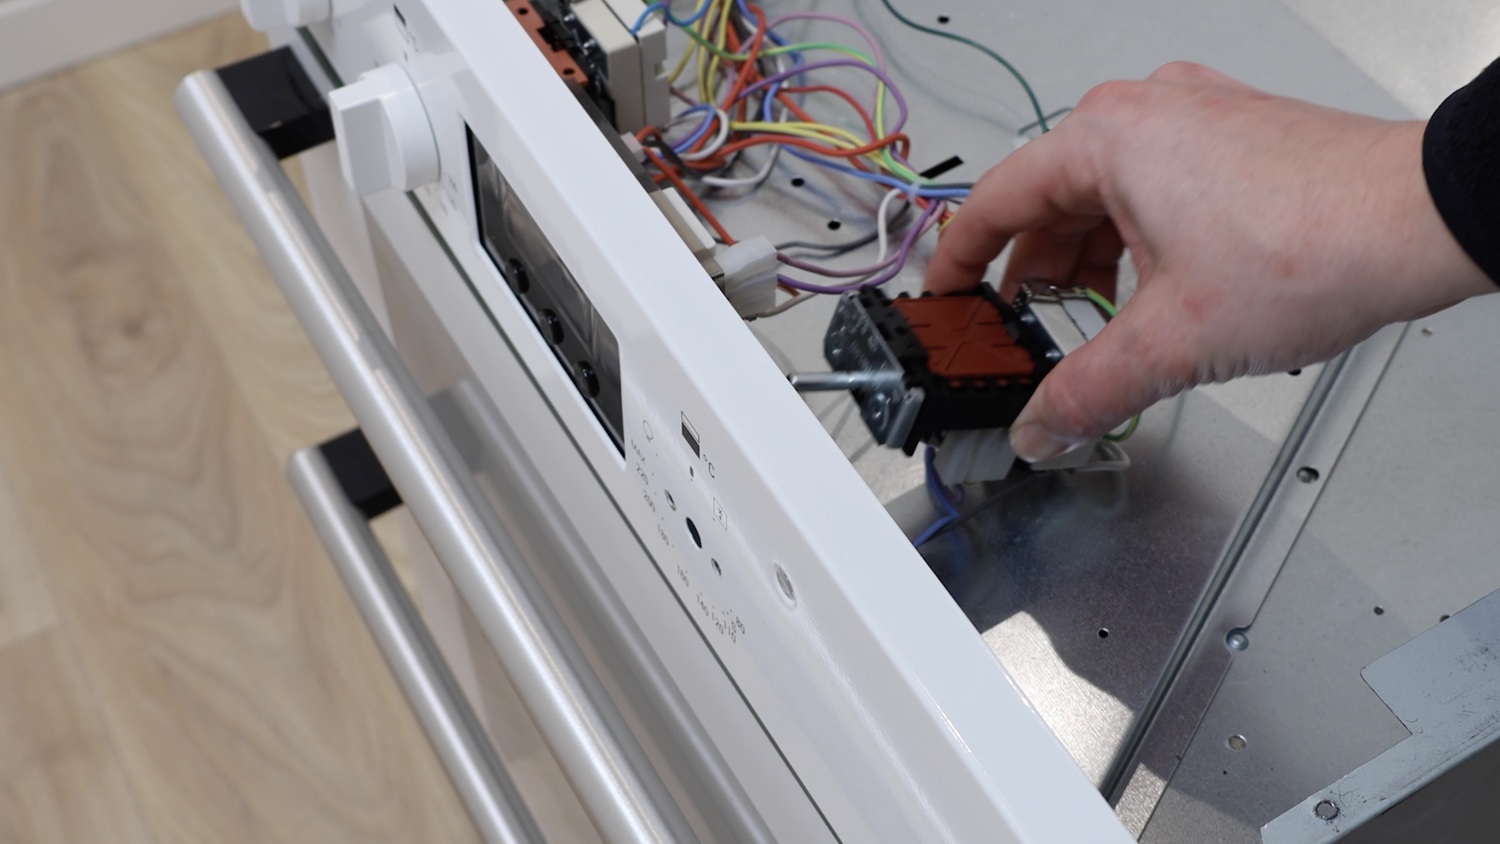
Remove the main oven thermostat from the temperature switch.
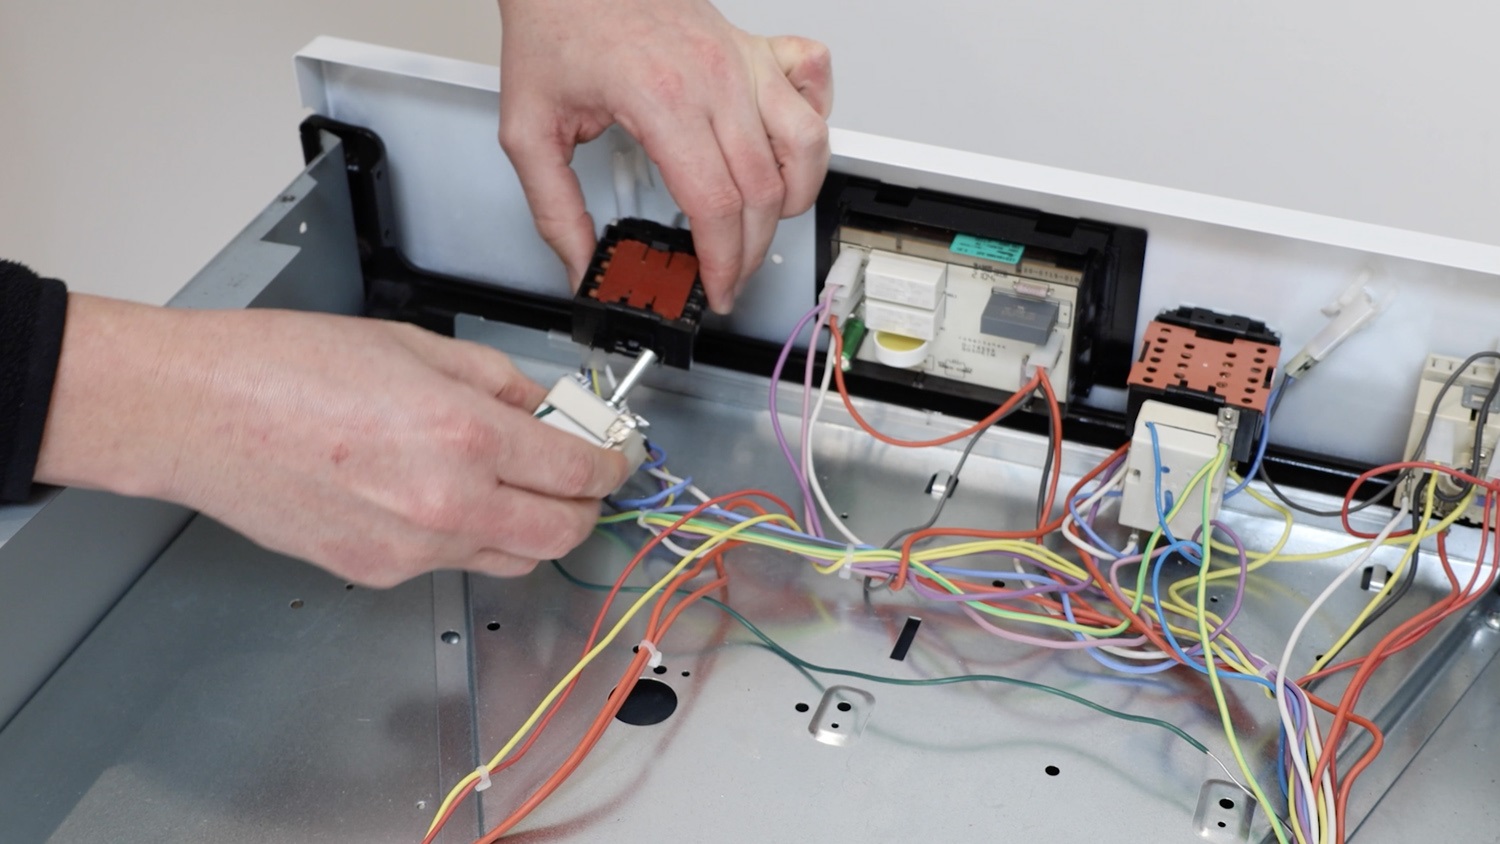
Before removing any wires from the old main oven temperature switch, take a couple of photos so you have a reference for where the wires are supposed to go, or bring the new switch up to the old one and one by one, attach the connectors to the new switch.
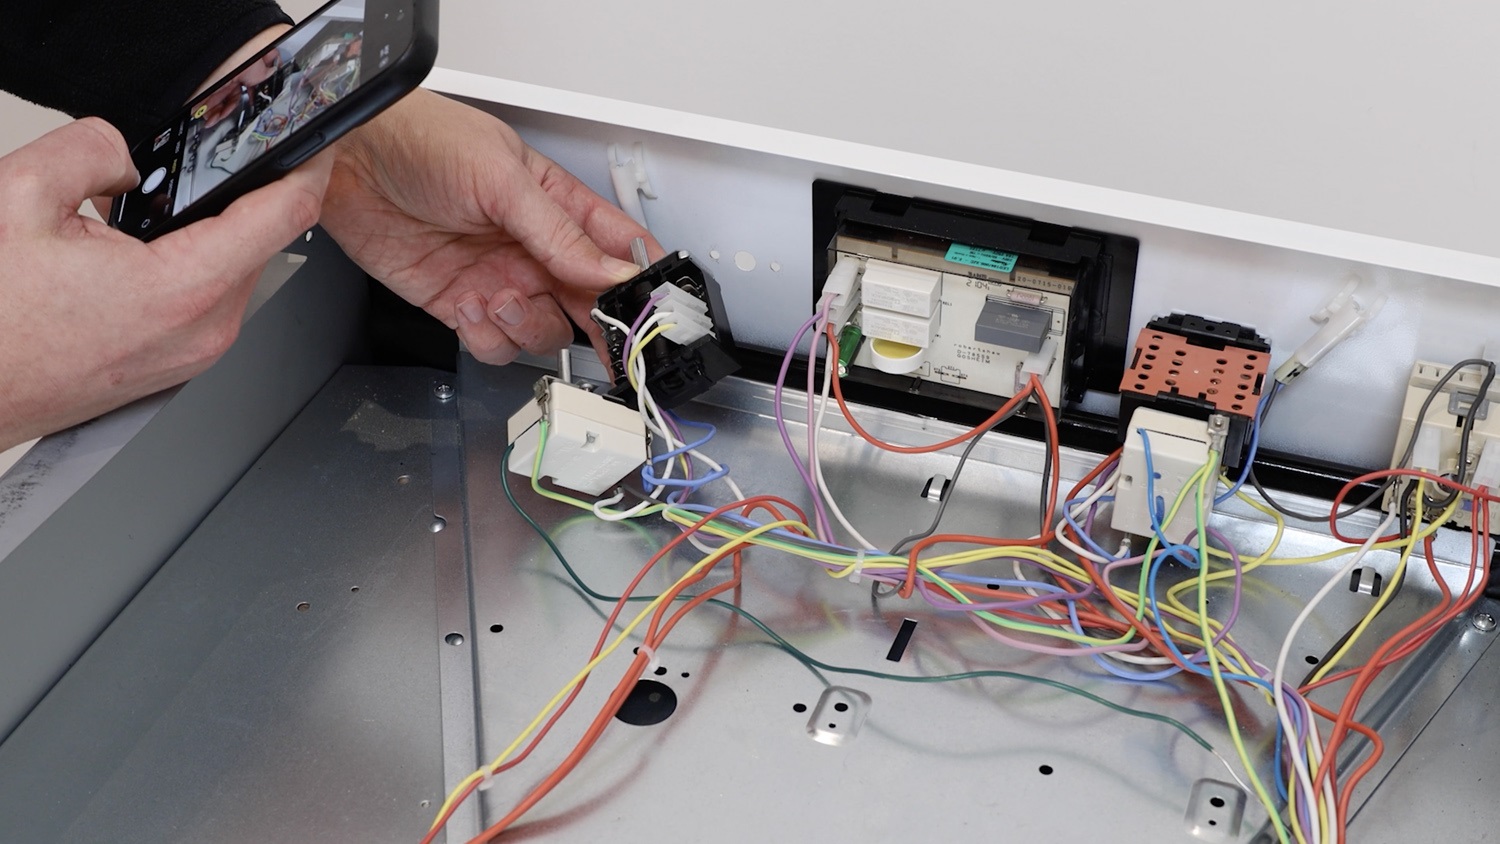
The connectors can then be removed by hand, or if needed, with a pair of long-nose pliers.
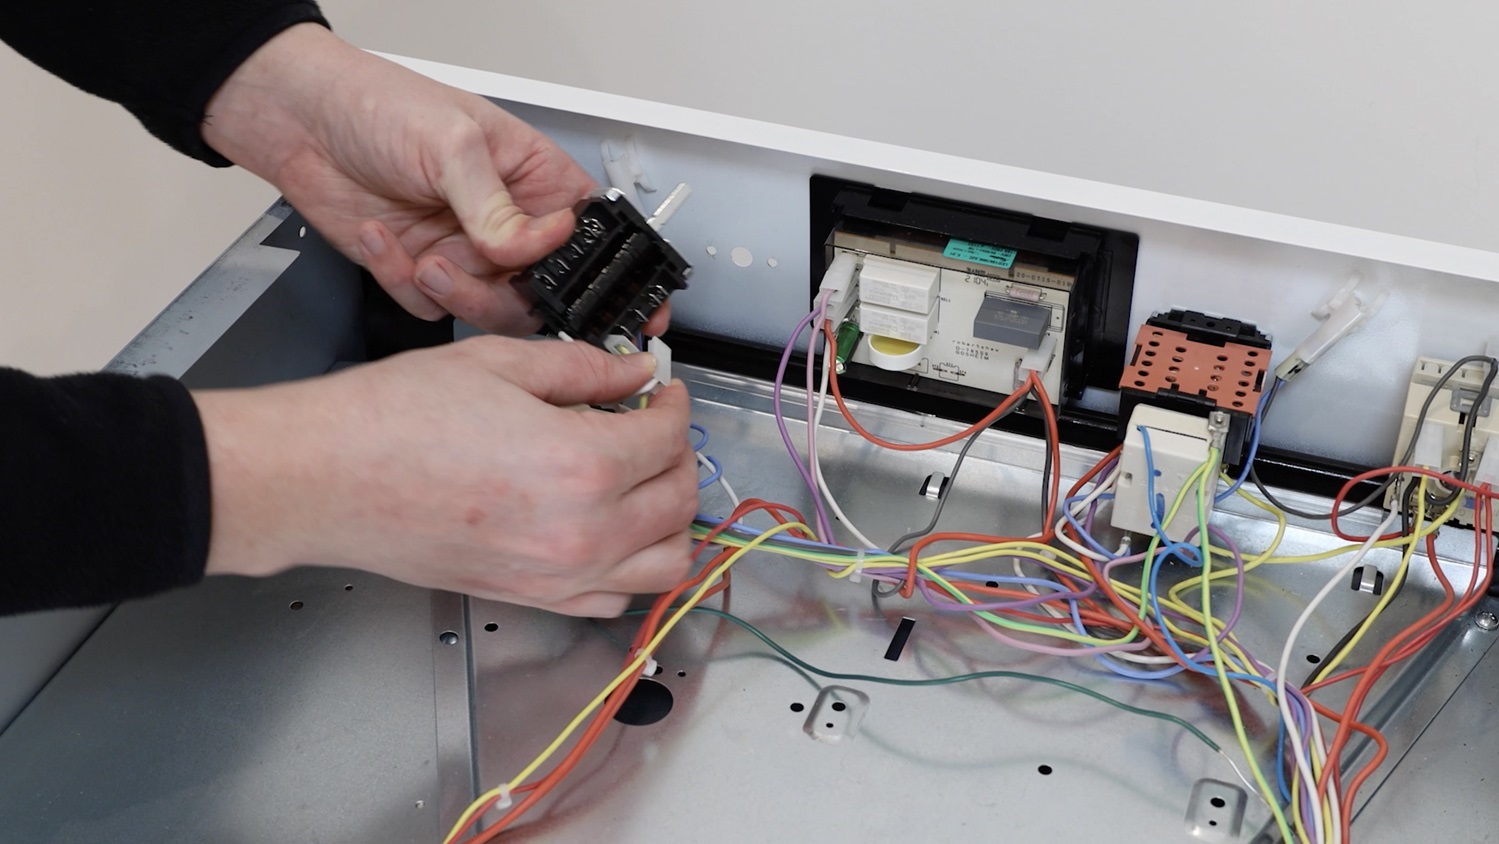
3. Install new temperature switch
Then using the photo taken earlier as a reference, connect the wiring in the exact spot as before into your new temperature switch. Take your time and make sure all the connectors are on correctly.
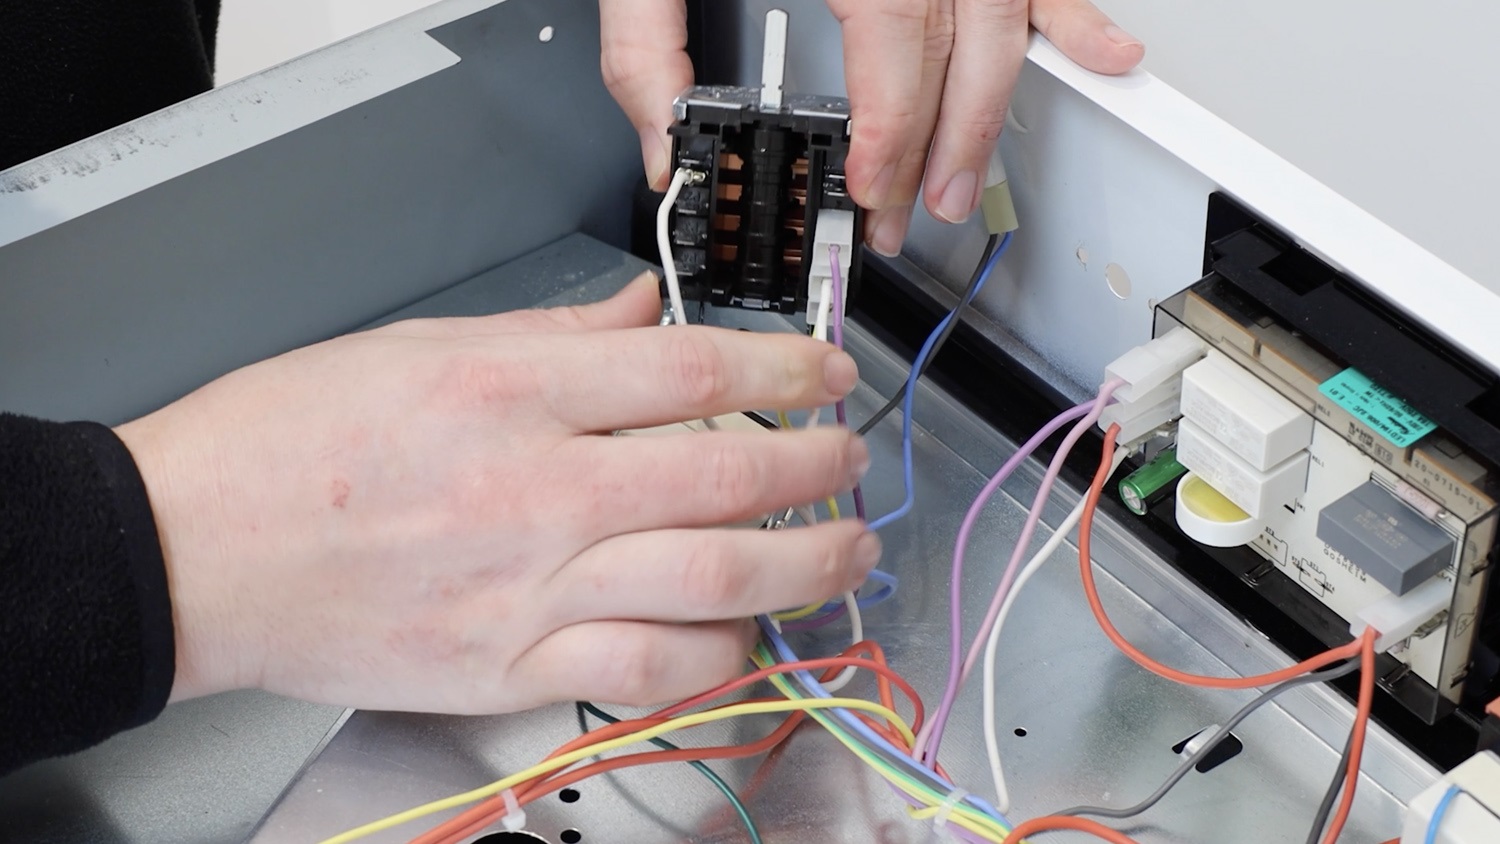
Place the newly fitted selector switch in the hole on the oven control panel.
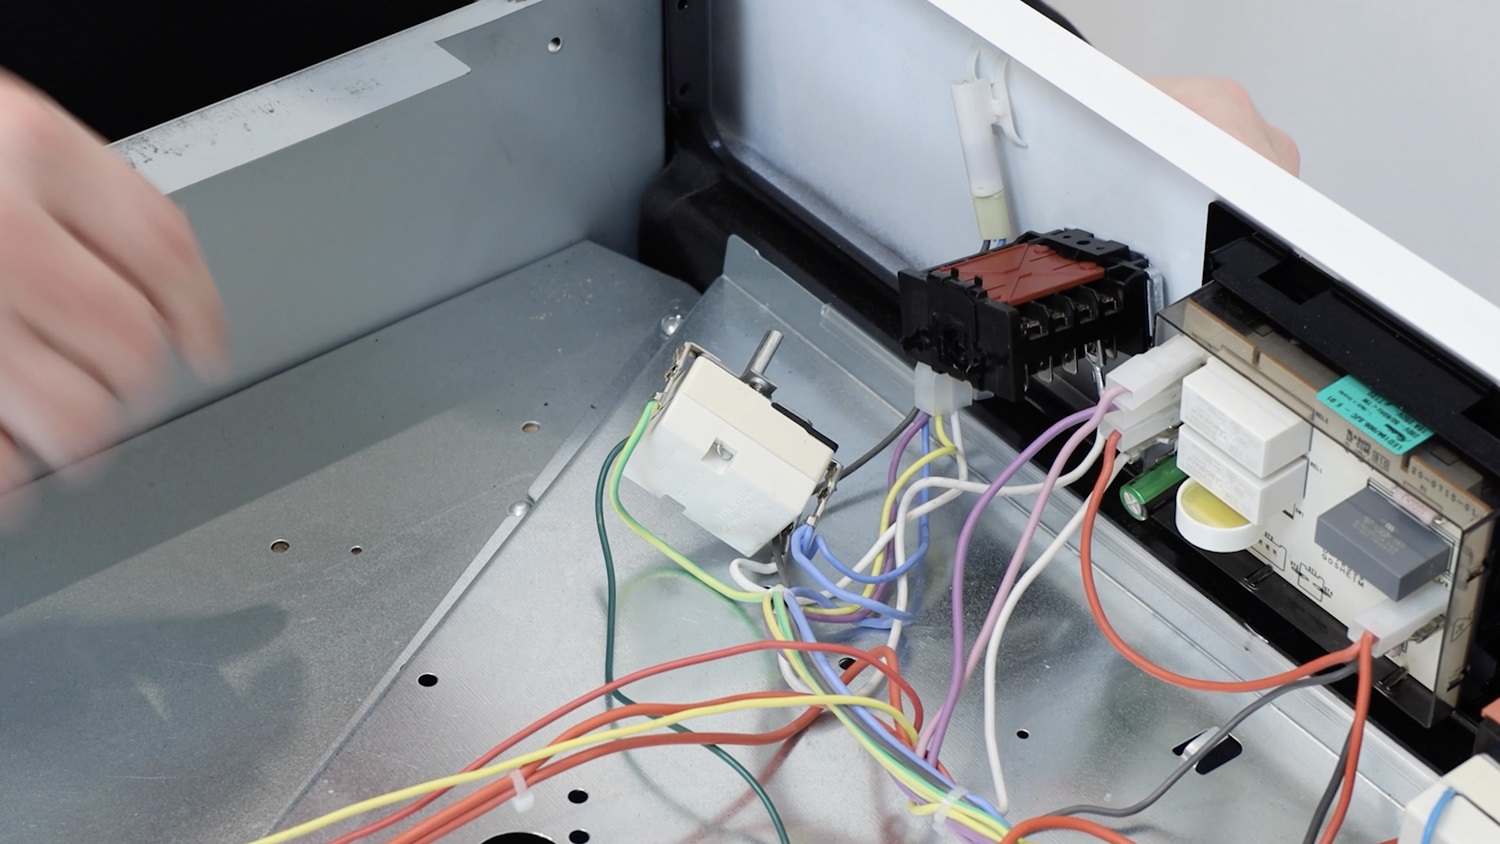
Attach the main oven thermostat to the new temperature switch.
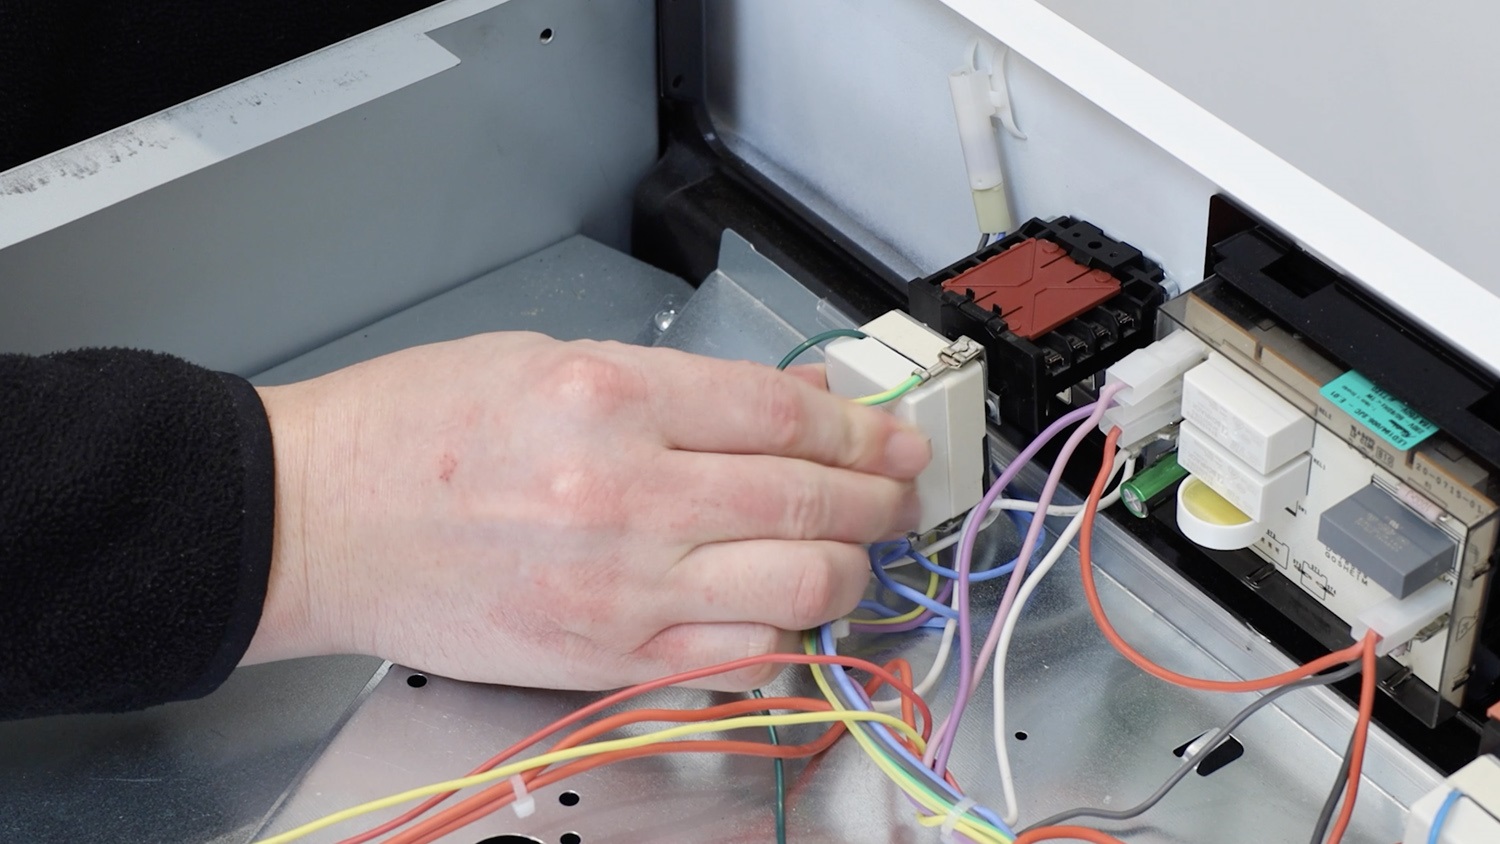
4. Re-assemble oven
Re-screw the two screws back in place.
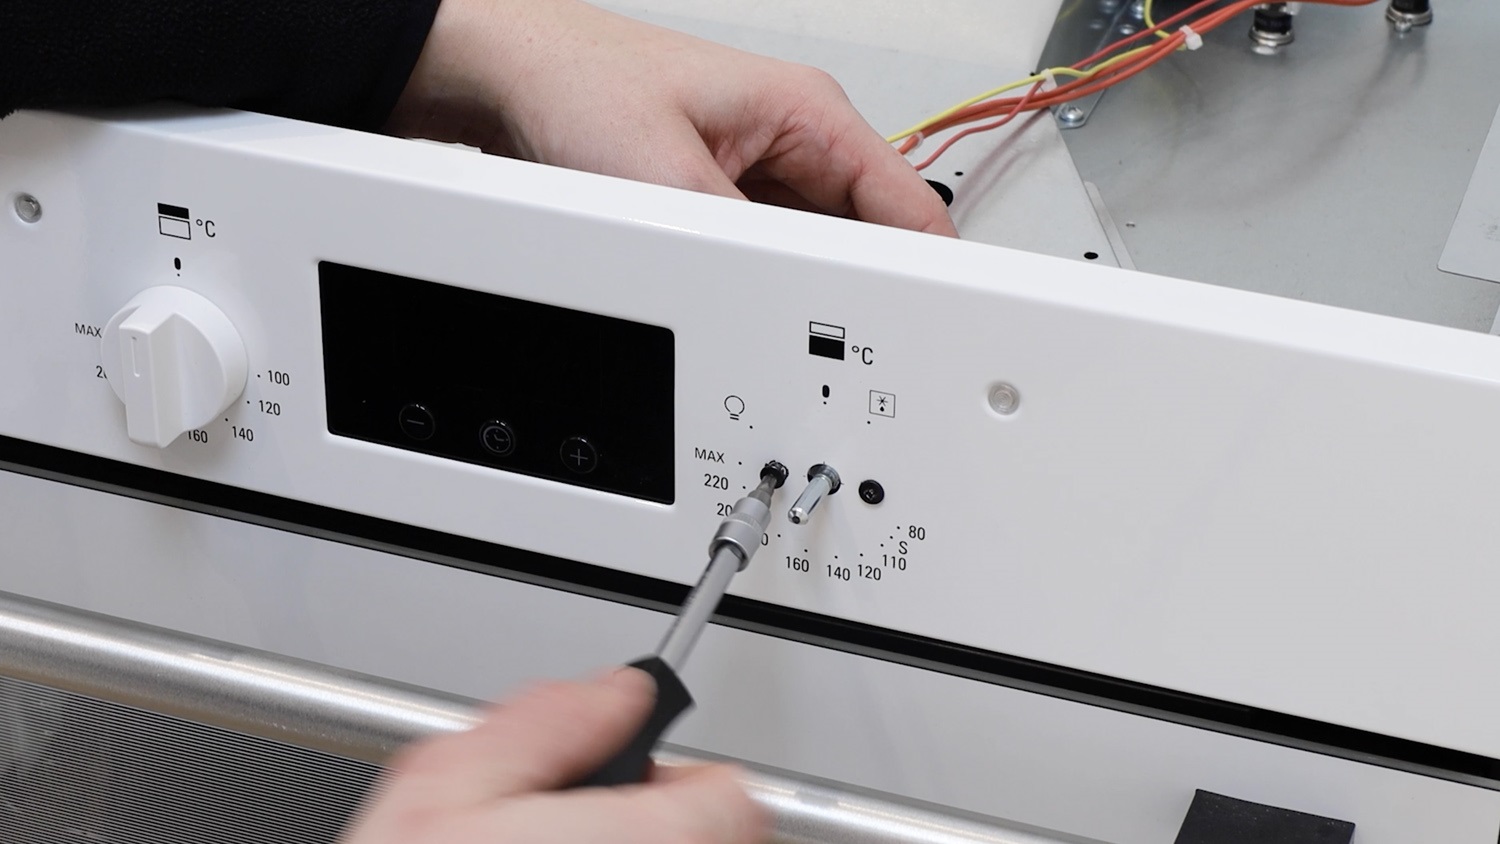
Re-attach the control knob.
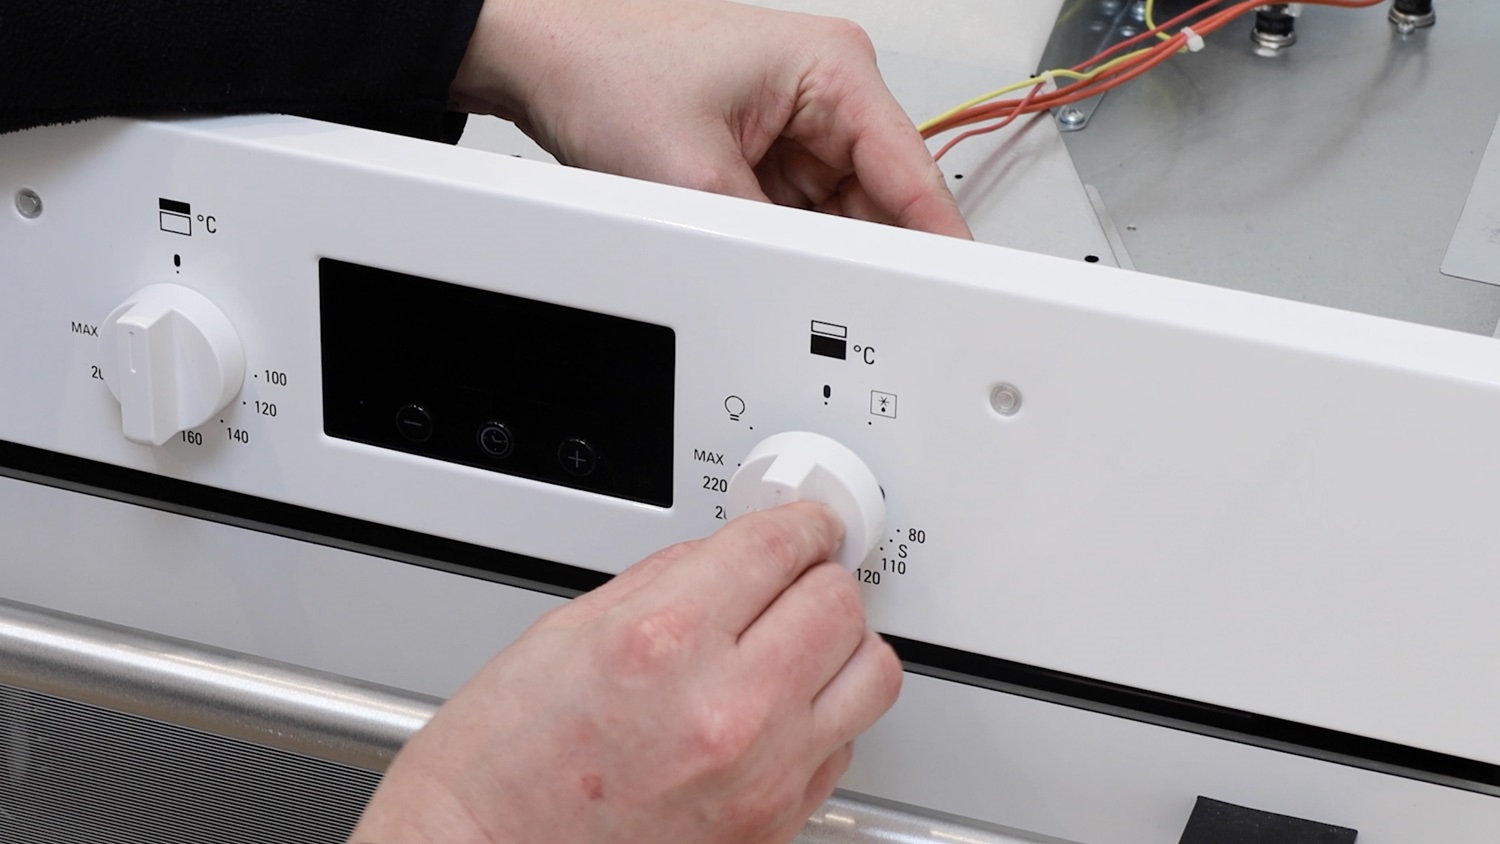
Check that the contacts are working whilst twisting the oven control knob.
Re-attach the top oven panel.
And again, re-screw all the screws in, including the two on the rear, if they were loosened earlier.
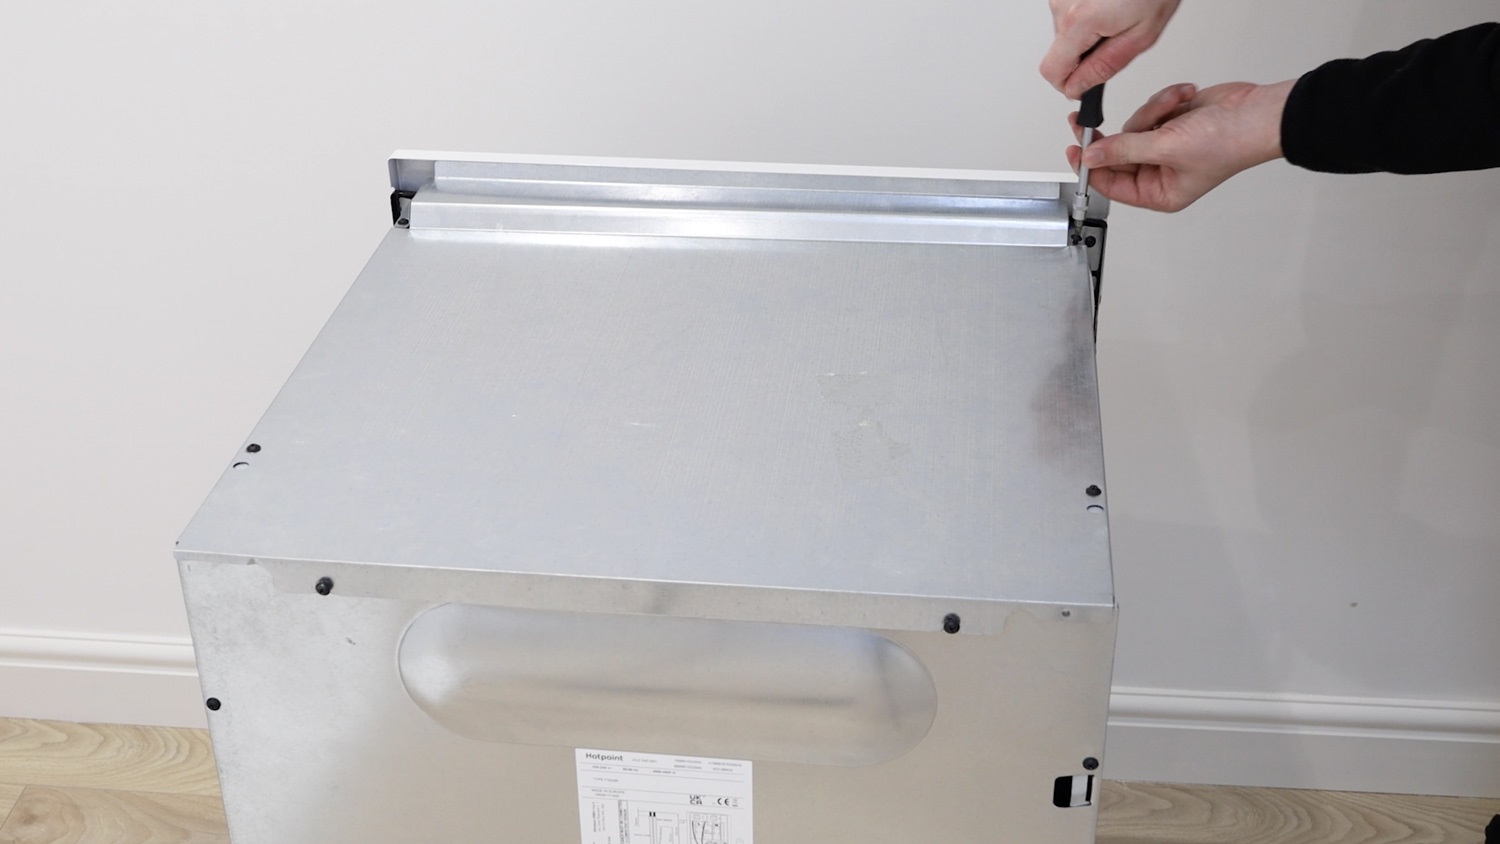
And that’s it, your new main oven temperature switch is all set to go!
View all Oven switch spares